How to Spot Early Signs of Brake Fluid Contamination During Routine Checks
During routine checks, look for color shifts and unusual clarity—clear or amber is normal, but milky, opaque, or dark fluid signals contamination. Watch for foaming, hazing, or a sludgy texture, and note any metallic or dusty odors. Check for moisture indicators like layering when tilted, and monitor level stability between top-offs. Inspect for leaks, crusty residue, or deteriorating seals around the reservoir. If patterns repeat, you’ll uncover more about potential sources and fixes as you continue.
What Contaminants Do to Brake Fluid
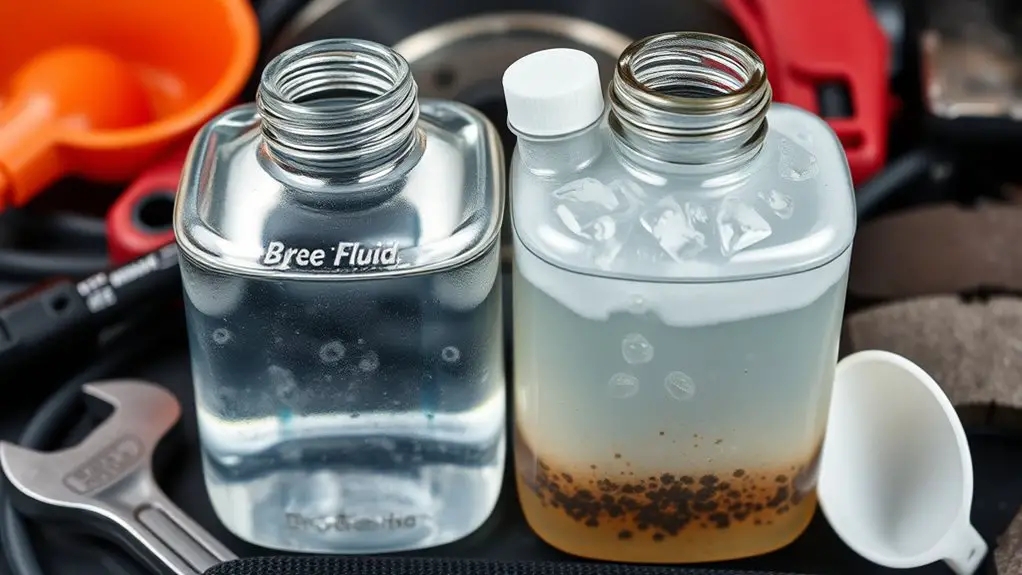
Contaminants alter brake fluid’s properties, reducing its boil point, lubrication, and ability to transfer force. You’ll notice changes in brake response as you inspect the system. Contaminants enter via moisture, dirt, and other substances, altering brake fluid properties by increasing water content or introducing particulates. Moisture lowers the fluid’s boiling point, risking vapor formation under high temperature, leading to spongy brakes. Particulates raise viscosity locally, hindering smooth hydraulic flow and causing inconsistent pedal feel. Chemical impurities can react with additives, diminishing corrosion protection and lubricity. You should measure clarity and observe color shifts as indicators of contamination effects, though color alone isn’t definitive. Check for foaming, which signals air intrusion or excessive moisture. When you document findings, separate fluid samples for testing and compare against specification values. Seek improvements by replacing contaminated fluid and flushing the system to restore expected brake fluid properties. Your goal is reliable function, not guesswork, through disciplined, precise checks.
Visual Clues: Color and Clumps in the Fluid
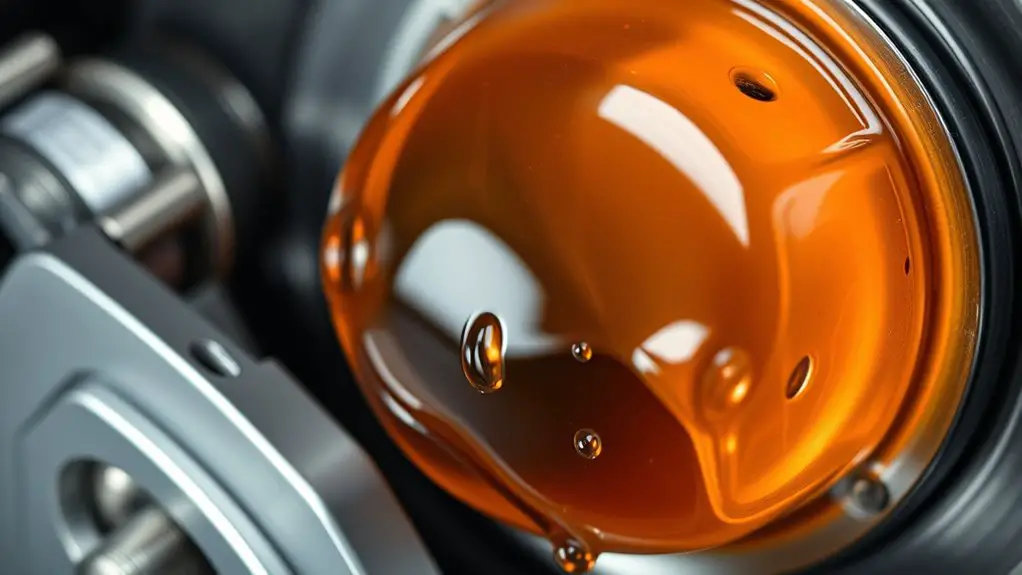
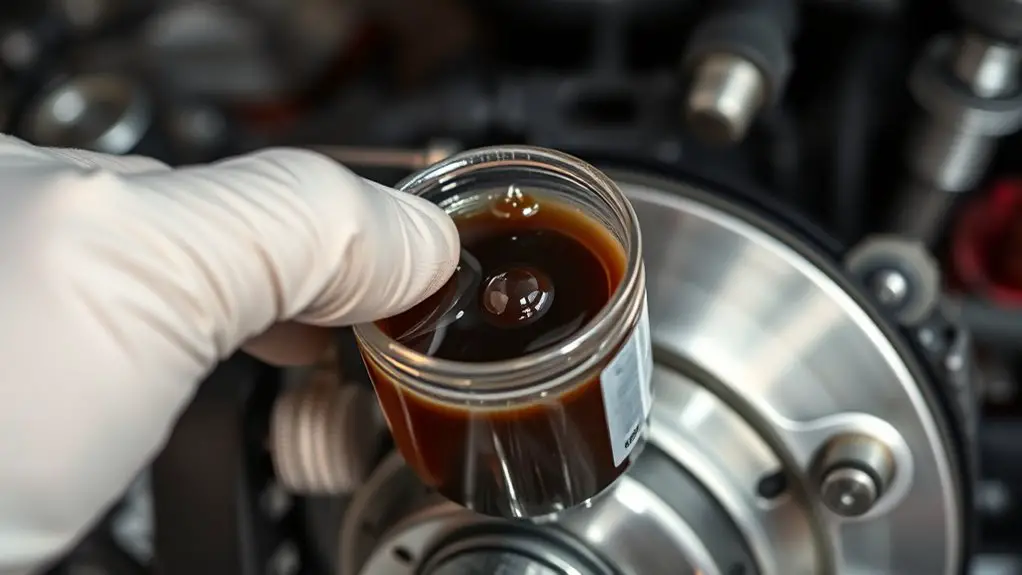
Visual clues in the brake fluid can reveal contamination beyond what you feel in the pedal. You examine the reservoir with a calm, methodical eye, noting color and texture before any judgment. Begin by inspecting color variations: clear or amber is expected, while milky, brown, or opaque tints signal foreign matter or degraded fluid. Document shifts in hue across a routine interval, not a single snapshot. Next, look for fluid clumping: tiny particulates or a sludgy, curd-like consistency suggests moisture, rust, or stabilizer breakdown; don’t confuse settled sediment with an active contaminant. Gently tilt and observe layering, ensuring you return to a baseline for future comparisons. Avoid excessive handling that introduces air or spillage. Record findings succinctly, linking color changes and clumping to maintenance timing or possible contamination sources. This visual check informs you when a fluid change or system purge is warranted, maintaining control over brake performance and safety.
Foaming and Hazing: Early Physical Signs
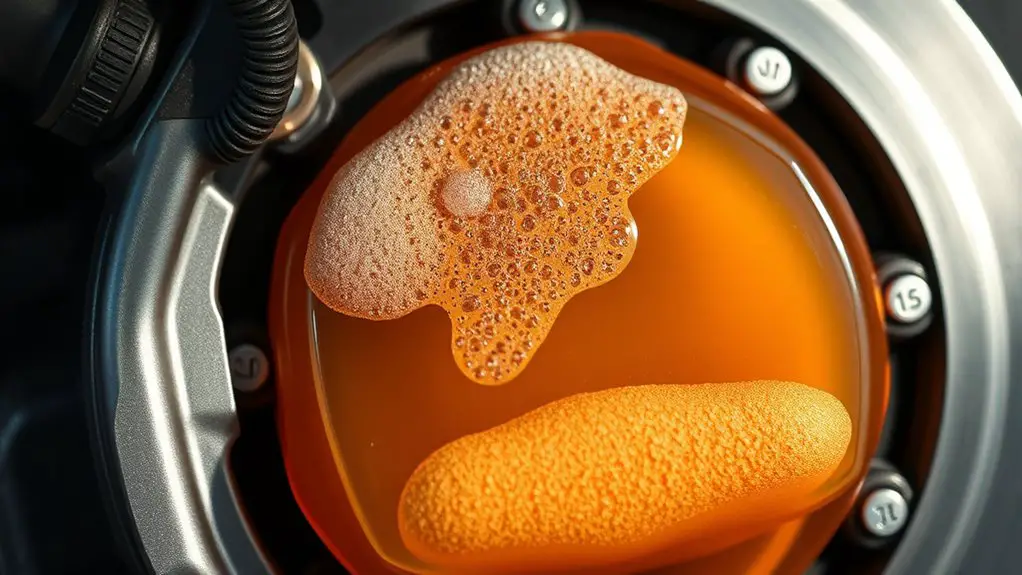
As you finish noting color and clumps, turn attention to how the fluid feels and behaves when you inspect the reservoir and hoses. You inspect for foaming fluid, listening for any rapid, uneven movement as you gently tilt the reservoir. Look for hazing effects in the reservoir’s surface, a milky or frothy veil that isn’t typical of clean fluid. The presence of bubbles that don’t settle quickly indicates air mixing or contamination from moisture. Check for persistent foam after a brief shake test; if foam remains, note it as a fault condition rather than a transient characteristic. Observe the cap seal and reservoir walls for micro-bubbles that cling to the surface. Document whether foaming fluid coincides with unusual viscosity or inconsistent flow when you operate the brakes lightly. Record these findings clearly and compare against your baseline, so you can determine if further testing or fluid replacement is needed.
Smell Clues: Dusty or Metallic Odors
Dusty odor signals can indicate contamination coming from absorbed particulates or degraded seals, so note any powdery, earthy notes near the reservoir or lines. A metallic smell clue may point to worn metal components or corrosion within the brake system, requiring closer inspection. Together, these contamination aroma hints help you decide whether further testing or component replacement is needed.
Dusty Odor Signals
Dust in the air can carry a dusty or metallic odor that signals contaminated brake fluid; if you notice this smell, you should inspect the brake system promptly for moisture ingress, corrosion, or fluid degradation. You’ll detect a dusty odor as moisture interacts with additives, creating contamination indicators you can verify with a quick test and visual check. Observe fluid color, consistency, and the presence of particulates, then confirm with a moisture meter or refractometer if available. Maintain a concise scan routine and document findings for maintenance follow-up.
| Column A | Column B |
|---|---|
| Dusty odor signals | Contamination indicators |
| Inspect for moisture | Verify by quick tests |
| Check fluid state | Record results |
| Take timely action | Schedule service |
Metallic Smell Clues
Metallic smells can indicate brake fluid contamination and moisture-related degradation. You approach the symptom with discipline, noting odor characteristics as you would readings on a gauge. When you detect a metallic odor, isolate the source, compare it to prior checks, and assess if it persists under varying temperatures or after system cycling. Document odor intensity on a scale you trust, distinguishing faint hints from sharp, lingering notes. Pay attention to how metallic sources interact with local environment—dust, heat, and damp air can amplify perception. Record whether the smell accompanies other signs, such as discoloration or fluid viscosity changes, and verify with a quick test: smell alone isn’t a verdict, but it supports a trend. Maintain concise logs, act decisively, and preserve your freedom to inspect.
Contamination Aroma Hints
To gauge contamination by aroma, start with a focused sniff that differentiates normal brake fluid scent from unusual notes like dusty or metallic tones, then document any odor that persists after cycling the system. You’ll practice steady sniff intervals, noting character, intensity, and duration. Dusty hints suggest particulate intrusion, while metallic tones may point to wear metals or corroded lines. Record whether odors intensify with heat or after cycling, and whether they accompany visible leaks or a change in fluid clarity. This process supports odor identification, guiding you toward likely contamination sources. Correlate smells with system symptoms, such as spongy pedal feel or degraded braking performance. Use findings to prioritize fluid replacement, reservoir inspection, and line checks, ensuring you address root contamination sources promptly.
How Fluid Color Changes Indicate Issues
Oil and brake fluid isn’t always the same color, and changes can signal contamination or internal wear; start by noting the current color, then compare it to the expected hue for your system. You observe color shifts directly: clear to amber, amber to brown, or darker tones. Each change hints at different issues, so map colors to likely causes without guessing. If fluid looks milky, you may have water ingress or air contamination; if it’s dark and opaque, contamination sources or degradation are likely. A reddish tint can indicate corrosion products or mineral oil mixing in severe cases. Record the shade, then assess consistency: fluid should be smooth, not stringy or syrupy. Texture changes accompany color shifts and strengthen concerns about seals or hose wear. Use a clean, transparent container for comparison and track trends over time. Remember to maintain safety, work cleanly, and prioritize systematic checks over assumptions.
Unusual Fluid Level Fluctuations
You’ll notice level swings when contamination is present, as the fluid behaves abnormally under heat and pressure. If you see fluids outside the normal range or fluctuating between high and low without reason, document the readings and check for leaks or moisture ingress. Heed consistent top-off warnings as a sign to inspect the system for contamination and guarantee proper recovery and testing steps.
Level Swings With Contamination
Level swings in brake fluid when contamination is present can be misleading: the fluid may appear to rise or fall unpredictably as air bubbles, water, or other contaminants change the density and volume within the reservoir. You should monitor patterns rather than isolated spikes. When you observe irregulars, trace them to possible level fluctuations caused by entrained air pockets or shifting contaminants, not only emptying or replenishing the system. Note that rapid shifts after opening the cap can reflect surface agitation rather than sustained changes. Record observed cycles, durations, and whether the rise coincides with pump action or temperature changes. Identify contamination sources, such as moisture ingress or incompatible fluids, and verify seals and reservoirs. Maintain a balanced, consistent check routine to avoid false conclusions.
Fluids Outside Normal Range
Unusual fluid level fluctuations outside the normal range should trigger a systematic check of the braking system. You observe whether fluid levels rise or fall between checks, then verify the reservoir markings and hose connections for leaks or atmospheric intrusion. Confirm that the fluid level sits within the recommended band when the engine is cool, and note any cross-level differences between front and rear circuits if accessible. Record the trend, not just a single reading, to distinguish a transient from a persistent shift. Assess fluid consistency as part of the evaluation—watch for thinning, separation, or darkening that suggests contamination. Check moisture levels with a quick test if your kit allows, and document findings meticulously to guide corrective action.
Consistent Top-Off Warnings
Consistent top-off warnings arise when fluid level fluctuations persist across checks, signaling a fault that requires attention beyond a one-off reading. If you’re seeing rising and falling levels, don’t dismiss it as normal. Track patterns, note ambient temperature, pedal feel, and brake response. This is a cue for brake fluid maintenance and inspection beyond routine topping techniques. Investigate the reservoir for leaks, moisture ingress, or compromised seals. Calibrate your approach: fix the root cause before adding more fluid, since partial fixes mask deeper issues. Document readings and actions to build a reliable history, then recheck under consistent conditions. If fluctuations persist, consult a professional promptly.
| Symptom | Likely Cause | Recommended Action |
|---|---|---|
| Elevated level after drive | Reservoir leaks | Inspect seals, refill only after repair |
| Lower level after idle | Vaporization | Verify cap seal, inspect lines |
| Consistent rise with temperature | Heat expansion | Check for system cooling flaws |
| No pattern | Contamination | Test fluid, replace as needed |
Causes of Contamination: Where It Comes From
Brake fluid contamination can originate from several sources, and identifying them helps you prevent it. You’ll trace contamination to source origins, not assumptions, by inspecting components and pathways involved in the hydraulic system. Primary origins include the master cylinder reservoir, where moisture and particulates enter during improper cap seating or exposure to air. Hoses and fittings can introduce contaminants if cracked, worn, or mismatched in material, or if aged seals shed debris into the fluid. The brake lines themselves may carry rust particles or corrosion byproducts from internal metal wear, especially in older systems. Bleed ports or reservoir caps that aren’t sealed correctly can admit environmental debris or moisture, changing contamination types. Hydraulics may be compromised when maintenance tools introduce oil, grease, or detergents, altering fluid chemistry. Finally, external contamination can occur from contaminated refill sources or dirty storage. Regular checks catch these patterns before symptoms escalate.
Frequency and Best Practices for Inspections
Regular, scheduled inspections are crucial to catch contamination early and prevent brake system failure. You’ll want a clear cadence that suits your vehicle usage and environment, pairing it with strict documentation. Define inspection frequency by mileage, time, and notable driving conditions, then adjust as needed. Use objective checks: fluid clarity, color, and smell, plus reservoir level, cap integrity, and hose connections. Record findings and actions to establish accountability and trend analysis.
- Set a fixed interval (e.g., every 6 months or 6,000 miles) and log results
- Verify reservoir and seals for signs of leakage or moisture ingress
- Inspect for dark, stale, or contaminated fluid and document changes
- Calibrate your observations with a baseline and recheck after any service
- Adopt consistent procedures to guarantee repeatable, actionable outcomes
Safe Handling and Immediate Steps if Contamination Is Suspected
When you suspect contamination, keep the scene calm and controlled to prevent mixing fluids or spreading contaminants. You’ll prioritize safety, then containment. Begin by noting the time, location, and observed fluid color or smell, then isolate the suspected area from ignition sources and drains. Use gloves and eye protection, and avoid touching surfaces with bare hands. Collect a small, labeled sample if needed, and seal it for potential analysis, without moving the vehicle. Secure the master cylinder cap and bleed screw area to prevent air ingress during checks. For safe handling, place containers on a stable surface away from heat and direct sunlight. Document all actions, including any deviations in fluid appearance and readings from tests. Do not mix new fluid with contaminated fluid; do not reuse siphons or containers. If contamination is confirmed or suspected, proceed with immediate steps to protect system integrity and schedule professional assessment. Maintain calm, methodical concentration throughout.
When to Seek Professional Help and Repairs
If uncertainty remains after initial checks, you should seek professional help promptly to prevent safety risks or further damage. When in doubt about brake fluid contamination, a professional assessment is essential. You’ll want a precise evaluation of the brake system, including lines, reservoir, and master cylinder, to identify hidden issues and prevent failures. Do not delay if you notice persistent fluid discoloration, unusual smells, or braking softness. A qualified technician can perform diagnostic tests, pressure checks, and fluid analysis to determine the contamination source and necessary repairs. Timely intervention protects you, passengers, and vehicle control. Rely on certified alignment with safety standards and manufacturer guidelines to restore performance. Expect clear findings, recommended actions, and a transparent repair plan that fits your risk tolerance and budget.
- Seek professional assessment when signs persist or you’re unsure of the cause
- Prioritize brake system integrity over temporary fixes
- Request a full diagnostic and fluid analysis
- Verify warranty and parts compatibility
- Follow the technician’s recommended maintenance schedule
Frequently Asked Questions
How Often Should Brake Fluid Be Tested for Contamination?
You should test brake fluid for contamination every 1 to 2 years, depending on usage and environment. In your brake maintenance schedules, note fluid testing frequency and align with manufacturer recommendations. You’ll inspect clarity, color, and moisture content, performing a float test or refractometer check as needed. If you notice spongy brakes or unusual odor, test sooner. Keep records, and adjust intervals based on driving conditions and climate to maintain ideal braking performance.
Can Contaminated Fluid Still Stop the Car Safely?
Yes, contaminated fluid can still stop the car, but brake performance may degrade or become unpredictable. If you suspect contamination, you should pull over safely and assess quickly. Check for sponginess, fading, or unusual smells, and inspect fluid color. Maintain fluid maintenance by replacing it as recommended. Don’t ignore symptoms; contaminated fluid can compromise safety. If in doubt, have a professional brake check done promptly to protect your control and driving freedom.
Do Different Brake Types Require Different Tests?
Brake types do require different testing methods, so you tailor your approach per system. You’ll check pads, rotors, and fluid paths, then apply controlled pressure to observe response. For mineral versus DOT brake fluids, test viscosity and boil-point behavior; for ABS you’ll monitor modulation and pedal feel. Keep your workflow precise, observant, and safe. You’ll document findings, note any soft or spongy pedal indications, and adjust tests to the specific brake type you’re inspecting.
Do Environmental Conditions Affect Contamination Risk?
Environmental factors do affect contamination risk. You’ll want to monitor how exposure to humidity, temperature swings, and dust influx alter your brake fluid environment. Keep an eye on contamination sources like water ingress, oil leaks, or corrosion byproducts that temperatures and ambient conditions can encourage. You assess routinely, note changes, and adjust handling. You’ll reduce risk by sealing systems well, using proper storage, and maintaining clean, controlled service environments.
What Tools Are Needed for a Basic Contamination Check?
You’ll need basic tools: a clean sniff test, a clear container, and a microfiber cloth to inspect brake fluid as you proceed. For contamination indicators, look for color change, unusual viscosity, and grit in the reservoir. Tools include a flashlight, a non-metallic syringe, and a magnifier to assess clarity. You’ll compare samples to standards and record findings. If you see anything off, you’re documenting potential contamination indicators and flagging safety concerns immediately.

