How to Spot Early Signs of Timing Belt Overdue During Routine Checks
During routine checks, routinely inspect the timing belt area for wear, oil leaks, and unusual noises. Look for cracking, fraying, or thinning edges, and note shiny patches or exposed fibers. Check for dampness on the cover and oil contamination near the belt, pulleys, and tensioner. Listen for squeals or ticking that change with RPM, and verify belt tension and pulley alignment. If you spot problems, you’ll want a deeper, professional look soon—you’ll learn how to proceed next.
Recognizing Unusual Ticking or Slapping Noises From the Engine

If you hear unusual ticking or slapping noises from the engine, don’t ignore them. You’re sizing up risk, not guessing. Start with an immediate listen: is the sound steady or intermittent, temporal or rhythmic with RPM? Engine noise that shifts with engine speed often points to accessory drive components rather than the core timing mechanism. Note belt vibrations as you rev gently—belt tension, alignment, and pulley wear can produce subtle tremors that mimic other faults. Eliminate loose items by securing debris and inspecting the engine bay for loose covers or hoses that can clang together at certain loads. Compare sounds at idle versus higher revs, and with and without accessories engaged. If the noise persists or worsens, narrow the field to the belt system, tensioner, and idler pulleys. Record when it happens, then test in a controlled, progressive manner to avoid unnecessary damage. Stay methodical: precise observation leads to decisive, freedom-preserving action.
Inspecting Timing Belt Appearance: Wear, Cracks, and Fraying
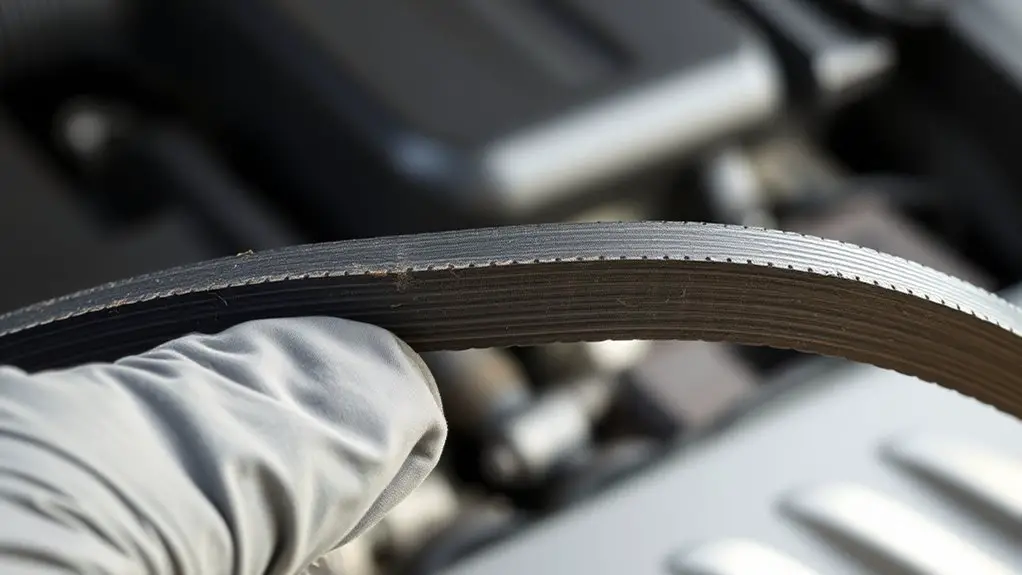
You’ll examine the belt for wear indicators, noting any thinning areas or glazing that signal tension issues. Look for cracks and fraying at the edges or along the belt surface, which point to material fatigue. If you spot wear, cracks, or fraying, document the location and plan a belt replacement or professional inspection.
Belt Wear Indicators
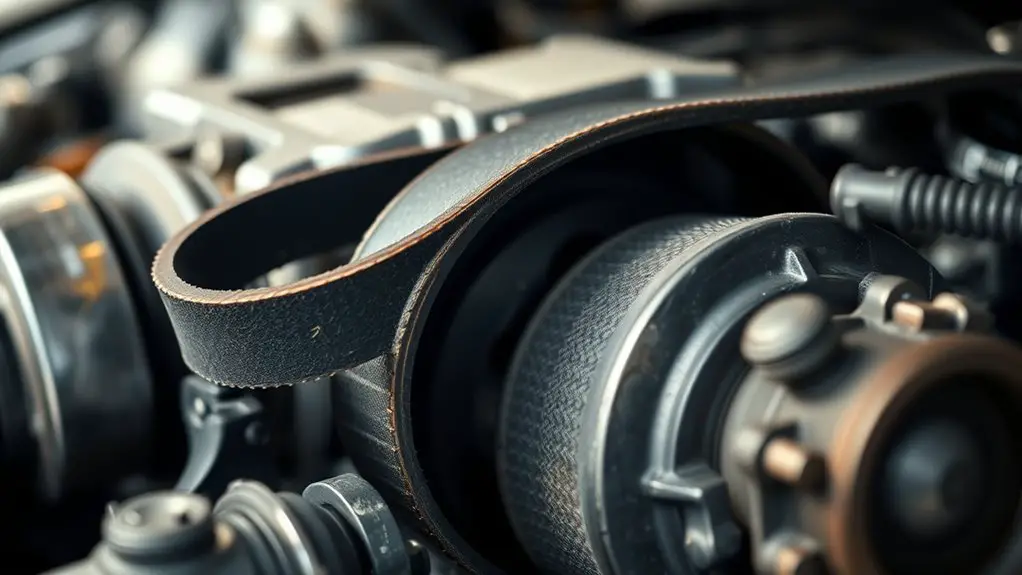
Belt wear indicators are your first line of defense for timing-belt health: by inspecting the belt’s appearance for wear, cracks, and fraying, you can detect early failure risk before it causes engine damage. You’ll want a clean, well-lit surface and a mirror to view backside sections. Look for shiny glaze, thinning edges, or exposed fibers—these signal material fatigue. Cracks along the belt’s ribs or between teeth warrant note, but avoid overinterpreting minor imperfections. Record findings in your maintenance schedule and compare against the belt lifespan estimates from your vehicle’s manual. Keep the belt tautness within factory specs and check alignment pulleys for unusual wear patterns. Use findings to refine your maintenance schedule, ensuring proactive interventions rather than reactive repairs.
Crack and Fray Signs
Crack and fray signs are indicators you can spot by inspecting the belt’s surface and edges. You look for visible cracks along the ribs or backing, and fraying along the belt’s sides where fibers separate. Small fissures may start at edge creases; larger cracks threaten immediate failure if ignored. Fray lines suggest fabric or composite wear, reducing strength and altering timing accuracy. Check for shiny, glazed patches that indicate material fatigue from heat or slipping. Absence of uniform wear can signal uneven loading or misalignment. Note that brittle, chalky texture or frayed threads near pulley contact are red flags. Track belt lifespan by noting crack depth and fray extent during routine checks, and apply maintenance tips promptly. This disciplined approach preserves performance while supporting your freedom to troubleshoot confidently.
Checking for Oil Leaks Around the Timing Belt Area
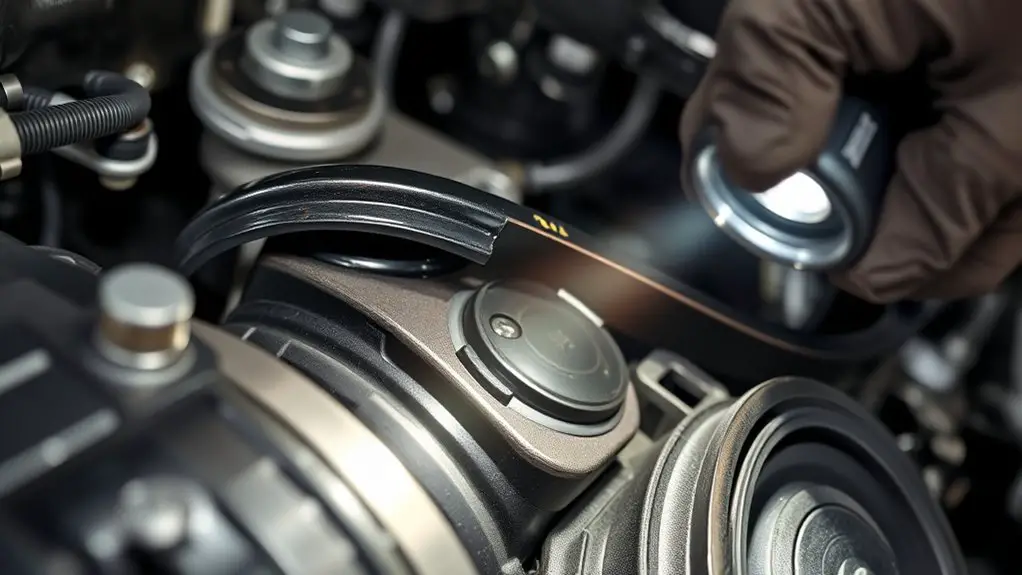
Oil leaks around the timing belt area can indicate seal or gasket failures that threaten belt integrity. You’ll want a disciplined check to confirm source and scope without guesswork. Start with a visual sweep and feel for dampness along the belt cover and adjacent housings. Then probe for oil traces on pulley edges, tensioner springs, and any pulley seals. Corrosion or staining here often points to external leaks rather than internal engine distress.
- Inspect where the timing belt meets the cover, noting any fresh oil presence.
- Trace oil along gasket seams toward the belt line and tensioner.
- Confirm whether oil seepage is isolated to one side or spread broadly.
- Document mileage, location, and type of oil; compare against service history for signs of recurring leaks.
If you detect seepage near seals or gaskets, plan a careful inspection of the related component and replace affected seals to protect the timing belt.
Detecting Misfires or Rough Running That Might Point to Belt Issues
Misfires or rough running can signal belt-driven timing issues when the engine’s timing is off or the belt is slipping. You’ll approach this with a methodical checklist rather than guesswork. Start with misfire diagnostics by scanning for cylinder-specific misfires, noting coordinates, RPM range, and load conditions. If misfires align with a particular cylinder, inspect ignition and fuel delivery in that zone, then consider timing consistency as a belt concern. Next, assess rough idle: if the engine settles unevenly at idle or requires extra throttle to maintain smoothness, belt slip or cam/crank timing deviation may be at fault. Use diagnostic data: OBD-II codes, live data for misfire counters, RPM variance, and camshaft sensor readings. Rule out vacuum leaks, exhaust restrictions, and dirty injectors before attributing to timing. If symptoms persist under steady load, plan a controlled inspection of belt timing, then recheck after any corrective actions.
Inspecting Belt Tittings and Tensioner Pulleys for Wear
You should inspect the belt tittings and tensioner pulleys for signs of wear, noting any glazing, cracking, or frayed edges. Look for looseness, wobble, or uneven rotation that suggests a worn pulley bearing or misalignment. Document findings with a quick comparison to the expected feel and wear patterns, and plan further testing if issues are found.
Worn Belt Tittings
Worn belt tittings and tensioner pulleys can mask timing belt problems, so start with a careful visual and tactile check: inspect the belt’s teeth, edges, and any cracking, fraying, or glazing; listen for squeals or slippage during engine run; and feel for excessive play or roughness in the tensioner pulley as you rotate it by hand with the engine off. Focus on belt alignment and how tension adjustment affects contact with pulleys.
- Visually verify edge wear and tooth integrity along the belt.
- Check for glazing or gloss that reduces grip and increases slipping risk.
- Manually rotate pulleys to detect roughness or binding.
- Assess tensioner response and confirm alignment remains consistent under mild load.
Tensioner Pulley Wear
A thorough check of the tensioner pulley is essential because wear here directly affects belt tension and timing accuracy. You’ll inspect bearing play, surface scalloping, and side-to-side wobble with light pretension applied. Listen for grinding, and feel for roughness when turning the pulley by hand. If you notice looseness, missing teeth alignment, or uneven wear, plan tensioner pulley maintenance or tensioner pulley replacement before it compromises the belt. Document findings succinctly, then decide on corrective action: reuse with adjustment, or replacement using factory torque specs. Table below helps visualize steps and outcomes.
| Step | Observation | Outcome |
|---|---|---|
| 1 | Bearing roughness | Replace |
| 2 | Surface wear | Maintain or replace |
| 3 | Wobble | Replace |
Understanding Service Intervals and Manufacturer Guidelines
Understanding service intervals and manufacturer guidelines is essential for preventing timing belt failures. You’ll want to align your checks with official timing, mileage, and age recommendations to avoid surprises. Follow these steps to stay on course:
1) Review your owner’s manual for service intervals and manufacturer recommendations, noting exact mileage and age limits.
2) Cross-check with any service bulletins or recalls that affect timing belt components, and track due dates.
3) Maintain a precise log of replacements, tensioner checks, and water pump status to reveal trends over time.
4) Plan proactive maintenance around the recommended window, prioritizing belt, guides, and seals before they degrade.
This approach keeps you in control, balancing freedom with accountability. You’ll reduce risk by honoring documented intervals, using manufacturer guidance as your compass, and avoiding unnecessary substitutions or shortcuts that compromise reliability.
Quick DIY Checks You Can Safely Perform During Routine Maintenance
During routine maintenance, you can perform a few quick, safe checks to gauge timing belt health without disassembling components. Start with a careful visual scan: inspect belt edges for fraying, glazing, or cracks; look for missing ribs or misaligned pulleys in the accessible path. Gently rotate the crank by hand (note resistance, unusual tight spots, or grinding). Compare current tension with OEM specs using a trusted tension gauge or a consistent DIY method, ensuring the belt sits firmly in the belt groove without excessive deflection. Listen for intermittent chirps or squeaks when the engine is cranked at idle—these can hint at alignment or tension issues before failure. Check related accessories: water pump and idler bearings should run smoothly with minimal play. Record observations, mileage, and conditions for DIY inspection logs. If anything feels off, schedule a professional check rather than continuing operation. Prioritize prevention over reaction in timing belt maintenance.
When to Call a Pro: Signs That Demand Professional Inspection
If you notice any of the warning signs below, don’t push through—call a pro for a diagnostic check rather than continuing to operate the engine.
- Popping noises, misfires, or ticking at start-up. A diagnostic by professional mechanics can confirm timing belt issues before collateral damage.
- Loss of coolant, oil leaks around the timing cover, or sudden overheating. These symptoms often point to belt or tensioner failure needing expert replacement.
- Engine warning lights, rough idle, or stalling that recurs despite basic maintenance. A pro assessment isolates belt wear from other faults.
- Visible belt wear, cracks, fraying, or oil contamination on the belt area. If found, schedule timing belt replacement with trained technicians.
Rely on precise evaluation rather than risk. When in doubt, engage professional mechanics for timely intervention and a definitive plan. This protects your freedom to drive with confidence.
Frequently Asked Questions
Can Timing Belt Issues Cause Engine Misfires Without Noise?
Yes, timing belt issues can cause engine misfires even without obvious noise. You should look for timing belt symptoms like rough idle, misfire codes, reduced engine performance, or hesitation during acceleration. If misfires occur without sound, you’ll still notice degraded engine performance, decreased fuel economy, and potential check engine light activity. Diagnose by checking timing marks, compression, and valve timing, then replace worn belt to restore reliable engine performance and prevent further damage.
Do Manufacturers Specify Mileage vs. Time Limits for Belts?
Given your question, yes—manufacturers specify both mileage and time limits for belts. You should consult timing belt specifications in your owner’s manual and follow maintenance recommendations without waiting for symptoms. Track service intervals, not just miles, because heat, age, and environment matter. You’ll find typical recommendations leaning toward replacement around every 60–100k miles or 5–7 years, whichever comes first. Stay proactive, keep records, and honor those maintenance recommendations for reliable freedom.
Can Using Low-Quality Belts Shorten Service Intervals?
Using low-quality belts can shorten service intervals. You’ll see faster wear, glazing, or cracking that signals earlier replacement needs. Evaluate belt material carefully, and compare it against maintenance practices recommended by your manufacturer. You should track tension and route integrity during checks, then adjust cadence accordingly. If performance fluctuates or noises appear, reassess belt material and maintenance practices, and don’t hesitate to standardize proactive replacements to protect engine timing and overall freedom in driving.
Are Aftermarket Tensioners More Prone to Early Wear?
Aftermarket tensioners are generally more prone to early wear than OEMs, but quality varies. About 60% of failures in field data relate to cheaper aftermarket quality, not design alone. You’ll want to assess tensioner lifespan by material quality, bearing specs, and handling in service. If you seek long-term reliability, prioritize OEM or proven aftermarket quality. You’ll gain predictable tensioning, fewer belt skips, and steadier timing—freedom to drive with confidence.
How Often Should Coolant Leaks Be Checked Alongside Belt Wear?
You should check for coolant leaks every time you inspect belt wear. Integrate coolant maintenance into your routine, and run leak detection alongside tensioner and pulley checks. Do this at each visual inspection or every 5,000–7,500 miles, whichever comes first. Maintain strict records, noting any damp spots, odors, or grime. Consistency matters: early detection saves cost, prevents overheating, and keeps you informed about system health. Stay methodical, precise, and proactive.

