How to Stop Water Ingress Causing Paint Swirl Marks
To stop water ingress from causing paint swirl marks, start by identifying and sealing all entry points—doors, windows, flashing, and penetrations. Dry and repair the affected areas; use dehumidification to remove lingering moisture. Prime with a stain-blocking or bonding primer suitable for damp surfaces, then apply breathable, moisture-tolerant coatings in thin, even coats. Maintain proper drainage and ventilation to prevent future dampness. If you keep going, you’ll learn more about durable, long‑term protection.
Identifying Common Water Ingress Sources
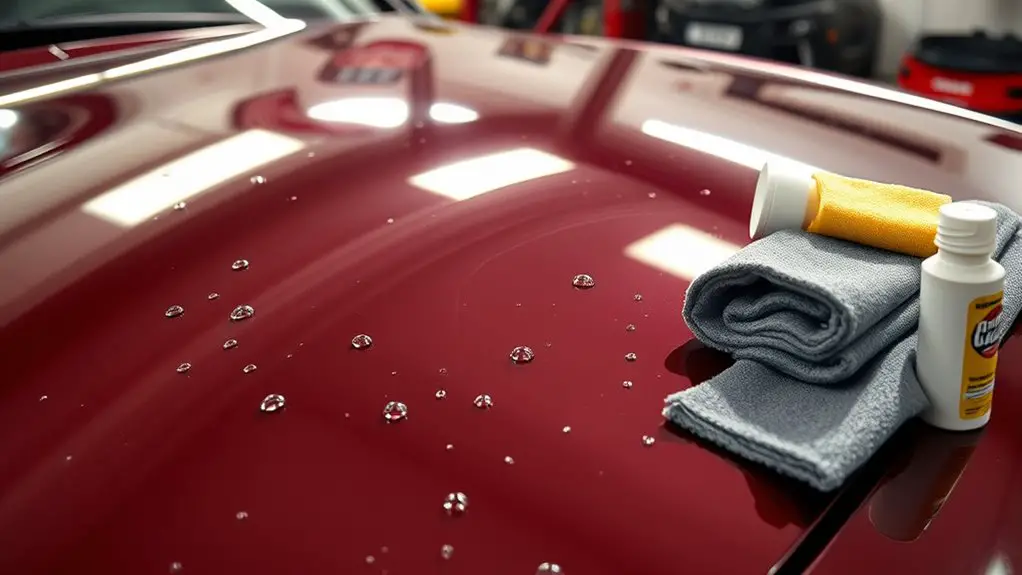
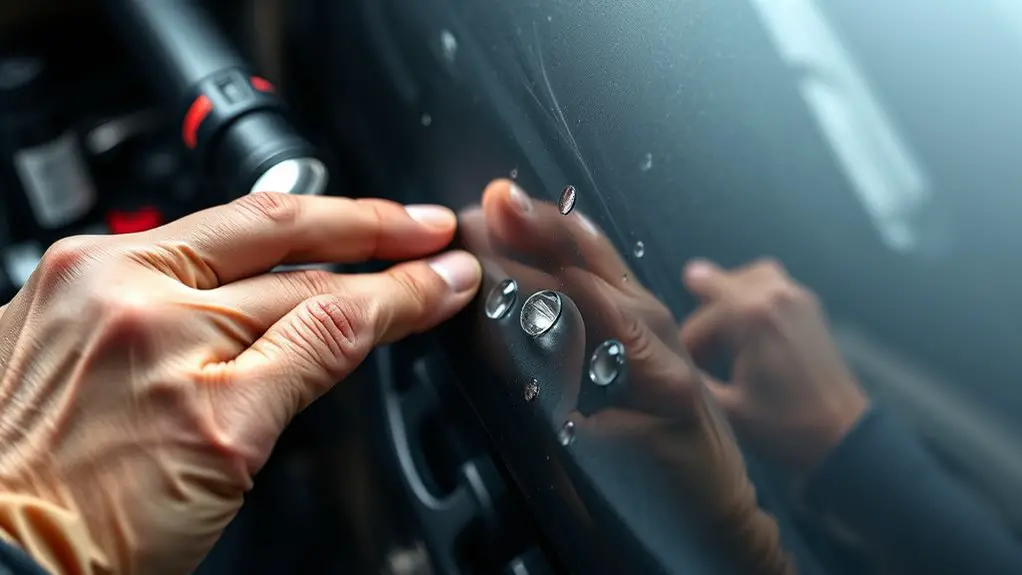
Common water ingress sources are typically hidden or overlooked, so start by inspecting areas where water tends to enter and where moisture accumulates. You’ll map potential entry points with a systematic approach: doors, windows, roof edges, eaves, plumbing penetrations, and crawl spaces. Look for microcracks, gaps in flashing, and displaced seals. Track moisture using a down-to-earth method: observe after rain, run a humidity test, and compare interior surfaces with exterior conditions. Prioritize zones where water stains appear or where paint shows signs of damage, because these indicate ongoing intrusion. Inspect exterior siding, caulking, and sealants for wear, splitting, and mold indicators. Pay attention to gutters, downspouts, and grading that directs water toward the structure. Document findings with notes and photos, then plan targeted remediation. By isolating sources with discipline, you protect interior finishes and prevent paint damage from worsening, while preserving the freedom to maintain a resilient, well-sealed environment.
Initial Assessment and Safety Precautions
You should assess moisture risk first, noting any signs of dampness, staining, or mold as you inspect each area. Prepare a safety gear checklist and guarantee you have gloves, goggles, respirator if needed, and sturdy footwear before you begin. Proceed methodically, identifying immediate hazards and confirming you’re wearing the proper gear as you evaluate the scene.
Assess Moisture Risk
Assess moisture risk by conducting a structured initial assessment and establishing safety precautions. You’ll map areas prone to ingress, note pore openers, and identify materials vulnerable to damp. Begin with moisture detection indicators—discoloration, odor, efflorescence, or softening substrates. Document measurements, then compare against baseline readings to determine deviation. Conduct a concise risk assessment: categorize zones by exposure, activity, and potential leakage sources. Prioritize areas with ongoing damp, recent leaks, or compromised sealants. For safety, isolate affected spaces, ventilate, and avoid unnecessary entry into saturated zones until hazards are controlled. Record findings clearly, update diagrams, and set a monitoring plan. Your aim is a precise, actionable profile that guides remediation while preserving freedom to pursue informed decisions.
Safety Gear Checklist
From the moisture risk profile you’ve built, you’ll now compile a Safety Gear Checklist to support the initial assessment and precautions. You’ll list safety gear essentials first, prioritizing items that prevent contact with moisture, dust, and fumes. Begin with eye protection: safety glasses or goggles that seal against splashes. Next, choose protective gloves suited to handling damp materials and solvents, plus a breathable, chemical-resistant overall or coveralls. Foot protection matters too: sturdy boots with moisture resistance and good grip. Head and respiratory protection come next: a hard hat if overhead risks exist, and a field mask or respirator for fumes. Finally, keep a compact kit of wipes, a towel, and a labeled storage bag. This order clarifies actions and aligns with protective equipment types.
Preparing Surfaces for Repair
Begin with thorough surface cleaning to remove dust, oil, and loose material, as this guarantees a solid bond for repairs. Then, apply controlled drying and timing to reach the recommended surface moisture level before any patching or sealing. This sets the stage for effective adhesion and durable results.
Surface Cleaning Prep
Before you repair, start by cleaning the surface thoroughly to remove dust, grease, and loose material that could impede adhesion.
Surface Cleaning Prep is precise work. Capture the area’s cleanliness with consistent steps, ensuring every nook is ready for repair. Use surface cleaning techniques that target contaminants without compromising the substrate. Select effective detergents that cut grease yet leave no residue. Rinse thoroughly and dry completely before any patching.
| Step | Action | Result |
|---|---|---|
| 1 | Inspect for particulates | Visual confirmation |
| 2 | Apply cleaner | Breaks adhesion barriers |
| 3 | Rinse and dry | Ready for repair |
This approach respects your desire for freedom by delivering control, clarity, and reliable adhesion every time.
Drying and Timing
Drying and timing are essential to guarantee a durable repair. You’ll check the surface for moisture before proceeding, then select controlled drying methods. Start with ambient air drying in a clean, dust-free space, and avoid direct heat that could warp substrates. If humidity remains high, employ a gentle dehumidifier or desiccant to pull moisture evenly from the repaired area. Apply thin, uniform coats and allow each layer to reach tack-free or full cure per product guidance, not guesswork. Document timing considerations to synchronize with substrate type and paint system, ensuring compatibility and adhesion. Refrain from rushing cures; haste invites swirl marks. You’ll verify dryness with a simple test, then proceed to protect the repair until full hardening is achieved, preserving a smooth, durable finish.
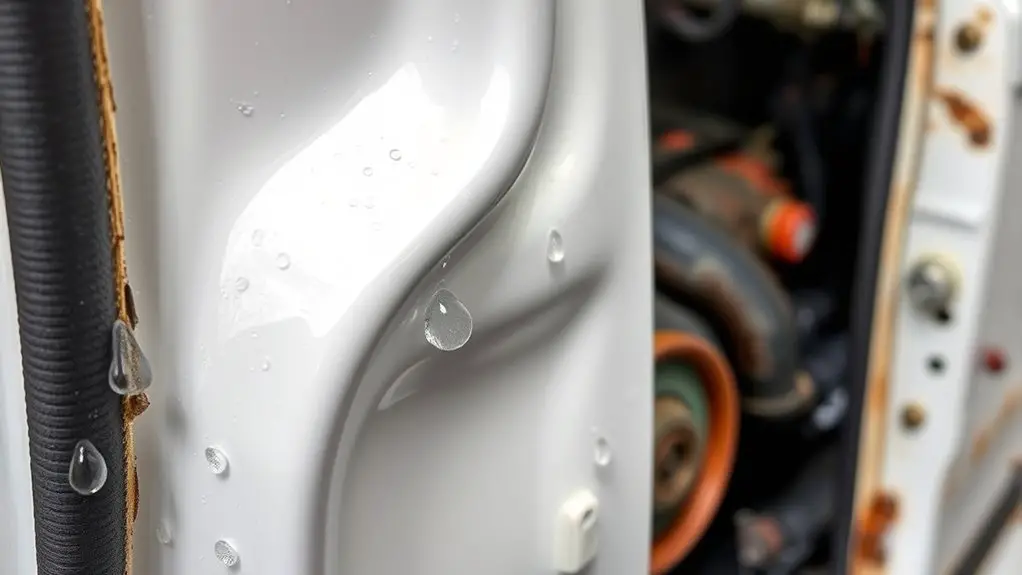
Addressing Exterior Moisture Entry Points
Addressing exterior moisture entry points starts with a clear assessment of where water can infiltrate, such as joints, penetrations, and wall changes. You’ll map potential paths, noting material changes and existing condition. From there, you adopt a disciplined, methodical approach to reduce risk and preserve finish integrity. Focus on durable, practical steps that empower your freedom to act.
Address exterior moisture entry points with a clear assessment, mapping risks, and a disciplined plan to seal joints, renew seals, and monitor drainage.
- conduct exterior inspections to identify all vulnerable seams, gaps, and openings
- apply appropriate sealing techniques at joints and penetrations
- inspect flashing, caulk, and sealants for deterioration and renew as needed
- verify drainage and surface slope to prevent water pooling around the facade
Implement a cycle of monitoring and maintenance, documenting results and scheduling follow-ups. Use targeted sealants compatible with substrates, and re-check after rainfall. Your goal is a robust barrier that minimizes ingress without compromising exterior aesthetics or ventilation.
Interior Repair Techniques for Moisture Damaged Walls
After securing the exterior, you’ll shift to repairing the interior moisture damage with a clear, step-by-step approach. You’ll assess the affected area, remove compromised materials, and dry thoroughly using dehumidification. Next, you’ll treat the substrate to halt lingering moisture, then perform moisture mitigation with targeted ventilation and dehumidification to prevent recurrence. You’ll repair with precision: patch, skim, and sand until surfaces are truly flat, then recoat with moisture-rated primer and finish. Throughout, you’ll document progress for wall restoration accuracy, ensuring repairs align with existing aesthetics. Use containment to minimize dust and exposure, and verify moisture levels before finishing. The goal is durable, quiet restoration that respects your space and freedom.
| Focus | Action |
|---|---|
| Moisture source control | Maintain dehumidification and ventilation after repair |
| Materials handling | Remove debris, then seal and dispose safely |
Priming and Sealing to Prevent Reoccurrence
Priming and sealing are essential steps to prevent moisture reoccurrence once repairs are complete. You’ll create a stable barrier that reduces capillary transfer and slows any future seepage. Begin with a compatible primer to neutralize stains and improve adhesion, then apply a sealant layer tailored to the substrate. Your goal is a uniform, moisture-resistant surface that accepts finish coats without bubbling or peeling.
- priming techniques: choose a stain-blocking or bonding primer suited to the wall material and existing damage
- sealing options: select a breathable yet water-resistant sealant to accommodate minor movement
- surface prep: clean, dry, and lightly abrade to guarantee maximum bonding
- application cadence: apply thin, even coats, allowing proper drying between layers for best performance
Painting Techniques for Damp Environments
When painting in damp environments, choose coatings designed for elevated moisture and high humidity, and apply them only after the surface is fully dry and prepped. You’ll start with clean, sound substrates, removing all loose material. Use sealants compatible with moisture exposure, then implement a judicious primer if recommended by the manufacturer. Select paints formulated for damp conditions, with mold and mildew resistance where possible. Apply in thin, even coats, avoiding runs and pooling; allow each coat to cure thoroughly before the next. Temperature and airflow matter: maintain a stable, mild environment to prevent rapid drying that can cause blistering. Incorporate surface treatments that improve adhesion and moisture resistance, and align application with the product’s guidelines. Consider ventilation solutions during painting to manage humidity and temperatures, reducing condensation risk. Document surface behavior and adjust technique as needed to preserve color, finish integrity, and long-term durability.
Ongoing Prevention and Maintenance Tips
Keeping moisture control ongoing means establishing a routine that prevents reoccurrence and catches issues early. You’ll adopt clear preventive measures and structured maintenance routines to keep walls and coatings durable.
Maintaining moisture control requires a proactive, routine approach to protect walls and coatings.
- Inspect seals and flashings quarterly, replacing deteriorated materials before leaks form
- Test moisture levels after heavy rain, addressing hotspots with targeted repairs
- Clean gutters and downspouts monthly to prevent overflows near exterior surfaces
- Repaint or reseal vulnerable areas on a stated schedule, using moisture-resistant coatings
Frequently Asked Questions
Can Humidity Affect Paint Swirl Patterns After Drying?
Humidity can affect paint swirl patterns after drying. If humidity is high, moisture slows curing, causing swirl halos or blooming; low humidity speeds drying and can trap uneven texture. You should manage humidity control during application and drying, keeping it steady. Focus your paint application on a consistent environment, using proper airflow and temperature. Monitor humidity levels and adjust before spraying or rolling, so the finish remains uniform and free of swirl artifacts.
Are There Non-Toxic Sealants for Indoor Use?
Yes. There are non-toxic sealants for indoor use. You can choose eco friendly options like water-based acrylic or polyurethane sealants, designed for safe indoor applications. They form durable barriers without harsh fumes, so you’ll enjoy cleaner air while protecting surfaces. Apply in well-ventilated spaces, follow manufacturer directions, and use thin, even coats. For best results, test in a small area first and allow complete cure before subjecting the surface to moisture or wear. Freedom means safer, effective protection.
How Long Should Repairs Cure Before Painting?
You should wait the recommended repair curing times before painting, typically 24 to 48 hours for most sealants and fillers, but always check the product label. During curing, keep conditions stable and avoid traffic on the surface. When you apply paint, use proper paint application techniques—thin, even coats, gradual builds, and proper drying between coats. This approach minimizes surface tension and guarantees adhesion, letting you enjoy authentic freedom without compromising durability or finish.
Will Underlayment Choices Impact Moisture Rejection?
Satire aside, yes, underlayment choices impact moisture rejection. You’ll want proper moisture barriers and the right underlayment types to control vapor drive and prevent swelling. You’ll select a breathable, fast-drying option where appropriate, and seal joints with compatible tapes and primers. You’ll guarantee substrate is dry and uniform, then install per manufacturer specs. You’ll test for moisture before and after to confirm performance, and you’ll document results for future freedom-loving builders.
Can DIY Methods Worsen Existing Water Damage?
DIY repair can sometimes worsen existing water damage if you don’t stop the source first or misjudge the moisture level. You should inspect thoroughly, dry affected areas, and use proper seals before patching. If you’re not certain, don’t rush to fix—consult a pro. With careful steps, you’ll minimize risk, control moisture, and protect your space. Keep documenting the process, test for hidden damp, and choose materials rated for water exposure. Water damage success hinges on discipline and accuracy.