How to Test 12V Auxiliary Battery Using Isolation Tester Safely
To test a 12V auxiliary battery safely with an isolation tester, begin by ensuring you have PPE, a dry, ventilated workspace, and a disconnect tool. Verify the tester’s 12V rating and inspect leads for damage. With the engine off, disconnect the negative terminal, attach clamps to clean battery posts, and power the tester in its test mode. Compare readings to the battery’s specs, noting any deviations. If issues arise, follow the manufacturer’s safety cautions and continue carefullyancing through the steps.
Understanding Isolation Testing for 12V Batteries
Isolation testing for 12V batteries involves confirming that a battery or its circuit is electrically isolated from other paths that could affect measurements. You approach the task with a deterministic plan, outlining the test sequence and expected outcomes. Begin by identifying all conductors connected to the battery terminals, then document each path where current might leak. You verify insulation integrity using a suitable method, such as applying controlled loads and observing responses, while maintaining safety protocols. During voltage testing, you measure potential differences between the battery terminals and nearby conductive surfaces, noting any deviations that exceed established limits. If a path exists, you isolate it and retest to confirm stability. You record results succinctly, including test conditions, instruments used, and ambient factors. This disciplined process helps guarantee reliable results, reduces uncertainty, and supports informed decisions about battery insulation. Your goal is precise, repeatable assessment that respects the freedom to methodically verify isolation.
Why An Isolation Tester Is Essential

An isolation tester is essential because it provides safety advantages by isolating the 12V system from the vehicle or equipment under test, reducing shock and short-circuit risk. It also enables accurate diagnostics by distinguishing battery faults from wiring or load issues, improving fault localization. You’ll follow a clear, procedural approach to verify isolation before any further testing or charging steps.
Safety Advantages
Using an isolation tester is essential because it quickly verifies that the 12V system is free of unexpected paths to ground or other circuits, which prevents accidental shorts during testing or servicing. You gain a clear view of circuit integrity before any probe contact, reducing risk to both you and components. Safety advantages include minimizing arc exposure, detecting leakage, and isolating faulty branches without energizing the whole system. You’ll follow safety protocols that emphasize controlled isolation, correct grounding, and PPE use, so you maintain momentum without compromising protection. This approach also supports battery maintenance by avoiding collateral drain or damage during checks. With disciplined procedure, you preserve system safety, improve reliability, and sustain freedom to work efficiently while staying within formal, repeatable steps.
Accurate Diagnostics
You’ve already set up a controlled environment with an isolation tester, so you can identify exact fault paths before touching a live circuit. Accurate diagnostics rely on systematic verification of each component and connection. Begin by tracing voltage drops across sensing points, logging readings, and comparing them to known baselines. Use isolation standards to validate that test steps don’t introduce external influence or leakage. Correlate performance data with battery performance indicators, such as open-circuit voltage, load response, and recovery after discharge. Document anomalies with time stamps and repeatability notes. If results diverge, isolate the section and re-test to confirm consistency. The goal is clear, reproducible evidence that guides safe repair or replacement decisions while preserving system integrity.
Preparing Your Vehicle and Tools Safely
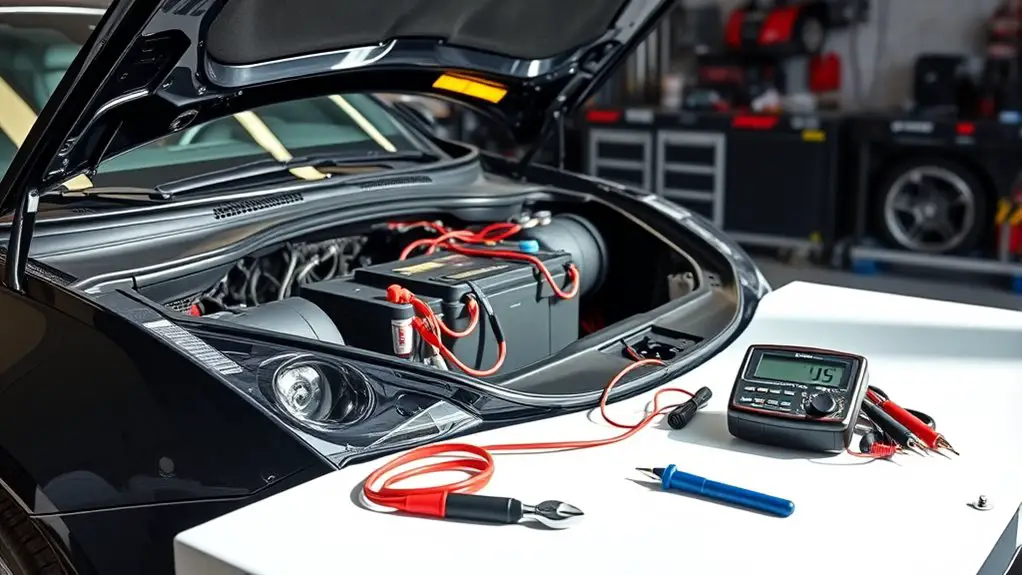
Before you begin, assemble the safety gear, verify eye protection, gloves, and non-slip footwear, and keep a clear work area. Inspect each tool for damage, test functionality, and replace any frayed cables or worn grips before use. Complete a vehicle prep checklist to secure the engine off, disconnect the battery as instructed, and position yourself and the vehicle for safe access to the auxiliary battery.
Safety Gear Essentials
When preparing for 12V auxiliary battery work, gather the essential safety gear first: eye protection, gloves, and a fire extinguisher rated for electrical fires, plus a sturdy flashlight and a wrench or insulated pliers. You’ll establish a controlled workspace, ensuring no loose apparel or jewelry can snag on components. Put on eye protection and gloves before you touch any cabling, then position the extinguisher within arm’s reach. Inspect lighting to prevent shadows or glare that could hide hazards. Keep a clear path to the vehicle battery and tools, and set a designated area for waste or spilled fluids. This mindset—safety gear first, then proceed—keeps you prepared, focused, and free to work with confidence, using essential tools to minimize risk.
Tool Inspection Steps
To start, verify that all tools and the workspace meet safety standards before touching the battery. You’ll inspect each item for integrity, cleanliness, and compatibility with the tester. Begin with the isolation tester: confirm its casing is intact, cables free of exposed conductors, and the display responding to basic prompts. Check tool functionality by testing a known reference connection, not the battery, to avoid risk. Inspect multimeters, clamps, and leads for acceptable insulation and no fraying. Ascertain protective covers are in place and that you have dry, non-slip footing. Verify tester calibration by reviewing the last calibration date and any recent adjustments according to the manufacturer’s log. Finally, organize tools in a dedicated, stable workspace to prevent accidental contact during the test.
Vehicle Prep Checklist
3 essential checks start with securing the vehicle and organizing the workspace: park on a level surface, engage the parking brake, and disconnect the negative battery terminal if required by your procedure. You’ll gather tools in a dedicated, uncluttered area to reduce distractions and missteps. Inspect the isolation tester, leads, and all cables for wear, corrosion, and secure connections. Verify PPE availability and ventilation, then confirm your testing frequency aligns with the manufacturer’s guidance. Check battery maintenance practices: clean terminals, remove corrosion, and guarantee clamps grip firmly. Set lighting to steady, glare-free illumination. Document baseline readings, steps, and any anomalies. Ascertain the vehicle remains stable throughout the procedure, and keep a clear path for safe, uninterrupted work. Prepare to proceed with calm, deliberate accuracy.
Step-by-Step: Setting Up the Isolation Tester
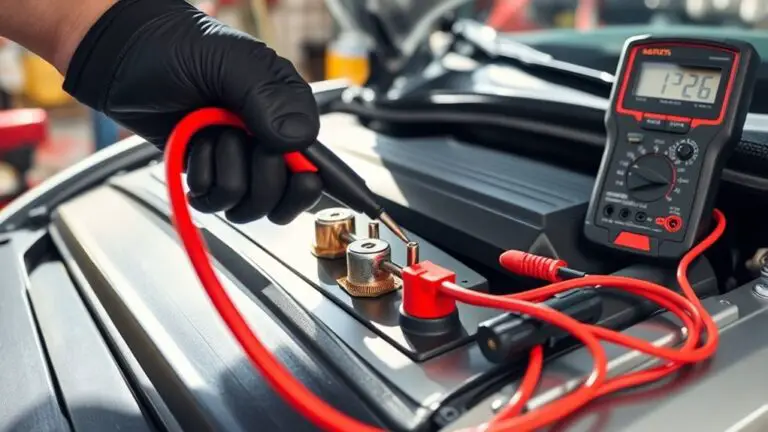
Setting up the isolation tester begins with a clear, step-by-step plan: verify the tester’s rating for 12V systems, inspect the leads and clamps for damage, and confirm the test cord and any adapters are appropriate for your battery type. You proceed by choosing a dry, ventilated workspace and disconnecting the negative terminal before any connection. Next, attach the tester’s clamps to the battery posts with firm, clean contact, avoiding metal jewelry or loose fittings. Verify the polarity: red clamp to positive, black to negative, then secure all connections so they won’t loosen during testing. Check that the tester’s display and controls are intact and reset to test mode. If you’ll measure while the engine is off, make certain NO ignition sources are nearby. Review the device manual for recommended test sequence and safety cautions. This setup supports reliable testing techniques and promotes steady battery maintenance, giving you a precise foundation for the subsequent steps.
Reading and Interpreting Results
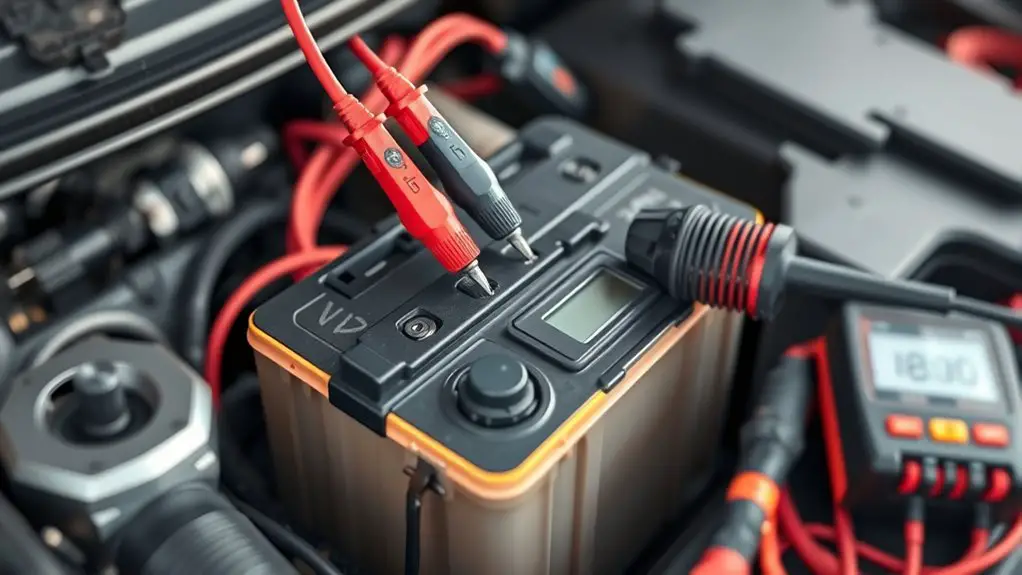
Interpreting the results correctly hinges on comparing the readings to the battery’s rated specifications and the tester’s acceptable ranges. You’ll assess battery voltage against its nominal value and note any deviation that could indicate weakness or fault. Begin by confirming the test results align with the manufacturer’s voltage window for a healthy 12V battery under rest and load conditions. If values fall outside this window, log the exact figures, the test context (no load vs. loaded), and ambient conditions. Consider voltage stability over a brief time; a drop beyond a few tenths of a volt under load signals capacity concerns. Document any abnormal spikes or fluctuations, then correlate with battery age, sulfation signs, or recent charging activity. Use a conservative interpretation: minor transient variation may be acceptable, but persistent or large deviations warrant further inspection or retesting. Finally, summarize findings succinctly to guide maintenance or replacement decisions, focusing on actionable next steps.
Common Pitfalls and How to Avoid Them
Common pitfalls in testing 12V auxiliary batteries often stem from inconsistent setup or misreading results; to avoid them, establish a repeatable test protocol and adhere to it rigidly. You’ll reduce error by documenting initial conditions, including battery state, isolation tester model, and wiring configuration. Avoid jumping between testing techniques mid-session; stay with a single, verified approach until completion. Common mistakes include neglecting proper grounding, assuming instant readings, and misinterpreting transient fluctuations as solid trends. To counter this, perform a brief system check, then proceed with steady, incremental steps and reset counters after each stage. Maintain clear visual cues: label connections, verify polarity, and confirm the tester’s zero reference. Use standardized time windows for stabilization, not “quick looks.” This disciplined routine reinforces reliable results and builds confidence in your results. Remember, disciplined testing techniques yield meaningful data without compromising safety or speed.
When to Charge, Rehab, or Replace the Battery
Charge, rehab, or replace the 12V auxiliary battery based on measured performance and documented conditions rather than assumptions: if the battery fails to hold a charge, shows rapid voltage drop under load, or exhibits excessive internal resistance, prioritize replacement; if it’s within spec but degraded, begin a structured rehab cycle (reconditioning with controlled charging and rest periods) and retest; if voltage and capacity are within healthy ranges and no abnormal behavior is observed, continue with regular maintenance charging to preserve life. Use objective metrics: voltage under load, recovery after rest, and impedance measurements as battery lifespan indicators. Schedule periodic tests to confirm stability, and log results for trend analysis. When planning, reference charging frequency guidelines aligned with your usage profile and environment. If you notice counterproductive behavior (swelling, heat, persistent sulfation signs), pause cycling and reassess with a fresh test. Maintain conservative expectations; replacements and rehabs should be data-driven, not based on guesswork.
Safety Tips for Preventing Shocks and Short Circuits
To prevent shocks and short circuits, start with a clean, dry workspace and disconnect power before handling any 12V components. Begin with a visual inspection: check for damaged insulation, exposed terminals, or corrosion, and remove any metal jewelry to avoid accidental contact. Use insulated tools and keep cables organized to prevent cross-contact. Establish a clear path for testing, labeling each connector to track connections during disassembly and reassembly. Before energizing any circuit, verify that all protective covers are in place and that the isolation tester is properly grounded. Maintain a reusable safety distance from live wiring, and avoid touching metal parts while probing. Document findings and reset points to guarantee predictable behavior. For ongoing work, implement consistent practices: perform a final voltage check, power down, and store tools separately. These steps support shock prevention and circuit protection, enabling safe, controlled testing without unnecessary risk to yourself or equipment.
Frequently Asked Questions
Can Isolation Testing Damage a 12V Battery Under Load?
Yes, isolation testing can stress a 12V battery under load if you don’t follow testing procedures precisely. You may see temporary voltage dips or altered battery performance during the test, but proper procedure minimizes damage risk. Use rated isolation equipment, monitor voltage and current, and limit the test duration. If you observe excessive heat or rapid capacity loss, stop. Adhere to testing procedures, document results, and interpret outcomes to protect battery performance.
How Often Should You Isolation-Test an Auxiliary Battery?
You should isolation-test your auxiliary battery every three to six months. This testing frequency fits typical battery maintenance routines and helps catch degradation before it impacts performance. Follow a methodical, procedural approach: disconnect loads, verify connections, and monitor voltage under a controlled load. Use careful measurements, document results, and adjust cycles if you notice drops. You’ll preserve capability and reliability while maintaining a sense of freedom in your equipment’s readiness.
What Error Codes Indicate a Failed Isolation Test?
If your isolation test fails, look for specific error codes like “E-01” or “ERR-10” that signal insulation breakdown or leakage paths. Error code meanings point you to the fault, not guesswork. Follow testing procedures precisely: verify battery state, isolate circuits, measure resistance, and document results. A failed code means repeat tests with fresh connections, then consult the tester manual for code mappings. You’ll regain control when you interpret codes accurately and proceed methodically.
Do Temperature Changes Affect Test Results Accuracy?
Temperature fluctuations do affect test result reliability. You should allow the system to reach a stable temperature, then perform the isolation test, recording any variance as part of your results. Keep sensors and connections clean, and recheck after a deliberate 5–10 minute cooldown or warm-up if readings drift. By controlling the environment and noting temperature shifts, you preserve test result reliability while maintaining your freedom to interpret outcomes with confidence.
Is Home Charging Required to Prepare for Testing?
Yes, home charging isn’t required to prepare for testing, but it helps. You should complete battery preparation by ensuring a stable, calm charge level and clean terminals before you begin. Disconnect loads as instructed, verify the isolation tester setup, and confirm voltage stability. If you’re already at a reasonable charge, proceed with methodical steps, documenting readings. Home charging can optimize readiness, yet safe, procedural testing remains your priority for accurate results.