How to Test for a Bad CV Joints Using a Scan Tool for Transmission Codes
To test for bad CV joints using a scan tool, connect the tool to your vehicle’s OBD-II port, typically found under the dashboard. Confirm compatibility and turn the ignition to the “On” position. Access and analyze transmission codes related to CV joint performance. Look for any trouble codes indicating irregularities and cross-reference with your service manual. Combine these findings with a physical inspection for a thorough diagnosis. There’s more to uncover regarding the testing process and repairs.
Understanding CV Joints and Their Role in Your Vehicle
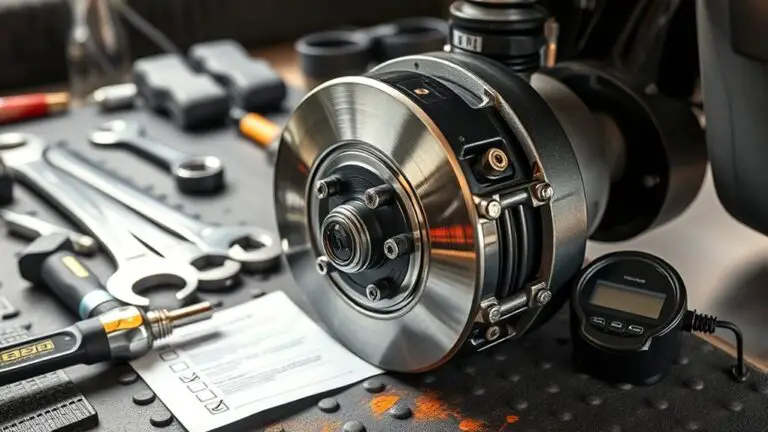
CV joints, or constant velocity joints, are important components in your vehicle’s drivetrain, allowing power to be transmitted smoothly from the transmission to the wheels while accommodating the up-and-down motion of the suspension. Understanding CV joint basics is essential for maintaining your vehicle’s functionality. These joints are designed to provide constant speed without increasing friction, even when your wheels are turning.
Typically found in front-wheel drive and all-wheel drive vehicles, they consist of an outer joint connected to the wheel hub and an inner joint linked to the transmission. Their robust design helps absorb shock and allows for a wider range of motion, which is crucial during cornering and uneven terrain. If you want your vehicle to perform at its best, it’s important to recognize the role CV joints play in power delivery. Keeping them in good condition guarantees a smoother ride and enhances your overall driving experience.
Common Signs of Bad CV Joints
When you’re driving, pay close attention to any unusual noises, such as clicking or popping sounds, especially during turns. You might also notice vibrations that intensify during acceleration, indicating potential issues with your CV joints. Recognizing these signs early can help prevent further damage and costly repairs.
Unusual Noises While Driving
As you drive, the presence of unusual noises can often signal underlying issues with your vehicle, particularly with the constant velocity (CV) joints. If you hear clicking, popping, or grinding sounds, especially when turning or accelerating, it’s a strong indication that your CV joints may be worn or damaged. These unusual sounds can escalate depending on driving conditions, such as maneuvering sharp turns or uneven surfaces. Ignoring these warning signs can lead to more severe damage and compromise your vehicle’s performance. It’s vital to address these noises promptly to maintain your freedom on the road. Regular inspections and maintenance can help guarantee your CV joints remain in prime condition, allowing for safe and enjoyable driving experiences.
Vibration During Acceleration
Vibration during acceleration can be another telltale sign of bad CV joints. When you press on the gas, the drivetrain’s torque is transferred through the CV joints. If those joints are damaged or worn, vibration causes uneven power delivery, leading to noticeable shaking, particularly at higher speeds. You’ll likely feel this in the steering wheel or through the floorboards, as the acceleration effects intensify. Ignoring these vibrations can lead to further drivetrain damage or even loss of vehicle control. To diagnose, monitor for consistent vibration patterns during acceleration and check for accompanying noises. Addressing bad CV joints promptly not only enhances performance but also guarantees a safer driving experience. Always prioritize your vehicle’s health for the freedom of the road.
Importance of Diagnostic Tools in Vehicle Maintenance

When maintaining your vehicle, utilizing diagnostic tools is essential for enhanced problem identification. These tools allow you to pinpoint issues with precision, reducing guesswork and minimizing unnecessary repairs. By streamlining repair processes, you’ll save time and guarantee your vehicle operates efficiently.
Enhanced Problem Identification
How effectively can you pinpoint issues with your vehicle’s CV joints? Utilizing advanced diagnostic tools greatly enhances your ability to identify problems accurately. These tools provide diagnostic accuracy that traditional methods often lack, allowing you to detect subtle issues before they escalate. By analyzing transmission codes and other data, you can assess the condition of your CV joints with precision, ensuring your vehicle maintains ideal reliability. This proactive approach not only saves time but also prevents costly repairs down the line. When you invest in quality diagnostic tools, you’re empowering yourself with the knowledge to tackle potential problems head-on, ultimately preserving your vehicle’s performance and lifespan. Embracing technology in maintenance means greater freedom on the road.
Efficient Repair Processes
While many aspects of vehicle maintenance rely on manual inspection, integrating diagnostic tools considerably streamlines the repair process for CV joints. By employing efficient diagnostics, you can accurately pinpoint issues without unnecessary guesswork. Utilizing a scan tool, you can access transmission codes, revealing underlying problems that manual checks might overlook. This approach supports targeted repair strategies, reducing the time spent on trial and error. Furthermore, diagnostic tools enable real-time data analysis, allowing for quicker decision-making and implementation of repairs. With precise information at your fingertips, you gain the freedom to focus on effective solutions, ensuring your vehicle maintains peak performance. Embracing these tools not only enhances your repair efficiency but also empowers you to take charge of your vehicle’s maintenance.
Overview of Scan Tools for Vehicle Diagnostics
Modern vehicles are equipped with complex systems that require sophisticated tools for effective diagnostics. Understanding the various scan tool types is essential for anyone looking to troubleshoot vehicle issues. You’ll find handheld scanners, tablet-based tools, and professional-grade diagnostic devices, each offering unique capabilities. Handheld scanners are user-friendly and great for basic diagnostics, while tablet-based tools often provide advanced features like real-time data streaming and thorough vehicle coverage.
Professional-grade tools typically feature advanced functionalities such as bi-directional control and extensive code databases, allowing you to explore deeper into issues like bad CV joints. When selecting a scan tool, consider essential diagnostic tool features, including ease of use, compatibility with your vehicle, and the ability to read and clear trouble codes efficiently. By choosing the right scan tool, you empower yourself to tackle vehicle diagnostics with confidence and precision.
Connecting the Scan Tool to Your Vehicle
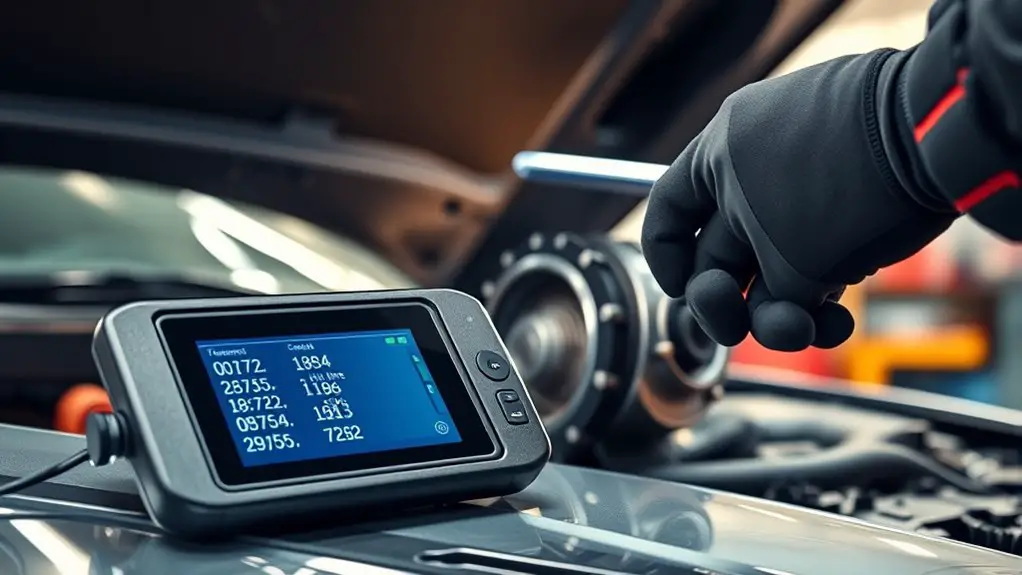
To connect the scan tool to your vehicle, start by locating the OBD-II port, typically found beneath the dashboard near the driver’s seat. Once you’ve identified the port, you’ll need to choose the right scan tool type for your vehicle. Make sure it’s compatible with your make and model, as some tools are designed for specific manufacturers.
Next, plug the scan tool connector into the OBD-II port firmly, ensuring a secure connection. The connection process may vary slightly depending on the scan tool type; some require you to turn on the ignition without starting the engine, while others might need the engine running. After establishing the connection, the scan tool should power up automatically, indicating it’s ready for use. This setup is essential for accurately diagnosing potential issues with your vehicle’s CV joints and ensuring you have the necessary data to proceed.
Accessing Transmission Codes With the Scan Tool
Now that you’ve connected the scan tool, it’s time to access the transmission codes. Understanding these codes is essential for diagnosing potential issues with your CV joints and overall transmission health. You’ll also need to interpret the diagnostic results accurately to pinpoint the root of any problems.
Understanding Transmission Codes
Although accessing transmission codes with a scan tool might seem intimidating, it’s an essential step in diagnosing issues related to bad CV joints. Understanding these codes is vital for evaluating transmission functionality. When you retrieve codes, each one corresponds to specific malfunctions, helping you pinpoint the problem. For instance, code definitions will indicate whether your transmission is experiencing slippage, overheating, or other abnormalities. By interpreting these codes accurately, you can determine whether the issue lies with the transmission itself or if it’s linked to the CV joints. This knowledge empowers you to make informed decisions, facilitating effective repairs and ensuring your vehicle operates smoothly. Embrace this technical process; it’s key to maintaining your vehicle’s performance.
Connecting the Scan Tool
Connecting a scan tool to your vehicle’s diagnostic port is a straightforward process that can yield essential insights into your CV joints’ condition. Begin by ensuring your scan tool setup is compatible with your vehicle’s make and model. Most scan tools will have a list of supported vehicles, so check this before proceeding. Once confirmed, locate the OBD-II port, typically found under the dashboard near the steering column. Plug in the scan tool securely. Turn the ignition key to the “On” position without starting the engine, allowing the tool to power up. Follow the on-screen prompts to access transmission codes. A successful connection will enable you to identify any errors related to your CV joints.
Interpreting Diagnostic Results
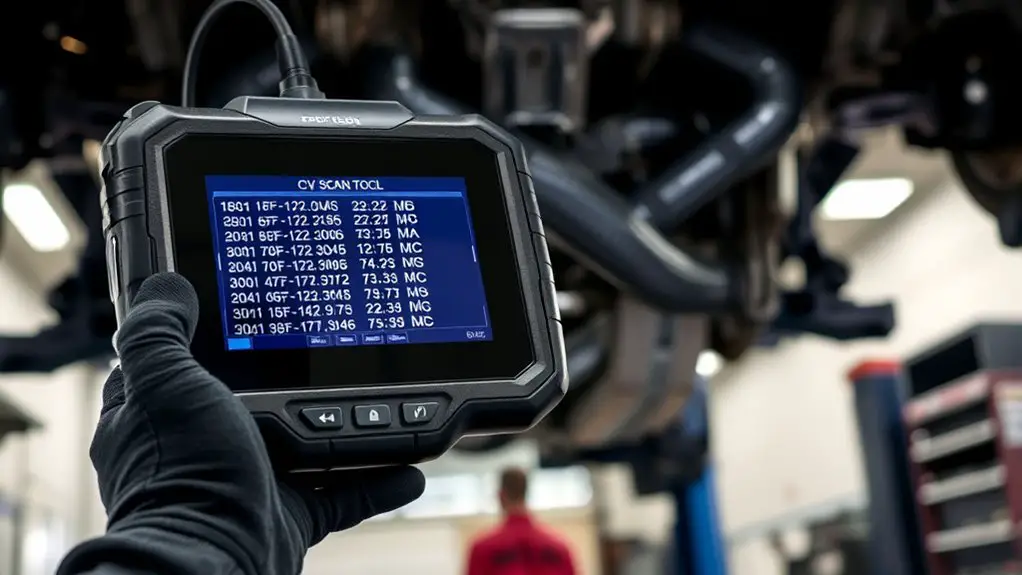
After successfully connecting the scan tool, you’re ready to interpret the diagnostic results related to your CV joints. Start by accessing the transmission codes, focusing on any trouble codes that may indicate issues with your CV joint diagnostics. Pay particular attention to codes that reflect abnormal vehicle performance, such as unexpected vibrations or noises during acceleration. Cross-reference these codes with your vehicle’s service manual for clarity on specific malfunctions. If you see codes like P0300, which indicates a misfire, it could be linked to CV joint problems. Document all findings and correlate them with physical inspections. This systematic approach guarantees you address potential CV joint failures effectively, preserving your vehicle’s performance and reliability.
Interpreting the Diagnostic Trouble Codes (DTCs)
When diagnosing potential issues with CV joints, interpreting the Diagnostic Trouble Codes (DTCs) can provide essential insights into the underlying problems. You’ll want to focus on identifying specific DTC patterns that may indicate issues related to your CV joints. For example, codes related to wheel speed sensors or vehicle stability systems often correlate with joint performance.
Understanding code significance is vital; it can reveal not just the presence of a fault but also its severity. A single DTC might suggest a minor glitch, while multiple related codes could point to a more systemic issue. Pay attention to how these codes interact, as they can help you pinpoint whether the problem lies within the CV joints or another component like the transmission. By analyzing DTC patterns and their significance, you can make informed decisions on the necessary repairs, giving you the freedom to tackle the issue effectively.
Identifying CV Joint Issues Through Transmission Codes
While diagnosing CV joint issues, it’s important to pay attention to transmission codes, as they can often mask or reveal underlying problems with the CV joints. Using a scan tool effectively allows you to retrieve diagnostic trouble codes (DTCs) that may indicate specific malfunctions. Look for codes related to the drivetrain, as these might point directly to CV joint diagnostics. For instance, codes indicating issues with torque management or wheel speed sensors could suggest a failing CV joint, particularly if accompanied by symptoms like clicking noises or vibration during acceleration.
Analyzing these codes can help you pinpoint the root cause of the problem, guiding your repair strategy. Remember, correlating the codes with vehicle performance is crucial; a holistic approach guarantees that you’re not just addressing symptoms but the actual source of the issue. Ultimately, understanding transmission codes enhances your ability to troubleshoot and maintain your vehicle’s performance.
Additional Tests to Confirm CV Joint Problems
Although diagnosing CV joint problems often starts with transmission codes, performing additional tests can provide further confirmation of issues. A thorough CV joint inspection is crucial for identifying physical damage, such as torn boots or excessive play in the joint. You should closely examine the components, looking for any signs of wear or contamination.
Additionally, conducting a vibration analysis can help pinpoint the source of abnormal vibrations during operation. By monitoring vibrations at various speeds, you can identify specific frequencies associated with CV joint failure. If you notice increased vibrations correlated with acceleration or deceleration, it may indicate a failing joint.
Combining these tests with your initial scan tool findings can enhance your diagnostic accuracy. Remember, the goal is to guarantee a complete understanding of the problem before proceeding to repairs, therefore giving you the freedom to make informed decisions about your vehicle’s maintenance.
Addressing and Repairing Bad CV Joints
Addressing bad CV joints requires a systematic approach to guarantee effective repairs and prevent further damage. First, confirm the diagnosis by inspecting the CV joint boot for tears and verifying there’s no grease leakage. If damage is confirmed, you’ll need to decide on CV joint replacement. This process involves safely lifting your vehicle, removing the wheel, and disconnecting the axle from the hub. After that, detach the CV joint from the transmission. Make certain to replace any worn components, including the boot and clamps, to enhance CV joint maintenance. When installing the new joint, ensure proper alignment and torque specifications are followed to avoid future issues. Finally, reassemble everything, checking that all parts are secure. By addressing these problems efficiently, you can restore your vehicle’s performance and maintain its freedom on the road.
Preventive Measures for CV Joint Longevity
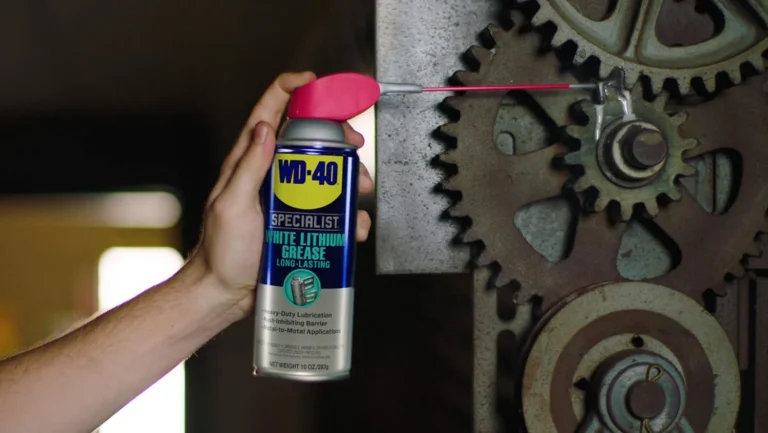
To guarantee the longevity of your CV joints, regular maintenance and proactive measures are essential. Start by establishing inspection intervals; checking your CV boots and joints every 30,000 miles can help catch issues early. Ascertain proper lubrication of the joints, as dry or contaminated grease can lead to premature wear. Be mindful of your driving habits; aggressive acceleration and sharp turns can strain the CV joints, especially in rugged conditions. Additionally, consider environmental factors such as road conditions and climate, as these can affect the durability of your components. When replacing CV joints, always opt for quality replacements to assure peak performance and longevity. Remember, a little diligence goes a long way in maintaining your vehicle’s health, granting you the freedom to drive confidently and without worry. Prioritize these preventive measures, and you’ll extend the life of your CV joints considerably.
Frequently Asked Questions
Can a Bad CV Joint Cause Transmission Issues?
Yes, a bad CV joint can definitely cause transmission issues. When your CV joints start to fail, you might notice symptoms like clicking or popping noises during turns, which can lead to transmission noise as the components struggle. If the joint’s movement is restricted, it can affect the overall performance of your vehicle’s drivetrain. Ignoring these symptoms can lead to more significant transmission problems, so addressing them early is essential for maintaining vehicle performance.
How Often Should I Test My CV Joints?
You should test your CV joints every 30,000 to 50,000 miles, or whenever you notice signs of failure, like clicking noises during turns or vibrations while driving. CV joint lifespan can vary depending on driving conditions and maintenance, so regular checks can prevent costly repairs. If you’re off-roading or frequently driving on rough roads, consider more frequent inspections to guarantee your vehicle maintains peak performance and safety.
Are There Specific Scan Tools Recommended for CV Joint Diagnostics?
For CV joint diagnostics, you’ll want to use OBD II scanners that can read live data and diagnostic trouble codes. Look for tools with advanced diagnostic software that can analyze the vehicle’s performance metrics, as this will help pinpoint issues related to the CV joints. Brands like Snap-on, Autel, and Launch offer extensive options, allowing you to effectively monitor and diagnose potential problems, ensuring your vehicle runs smoothly and efficiently.
What Other Vehicle Components Might Affect CV Joint Performance?
If you think your CV joints are the only culprits, think again! Poor suspension alignment can have your wheels dancing a waltz, leading to premature joint wear. And let’s not forget about wheel bearings—those little guys support the weight and influence the joint’s angle. When they’re shot, your CV joints could be crying for help. Keep an eye on these components; they’re all part of your vehicle’s freedom to roll smoothly!
Can I Perform CV Joint Tests Without a Scan Tool?
Yes, you can perform CV joint tests without a scan tool. Start with a visual inspection of the CV boots for cracks or leaks. Then, conduct a road test; listen for clicking sounds during sharp turns, which may indicate a failing CV joint. Additionally, pay attention to any vibrations while driving. These steps can help identify issues without the need for advanced diagnostic tools, giving you more freedom in evaluating your vehicle’s condition.