How to Test Your Parking Brake Cable Before a Long Trip
To test your parking brake cable before a long trip, start with a visual inspection for corrosion, wear, or obstructions. Then, check the cable tension—engage the brake and verify it clicks three to five times. Test its functionality by shifting to neutral on a level surface; the vehicle shouldn’t roll. Finally, inspect brake shoes and drums for any wear or damage. If you notice any issues, finding professional help might be necessary. Discover more tips to guarantee safety on the road.
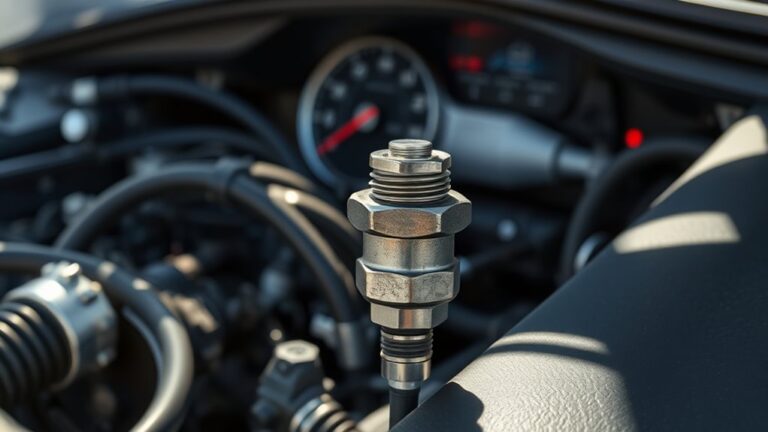
Visual Inspection of the Parking Brake Cable
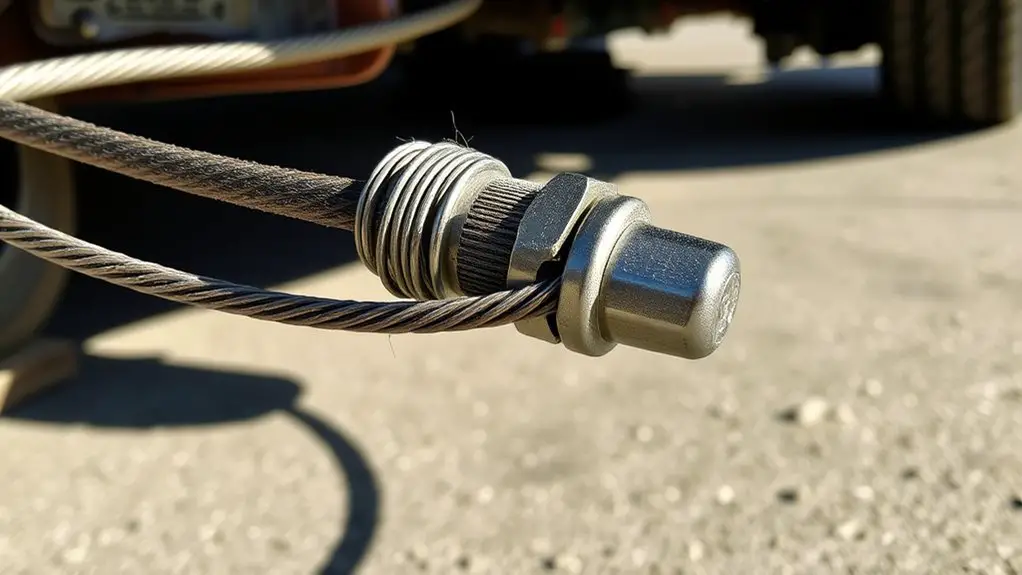
Before you start testing the functionality of your parking brake cable, it is essential to conduct a thorough visual inspection. Begin by checking for any signs of cable corrosion. Look closely at the cable housing and connections; rust or discoloration indicates deterioration, which can compromise performance. Next, inspect the cable for wear. Look for fraying or significant nicks that could lead to failure under stress. Pay attention to the areas where the cable bends or moves, as these are common spots for wear and tear. Verify that the cable is properly secured and free from obstructions that could cause it to snag or bind. Taking the time to conduct this visual inspection not only enhances your vehicle’s safety but also guarantees your freedom on the road. A well-maintained parking brake cable provides peace of mind, allowing you to focus on the journey ahead without worry.
Checking the Tension of the Cable

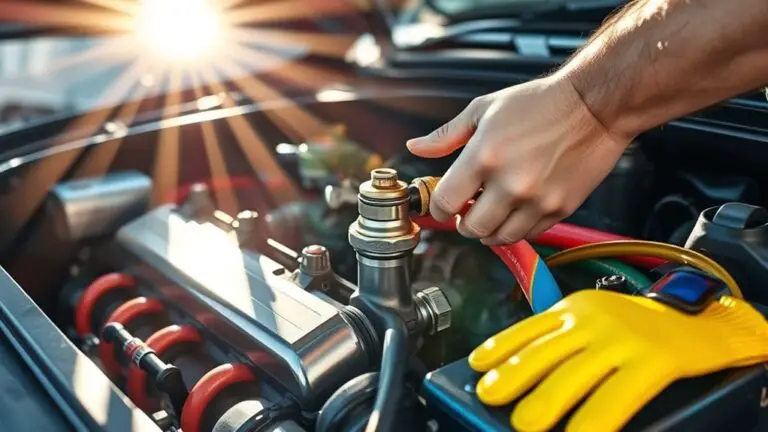
Checking the tension of your parking brake cable is essential for ensuring its effectiveness. Proper tension measurement is important to guarantee your parking brake engages securely when needed. Here’s how to check and adjust the tension:
Ensure your parking brake cable is properly tensioned to guarantee safe and secure engagement when needed.
- Locate the adjustment mechanism: It’s usually found near the parking brake lever or under the vehicle.
- Assess the cable’s current tension: Pull the parking brake lever and note how many clicks it takes to engage fully. Ideally, it should take about three to five clicks.
- Adjust the cable if necessary: If the tension’s off, use the adjustment method outlined in your vehicle’s manual to tighten or loosen the cable as needed.
Regular cable adjustment keeps your parking brake functioning efficiently, ensuring your vehicle stays put when parked. Don’t overlook this important step before starting on your next long trip!
Testing the Parking Brake Functionality

Testing your parking brake functionality is essential for guaranteeing your vehicle remains secure when parked. Start by engaging the parking brake while your vehicle is on a level surface. Shift your transmission into neutral and see if the vehicle rolls. If it does, your parking brake isn’t functioning correctly and may require cable adjustment.
Next, check the engagement point of the parking brake lever or pedal; it should feel firm and stable. If it feels loose or engages too high, it’s time to adjust the cable. Consult your vehicle’s manual for specific adjustment procedures, as they can vary by make and model.
Finally, release the parking brake and guarantee the indicator light on your dashboard turns off. If these steps confirm functionality, you’re ready for your trip. Regular testing keeps your vehicle secure and adds to your freedom on the road.
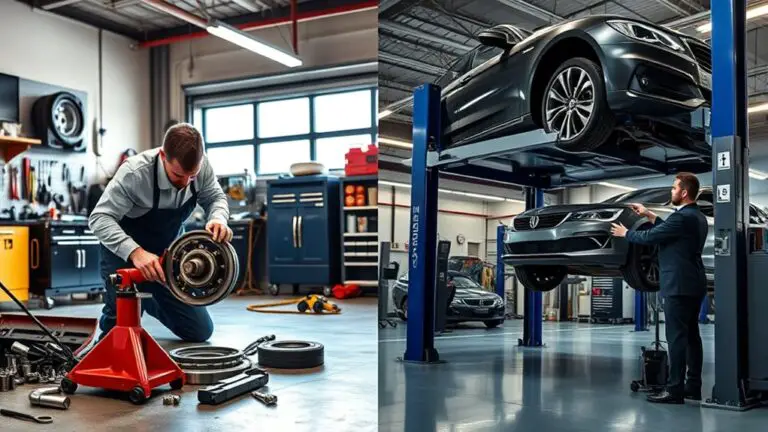
Inspecting the Brake Shoes and Drums
While guaranteeing your parking brake is functioning properly, it’s essential to inspect the brake shoes and drums, as their condition directly impacts overall braking performance. Look out for signs of brake shoe wear and assess the drum condition to guarantee reliable operation.
Here’s what to check:
- Brake Shoe Wear: Inspect for uneven wear or thinning material. If you notice significant wear, it’s time for a replacement.
- Drum Condition: Look for cracks, grooves, or scoring on the drum surface. Any imperfections can hinder braking efficiency.
- Dust and Debris: Clean the area around the shoes and drums. Accumulated debris can affect performance and lead to premature wear.
Seeking Professional Help if Needed
If you find any issues during your inspection of the brake shoes and drums, or if you’re uncertain about how to proceed, seeking professional help is a wise choice. Professional services can provide the expertise necessary to diagnose and rectify complex brake maintenance issues. Attempting to resolve problems without the required knowledge can lead to safety risks or further damage.
A certified mechanic will have the tools and experience to assess your parking brake system thoroughly. They can identify underlying issues that might not be apparent during a visual inspection, ensuring your vehicle is roadworthy for long trips.
Don’t hesitate to consult a professional if you’re unsure about any aspect of the brake system. Prioritizing safety and proper functionality is essential for the freedom of the open road. By investing in professional services, you’re ensuring a reliable and safe driving experience.
Frequently Asked Questions
How Often Should I Test My Parking Brake Cable?
You should test your parking brake cable regularly, ideally every few months or before long trips. Consistent parking brake maintenance is vital for safe driving. During these inspections, check for wear, fraying, or any signs of damage. If you notice issues, it’s best to address them promptly to guarantee your parking brake functions properly. Taking these steps not only enhances safety but also gives you peace of mind on the road.
What Tools Do I Need for Testing the Parking Brake Cable?
To test your parking brake cable effectively, you’ll need a few essential tools. Grab a socket wrench set to adjust the cable tension, a jack to lift your vehicle safely, and a torque wrench to guarantee proper tightness. A tape measure can help you gauge cable length for wear. Picture yourself on a scenic drive; guaranteeing your parking brake’s reliability is key to enjoying that freedom without worry.
Can I Test the Parking Brake Cable on My Own?
Yes, you can test your parking brake cable on your own. Start with a thorough DIY testing process. First, perform a cable inspection by checking for any signs of fraying or damage. Then, engage the parking brake and see if it holds the vehicle stationary. If it doesn’t, adjust or replace the cable as needed. Always make sure you have the right tools and consult your vehicle’s manual for specific guidelines. Enjoy the freedom of safe driving!
What Are Common Signs of a Failing Parking Brake Cable?
Common signs of a failing parking brake cable include noticeable cable wear, such as fraying or rust, and the inability to hold your vehicle securely on a slope. You might also experience brake failure when engaging the parking brake, which could indicate that the cable’s integrity is compromised. If you notice these symptoms, it’s essential to address them promptly to guarantee your safety and maintain your freedom on the road.
Does the Parking Brake Cable Need Lubrication?
Yes, your parking brake cable does need lubrication. Think of it as oiling the gears of freedom; without proper maintenance, you risk losing control. Regular cable maintenance helps guarantee smooth operation. Use a silicone-based lubricant or a specialized cable lube, as they resist dirt and moisture. Avoid grease, which can attract debris. By keeping your cable well-lubed, you enhance its life and reliability, allowing you to travel without worry on your adventures.