How to Test a PCV Valve Step-By-Step for Black Smoke
To test your PCV valve for black smoke issues, first, locate the valve near the intake manifold. Perform a visual inspection for cracks or clogs. Next, start the engine and gently remove the valve; if it’s working properly, it should create a strong vacuum. You can also perform a “suck test” by inhaling on the valve’s end. If you notice poor vacuum or excessive smoke, it’s time to think about replacing the valve. Learn how to maintain it for peak performance.
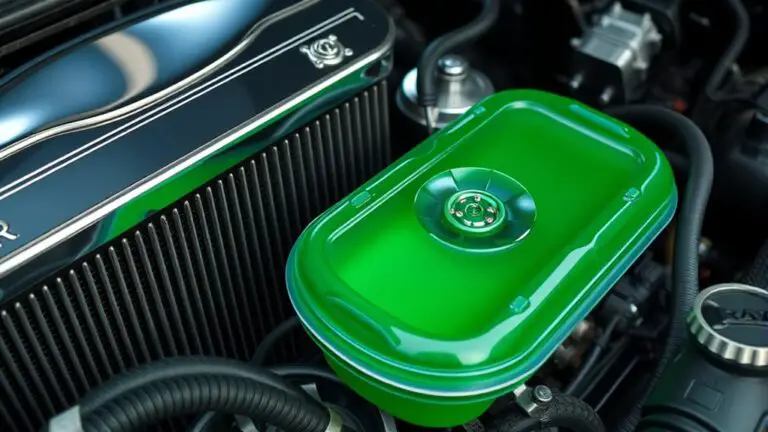
Understanding the PCV Valve and Its Role
Although it may seem like a small component, the Positive Crankcase Ventilation (PCV) valve plays an essential role in your vehicle’s engine performance and emissions control. The PCV function helps to reroute harmful gases produced during combustion back into the intake manifold. By doing this, it reduces engine emissions, enhances fuel efficiency, and prevents oil sludge buildup.
When your engine runs, pressure builds up in the crankcase, creating a mixture of unburned fuel and oil vapors. The PCV valve regulates this flow, ensuring that harmful gases are captured and reintroduced into the combustion cycle rather than being expelled into the atmosphere. This not only aids in maintaining cleaner emissions but also contributes to smoother engine operation. Understanding the PCV valve’s function is vital for anyone who values performance and environmental responsibility in their vehicle. Keeping this component in check can lead to a more liberating driving experience.
Signs of a Faulty PCV Valve
When you notice unusual symptoms in your vehicle’s performance, it could indicate a faulty PCV valve. This component is vital for maintaining proper valve functions, and any malfunction can lead to significant issues. Here are some faulty symptoms to watch for:
- Increased oil consumption
- Rough idling or stalling
- Black smoke from the exhaust
- Unusually high pressure in the crankcase
These signs can compromise your vehicle’s efficiency and performance, leaving you feeling frustrated and powerless. A malfunctioning PCV valve can disrupt the engine’s air-fuel mixture, leading to poor combustion and increased emissions. If you experience any of these symptoms, it’s important to address the issue promptly. Ignoring these signals can lead to more severe engine problems, jeopardizing your freedom on the road. Stay vigilant and proactive to guarantee your vehicle stays in peak condition.
Tools Required for Testing the PCV Valve

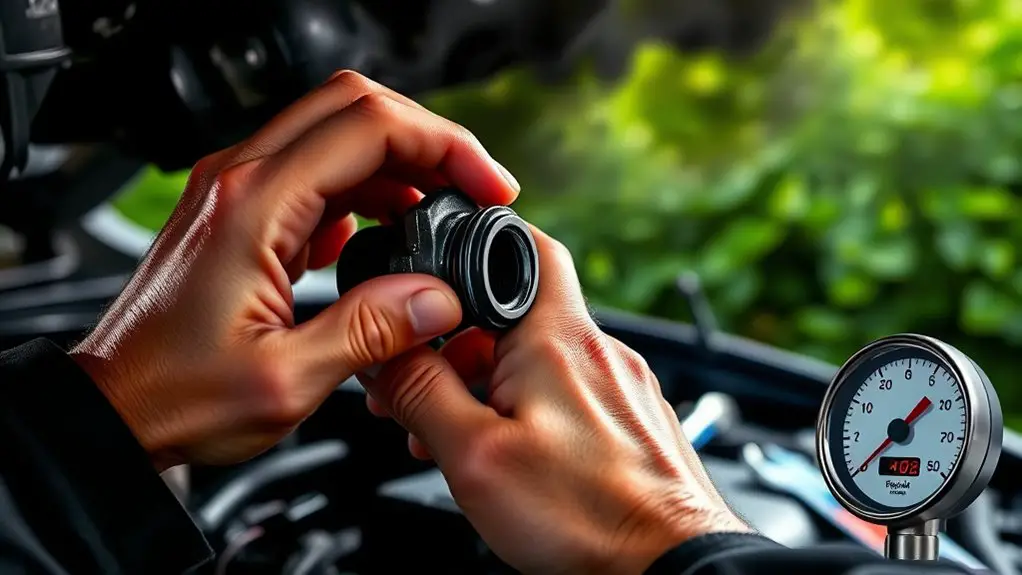
To effectively test a PCV valve, you’ll need a few essential tools to guarantee accuracy and efficiency. First, gather a vacuum gauge; this tool measures the vacuum in the PCV system, helping you determine if the valve is functioning correctly. You’ll also need a rubber hose to connect the gauge to the PCV valve for testing. A pair of pliers is essential for removing and reinstalling any clamps or hoses without causing damage. Additionally, a clean rag makes sure you can wipe away any debris that might interfere with your test results. Finally, having a flashlight can help you inspect the PCV valve and surrounding components for any visible signs of wear or damage. With these testing tools, you can guarantee a thorough and accurate examination of your PCV system, allowing you to maintain ideal engine performance and prevent issues like black smoke.
Locating the PCV Valve in Your Vehicle
To locate the PCV valve in your vehicle, start by examining the engine compartment. Typically, you’ll find the valve connected to the intake manifold or valve cover, often near the rear of the engine. Identifying the exact position may vary based on your vehicle’s make and model, so refer to the owner’s manual for specific guidance.
Engine Compartment Overview
Maneuvering the engine compartment of your vehicle is essential for locating the PCV (Positive Crankcase Ventilation) valve. Understanding the engine compartment layout and having a clear engine component overview will empower you to navigate effectively. You’ll find that each component plays a vital role in your vehicle’s performance and maintaining freedom on the road.
- Feel the thrill of independence as you take control of your vehicle’s maintenance.
- Experience the satisfaction of understanding how your engine works.
- Enjoy the peace of mind knowing you can troubleshoot issues yourself.
- Embrace the freedom of being hands-on with your vehicle’s care.
Being familiar with these elements will help you pinpoint the PCV valve with confidence.
Identifying Valve Location
With a solid understanding of your engine compartment layout, you’re ready to locate the PCV valve, a small yet important component in your vehicle’s emission system. Typically, you’ll find the PCV valve on or near the valve cover. Depending on your engine, it may be a push-in type or a screw-in type, so be aware of the valve types. Look for a rubber hose connected to it, extending to the intake manifold. Common issues with the PCV valve include clogging or malfunctioning, which can lead to poor engine performance and black smoke. If you can’t find it immediately, consult your vehicle’s manual for specific locations and diagrams to guarantee you’re on the right track.
Visual Inspection of the PCV Valve
When performing a visual inspection of the PCV valve, you should check for any cracks or visible damage on the valve itself. Next, inspect the valve for clogs that may hinder airflow, as this can affect engine performance. Finally, examine the condition of the grommet, ensuring it’s intact and securely seated to prevent leaks.
Check for Cracks
Inspecting the PCV valve involves a careful visual examination for any signs of cracks or damage. Effective crack detection is essential, as even minor fractures can lead to significant engine issues, including excessive oil consumption or increased emissions.
- A cracked PCV valve can compromise your engine’s performance.
- Discovering a fracture early can save you from costly repairs.
- Knowing your vehicle’s condition gives you peace of mind.
- A well-maintained PCV valve empowers you to enjoy your driving experience.
Look for visible cracks, warping, or any signs of wear. If you spot anything unusual, it’s best to replace the valve promptly. This simple step can help maintain your engine’s efficiency and longevity.
Inspect for Clogs
After checking for cracks, the next step is to inspect the PCV valve for clogs. Begin by removing the valve and examining it closely for any signs of blockage. Focus on the inlet and outlet passages; clogged passages can greatly impair the valve’s function. Use a flashlight to enhance visibility, looking for any residue or buildup. If you notice any dirt or grime, valve cleaning is vital. You can use a carburetor cleaner or similar solvent to clear away obstructions. Make sure you allow the valve to dry completely before reinstallation. This inspection is essential, as even minor clogs can lead to increased emissions and poor engine performance. Be sure to address any issues you find promptly for peak functionality.
Examine Grommet Condition
To guarantee the PCV valve operates effectively, it is vital to examine the grommet condition carefully. This component plays an important role in maintaining a proper seal and ensuring ideal airflow. Check for any signs of grommet wear, such as cracks or brittleness, which can lead to vacuum leaks. If you notice these issues, don’t hesitate to think about grommet replacement to restore functionality.
- A compromised grommet can lead to increased emissions.
- Poor sealing affects engine performance and fuel efficiency.
- Replacing a worn grommet can extend the life of your engine.
- A simple fix can save you from costly repairs down the line.
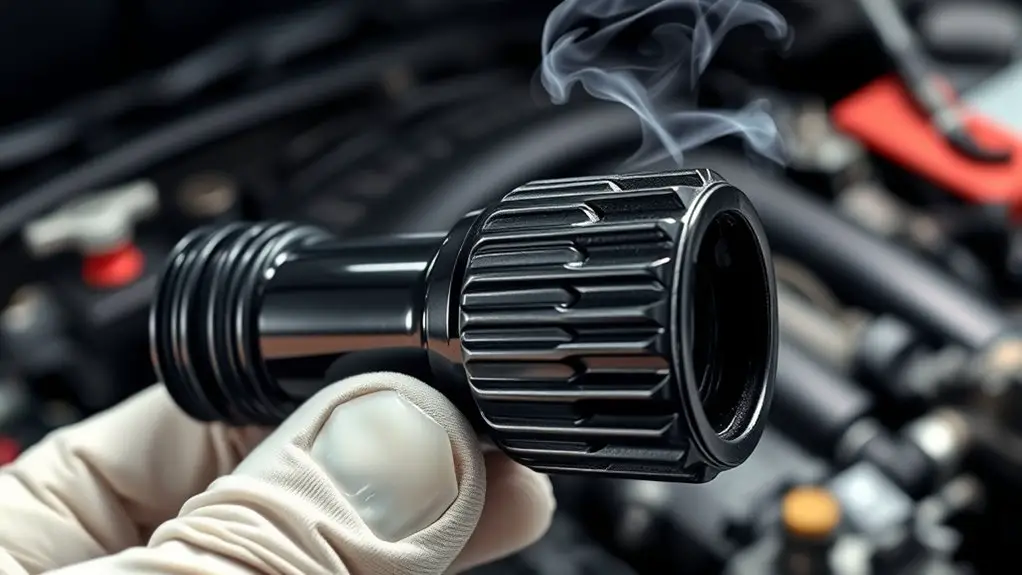
Performing the Suck Test
While ensuring your engine runs efficiently, performing the suck test on the PCV (Positive Crankcase Ventilation) valve is vital for diagnosing potential issues. To start, disconnect the PCV valve from its grommet. Using your mouth, create a seal over the valve’s opening and gently suck. You should feel valve suction if the PCV valve is functioning correctly. If you can’t feel any suction, it indicates that the valve may be stuck or clogged, which can lead to engine problems. Conversely, excessive suction might suggest an underlying issue with the engine’s vacuum. After the test, always reattach the PCV valve securely to prevent any leaks or malfunctions. This simple suck test provides valuable insight into the condition of your PCV valve, helping you maintain your engine’s performance and reliability. Don’t overlook this significant diagnostic step in your vehicle maintenance routine.
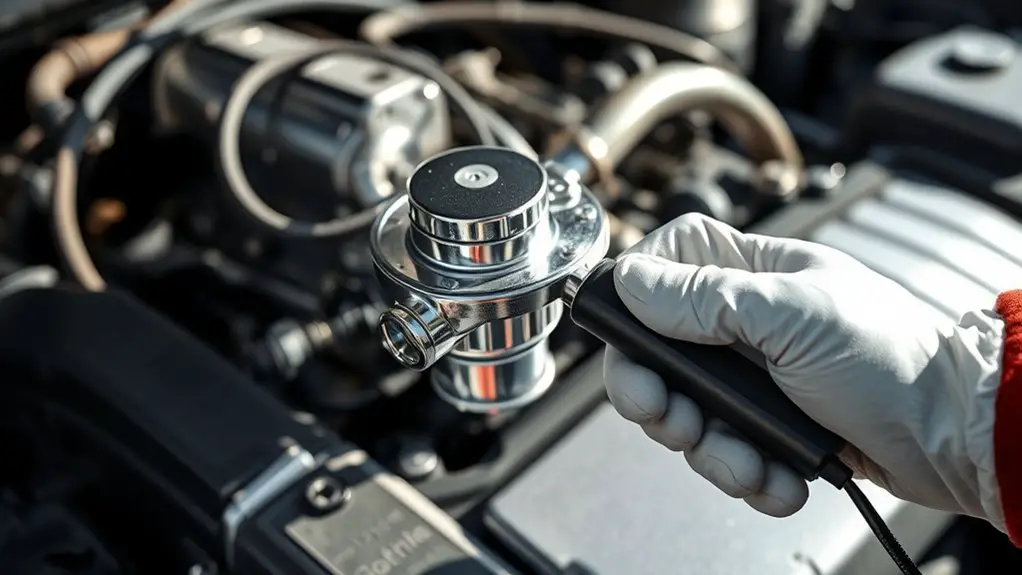
Checking the PCV Valve Operation With Engine Running
Since the PCV valve plays an essential role in maintaining engine health, checking its operation while the engine is running can provide immediate insight into its functionality. Start the engine and let it idle. Remove the PCV valve gently; if it’s functioning correctly, you should feel a strong vacuum when placing your finger over the opening.
Consider these PCV troubleshooting tips for effective engine smoke analysis:
- A smooth-running engine fuels your freedom.
- Engine performance affects your wallet.
- A faulty PCV valve can lead to unnecessary smoke.
- Regular checks keep your vehicle in peak condition.
If you notice excessive smoke or poor vacuum, it’s a sign that the valve may need attention. Always remember that a well-functioning PCV valve not only reduces emissions but also enhances your driving experience. Don’t overlook this critical component!
Replacing the PCV Valve if Necessary
If you’ve determined that the PCV valve isn’t functioning properly, replacing it is vital to restore peak engine performance. The replacement procedure is straightforward, but you’ll need to gather the right tools and parts. First, locate the PCV valve, usually connected to the intake manifold or valve cover. Disconnect any hoses and remove the old valve. Install the new PCV valve securely, ensuring all connections are tight.
Here’s a quick overview of the steps involved:
| Step | Description |
|---|---|
| Locate the Valve | Find the PCV valve in your engine. |
| Remove Old Valve | Disconnect hoses and take out the valve. |
| Install New Valve | Securely place the new PCV valve and reconnect hoses. |
Completing this replacement procedure will help eliminate issues like black smoke and enhance your engine’s efficiency. Remember, a functional PCV valve is vital for peak performance and longevity.
Maintaining Your PCV System for Optimal Performance
To guarantee your PCV system operates efficiently, regular maintenance is essential, as neglect can lead to performance issues and increased emissions. Following some simple PCV maintenance tips can help you keep your engine running smoothly.
- Avoid costly repairs.
- Reduce harmful emissions.
- Enhance fuel efficiency.
- Extend engine life.
Conduct regular system checks to identify any issues early on. Inspect your PCV valve and hoses for cracks or blockages, as these can compromise performance. Cleaning the valve periodically can also prevent buildup that hinders functionality. If you notice signs of excessive oil consumption or increased exhaust smoke, it’s time to take action. By prioritizing the upkeep of your PCV system, you’re not just ensuring peak performance; you’re embracing the freedom of a well-maintained vehicle that runs efficiently and responsibly. Remember, a little proactive care goes a long way in sustaining your engine’s health.
Frequently Asked Questions
Can a Faulty PCV Valve Cause Engine Overheating?
Yes, a faulty PCV valve can contribute to engine overheating. When the valve malfunctions, it disrupts the engine cooling process by allowing excessive pressure to build up in the crankcase, which can lead to oil leaks and reduced lubrication. Regular valve maintenance is vital to guarantee proper function, as a functioning PCV valve helps maintain ideal engine temperatures. Neglecting this can result in overheating issues, so keeping an eye on it is essential.
How Often Should I Test My PCV Valve?
You should test your PCV valve every 15,000 to 30,000 miles as part of regular PCV maintenance. This frequency guarantees peak engine performance and helps prevent issues like engine overheating or increased emissions. If you notice symptoms like rough idling or excessive oil consumption, it’s wise to check it sooner. Keeping an eye on your PCV valve’s condition can save you from costly repairs down the road and enhance your driving freedom.
What Are the Symptoms of a Clogged PCV Valve?
When you think of engine performance, what comes to mind? If your PCV valve’s clogged, you might notice several symptoms. Start your symptoms checklist: look for rough idling, increased oil consumption, and a check engine light. You may also see excessive engine pressure and oil leaks. These signs indicate that the valve isn’t functioning properly, which can greatly impact your engine’s efficiency and longevity. Keep an eye on these indicators for peak performance.
Is It Safe to Drive With a Bad PCV Valve?
It isn’t safe to drive with a bad PCV valve. A malfunctioning valve can lead to increased pressure in the engine, causing oil leaks and reduced engine performance. This can compromise driving safety, as it may affect your vehicle’s responsiveness and efficiency. You might also notice rough idling or increased emissions, which can lead to more serious engine issues. Prioritize fixing the PCV valve to guarantee your vehicle runs smoothly and safely.
Can I Clean a PCV Valve Instead of Replacing It?
You can clean a PCV valve instead of replacing it, but keep in mind that about 70% of vehicles experience PCV valve issues over time. For effective PCV valve cleaning, you’ll need to remove it, then soak it in a suitable solvent to break down deposits. Regular PCV valve maintenance can extend its life, but if it’s damaged or overly clogged, replacement is often the better long-term solution for peak engine performance.