How to Test Your Starter Solenoid With a Hydrometer
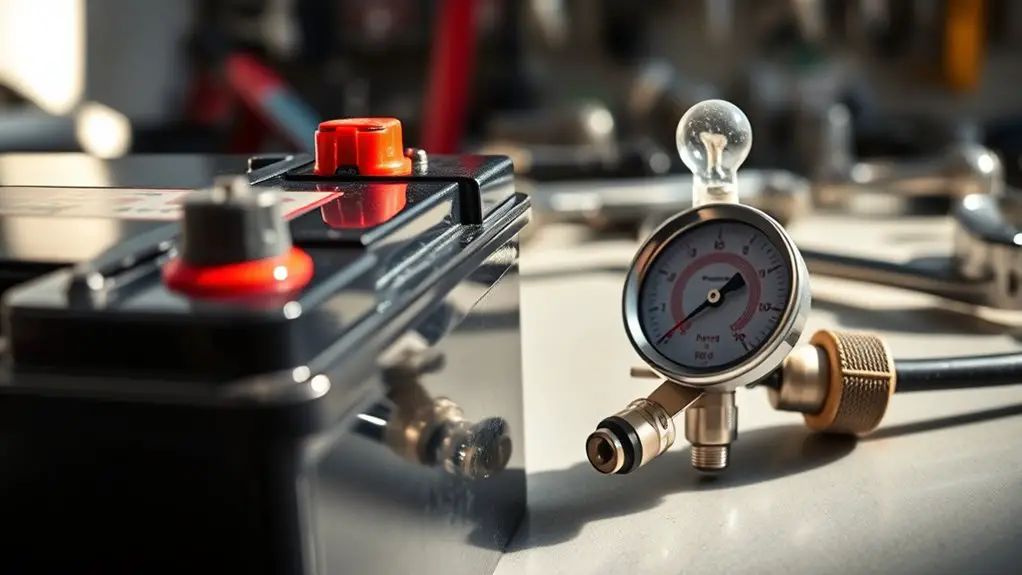
To test your starter solenoid with a hydrometer, start by safely disconnecting power and locating the battery. Remove the vent cap and use a hydrometer to sample the electrolyte from each cell, noting the temperature-adjusted density. Compare readings against standard baselines, looking for consistent values across cells. If readings vary or drop, inspect connections, test under load, and verify the solenoid control circuit. This method helps pinpoint health issues; keep going to learn more practical steps you can take.
What a Starter Solenoid Does
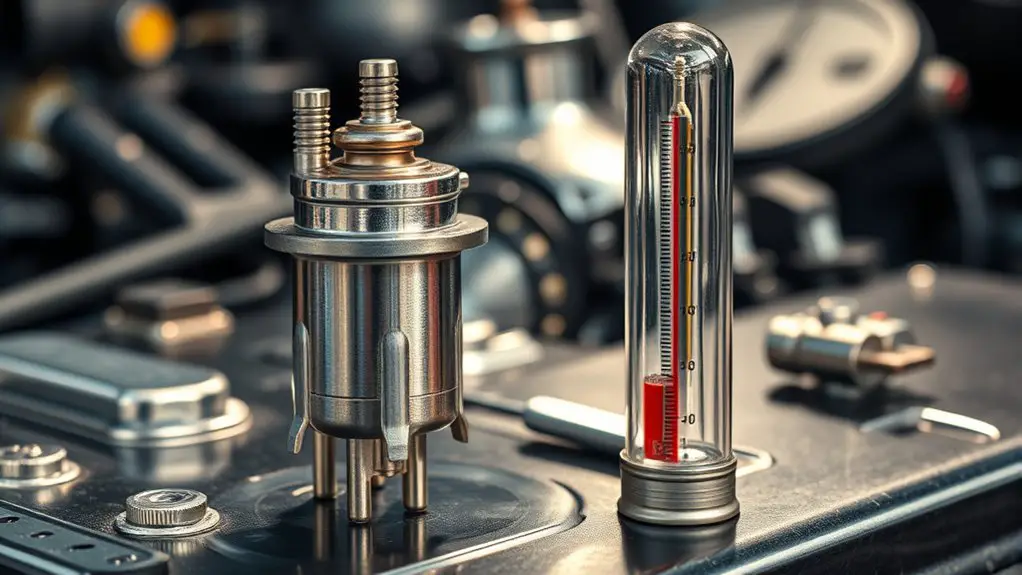
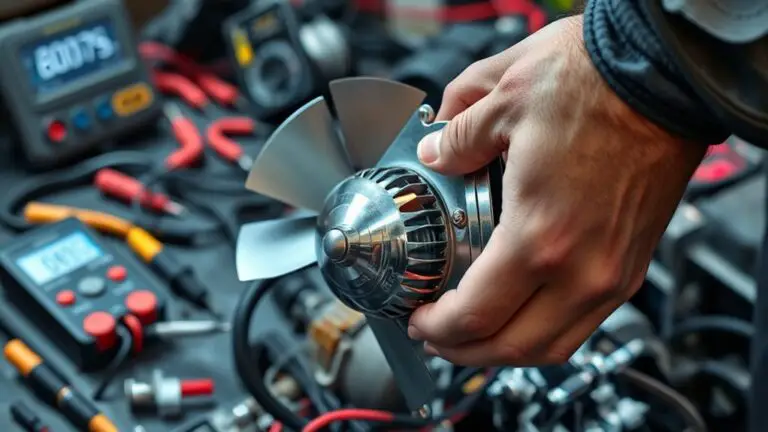
A starter solenoid acts as a switch that connects the battery to the starter motor when you turn the key or press the start button. You’re basically closing an electrical path that allows high current to flow, so the motor can crank the engine. In practical terms, the solenoid handles two jobs: it engages the starter gear with the engine flywheel and it passes full battery current to the starter motor. When the ignition is activated, the solenoid’s plunger moves, linking terminals that feed the motor. This device is a compact electrical relay with built-in safety features like a secondary contact to prevent arcing, and a control circuit that draws relatively little current from the key switch. Understanding the starter solenoid function helps you diagnose why cranking might be sluggish or nonexistent. If the solenoid doesn’t engage, the electrical relay is likely the culprit, necessitating inspection or replacement to restore reliable starting.
How a Hydrometer Helps You Diagnose Issues
A hydrometer lets you gauge the health of your battery fluids by comparing specific gravity readings across cells. You’ll focus on Hydrometer Basics, watch for Diagnosing Health Indicators, and use quick interpretation to spot abnormal trends. Readings should be compared against manufacturer specs, logged, and used to decide if you need maintenance or replacement.
Hydrometer Basics
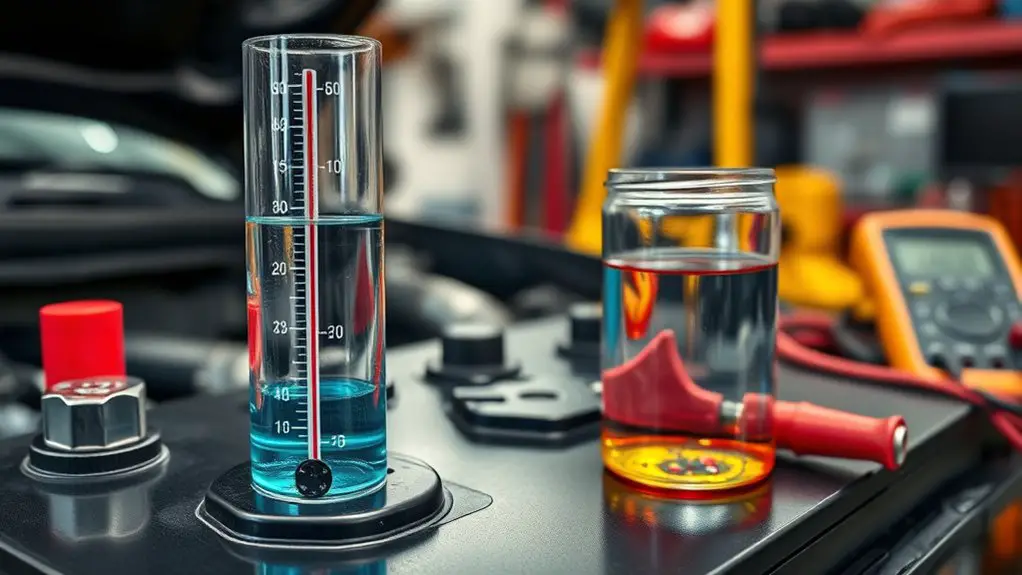
Hydrometers measure density to help diagnose issues with liquids, and knowing how to read them accurately saves time. You’ll use this tool to compare liquids’ densities against known values. Choose a hydrometer type suited to your range and temperature, since readings shift with heat. Confirm the sample is clear and free of bubbles; tilt and note the meniscus at eye level. Specific gravity is your key reference—it’s the density relative to water. Track readings across the liquid’s temperature, correcting if needed. Record the result, then compare to expected ranges for the system you’re testing. Use consistent containers and calibration marks. This method isn’t about guesswork; it’s about reproducible, verifiable measurements you can rely on, with quiet confidence and minimal wasted effort.
Diagnosing Health Indicators
You’ve just learned how to read a hydrometer for accurate liquid measurements; now you’ll use that same tool to diagnose health indicators in a system. You’ll compare readings to benchmarks, spotting patterns that signal reliability or risk. Treat the liquid as a living diagnostic map: steady levels imply steady health, fluctuations hint at stress, and consistent drift points to a fault. Use this approach as a practical check before heavy testing. Table below conveys a deeper meaning for your checks.
| Indicator | Action |
|---|---|
| Health indicators | Note changes, correlate with system load |
| Diagnostic tools | Verify with secondary readings, log trends |
| Stability | Track over time, set alerts |
| Anomalies | Re-test, inspect connections |
| Confidence | Confirm results with repeat measurements |
Interpreting Readings Quick
Interpreting readings quickly starts with a clean baseline: know your target ranges, then compare each measurement against them. You’ll map each reading to a defined window, so you spot anomalies fast. Focus on reading ranges that reflect electrolyte health and battery behavior, not guesswork. Record the specific gravity readings in order, noting any drift from the expected band. When a value sits outside the range, check for temp corrections, sample quality, and equipment calibration before drawing conclusions. Use a consistent reference point for all measurements to maintain reliability. If several readings trend upward or downward together, reassess the system rather than chasing a single outlier. Precision plus discipline yields actionable insights without overthinking.
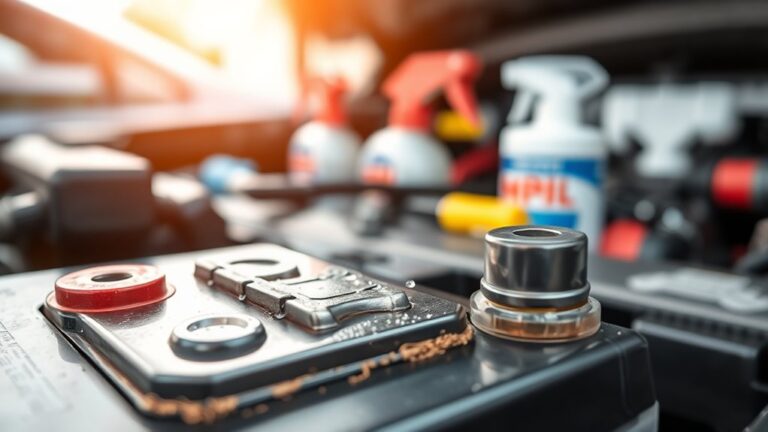
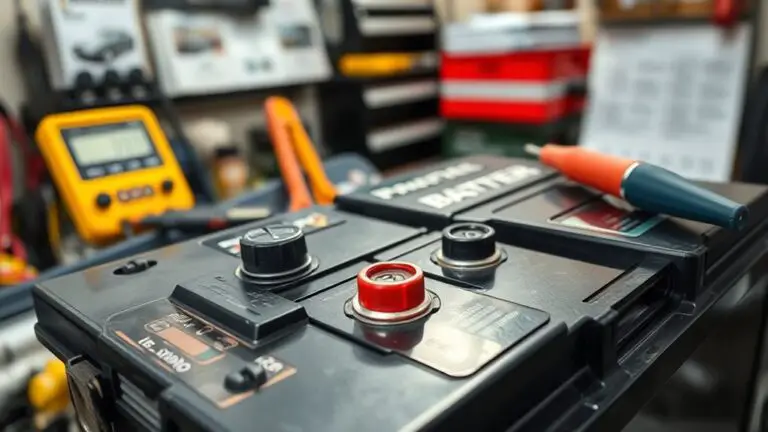
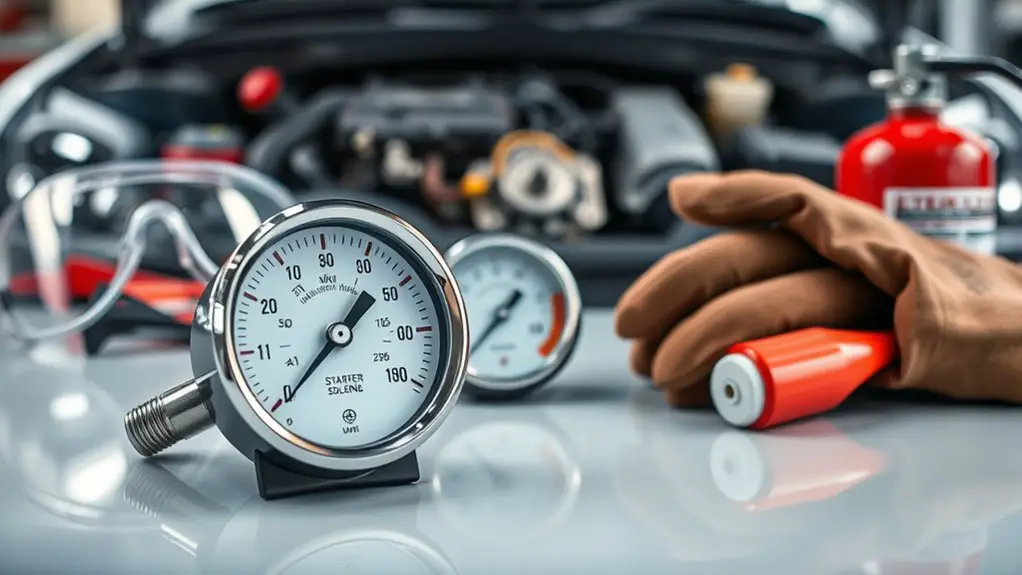
Safety Precautions Before You Start
You’ll start by wearing proper PPE and gear to protect your eyes, hands, and skin. Be aware of potential hazards in the work area, like moving parts and battery acid, and keep your workspace organized and dry. This upfront prep sets a safe, controlled baseline for testing the starter solenoid.
PPE and Gear
Before you start testing your starter solenoid, gather and inspect the essential PPE and safety gear: safety glasses or a face shield, insulated gloves, long sleeves and pants, and sturdy footwear. Your personal protective approach should center on preparedness and control, not bravado. Confirm the PPE fits well, is free of tears, and can tolerate solvents or battery acid exposure. Keep essential equipment within reach: a fire extinguisher, a well-ventilated workspace, and a clean surface to work on. Check that gloves remain flexible for handling tools. PPE isn’t just compliance; it’s practical protection that keeps you in safe control of the procedure. Prioritize protection, and document any gear faults before you begin, preserving your freedom to work with confidence.
Hazard Awareness
Hazard awareness is about recognizing and controlling risks before you start testing the starter solenoid. You’ll identify potential dangers, then plan controls that keep you safe while you work. Begin with hazard identification: note shocks, burns, chemical exposure, and unexpected energization. Next, perform a concise risk assessment to determine likelihood and severity, prioritizing high-risk steps like disconnecting power and testing under load. Use straightforward safeguards: wear PPE, verify battery isolation, and keep tools dry and insulated. Limit fire and arc hazards by clearing flammable materials and having a fire extinguisher handy. Maintain clean workspaces and label circuits. If anything feels uncertain, pause and reassess. Your goal is to test confidently, not recklessly, with disciplined hazard control guiding every action.
Step-by-Step Test Procedure
To perform a step-by-step test of your starter solenoid, gather the necessary tools, disconnect power, and identify the solenoid’s terminals and control wiring. Position the vehicle so you can reach the solenoid without strain, then remove the protective cover. Inspect for obvious damage, corrosion, or loose connectors before testing. Connect test equipment as needed: a multimeter set to ohms for resistance checks, and a 12-volt supply if you’re bench-testing the solenoid outside the vehicle. Ground the circuit and verify that the control wire receives the proper signal when you actuate the switch or key. With the solenoid energized, listen for the click and observe the plunger’s movement as it engages the starter. If there’s no click or erratic operation, troubleshoot techniques include rechecking connections, cleaning terminals, and confirming battery voltage stays within spec under load. Record results, then proceed to controlled reassembly.
Interpreting Hydrometer Readings
Interpreting hydrometer readings is about translating the numbers into battery health. You’ll compare the specific gravity values to standard ranges and note deviations that signal issues. First, confirm you’re reading at the correct temperature, since electrolyte density shifts with heat. Then record the exact gravity per cell, watching for consistency across all cells. A higher-than-expected gravity indicates strong charge, while a lower value suggests discharge or aging. Look for reading significance across the pack: uniform readings imply balanced cells, whereas one low cell can drag performance down. Use a baseline from your battery’s specification sheet or previous tests to identify meaningful shifts over time. Remember that specific gravity alone doesn’t capture every problem; it’s part of a diagnostic puzzle. Correlate readings with startup behavior, cranking speed, and electrolyte condition. Document trends to decide on charging, maintenance, or replacement actions.
Next Steps After the Test
After you’ve completed the hydrometer readings, the next steps are about turning data into action. You’ll translate measurements into practical fixes, not guesses. Start with clear diagnostic actions: compare results to your baseline, note deviations, then decide on targeted steps. If readings indicate weak charge, recheck connections, verify grounds are solid, and test the battery under load to rule out supply issues. If the solenoid’s internal fluid shows unusual density, confirm the correct fluid type and seals, and plan a replacement if contamination or wear is evident. Document every step and rationale so your next diagnostic action is traceable. Prioritize safe, incremental tests—retest after each adjustment to confirm impact. Avoid rushing repairs; use structured checks, a clean workspace, and proper tools. Your aim is a reliable starter system, not a perfect instant fix. When results stabilize, summarize the conclusions and schedule preventive checks to sustain performance. next steps, diagnostic actions.
Frequently Asked Questions
Can a Hydrometer Test the Solenoid Directly?
Yes, a hydrometer can’t test the solenoid directly. You’ll need to use it for battery health and fluid specifics, then rely on proper solenoid testing methods. For solenoid testing, check voltage at terminals, listen for a solid click, and verify current draw. Hydrometer usage isn’t a substitute for electrical tests. Keep your approach practical: isolate circuits, use wiring diagrams, and document results. This methodical check keeps solenoid testing accurate while preserving your freedom to tinker.
Do All Solenoids Require Same Testing Steps?
Not all solenoids follow the same testing steps. Some solenoid types need simple resistance checks, others require functional tests with power, and some use diagnostic tools. About 40% of failures come from wiring or connectors, not the coil itself, so start with clean connections. Use practical, methodical testing methods, document results, and tailor steps to the different solenoid types you encounter. You’ll gain freedom by knowing which approach fits each case.
What Is Acceptable Hydrometer Temperature Range?
The acceptable temperature range for a hydrometer is typically around 60–80°F (15–27°C). You should avoid extreme heat or cold, as density readings shift with temperature. Always note the temperature at the time of measurement, then adjust using hydrometer calibration tables if needed. To guarantee accuracy, calibrate your hydrometer regularly and store it at a stable temperature. This lets you trust the readings as you work with starter solenoids and related testing.
How Often Should I Retest After Replacement?
You should retest after replacement every 6 months or 6,000 miles, whichever comes first. This keeps you aware of your solenoid lifespan and helps catch creeping issues early. If readings drift or symptoms return, rerun tests and adjust replacement frequency accordingly. Maintain clear records so you know when to expect another check. By staying proactive, you preserve performance, avoid downtime, and keep control over your equipment’s reliability and freedom to tackle projects.
Can a Hydrometer Indicate Electrical Resistance?
A hydrometer cannot indicate electrical resistance. Its function is to measure liquid density, not electrical properties, so you’ll need a multimeter or ohmmeter for resistance checks. If you must verify a solenoid circuit, test continuity and voltage drop with proper gear, then interpret readings against spec sheets. Stay methodical: disconnect power, isolate the solenoid, and record measured values. You’ll gain reliable insight without guessing, and that freedom feels like a clear, unblocked path.