How to Test Steering Column U-Joint Using a Impact Wrench
To safely test a steering column U-joint with an impact wrench, secure the vehicle, disconnect the battery, and wear eye protection. Gather proper tools, chocks, stands, and a torque wrench. Inspect for play, binding, and boot damage, then remove obstructions. With the wheel centered, gently pulse the impact wrench near the U-joint while watching for clunks or unusual resistance. Note any wear beyond tolerance and recheck after a short test drive; more guidance awaits if you keep going.
Safety Precautions Before Starting

Before you begin, disconnect the battery and secure the vehicle to prevent accidental movement. Safety is non-negotiable, so check surroundings, lighting, and ventilation before you touch any components. Wear safety gear: eye protection, gloves, and closed-toe footwear. Make certain you have a fire extinguisher within reach and a first-aid kit nearby. Clear the workspace, removing loose items that could snag tools or fall into the engine bay. Maintain workspace organization by arranging tools in a logical order and labeling fasteners by origin. Keep a clear path to exit in case of surprise movement or a tool drop. Document any preexisting damage to the steering column and avoid forcing parts beyond their designed limits. Disconnect power sources beyond the battery if required by your procedure, and never work under a supported vehicle without jack stands on solid ground. Stay focused, deliberate, and methodical to reduce risk and preserve control.
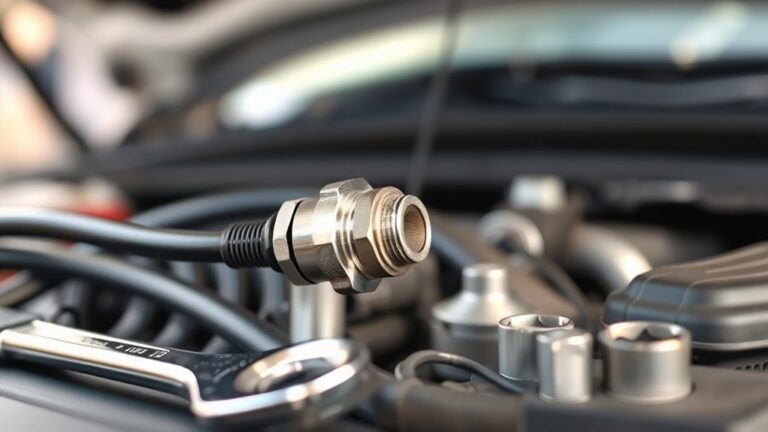
Tools and Setup for the Test
To set up for testing the steering column U-joint, gather the necessary tools and create a stable workspace. You’ll need a supported vehicle, jack stands, wheel chocks, the impact wrench, and a selection of sockets that fit your U-bolt pattern. Have a torque wrench on hand to verify fasteners after testing. Choose a vise or mounting stand to secure components without stressing the steering column. Inspect the impact wrench selection for appropriate drive size and impact rate to avoid overloading parts. Gather penetrating oil, a small hammer, pry bars, and laser or magnetic alignment markers to track movement precisely. Prepare a clean, well-lit area with drip trays for fluids. Label fasteners as you remove them to guarantee correct reassembly. Confirm your space allows controlled operation and stays free of clutter. By organizing this setup, you’ll maintain consistent test results across u joint types.
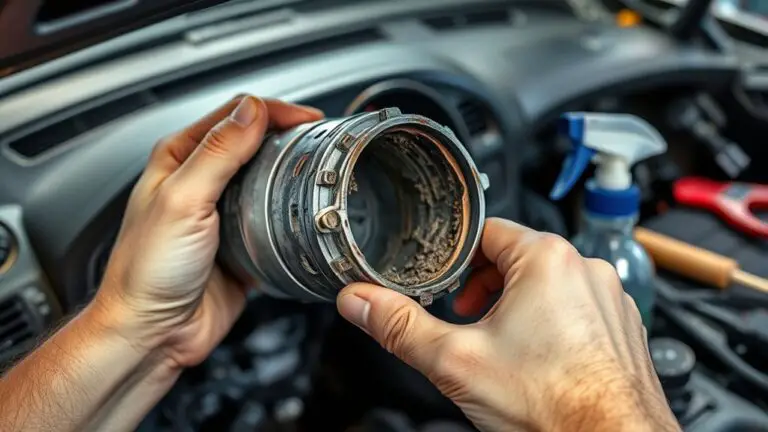
Inspecting the U-Joint for Play and Binding
Inspecting the U-joint for play and binding requires a measured, step-by-step approach. You’ll methodically check for looseness, stiffness, and unusual movement across the steering column. Begin with visual inspection: look for rust, wear, and obvious damage at the yoke and boot. Next, secure the vehicle and remove any obstructions so you can rotate shafts freely. With hands on opposite ends, rotate smoothly through the full range, noting any binding, rough spots, or backlash. Listen for gritty sounds that signal contamination or wear. Move the joint through its angles while gently applying torque to detect play without forcing movement. Compare feel against known good reference if possible. Document findings for u joint maintenance, focusing on whether play exceeds manufacturer tolerance. If binding or excessive play is detected, plan for service before running the test further. Keep the steering column safe and stable throughout the inspection.
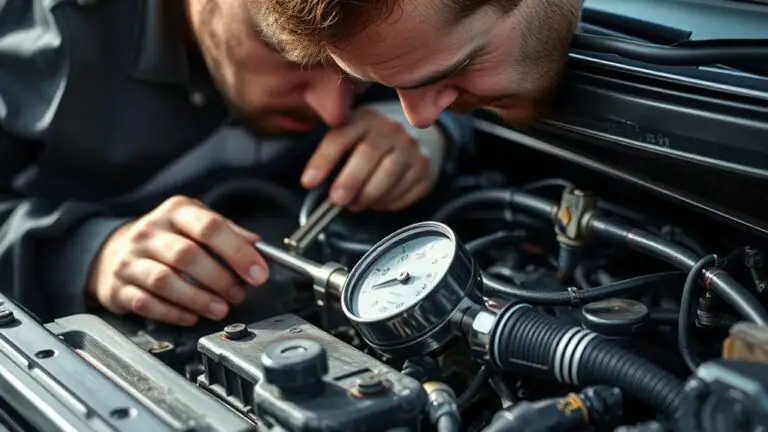
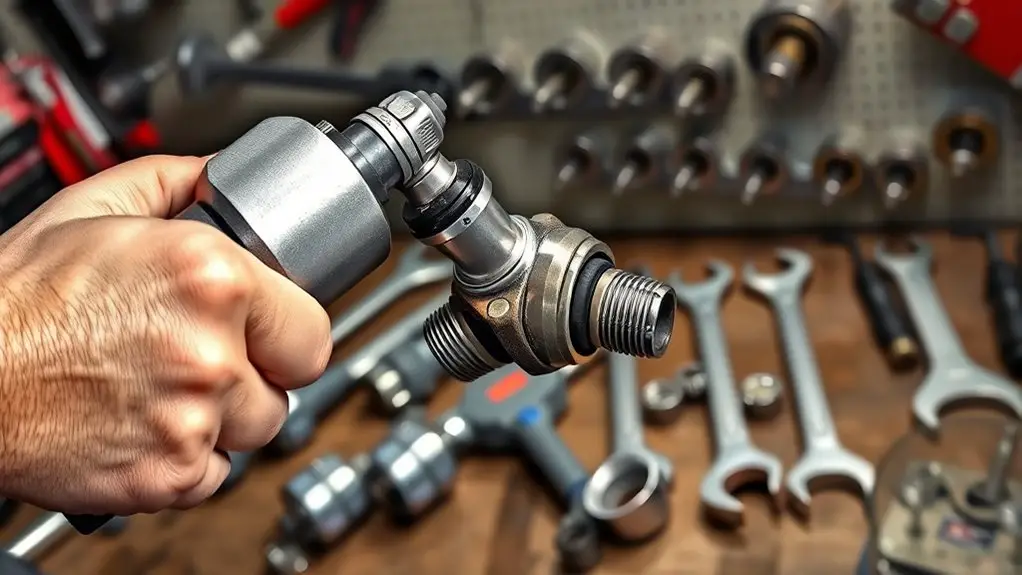
Performing the Test With an Impact Wrench
Using an impact wrench to test the U-joint is done with caution to avoid damage. You’ll set up the test with clear goals: confirm looseness, detect binding, and verify alignment. Before you start, verify the vehicle is secure and the steering wheel is centered to prevent unexpected movement.
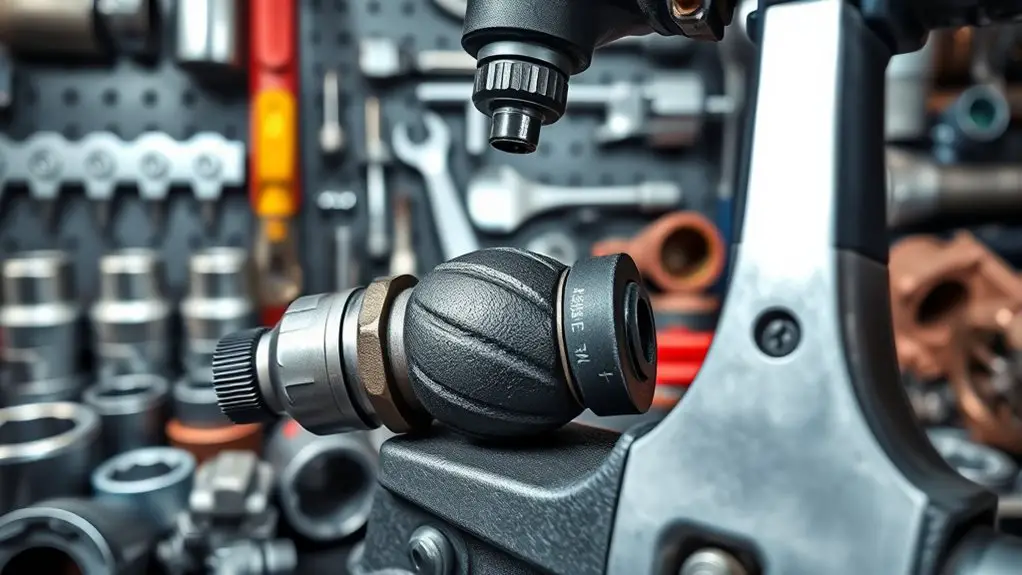
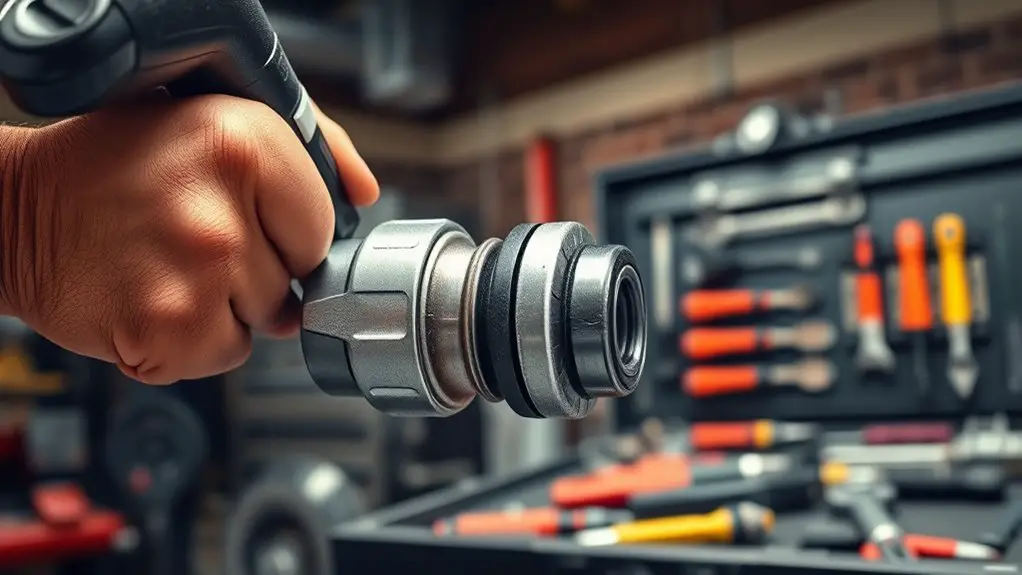
Position the impact wrench so its effects stay on the U-joint area, not adjacent components. Use a low, controlled impulse rather than full-power bursts to gauge play without overstressing the joint. Observe for unusual clunks, cracks, or abrupt resistance as you apply short pulses. If movement is smooth and returns to rest without hesitation, you’re tracking proper u joint maintenance.
Document any signs of wear and plan a cautious recheck after a short drive. Maintain a steady workflow—disconnect power when repositioning, secure tools, and avoid prying or twisting beyond design limits. This approach preserves reliability, minimizes risk, and supports responsible impact wrench usage.
Interpreting Results and Next Steps
Interpreting the results starts with separating signs you’ll trust from those that warrant a recheck. You’ll compare behavior observed during the test with expected patterns, noting any stiffness, play, or unusual noise. If test results align with normal range, file the findings under routine maintenance and continue monitoring. If anomalies appear, plan a targeted inspection or component replacement.
Table: indicators at a glance
| Indicator | Normal Range | Action |
|---|---|---|
| Audible clunk at mid-stroke | Absent | No action |
| Excessive play | Minimal | Recheck and torque verify |
| Smooth operation | Consistent | Routine maintenance tips |
| Resistance spike | None or brief | Verify mounting and lubrication |
Next steps: document measurements, schedule maintenance tips, and decide on further diagnostics. For ongoing freedom, set a reminder to recheck after road tests and incorporate any repairs into your routine. Maintain records, and stay proactive with test results to prevent surprises.
Frequently Asked Questions
Can the Test Damage Other Steering Components or Subassemblies?
Yes, it can potentially damage other steering components or subassemblies if you aren’t careful. Excessive torque or jolts may bend or misalign the steering rack, damage intermediate shafts, or compromise tie rods. To protect u joint longevity and steering system integrity, use controlled, low-attack testing, avoid impact wrench shocks, and inspect for looseness afterward. If you feel unusual play, stop and reassess, ensuring proper fit, lubricity, and correct torque specs. Safety first, always.
How to Adapt the Test for Non-Typical U-Joints?
You can adapt the test by using a controlled load-and-check method for non-standard u-joints. Start with basic rotation and misalignment checks, then apply steady, measured torque rather than bursts. Use alternative testing protocols that accommodate differing clearances and greases. Inspect for binding, play, and noise, documenting each variance. Keep safety at the forefront, and compare results to acceptable tolerances. This approach supports alternative testing and non standard u joints while preserving integrity.
What Audible Cues Indicate a Failing U-Joint During Testing?
Audible cues include clunking, grinding, or popping noises that worsen with steering movement or load. You might also hear a rhythmic rattle when driving straight, or a consistent, metallic squeak as the U-joint binds. If you hear these sounds, you’re dealing with failing components. Stay calm, verify with controlled loads, and inspect for looseness, binding, or shaft play. If noises persist after tightening, replace the joint rather than chase symptoms.
Should You Re-Test After a Minor Adjustment or Repair?
Yes, you should re-test after a minor adjustment or repair. Re test importance is high to confirm the fix didn’t introduce new play or binding, and to verify consistency across different loads. After adjustment, re-test to confirm the adjustment impact remains stable, without new noises or looseness. Document readings, then proceed if results are solid. If issues persist, revisit fasteners, joint play, and alignment. Stay methodical and confident in your checks.
Are There Safer Alternative Methods to Verify U-Joint Integrity?
Yes, there are safer alternative tools you can use for u joint inspection. Start with a manual wiggle test, feel for binding or play, and inspect with a mirror and light. Use a torque wrench on bolts and a dial indicator if available. Employ alternative tools like a pry bar carefully to test movement, and check boot condition. Document findings methodically, and pursue professional diagnostic if you notice unusual play or noises.