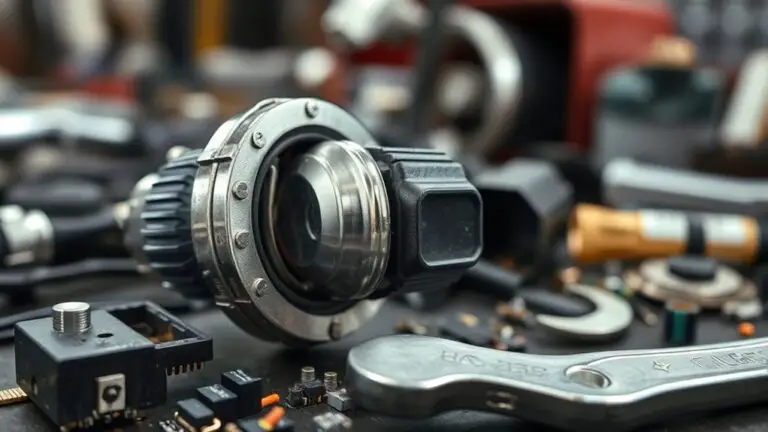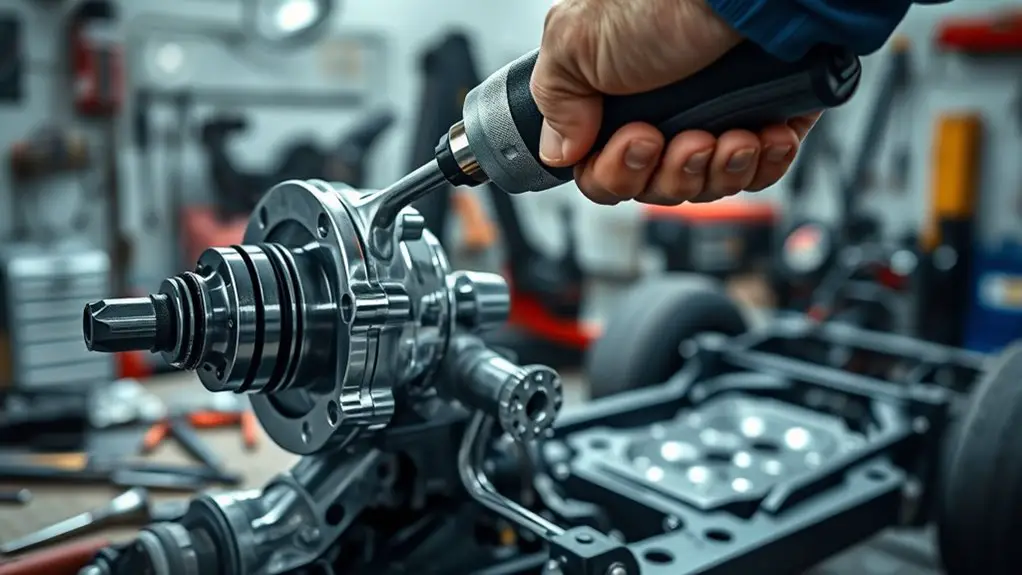
How to Test Steering Rack Using a Impact Wrench
To safely test your steering rack with an impact wrench, start by securing the vehicle on level ground and inspecting the rack area for damage, wear, and leaks. Use the wrench on low, steady torque and apply firm, short bursts at each joint, beginning at the outer tie rod end and moving inward. Check boots for tears and clamp integrity, then test mounting bolts and linkages for looseness. If issues appear, address them now; more tips await.
Tools and Safety Precautions

Tools and safety precautions go hand in hand when testing a steering rack with an impact wrench. You’ll want a clear plan, not guesswork, so map out steps before any bolt turns. Start with proper safety gear: eye protection, gloves, and hearing protection, plus sturdy footwear. Keep your workspace clean and well lit, free of grease spills that could cause slips. Inspect the impact wrench for damage and verify its settings match your tasks. Use the correct square drive and socket to prevent rounding. Maintain tool maintenance by lubricating moving parts per the manufacturer’s guidance and checking the battery or air supply, hoses, and fittings for wear. Secure the vehicle on level ground with chocks and use jack stands when necessary. Never bypass safety features, and keep bystanders at a safe distance. Document torque specs and recheck fasteners after the test. Stay deliberate, precise, and ready to pause if anything feels out of spec.
Preparing the Steering Rack for Inspection

Once you’ve laid out the safety groundwork and verified your impact wrench setup, shift focus to the steering rack itself. You’re preparing for the inspection process, so keep it simple, systematic, and nonmessy. Clean the area to remove dirt that could hide wear marks, then inspect the rack and pinion housing for obvious damage, leaks, or corrosion. Check mounting points and tie-rod connections visually and by feel, noting any looseness or movement. Mark critical joints with a light dye or tape to track drift during testing, ensuring you don’t overstep bounds. Have quick-reference specs handy for tolerances and wear limits, and tag any part that looks suspect for later removal. Document findings as you go to support a reliable assessment. Stay deliberate, patient, and precise, so the inspection process yields actionable results without surprise issues.
Clean the rack area, inspect for damage, and note any looseness or wear with precise, methodical tracking.
- Clean and expose the rack area before inspection
- Check mounting points, joints, and possible play
- Document findings and reference tolerances clearly
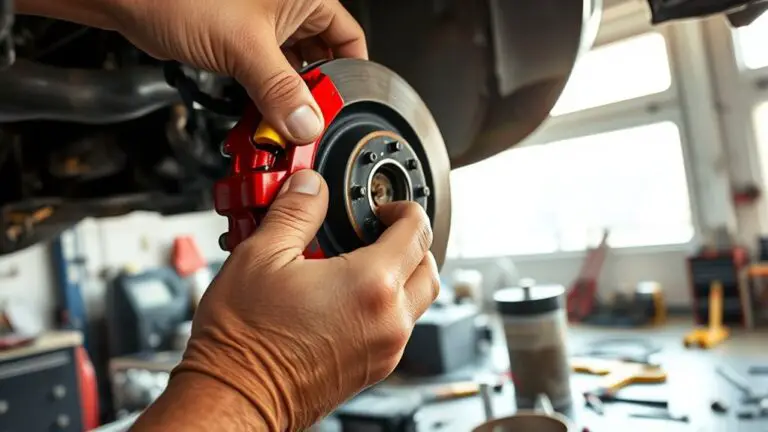
Using the Impact Wrench to Check Tie Rods and Boots
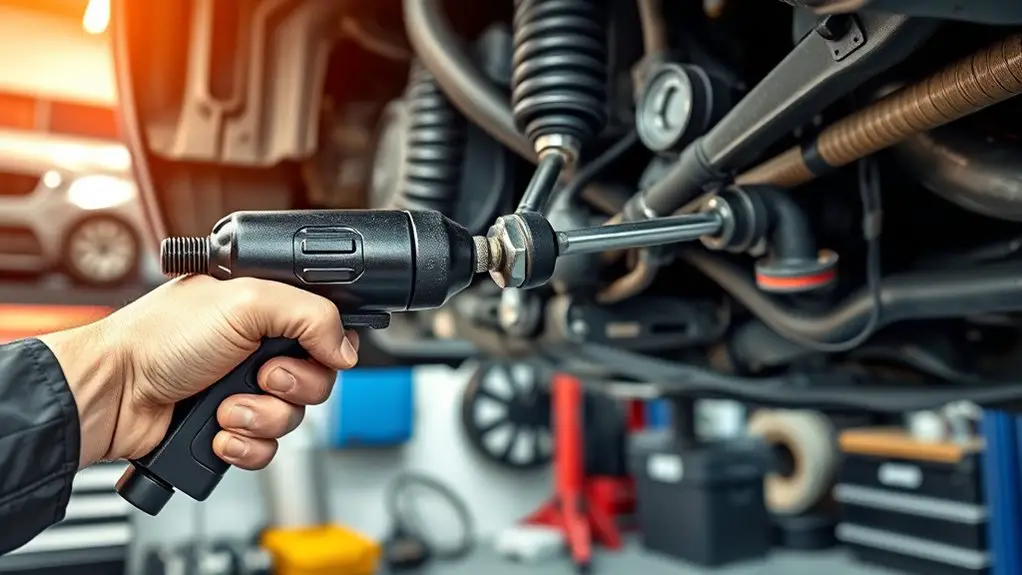
To check the tie rods and boots with an impact wrench, approach with control and purpose: set the wrench to a low, steady torque and test for play by applying firm, short bursts at each joint while keeping your hands clear of any rotating parts. You’ll listen for looseness and watch for any sudden movement that lands outside normal spec. Begin at the outer tie rod end, then move to the inner joint, noting any slack or binding. Use a torque that won’t mask subtle wear, and compare each side for symmetry. While inspecting, focus on two things: tie rod inspection and boot condition. A torn or cracked boot can hide dirt ingress and accelerate wear, so inspect the boot’s edge, clamp integrity, and grease leakage. If you detect movement beyond slight residual play, or boot damage, mark it for more thorough inspection or replacement. Maintain safety, and document findings for future maintenance.
Assessing Play and Movement in Linkages
When you move from testing tie rods and boots with an impact wrench to evaluating play and movement in linkages, the goal shifts to quantifying looseness and how it translates into steering response. You’re checking how much each linkage can move before it guides the wheel, and you’re noting if the motion feels gritty or loose. Focus on practical points: axial play, lateral slop, and any binding that changes as you steer. Record measurements, compare to spec, and watch for uneven resistance that signals linkage wear. Use controlled hand force and repeatability to avoid misleading results. The objective is a clear, real-world feel of how looseness impacts handling. If you detect excessive play, isolate the most affected joint and verify with a repeatable test before moving on.
- Assess steering response by isolating each linkage and noting resistance and delay.
- Look for uneven or increasing play across steering angles.
- Document linkage wear indicators and their effect on drive feel.
Verifying Mounting Bolts and Connectors
Start by checking bolt tightness across all mounting points with a calibrated torque wrench, ensuring spec values are met without over-torquing. Next, run a quick connector integrity scan, looking for corrosion, loose pins, or damaged housings that could disrupt signal and alignment. If any issues pop up, document them, reseat or replace components, and recheck torque and continuity to confirm a solid, safe setup.
Bolt Tightness Check
Before you begin testing, identify every mounting bolt and connector involved with the steering rack and plan for precise torguing targets. You’ll verify bolt torque and guarantee steering stability by checking each fastener to spec. Use a torque wrench set to the manufacturer’s torque values, then recheck after a short drive to confirm consistent preload. Beware stretch bolts or damaged threads; replace as needed. Document tightness with a simple pass/fail note for each fastener. If you find loose bolts, tighten incrementally and recheck torque to achieve the target. Do not overshoot, as over-torquing can strip threads or distort mounts. Regular checks after impacts protect steering feel and safety. Maintain a calm, hands-on mindset for reliable results.
- Identify all fasteners and connectors
- Use correct torque specs and recheck
- Record results for future reference
Connector Integrity Scan
Connector Integrity Scan: start by visually inspecting all mounting bolts and electrical/connectors tied to the steering rack, looking for damaged pins, corrosion, or bent tabs, then verify that each connector is seated fully and locked where applicable. You’ll assess connector types you encounter, noting any mismatches or wear that could hinder grounding or signal paths. Move methodically: unplug and inspect one side at a time, reseat firmly, and test for a secure latch. Use a simple pull check to confirm locks engage while keeping plugs aligned. Document any corrosion or frayed wires, and plan replacements as needed. Your testing methods should emphasize clean contacts, proper shielding, and consistent torque on bolts to prevent micromotion that could compromise steering feedback. Stay precise, deliberate, and ready to recheck.
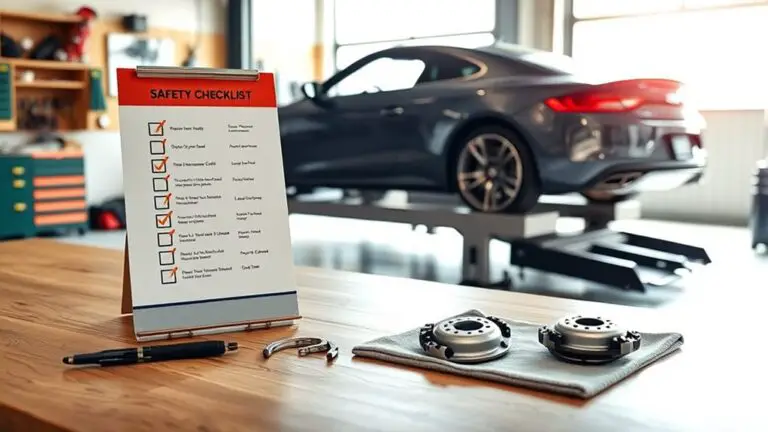
Interpreting Results and Next Steps
Interpreting the results and planning next steps comes down to matching what you observed to your testing goals and practical requirements. You’ll compare outcomes to expected behavior, noting any deviations, intermittents, or excessive play. Focus on tangible signs: peak loads, audible clunks, steering response lag, and return-to-center accuracy. This is where results analysis guides your decisions, not guesswork. If measurements align with your criteria, you can proceed with documented follow up actions and routine checks. If they don’t, identify likely failure modes—rack bushings, tie rod ends, or steering column binding—and plan targeted checks or component swaps. Document findings succinctly, then set concrete priorities and timeframes. Verify safety margins are built into your next steps, and re-test after adjustments to confirm improvements.
- Align findings with goals, then set clear follow up actions
- Prioritize fixes by impact on steering feel and safety
- Re-test to validate improvements and close the loop
Frequently Asked Questions
How Often Should You Test a Steering Rack With an Impact Wrench?
You shouldn’t test a steering rack with an impact wrench on a schedule—do it only to diagnose a suspected issue and never as routine maintenance. If you must test, keep sessions brief, use appropriate torque limits, and stop if you hear grinding or feel looseness. For steering maintenance, rely on regular inspections and fluid checks rather than brute-force testing. Prioritize impact wrench safety: secure the vehicle, wear protective gear, and avoid bystanders.
Can Impact Wrench Testing Damage Steering Components or Void Warranties?
Impact wrench testing can damage steering components or void warranties if used improperly. You’re asking for risk, so yes, improper impact and torque can bend racks, loosen seals, or crack housings, triggering warranty exclusions. Practically, you should avoid high-torque testing on live steering; use controlled methods or professional gear. Focus on diagnostics, not brute force. If you proceed, document guidelines, keep impact settings low, and note warranty implications with your dealer.
What Torque Limits Are Safe During a Steering Rack Test?
You should not exceed the manufacturer’s torque specifications; stick to the stated limits for your steering rack test. Use only the torque values listed in the service manual, and stop if you hear binding or see unusual movement. This is about safe testing, so avoid overloading joints or applying sustained high torque. Keep your setup stable, document readings, and recheck fasteners after testing to guarantee you stay within torque specifications.
How to Distinguish Normal Play From Wear During Testing?
Satire aside, you’ll distinguish normal play from wear by feeling for consistent, minor looseness that returns to zero when you stop. If you notice clunking, binding, or changes in effort, that’s wear indicators. Compare both sides and test through full steering lock. Use the same torque per spec, and watch for increased movement over cycles. If movement grows or feels gritty, treat it as wear, not normal play, and re-evaluate components.
Are There Alternative Methods to Assess Rack Movement Without Tools?
You can assess rack movement without tools by focusing on visual inspection and manual testing. Start with a visual inspection for obvious wear: torn boots, leaks, or bent components. Then perform manual testing—feel for play by grasping the steering linkage and turning the wheel with low effort, noting any binding or looseness. Check for responsiveness through full lock-to-lock motions. If something feels off, halt and recheck connections, mounts, and tie rods before driving it. Freedom favors careful precision.