How to Test Sunroof Motor With a Panel Clips
To test the sunroof motor with panel clips, start by unplugging the 12V system and securing the sunroof area. Access the motor housing, inspect and clean connections, then route the wiring with evenly spaced clips every 6–8 inches, using rubber grommets to dampen vibration. Reconnect power, confirm the open motion completes smoothly and seals evenly, then check the close motion returns home without stalling. Listen for grinding or resistance, log results, and consider next steps if issues pop up. More tips await.
Setup and Safety Considerations
Before you start testing, unplug the car battery or disconnect the 12V auxiliary power to prevent accidental movement or short circuits. In this Setup and Safety Considerations section, you’ll focus on controlled procedure and clear boundaries. Begin with safety precautions: confirm the sunroof is fully closed and the headliner is intact, so you won’t snag wiring or pinch fingers. Next, perform equipment checks: verify mounting hardware is secure, connectors are clean and dry, and the battery voltage is stable at 12–14V when reconnected. Keep hands dry and use insulated tools only. Establish a workspace free of trip hazards, with ample lighting and unobstructed access to the roof rail area. Plan for a gradual test cycle, avoiding full travel until you’re confident actuators won’t bind. Document any irregular noises or resistance. Maintain short, deliberate test intervals, and reset the system if you notice unexpected movement. This disciplined approach protects components and supports reliable results.
Tools and Materials You’ll Need
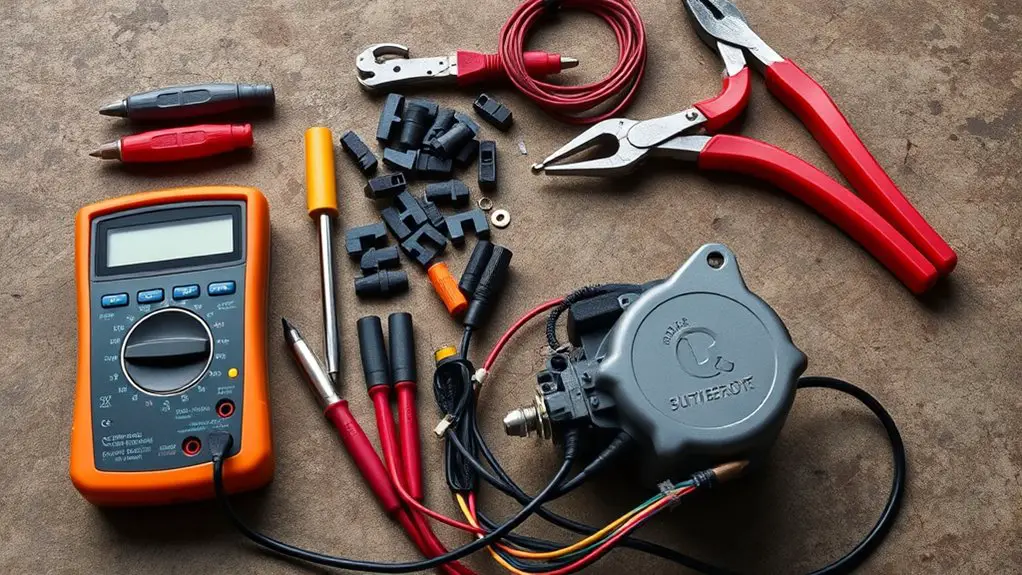
To test the sunroof motor effectively, gather a concise set of tools and materials that keep the work clean and controllable. You’ll want a basic toolkit: small screwdriver set, needle-nose pliers, and a multimeter for quick electrical checks. Include a 12V power source or car jumper pack, but avoid underestimating safety—use insulated gloves and eye protection. A clean workspace is essential; keep rags, a plastic tray, and a non-marring mat to catch debris. For the panel clips approach, have spare clips, zip ties, and a soft mallet for gentle alignment without damage. Keep masking tape and a permanent marker handy to label wiring or clips during disassembly. If you’re tracking failure modes, include a copy of the sunroof maintenance checklist and a basic wiring diagram. Finally, prepare a small flashlight or headlamp for visibility in tight spaces. These items support precise motor troubleshooting and clean, controlled testing.
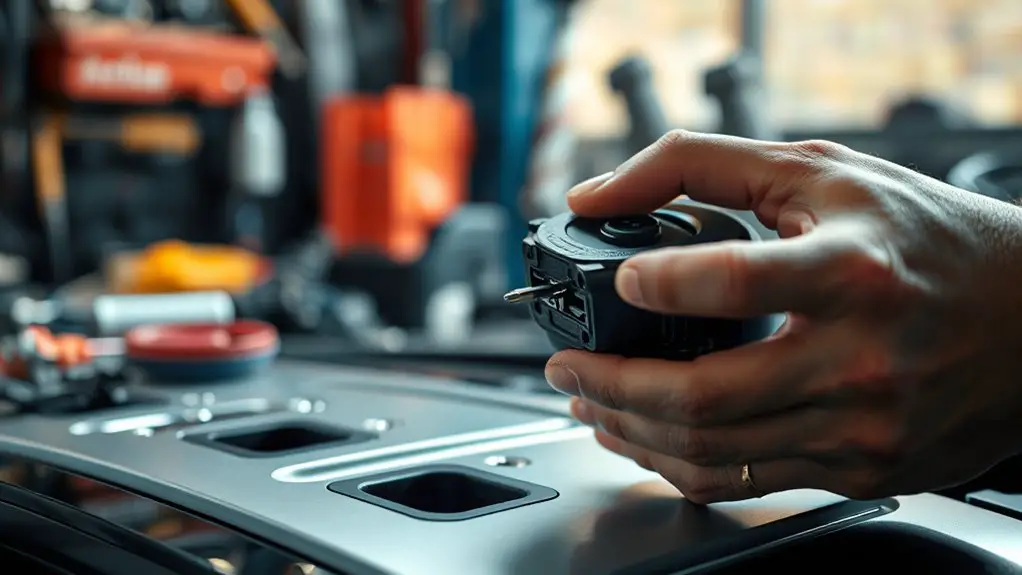
Accessing the Sunroof Motor
Begin by locating the sunroof motor housing so you can see its layout. Next, loosen or remove the panel clips to gain access without damaging trim, then expose the wiring harness to verify connections. Keep your movements deliberate and note any loose or damaged components for further testing.
Locate Motor Housing
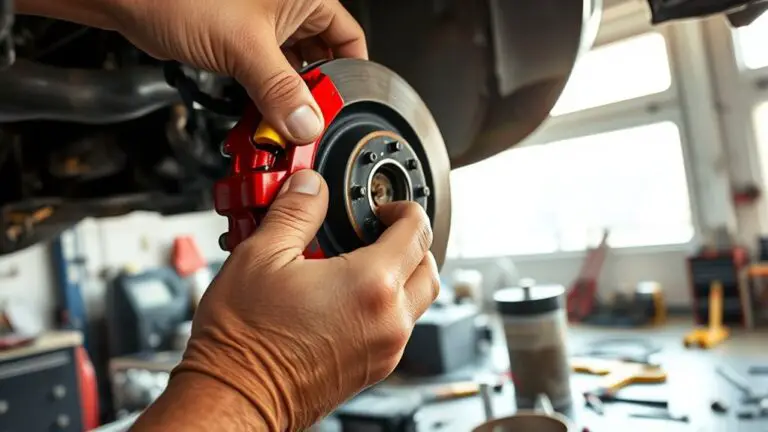
Access the sunroof assembly and locate the motor housing by following the edge of the sunroof frame. You’ll want a clean view of the housing without forced flexing. Begin at a corner and trace the metal or plastic channel toward the center; the motor sits where the mechanism narrows or changes color slightly. Use steady, deliberate motions to reveal screws or bolts securing the housing lid. Check for a rectangular block with electrical connectors feeding a small motor, not the drive gear itself. Apply motor location tips that emphasize symmetry—compare left and right sides for consistency. Note housing identification techniques such as labeling dots, embossed codes, or subtle seams. Once identified, proceed with cautious panel access, maintaining alignment for safe reassembly.
Disconnect Panel Clips
If you’ve located the motor housing, your next step is to disconnect the panel clips that secure the sunroof panel. First, inspect the clip types you’ll encounter—metal stems, plastic latches, and captive hooks—so you choose the right tool and avoid damage. Gently release each clip with a thin, non-marring pry tool, maintaining even pressure to prevent panel bending. Keep track of clip positions and orientation for reassembly. With the panel loose, support it to prevent sudden drop or scuffing. Clean the clip seats if they show debris, which can hinder reseating later. Documentation of steps helps sunroof maintenance consistency and future servicing, supporting a practical, freedom-minded approach to reliable sunroof function.
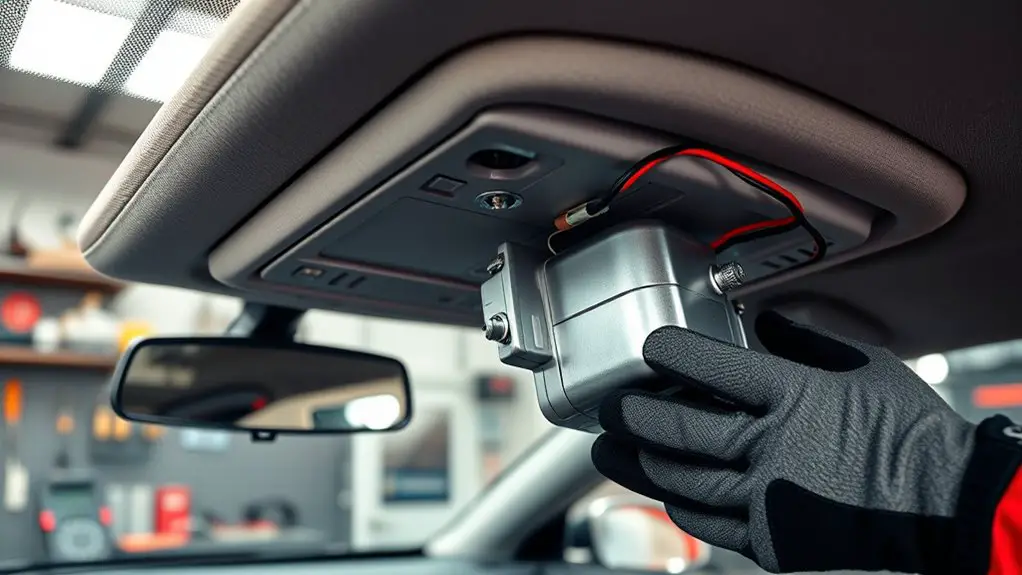
Access Wiring Harness
To access the sunroof motor, start by locating the wiring harness behind the panel or in the mounting cavity and carefully expose the harness without tugging on any wires. You’ll identify the connectors by size and pin pattern, then disconnect only what’s required to reach the motor. Keep track of fasteners and clips so you can reassemble reliably. With the harness visible, reference a wiring diagram to confirm power, ground, and control lines before testing. Perform harness identification by noting color codes and connector shapes, labeling if needed. Maintain clean hand placement to avoid shorts. When you’re ready, test continuity and function with the panel still in place, using the diagram as a map to verify correct wiring paths and safety precautions.
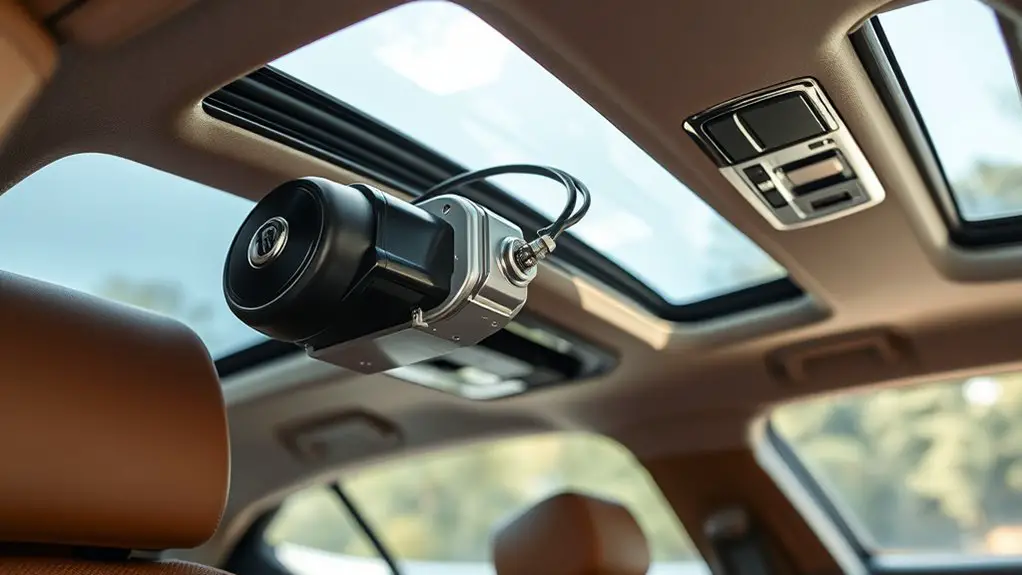
Connecting Panel Clips for Power Routing
Connecting panel clips for power routing is a hands-on step you can’t skip; positioning the clips correctly guarantees a clean, protected path for the wiring harness.
You’ll choose panel clip types that fit the harness diameter and routing tension. Start at the firewall lip, then align clips every 6–8 inches along the channel. Snap each clip into its mounting hole with even pressure, avoiding overflex. Use rubber grommets where the harness passes through metal panels to reduce vibration and wear. Route away from moving edges and heat sources, keeping the wire bundle tight but not crimped. Label sections if multiple circuits run together, so future work stays simple.
| Step | Focus |
|---|---|
| 1 | Verify clip compatibility |
| 2 | Route and secure harness |
| 3 | Inspect for clearance |
This method supports clean power routing and durable connections, giving you freedom with reliable operation.
Testing Open and Close Motions
After wiring is secured, you’ll test the sunroof’s open and close motions to confirm smooth travel and proper alignment. You’ll observe the metal track, check for hesitation, and verify that the panel moves evenly without binding. This is sunroof function in action, so stay attentive to timing and travel symmetry during motor testing.
After wiring is secure, test the sunroof’s motion for smooth travel, alignment, and symmetry.
- Confirm open motion completes within spec and seals evenly at the rear edge
- Verify close motion returns to home position without stalling or overshoot
- Listen for smooth, quiet operation and note any grinding or clicking
- Check auto-close sensors engage and pause safely if resistance is detected
Interpreting Results and Next Steps
Once you’ve observed the open and close motions, you’ll evaluate what those results mean for the sunroof’s operation. If both motions are smooth and complete, log the timing, repeatability, and any audible changes. You’ve got a baseline: normal travel rate, stop positions, and absence of grinding or binding. If you notice hesitation, partial travel, or inconsistent end points, proceed with targeted checks: verify panel clip alignment, inspect wiring for wear, and test the motor under load to confirm it isn’t stalling. Document any unusual sounds or heat buildup, which can indicate gearing or lubrication needs. Troubleshooting tips emphasize consistent test conditions and repeat trials to confirm patterns. For common issues, distinguish electrical faults from mechanical binds, then isolate the cause before replacing parts. Decide on next steps: recalibration, lubrication, clip realignment, or component replacement. Maintain a concise log to guide future diagnostics and guarantee reliable operation.
Frequently Asked Questions
Can Panel Clips Cause Electrical Shorts During Testing?
“Blowin’ a fuse.” Yes, panel clips can cause electrical shorts during testing if they bridge hot and ground or sit against exposed conductors. You should check wiring integrity before testing and guarantee clip placement keeps conductors insulated and away from sharp edges. Inspect for damaged insulation, secure clips firmly, and reroute wiring as needed. Maintain a methodical approach: test continuity, reseat clips, and confirm the circuit after each adjustment to preserve safe operation.
What Safety Precautions Prevent Tool Damage to the Sunroof?
To prevent tool damage to the sunroof, you should follow careful safety steps. Use sunroof maintenance best practices, wear eye protection, disconnect the battery, and use insulated tools. Choose proper tool selection to avoid shorting circuits, work with slow, deliberate motions, and avoid forcing components. Keep clips and harnesses organized, test gradually, and monitor for heat or smells. This approach supports safe operation and freedom to troubleshoot confidently.
Is a Replacement Motor Required if It Stalls?
If your sunroof stalls, a replacement motor isn’t always required—you start with motor troubleshooting and testing the wiring, switch, and sunroof limit switches. If you confirm the motor is dead, replace it; otherwise, you may fix jams, recalibrate limits, or clean debris. Track the power path, test for voltage, and inspect connectors during sunroof maintenance. Stay methodical, precise, and true to your freedom: fix what you can, replace only when needed.
How Do Temperature Changes Affect Motor Performance?
Temperature changes affect motor performance by altering resistance, lubrication, and expansion. You’ll notice slower operation in cold, faster wear in heat, and potential stalls if temps spike. Temperature impact reduces motor efficiency as viscosity drops or thickens, and windings heat over time. You should monitor under varying temps, lubricate appropriately, and allow cool-down periods. If you see consistent sluggishness, check seals and airflow; temp-driven inefficiency can mask underlying issues in your sunroof system.
Are There Warning Signs of a Failing Sunroof Switch?
Yes, warning signs exist. You’ll notice sunroof noises like grinding, clicking, or grinding beyond normal operation, and switch responsiveness that’s laggy, stuck, or doesn’t register clicks. Check for intermittent movement, slow startup, or the panel’s failure to lock open or close. If noises persist, or the switch feels loose or unresponsive, consider wiring or motor wear. You’ll want a professional check to prevent further damage and guarantee safe operation.