How to Test Transmission Fluid Quality After Purchase
You’ll quickly verify your new transmission fluid’s health by inspecting color and clarity, smelling for burnt odors, checking levels hot and cold, and confirming it matches the manufacturer’s specs before you drive. Start by pulling a sample in good light, note color and any haze or particulates, then sniff for burnt smells. Check the dipstick on hot and cold temps, comparing to spec marks. Look for leaks, sludge, and proper type; follow up with a performance check—more details await.
Inspect the Fluid Color and Clarity
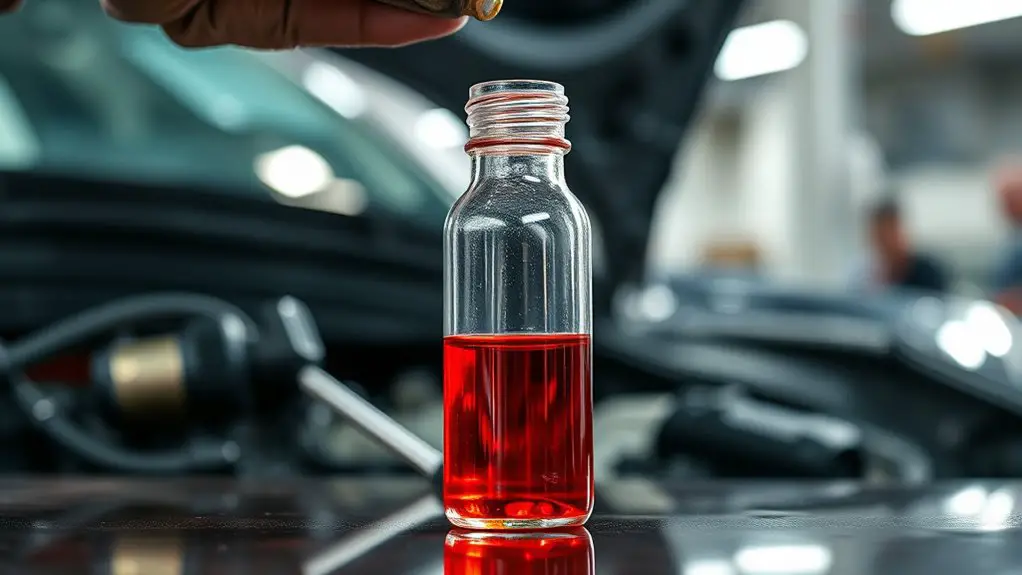
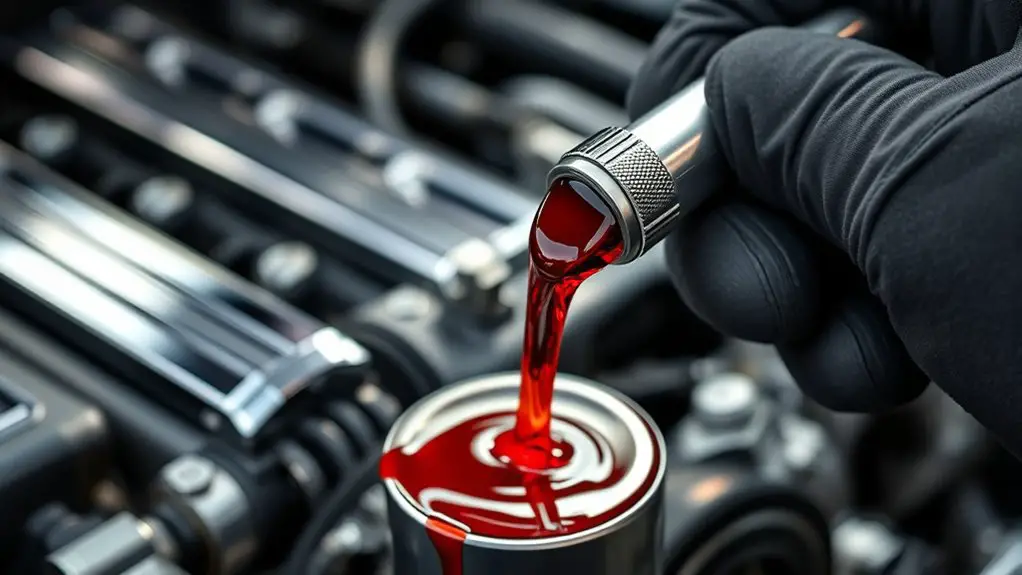
Inspecting the fluid color and clarity is a quick, practical check you can do before diving deeper. You’ll start by pulling a small sample and holding it against a clean light source to reveal true hue and transparency. Look for a fluid that’s red or pink with a translucent, glossy appearance; any brown, amber, or opaque tint signals aging or contamination. Note viscosity—fluid consistency should feel slick, not gritty or overly thin. Visual inspection matters: a clean sample is bright and consistent, while foam, floating particles, or milky textures point to degradation, water intrusion, or internal wear. Record any color shifts or sediment, and compare to your vehicle’s manual or a freshly changed specification. Use a reliable, clear container and label the sample with date and vehicle details. If you observe doubtful contrasts, plan a more thorough check, but avoid assumptions. This disciplined visual inspection keeps your evaluation concrete and actionable.
Smell for Burnt or Foul Odors

A burnt or foul smell is a red flag, signaling possible wear, contamination, or internal fluid breakdown you’ll want to note. Compare the odor to normal transmission scent and be mindful of any sharp or acrid notes that differ from fresh fluid. Use these cues to guide your next checks on the transmission condition and service needs.
Burnt Odor Signals
Burnt odors are a warning sign that transmission fluid has degraded or overheated. When you notice a burnt scent, approach odor analysis methodically: confirm the smell, compare with fresh fluid, and note intensity. If burnt fluid aroma persists after a wipe test, treat as a red flag and inspect cooling, levels, and possible contamination. Document findings and plan a controlled fluid change if advised.
| Column A | Column B |
|---|---|
| Indicator | Burnt odor present |
| Action | Check fluid color and level |
| Reason | Indicates overheating or degradation |
| Next step | Perform safe flush if recommended |
| Outcome | Restored performance or professional review |
Proceed with caution, prioritize safety, and align checks with your vehicle’s service guidance. Avoid assumptions; use measured observations for a reliable assessment.
Detecting Foul Smell
Foul odors in your transmission are a clear warning sign that fluid health is compromised. You’ll notice this during a sniff test or when you open the dipstick or dipstick tube after a quick drive. Focus on scent intensity, duration, and consistency—burnt, acrid, or metallic notes signal problems beyond normal odor. Use odor detection to differentiate hot engine smells from transmission-related fumes; if it lingers after the engine cools, it’s suspect. Record the odor’s strength and compare with a fresh sample’s scent baseline. Do not ignore persistent foul odors, even if fluid level appears correct. If odors persist, arrange testing or inspection by a qualified tech. Treat foul odors as actionable data points, guiding you toward accurate diagnosis and responsible maintenance decisions.
Odor Assessment Tips
Curious about what your nose can tell you? You approach odor assessment by isolating smell signals from a fresh batch. Begin with a neutral baseline: compare this fluid’s scent to a known clean sample, noting immediate impressions. Focus on odor intensity—strong, faint, or fluctuating—then track any shifts after mild agitation or warming. Burnt or foul notes often indicate degraded additives, overheating, or contamination; document any charcoal-like, rotten, or sulfur hints without overinterpreting. Use a scent comparison against a control sample at similar temperature for accuracy. Record time-sensitive observations, as odor can fade or intensify with exposure. If odors persist, consider repeating tests with proper safety and ventilation, and correlate results with fluid color, viscosity, and transmission performance for a practical reliability check.
Check the Transmission Fluid Level Correctly
To check the transmission fluid level, pull the dipstick, wipe it clean, reinsert fully, and pull it out again to read accurately. Make sure you read the hot level if the vehicle was recently driven, and compare it to the hot-fill marks on the dipstick. Confirm the fluid is clean and at the proper level, adding or draining as needed to reach the recommended range.
Check Dipstick Level
Checking the transmission fluid level with the dipstick is a precise, step-by-step task you can do safely on level ground with the engine off. You’ll check to confirm proper level and condition before driving away, using a clear method to avoid guesswork. Follow a calm sequence, note color, smell, and any changes, and label findings for future reference. Dipstick maintenance is key to reliable readings, and fluid inspection helps catch early signs of trouble.
- Park, engine off, and warm or cold as specified by your manual
- Wipe, reinsert fully, and pull out to read level
- Check both sides if dual dipsticks exist
- Record color, smell, and level, then clean and store
This practical check supports freedom by keeping you informed and in control.
Ensure Hot Reading
Ensuring a hot reading means checking the transmission fluid level when the engine is at normal operating temperature, because heat expands the fluid and gives an accurate level. You’ll start by parking on level ground, warm up the engine to the normal operating temperature, then leave the engine running with the transmission in Park. Pull the dipstick, wipe, reinsert, and pull again to read the level within the specified hash marks. Compare to the manufacturer’s hot fluid testing range; don’t guess. If low, add the correct type gradually and recheck after a short drive. Temperature accuracy matters, so avoid readings after an immediate cold restart. Document your reading for future reference, ensuring you maintain proper fluid balance and reliable transmission performance.
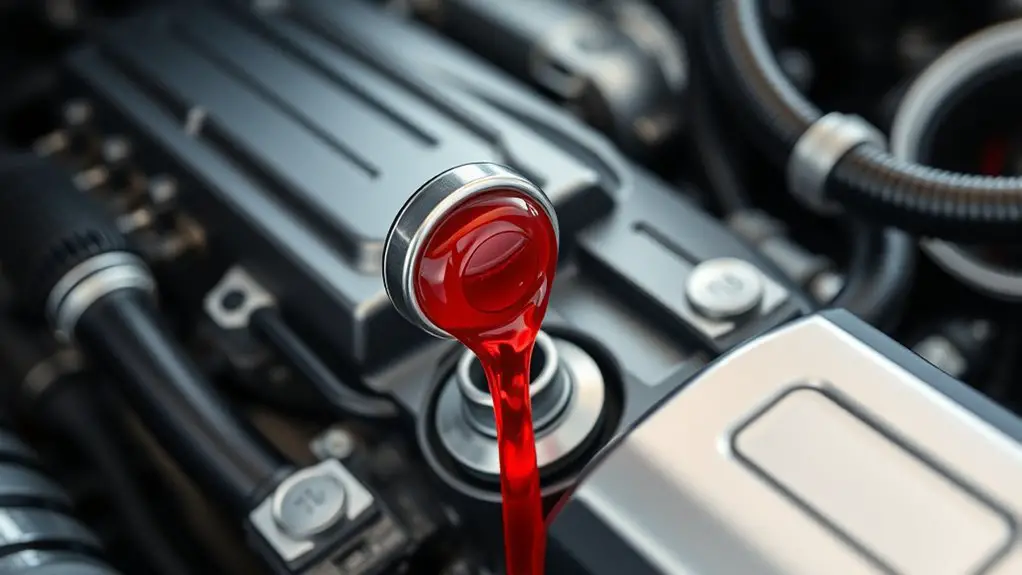
Confirm Clean Fluid
When it comes to confirming clean fluid, start by inspecting the transmission fluid color and clarity with the engine hot and the dipstick read in Park. You want fluid that’s nearly crystal-clear, with a light pink shade and no metallic smell. If you see dark brown, or a burnt odor, stop and reassess; it signals contaminants or breakdown. Perform a fluid viscosity assessment by noting how it coats the dipstick and how it shifts with temperature. Confirm transmission fluid compatibility by comparing to your model’s specs and the service manual. Maintain precise levels, especially after topping off. Remember these steps for reliable results:
- Check color, clarity, and odor under hot conditions
- Assess coating behavior on the dipstick
- Verify viscosity and temperature response
- Cross-check with manufacturer specs for compatibility
Assess Fluid When Hot vs. Cold
After starting the engine and reaching operating temperature, test the transmission fluid both hot and cold to spot temperature-dependent changes. You’ll compare color, aroma, and level at two states without rushing. For hot fluid assessment, check consistency and fluid color at operating heat, noting any burnt smell or shimmer that appears when it’s fully warm. Move slowly through the dipstick process, wipe, reinsert, and read with the engine idling in park. Then switch to cold fluid evaluation by allowing the transmission to cool and rechecking level, color, and odor in a safe, controlled manner. Record any ring or film on the dipstick, and note how the fluid feels—slippery yet not chalky. Use your observations to judge overall health, recognizing that temperature affects viscosity and pressure. This discipline gives you a clearer baseline for maintenance decisions and future comparisons.
Look for Contaminants and Sludge
Now that you’ve assessed hot and cold fluid qualities, turn your attention to contaminants and sludge. You’ll scan the fluid for signs that go beyond color or smell, focusing on contaminant identification and sludge analysis. Keep the process calm, deliberate, and repeatable to avoid guessing.
Assess contaminants and sludge with calm, repeatable checks; note grit, sludge, odor, and color shifts for expert follow-up.
- Check for grit, metallic particles, or fuzz that suggests wear or debris in the transmission.
- Look for thick, muddy deposits or sludge clumps versus typical smooth, translucent fluid.
- Note any burned odor, which can indicate overheating and residue buildup.
- Compare findings with the manufacturer’s acceptable contaminant range and your prior samples.
Use a clean, bright inspection light and a clear container to observe viscosity, sediment, and color shifts. Document your observations with a date and reference sample. If contaminants or sludge are present, plan a follow-up test or professional evaluation for contaminant identification and sludge analysis to guide repairs.
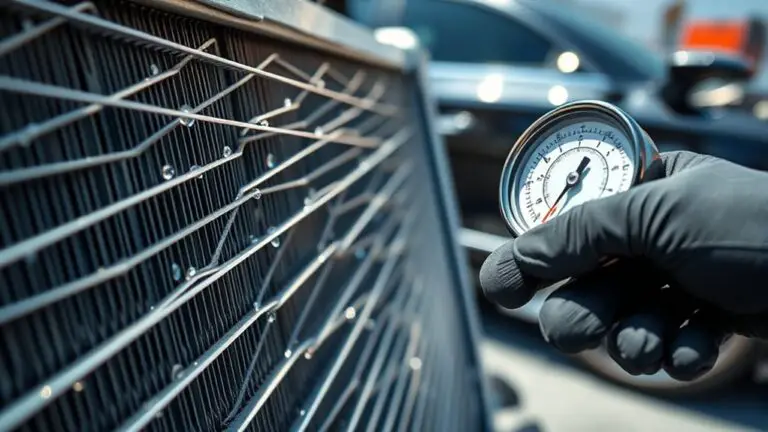
Inspect for Leaks Under the Vehicle
Inspect for leaks under the vehicle by positioning the car on a level surface, then look for fresh drips or damp spots at the transmission pan, cooler lines, and hose connections. This is leak detection you can trust, not guesswork. Start with a visual pass: note drips, staining, or residue around gaskets and fittings. Move to the undercarriage for a calm, deliberate scan, and don’t rush the process. If you see liquid on the ground, identify color and consistency later, but mark the area now for closer inspection. Check for seepage where lines join the radiator or cooler, and along the pan’s edge where bolts secure it. Clean, dry areas indicate no active leak, while damp patches suggest ongoing seepage that warrants further evaluation. Maintain a log of findings for future reference. This undercarriage inspection helps you gauge condition, plan maintenance, and avoid surprises after purchase. Stay methodical, stay vigilant.
Confirm Transmission Fluid Type Matches Specifications
To confirm the transmission fluid type matches specifications, start by locating the owner’s manual or service plate to note the exact fluid grade and capacity your vehicle requires. You’ll then compare the listed specification with the fluid you have, focusing on compatibility rather than guesswork. This is fluid compatibility in action, and it’s essential for long-term reliability.
- Check grade, viscosity, and specialty additives against the specification
- Verify the exact capacity and any revision notes from the manufacturer
- Inspect both labels and packaging for a precise match
- Confirm tolerance for blends only if explicitly allowed
Proceed to a final verification by confirming the fluid appears correct in color, aroma, and labeling before use. If anything deviates, don’t proceed; obtain the correct product. This step is about specification verification, ensuring you’re not mixing incompatible fluids. With the right match, you gain confidence and protection for your transmission.
Evaluate Fluid Temperature During Operation
You’ll start by confirming the transmission temperature stays within the specified range during operation. Monitor the temperature range closely and note any excursions beyond limits, plus how long they last. Observe warm-up behavior to guarantee the fluid reaches its ideal operating temp promptly and maintains it under load.
Monitor Temperature Range
When evaluating fluid temperature during operation, start by establishing the normal operating range for your vehicle and the transmission type. You’ll want to monitor temps consistently and compare against spec sheets to assess temperature monitoring and fluid performance. Keep the following steps in mind:
- Know your ATF target range and how ambient conditions affect it
- Use a calibrated gauge and log readings with timestamps
- Check for narrow swings or sustained overshoots during shifts
- Note any unusual heat trends that coincide with load or throttle
This disciplined approach helps you confirm stable temperatures and reliable fluid performance, ensuring the fluid remains within designed viscosity and lubrication thresholds. Stay precise, methodical, and ready to intervene if ranges drift.
Observe Warm-Up Behavior
As the engine comes to operating temperature, monitor how the transmission fluid responds during warm-up and note any delays, lag, or quick spikes in temperature relative to engine RPM and load. During warm-up, track the fluid temperature rise as you drive through varying speeds and tensions. If the fluid temperature climbs smoothly in tandem with engine heat, that indicates solid warm up performance. If you see disproportionate spikes or prolonged lag before the fluid reaches target temps, that signals potential flow or cooling issues worth diagnosing. Keep the thermometer or sensor in the pan or line, confirm readings with multiple tests, and compare to manufacturer specs. Document results to validate safe, reliable shifts and overall transmission health.
Test Shifting Feel and Responsiveness
Shifting feel is your first real clue to transmission health. You should test how your gearbox responds across gears and loads, focusing on clarity, timing, and smoothness. Your goal is a precise responsiveness evaluation that reveals any hesitation, slip, or harsh engagement. Do this calmly, in a safe, empty stretch or lot.
- Notice smooth, predictable shifts without throttle kick or delay
- Observe fast, decisive upshifts and downshifts under gentle acceleration
- Pay attention to transmission RPM behavior and timing between gear changes
- Note any slipping, clunking, or racey rev hang that breaks the rhythm
Use a steady throttle, moderate speeds, and gradual deceleration to differentiate normal lag from faulty shifting mechanics. If responses vary between cold and near-operational temperatures, document the pattern. Your findings guide further checks and confirm the integrity of the fluid and valve body behavior during a thorough responsiveness evaluation.
Create a Quick Maintenance Plan Based on Findings
To begin your quick maintenance plan, start by organizing findings from the transmission test into three buckets: fluid condition, external leaks, and gear engagement behavior. Then craft a focused plan that’s actionable and time-bound. For fluid condition, define immediate actions (fluids low or discolored? replace now) and longer-term checks (color, smell, viscosity). For external leaks, locate sources, seal weak points, and schedule a repair window if needed. For gear engagement behavior, identify if slipping, hard shifts, or delayed engagement require baseline adjustments or fluid replacement. Turn these insights into a lean maintenance checklist you can follow weekly, monthly, and quarterly. Prioritize maintenance tasks that prevent damage and downtime, not just appearances. Set clear criteria for when to perform fluid replacement and when a professional should inspect the system. This approach gives you dependable, adaptable control over your transmission’s health and performance.
Frequently Asked Questions
How Long Should a Test Take to Assess Fluid Quality?
The test should take about 15 to 30 minutes, depending on your method. For a quick check, plan 15 minutes using a visual and odor assessment, and reserve 30 minutes for a more thorough fluid testing duration with a dipstick, thermometer, and simple test strips. Focus on a clear timeline: prepare, observe, record. Use practical, precise steps as your assessment methods, and keep notes handy to compare results with specs. You’ll gain reliable insights and confidence.
Can Color Alone Indicate Transmission Health Accurately?
Color alone can’t tell the whole truth about transmission health. You’ll need color significance alongside fluid consistency to gauge condition. Start by noting hue, then check texture and viscosity, looking for metallic shimmer or grit. Monitor smell, and note any foaming. Run a test drive if possible, and compare results to your vehicle’s specs. By combining indicators, you gain practical, precise insight, keeping your ride free and your freedom intact.
Is a Dark Fluid Always a Transmission Failure Sign?
No, a dark fluid isn’t a guaranteed sign of failure. It can indicate wear or contamination, but you must check fluid viscosity and listen for shifting issues. Inspect level, scent, and consistency, then compare to your maintenance schedule. If viscosity isn’t within spec, schedule a service. Don’t ignore odd smells or noises. You’ll gain clarity by testing and tracking changes, keeping a practical maintenance routine that respects your freedom to decide.
Should You Test Fluid in Both Hot and Cold States?
Answer: Yes, you should test fluid in both hot and cold states.
You notice the coincidence: the same car, the same fluid, reveals different truths when heat and chill meet. For hot fluid testing, check color, smell, and consistency after a few minutes of driving. For cold fluid testing, inspect level and clarity at ambient temp. Document readings, compare to specs, and trust your freedom to confirm transmission health with diligent, practical steps.
What Are Red Flags That Require Immediate Service?
Red flags that require immediate service include transmission leaks and unusual noises. If you notice puddles under your vehicle, a burning smell, slipping gears, delayed engagement, or grinding clunks, stop driving and seek prompt inspection. Leaks can degrade lubrication fast, while unusual noises may signal internal damage. Don’t ignore warning lights or erratic shifting. Schedule a professional diagnostic, and avoid continuing use until the leak is fixed and the fluid level and condition are confirmed.