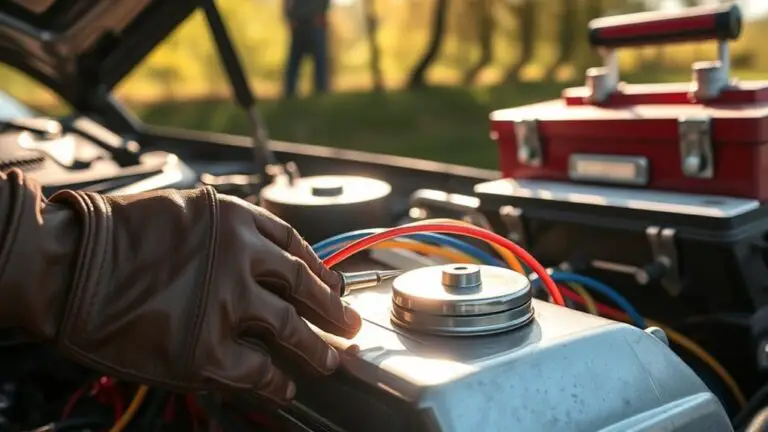
How to Test Your Wheel Cylinder Before a Long Trip
Before a long trip, check your wheel cylinders for leaks and perform a visual inspection. Look for corrosion or wetness around the cylinders and brake lines. Lift the vehicle and remove the wheels to access the brake shoes; inspect for wear and alignment issues. Test the brake performance by applying light, moderate, and hard pressure while ensuring the pedal returns quickly. If you notice any issues, it’s essential to understand how to replace a faulty cylinder and when to seek help.
Understanding Wheel Cylinders and Their Function
Wheel cylinders play an essential role in a vehicle’s braking system, serving as the hydraulic components that facilitate the movement of brake shoes against the drum. In a hydraulic system, these cylinders convert fluid pressure into mechanical force, pushing the brake shoes outward to create friction against the drum surface. Understanding wheel cylinder basics involves recognizing that each cylinder typically consists of two pistons, springs, and seals, all housed within a metal casing. When you press the brake pedal, hydraulic fluid is forced into the cylinder, activating the pistons. This action expands the brake shoes, effectively slowing down or stopping your vehicle. Proper maintenance of your wheel cylinders is crucial to guarantee reliable braking performance, especially before starting long trips. By grasping their function, you can appreciate the importance of these components in maintaining your freedom on the road.
Signs of a Failing Wheel Cylinder

One of the most common indicators of a failing wheel cylinder is the presence of brake fluid leaks. If you notice fluid pooling near your wheels, it’s a clear warning sign that the cylinder may be compromised. Another symptom of failure includes a spongy or soft brake pedal; this can indicate that air has entered the brake lines due to insufficient hydraulic pressure. You might also experience uneven braking, where one side of the vehicle stops more effectively than the other, which can lead to dangerous handling issues. Pay attention to unusual noises—such as grinding or squeaking—that could suggest internal damage. Finally, if your brake warning light activates, don’t ignore it; this is a critical alert that something is amiss. Recognizing these symptoms of failure early can save you from costly repairs and guarantee your freedom on the road remains uninterrupted.
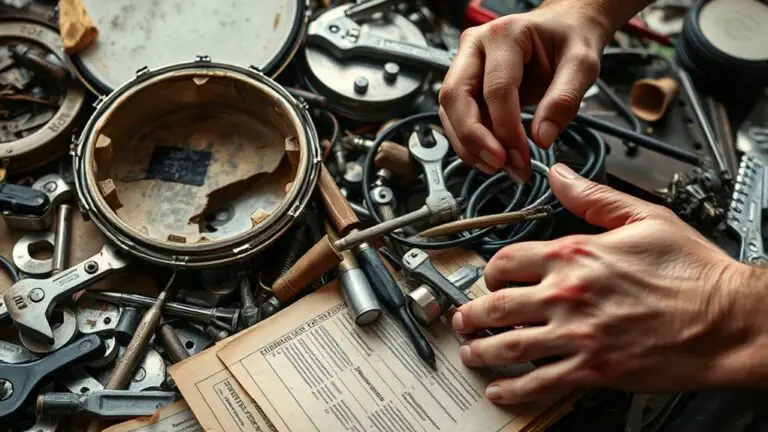
Necessary Tools for Testing

Before you start testing your wheel cylinder, you’ll need a few essential tools to guarantee accuracy and safety. First, gather a brake fluid tester; this will help you check the fluid’s moisture content, which can affect performance. A socket set is crucial for removing the wheel and accessing the cylinder; make sure you have the correct sizes. You’ll also need a torque wrench to properly tighten bolts after reassembly.
A clear container is necessary for collecting any brake fluid that may leak during testing; this keeps your workspace clean and safe. Finally, have a set of protective gloves and safety goggles on hand to shield yourself from hazardous fluids. With these testing tools ready, you’re well-equipped to inspect your wheel cylinder effectively, making sure your vehicle is primed for freedom on the road ahead.
Preparing Your Vehicle for Inspection
To guarantee a thorough inspection of your vehicle’s wheel cylinder, start by parking on a level surface and engaging the parking brake. This assures your vehicle remains stationary during the inspection, allowing you to focus on critical components without distraction. Follow these steps for effective preparation:
To ensure a comprehensive wheel cylinder inspection, park on a level surface and engage the parking brake for stability.
- Check Fluid Levels: Confirm your brake fluid is at the recommended level, as low fluid can impact wheel cylinder performance.
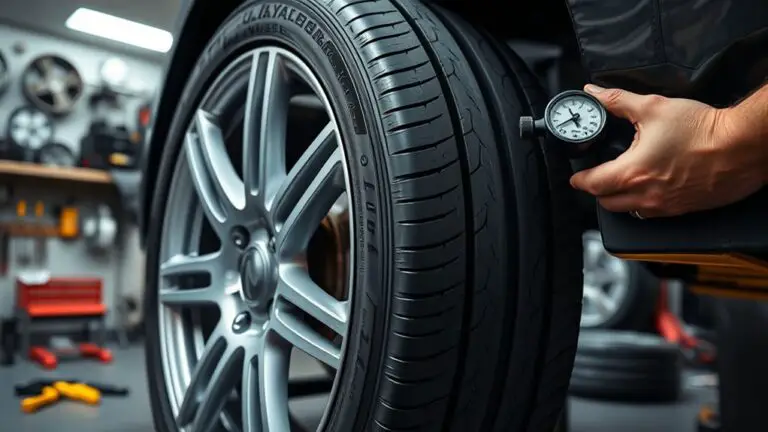
- Inspect Tires: Examine your tires for proper inflation and tread depth; uneven wear can signal issues that affect braking.
- Review Routine Maintenance: Make certain all routine maintenance tasks are up-to-date, as neglected systems can complicate your vehicle inspection.
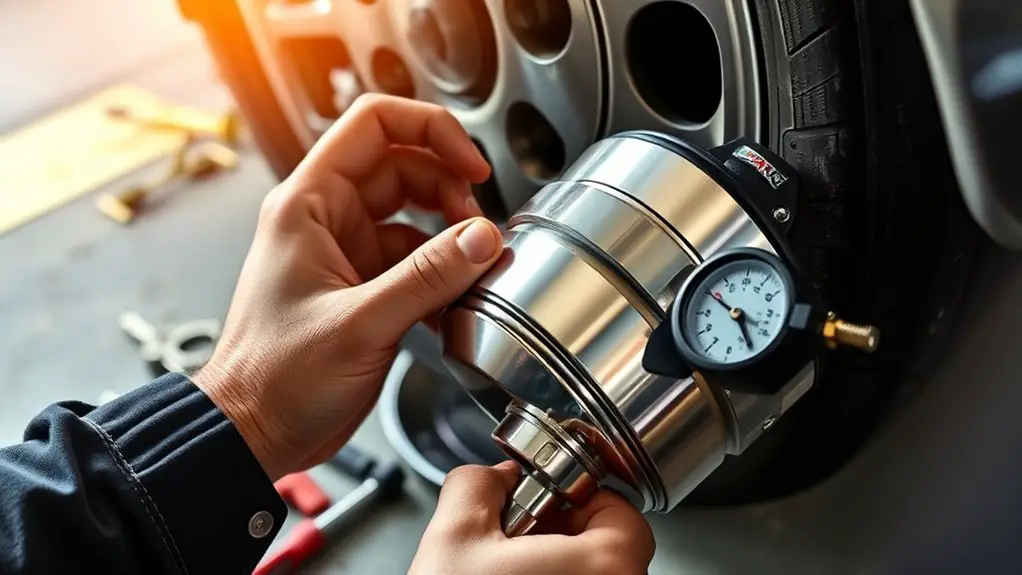
Visual Inspection of Wheel Cylinders
As you proceed with the visual inspection of your wheel cylinders, pay close attention to any signs of leakage, which can indicate a failing seal or a compromised cylinder. Different wheel cylinder types, such as drum or disc brake systems, may exhibit distinct signs of wear. Look for any corrosion, pitting, or surface irregularities that could affect performance. Inspect the rubber boots for cracks or deterioration, as these can compromise the integrity of the cylinder.
Another important maintenance tip is to check the mounting bolts for tightness; loose bolts can lead to misalignment and increased wear. It’s also wise to examine the brake fluid level in the reservoir, as low levels can signify an internal leak. By performing this thorough visual inspection, you’re ensuring that your wheel cylinders are in prime condition for your upcoming journey, giving you the freedom to travel with confidence.
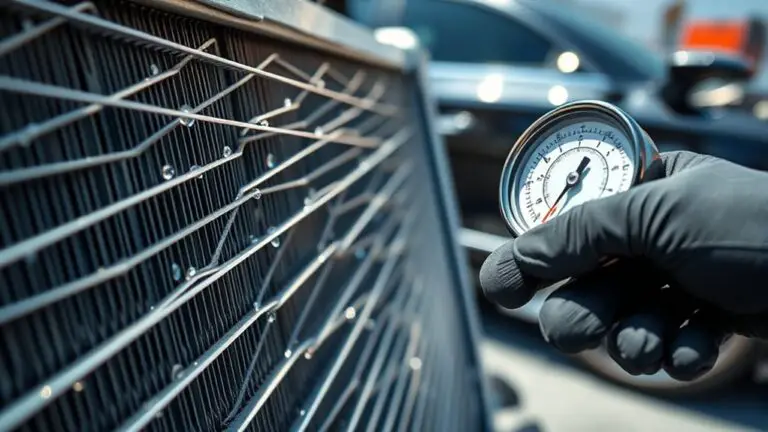
Checking for Leaks
Following your visual inspection, the next step is checking for leaks, which is essential for ensuring the functionality of your wheel cylinders. Leak detection can prevent major issues down the road, so let’s focus on effective fluid inspection techniques.
After your visual inspection, checking for leaks is crucial to maintaining the functionality of your wheel cylinders.
- Inspect the Cylinder: Look closely at the cylinder and surrounding brake lines for any signs of fluid accumulation or moisture, which indicates a leak.
- Check the Brake Shoes: Examine the brake shoes for any signs of wetness or discoloration. If they’re saturated with brake fluid, a leak may be present.
- Look for Fluid Pools: Inspect the ground beneath your vehicle for any fluid stains. This can be an indicator of leaking brake fluid from the cylinder.
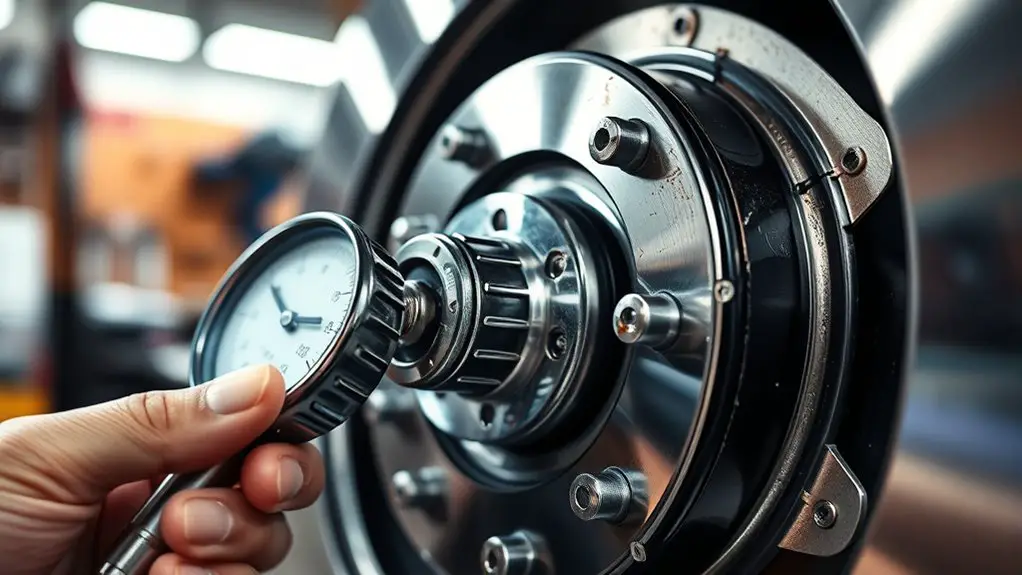
Testing Brake Fluid Levels
Testing brake fluid levels is essential for maintaining ideal brake performance, and you should do this regularly. Start by locating the brake fluid reservoir, typically found near the back of the engine bay. Check the fluid level against the marked indicators on the side of the reservoir. If it’s below the minimum mark, it’s time to add fluid that meets your vehicle’s specifications.
Incorporating brake maintenance tips, guarantee you use the correct type of brake fluid—DOT 3, DOT 4, or DOT 5, depending on your system. It’s also critical to adhere to a fluid replacement schedule, typically every two years or as specified in your owner’s manual. Contaminated fluid can lead to brake failure, so consider flushing the system if you notice discoloration or debris. Regular checks not only guarantee safety but also maintain your vehicle’s braking efficiency, allowing you to enjoy the freedom of the open road with confidence.
Assessing Brake Performance
Now that you’ve checked your brake fluid levels, it’s crucial to assess overall brake performance. Start with a visual inspection checklist to identify any obvious issues, and then proceed to test brake response for reliability. This systematic approach helps guarantee your braking system functions effectively and safely.
Visual Inspection Checklist
Before diving into the specifics of brake performance, it’s essential to conduct a thorough visual inspection of the wheel cylinder and surrounding components. This step is vital for guaranteeing effective wheel cylinder maintenance and understanding your brake system overview. Here’s a quick checklist to guide you:
- Inspect for Leaks: Check around the wheel cylinder for any signs of brake fluid leakage, which can indicate wear or failure.
- Examine Hoses and Connections: Confirm that all hoses are intact and securely connected, as any damage could compromise brake performance.
- Look for Corrosion: Inspect the wheel cylinder for rust or corrosion, which can affect the cylinder’s functionality and lead to eventual failure.
Testing Brake Response
Having completed the visual inspection checklist, the next step is to assess the brake performance through testing brake response. You’ll want to check both brake pressure and pedal feel to guarantee peak performance.
| Test | Result |
|---|---|
| Light brake pressure applied | Should feel firm |
| Moderate brake pressure applied | Should engage smoothly |
| Hard brake pressure applied | Should stop quickly |
| Pedal feel on release | Should return quickly |
| Unusual noises during testing | Investigate immediately |
Removing the Wheel for Access
Before you start removing the wheel, gather the necessary tools, including a jack, jack stands, and a lug wrench. Always prioritize safety by ensuring the vehicle is on a flat surface and secure it with wheel chocks. Once you’re prepared, you can proceed to remove the wheel for better access to the wheel cylinder.
Gather Necessary Tools
To effectively access the wheel cylinder, you’ll need to gather specific tools that facilitate the removal of the wheel. Proper wheel cylinder maintenance is essential for your brake system overview, ensuring a safe journey. Here are the tools you’ll require:
- Lug Wrench: This will help you loosen and remove the lug nuts securing your wheel.
- Jack: A reliable hydraulic or scissor jack is necessary to lift your vehicle safely off the ground.
- Jack Stands: Once lifted, these will provide stability, preventing any accidents while you work on the wheel cylinder.
Having these tools on hand not only streamlines your process but also gives you the freedom to perform maintenance confidently, ensuring your vehicle’s brake system is in top condition.
Safety Precautions First
Safety should always be a top priority when working on your vehicle, especially when removing the wheel for access to the wheel cylinder. Before you begin, make certain you’re wearing adequate safety gear, such as gloves and safety goggles, to protect yourself from debris and sharp edges. It’s also wise to have an emergency kit nearby, containing items like a first-aid kit and a flashlight, just in case something goes wrong.
When lifting the vehicle, use a sturdy jack and secure it with jack stands to prevent it from falling. Double-check that the vehicle is on a flat surface and that the parking brake is engaged. Following these safety precautions helps guarantee a smooth and safe experience while you work on your wheel cylinder.
Inspecting the Brake Shoes
Inspecting the brake shoes is a critical step in guaranteeing your vehicle’s braking system functions effectively. Proper brake shoe maintenance is essential for safe driving, especially before a long trip. You’ll want to pay attention to shoe wear indicators that signal when it’s time for replacement. Here are three key steps to follow:
- Visual Inspection: Check for cracks, blistering, or excessive wear on the brake shoes. If they’re worn down to the wear indicators, it’s time for new shoes.
- Thickness Measurement: Use a caliper to measure the thickness of the shoes. Ideally, they should be at least 1/4 inch thick. Anything less may compromise braking efficiency.
- Check Alignment: Guarantee the brake shoes are properly aligned with the drum. Misalignment can lead to uneven wear and reduced braking power.
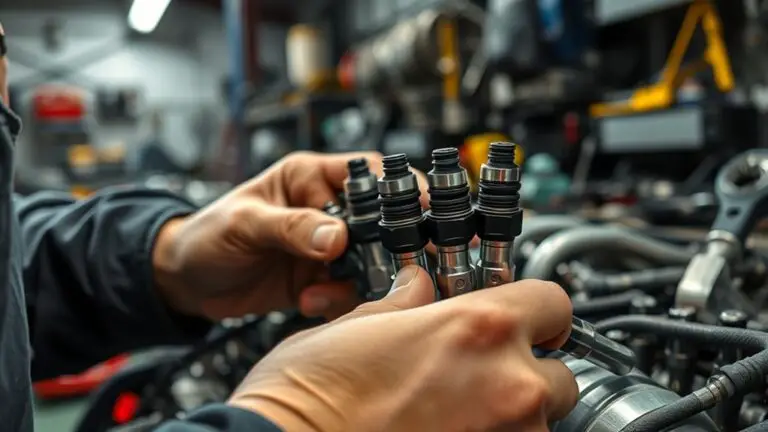
Replacing a Faulty Wheel Cylinder
Replacing a faulty wheel cylinder is essential for restoring your vehicle’s braking efficiency and guaranteeing safe operation. Start by identifying faulty cylinder signs, like leaking brake fluid or a spongy brake pedal. Once confirmed, gather necessary tools: a wrench, brake fluid, and a new wheel cylinder.
Here’s a quick reference table for the replacement process:
| Step | Action | Notes |
|---|---|---|
| 1. Remove Wheel | Loosen lug nuts, lift vehicle | Guarantee safety with jack stands |
| 2. Disconnect Lines | Unbolt brake lines from the cylinder | Use a catch pan for fluid |
| 3. Install Cylinder | Position new cylinder, tighten bolts | Reconnect lines securely |
After installation, bleed the brakes to eliminate air. A proper wheel cylinder replacement enhances your driving freedom and safety. Don’t overlook the importance of regular checks to prevent future issues.
When to Seek Professional Help
While it may be tempting to tackle every aspect of wheel cylinder maintenance yourself, there are instances when seeking professional help is crucial. Recognizing the signs of trouble can save you time and guarantee your safety on the road. Here are three key situations when you should consult a mechanic:
- Fluid Leaks: If you notice brake fluid pooling under your vehicle, it’s a strong indication that it’s time to replace the wheel cylinder.
- Unresponsive Brakes: If your brakes feel spongy or unresponsive, it may signal internal damage or air in the brake lines, necessitating professional diagnosis.
- Uneven Brake Wear: When one side of your vehicle’s brakes shows more wear than the other, it often points to a malfunctioning wheel cylinder that requires immediate attention.
Don’t hesitate to seek expertise when facing these issues; your safety and freedom depend on it.
Frequently Asked Questions
How Often Should I Test My Wheel Cylinders?
You should test your wheel cylinders every 12,000 miles or at least once a year as part of your wheel maintenance routine. Regular checks are essential for brake safety, helping you avoid potential failures. If you notice any signs of leaks or reduced braking performance, inspect them immediately. Staying proactive with your wheel cylinders guarantees you can enjoy the freedom of the open road without worrying about your vehicle’s braking system.
Can I Test Wheel Cylinders Without Special Tools?
Yes, you can test wheel cylinders without special tools! Think of it as a detective hunt; a visual inspection reveals leaks or corrosion. Follow up with a manual check—press the brake pedal and observe for any fluid seeping. If you spot anything unusual, it’s time to dig deeper. With a little attention, you can guarantee your ride’s ready for the open road, giving you the freedom to roam without worry!
What if I Notice Uneven Brake Wear?
If you notice uneven brake wear, it’s essential to address it immediately. Uneven wear often indicates issues with the brake pads, calipers, or alignment. Regular maintenance tips include inspecting your brake pads for thickness and guaranteeing proper installation. Check for stuck calipers or damaged components that could lead to imbalance. Don’t ignore this; uneven wear can compromise safety. Consider consulting a professional to secure peak performance and maintain your vehicle’s braking system.
Are There Specific Symptoms for Rear Wheel Cylinder Issues?
Oh sure, nothing says “trustworthy vehicle” like a rear wheel cylinder that’s leaking brake fluid! If you notice symptoms like a spongy brake pedal, inconsistent braking, or visible fluid leaks, your cylinder might be waving a red flag. You should also watch for uneven brake wear, which can indicate a problem. Don’t ignore these signs; they’re your car’s way of begging for help before your next grand escape!
How Do Weather Conditions Affect Wheel Cylinder Performance?
Weather conditions greatly impact wheel cylinder performance. Extreme temperatures can cause rubber components to harden, reducing responsiveness. In cold weather, you might find the brake fluid thickens, leading to slower reaction times. Conversely, high temperatures can cause fluid to expand, increasing the risk of leaks or pressure loss. Moisture from humidity can also corrode internal parts, compromising functionality. It’s crucial to monitor these temperature effects to guarantee your brakes perform reliably, assuring your freedom on the road.