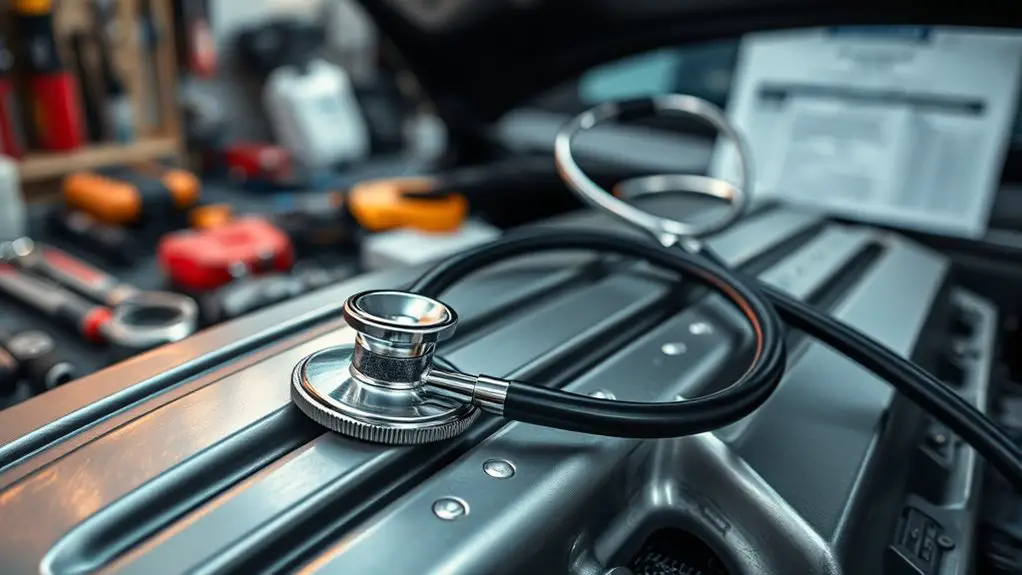
How to Use an Mechanic’s Stethoscope to Confirm an Failed Emissions Test
To confirm a failed emissions test, you start by safely warming the engine then grab your mechanic’s stethoscope. Isolate unusual sounds by listening near the intake, exhaust manifold, vacuum lines, and the EGR or actuator areas. Correlate any hisses, ticks, or flutter with sensor data and performance tests, then map sounds to likely faults. Use targeted checks to verify root causes before rechecking emissions. If you keep digging, you’ll uncover more precise steps and verifications.
Diagnosing Emissions Symptoms With a Stethoscope
Using a mechanic’s stethoscope to diagnose emissions symptoms starts with listening for abnormal engine sounds that hint at leaks, improper timing, or stuck components. You’ll anchor analysis by isolating suspects: intake leaks, exhaust leaks, vacuum lines, and malfunctioning actuators. In emissions troubleshooting, the goal is to correlate sound cues with sensor data and performance tests, not guesswork. Place the probe on the intake manifold, the exhaust manifold, and the purge lines, then listen for irregular rhythm, hiss, or flutter that diverges from baseline. When a hiss or tapping aligns with engine load changes, you’ve found a candidate source for leaks or timing drift. Use sound analysis to narrow possibilities before pulling plugs or disconnecting components. Document findings with quick notes and repeat checks after adjustments. Stay disciplined: verify with additional tests, compare against known good patterns, and proceed only when the evidence points clearly to a fault.
Safety Precautions Before You Begin
Before you start listening for emissions symptoms with a mechanic’s stethoscope, set safety as the foundation of your checks. You value freedom, so approach this with clear, calm steps and protective habits first. Put on your safety gear before anything else—gloves, eye protection, and sturdy footwear. Make sure the vehicle is in a well-ventilated area, with the engine off and keys out of the ignition. Disconnect the battery if you’ll be near electrical components, and never bypass warning labels or safety straps. Identify and plan around key risks: hot surfaces, moving parts, and sharp edges. Use noise reduction strategies to avoid mishearing symptoms—move slowly, test one system at a time, and confirm readings with the engine off before starting. Keep a concise checklist handy, document any hazards, and maintain a clear path to exit in an emergency. Safety gear first, then methodical listening, then precise conclusions.
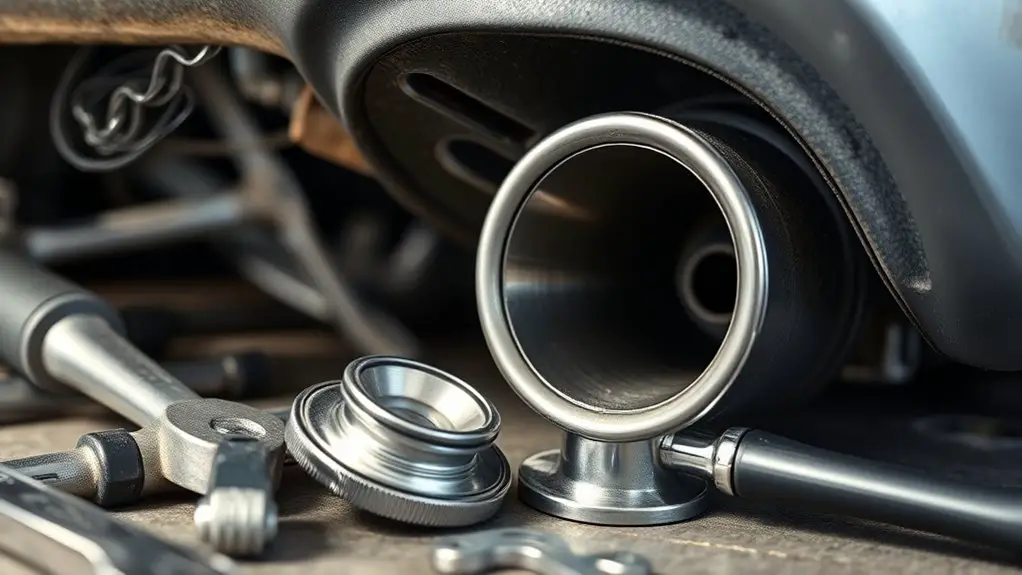
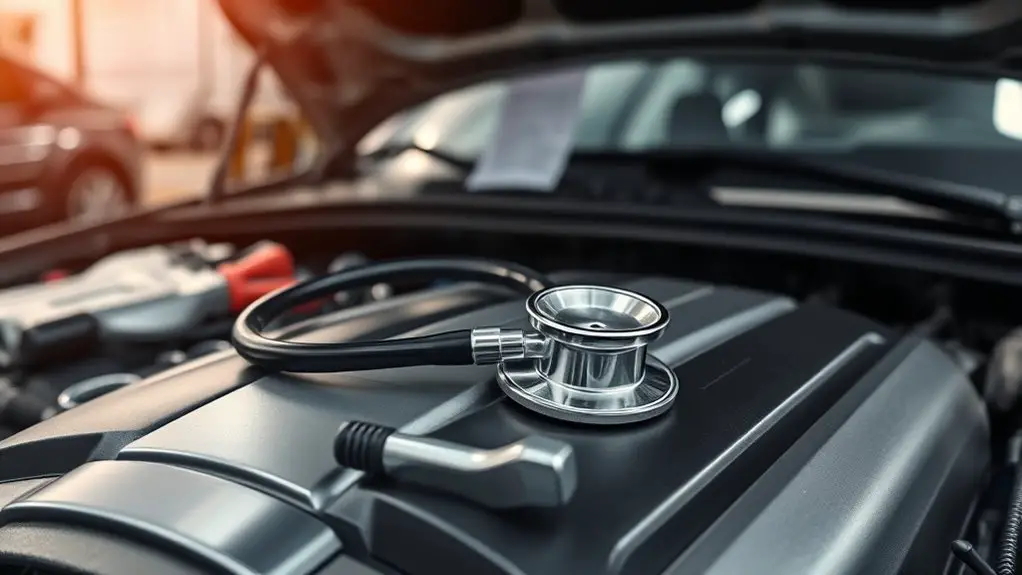
Tools and Preparation for Emissions Diagnostics
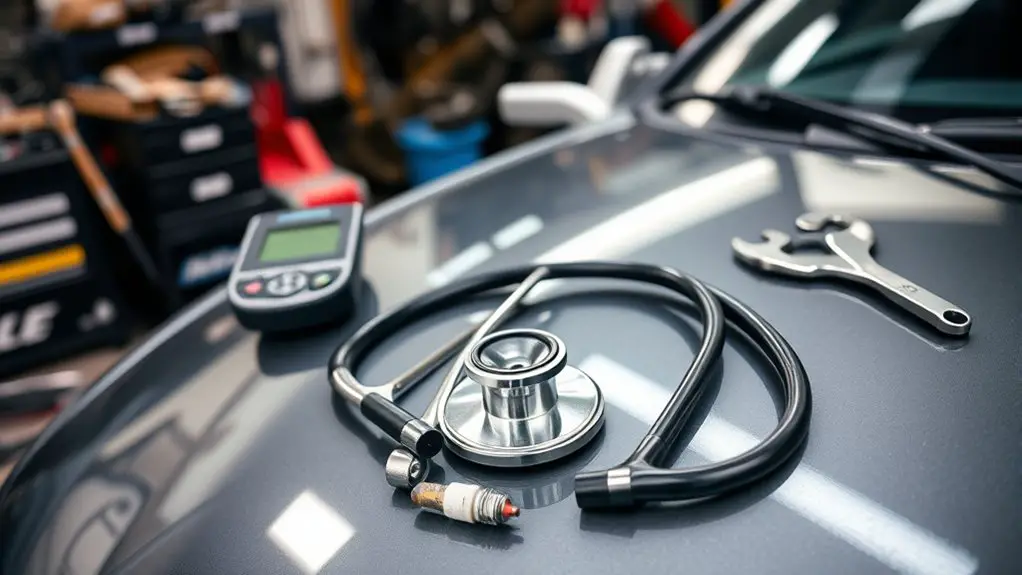
Gather the right tools and set up a clean, organized workspace before you start. You’ll rely on emissions equipment and a few diagnostic tools to troubleshoot confidently. Keep clamps, hoses, a multimeter, a scan tool, and the stethoscope within arm’s reach. Wear disposable gloves and have rags for quick cleanups, so you stay precise and calm.
| Tools you’ll need | Purpose |
|---|---|
| Mechanic’s stethoscope | Listen for anomalies in injectors, valves, and the exhaust path |
| Emissions equipment | Measure flow, pressure, and misfire indicators |
| Diagnostic tools | Pull codes, view live data, and confirm fuel and ignition timing |
| Basic hand tools | Tighten fittings without damage |
| Safety gear | Shield from fumes and heat while you work |
Prep each tool: calibrate, inspect for cracks, and organize cables. Create a quick plan: what you’ll test first, note outcomes, and adjust. Be deliberate, stay focused, and keep it simple.
Identifying Common Emissions-Related Noises
You’ll learn to spot common emissions noises by listening for engine knocking, which signals improper combustion, and is best verified with steady stethoscope placement. Look for exhaust hiss as a gauge of leaks, noting where it changes with throttle and RPM. Finally, listen for turbo whine clues that shift with boost pressure, helping you separate turbo issues from broader engine sounds.
Engine Knocking Sounds
Engine knocking is a telltale sign that something isn’t right with your emissions system or its related components, and you’ll want to tune into sharp, percussive sounds rather than a steady rhythm. When you hear knock, approach it with calm, deliberate checks: confirm timing, listen with the stethoscope at the cylinder head and intake, and compare to a baseline idle. If the sound persists under load, log the conditions and note variations between cold start and warm operation. Use clean fuel and consistent oil quality to support engine maintenance and reduce noise. Prioritize noise diagnosis methods that isolate the source before teardown. Document findings, follow safe inspection steps, and decide whether quick fixes or professional service is needed.
Exhaust Hiss Indicators
Exhaust hiss is a telling clue that something in the exhaust path is leaking or escaping under pressure. You’ll notice it as a sharp, continuous hissing sound when you inspect joints, gaskets, and clamps with the stethoscope pressed along the pipe. Treat it as a leak indicator, not a generic noise. Listen for changing pitch with engine load or RPM, which can point to leaks near the manifold, mid-pipe, or tailpipe. To verify, first tighten accessible fasteners, then re-check for persistent hissing. If sounds persist, isolate sections by listening at each joint while the engine runs briskly but safely. Document locations of exhaust leaks and hissing sounds for diagnosis and potential emissions-test impact. Prioritize safety and clarity over speculation.
Turbo Whine Clues
Turbo whine is a telltale emissions clue that often comes from pressurized air paths or faults in the turbo system. You’ll listen for a consistent, high-pitched or whooshing tone that rises with engine speed. Use your stethoscope to isolate the sound from the turbocharger area, oil lines, intercooler, and intake piping. Note whether the noise is present at idle, then intensifies under acceleration, or only shows up after boost builds. Compare with baseline engine noise and other components to rule out exhaust or accessory belts. Turbo noise often signals boost leaks, failing seals, or worn bearings. Addressing it early helps prevent broader performance issues, improves smoke-free operation, and preserves fuel efficiency. If in doubt, corroborate with pressure tests and scan data.
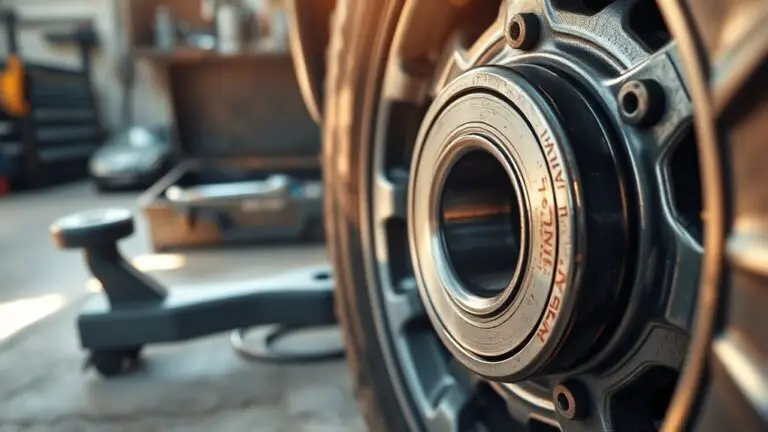
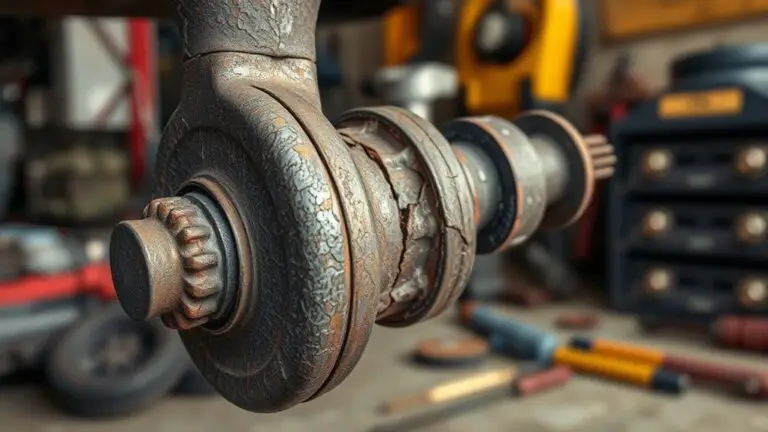
Practical Probe Placement on Key Engine Areas
You’ll start by targeting the engine areas that most influence emissions readings, using the stethoscope to map sound signatures from intake, exhaust, and timing zones. Place the probe at logical junctions—near the intake manifold, upstream of the catalytic converter, and along the exhaust traces—then compare what you hear to baseline engine behavior. Keep your moves deliberate: note distinct noises, repeat with the same probe points, and adjust to spotlight the most diagnostic areas.
Probe Placement Tips
Probe placement matters most where the engine runs hot or has multiple moving parts. You’ll want steady, deliberate contact that doesn’t vibrate loose. Start with the area you can hear clearly, then move to nearby components for comparison. Probe angles matter, so tilt and rotate the probe to chase distinct sounds without forcing contact. Listen for consistent rhythm, not random clanks, and note any shifts with RPM. Sound amplification helps you distinguish a weak leak from normal intake noise.
| Area | Contact Tip | What to Listen For |
|---|---|---|
| Intake manifold | Corner edge | Uniform tone at idle |
| Exhaust manifold | Studded surface | Sharp change with throttle |
| Valve cover | Flat surface | Consistent hum vs. pulse |
Practice patience; precision beats force.
Key Engine Areas
Key engine areas demand deliberate probe placement to separate true leaks from normal operation. You’ll focus on the intake manifold, exhaust manifold, turbo connections, valve covers, and nearby vacuum lines. Place the stethoscope at the seam where the gasket sits and at joints that tighten under heat. Listen for steady, high-pitched hiss indicating a leak, or a rhythmic tapping that matches engine vibrations. Move slowly, shift RPMs, and compare both sides of the engine bay to spot asymmetries. Pay attention to noise patterns that don’t align with engine RPM, which can reveal loose hardware or cracked hoses. Use deliberate pressure to isolate sounds without masking nearby engine noise, then verify findings with a quick diagnostic test.
Interpreting Sounds to Narrow Down Faults
When you start listening with a mechanic’s stethoscope, you’ll tune out normal engine noises to focus on telltale sounds that hint at faults. You’ll connect what you hear to sound frequency patterns and aggregate clues, then map them to likely issues. Use deliberate contrast—high-pitched ticks vs. dull thuds—to guide your hypotheses, then test with targeted diagnostic techniques.
- Identify frequencies: note whether a squeal, chirp, or rattle sits high or low and when it changes with RPM.
- Correlate timing: align sounds with engine cycles to pinpoint components like valves, lifters, or pulleys.
- Compare steady vs. intermittent: steady hums may indicate bearing wear; sporadic clicks can signal loose fittings.
- Validate with tests: swap suspected parts or perform simple bench checks to confirm conclusions without over-committing.
Keep notes concise, prioritize actionable leads, and let the diagnostic techniques drive your conclusions toward a founded, ready-to-act recommendation.
Steps to Follow After Listening Findings
After you’ve logged the listening findings, prioritize the most actionable leads and map them to likely causes, then plan targeted verification steps. You’ll now translate sounds into concrete checks, keeping the cadence steady and measured. Begin with post test inspections to confirm symptoms you heard align with observable engine behavior, sensor readings, and exhaust-system condition. Document each lead, assign a plausible failure mode, then design a minimal, repeatable test for verification. Use controlled variations—idle versus test-speed, cold start versus warmed engine—to isolate causes without over-interpreting noises. If a suspected regulator or sensor issue emerges, cross-check with electrical continuity and connector integrity before swapping parts. Maintain a concise trail of findings so you can defend choices under emissions troubleshooting scrutiny. Prioritize fixes that address root causes, not symptoms, and plan rechecks to confirm the fault is resolved. End with a ready-to-copy checklist for the next test cycle.
Frequently Asked Questions
Can a Stethoscope Detect Emissions System Leaks or Only Engine Noises?
A stethoscope mainly helps you hear engine noises, not reliably detect emissions leaks. It’s limited for leak detection because many leaks are faint or outside the listening range. Use sound analysis alongside visual checks and, when needed, diagnostic tools designed for exhaust systems. So, you’ll mainly detect noises, while leaks require other methods. For a practical approach, document observations, test components, and prioritize safety. Stay curious, methodical, and keep the process concise.
How Do Ambient Noises Affect Stethoscope Readings During Tests?
Ambient noise can mask subtle sounds, so ambient noise affects stethoscope readings by reducing signal clarity and making it harder to pinpoint issues. You’ll want a quiet environment or use the stethoscope with heightened sensitivity settings to compensate. Rely on stethoscope sensitivity adjustments and avoid overlapping sounds. You note patterns when engine idle and load match, using coincidence to distinguish real leaks from background hum. Keep methodical checks, document readings, and repeat to confirm you’re ignoring noise.
Should I Record Sounds for Later Comparison With Test Results?
Yes, you should record sounds for later comparison with test results. Do lightweight, non-intrusive recording when safe, and label each clip with date, test type, and conditions. Use sound documentation to capture ambient noise alongside the stethoscope readings. Then perform a structured comparison analysis: align timestamps, note peak timings, and correlate anomalies with emissions data. Keep recordings organized, verifiable, and accessible for future audits or adjustments.
Can Stethoscope Findings Predict Exact Failed Emission Components?
No, stethoscope findings can’t predict exact failed emission components. You’ll want to keep expectations measured because stethoscope limitations mean you’re listening for anomalies, not pinpointing specifics. Use it as a screening tool, then correlate with diagnostic data. When interpreting sounds, practice sound interpretation and document patterns, not certainties. Stay methodical, compare with baseline, and don’t overinterpret single notes. If in doubt, confirm with proper tests.
Is Professional Diagnostic Equipment Ever Preferred Over a Stethoscope?
Yes, professional diagnostic equipment is preferred in many cases. You should use it when precision beats guesswork, because stethoscope limitations can’t reliably pinpoint emissions faults. You’ll appreciate that professional diagnostics offer calibrated data, faster pinpointing, and repeatable results. Still, you’re free to start with basic checks, but don’t over-rely on a stethoscope for emissions diagnosis; escalate to proper tools to avoid chasing shadows.