Preventing Coolant Contamination Through Proper Coolant Care
Choosing the right coolant for your vehicle starts with your owner’s manual, then verifying compatibility and avoiding any mix of incompatible formulas. Measure and mix distilled water with the concentrate carefully, using clean, labeled tools and calibrated gauges. Test concentration with a refractometer or hydrometer, keep a detailed log, and maintain proper levels. Inspect hoses, seals, and the radiator regularly, and flush as recommended to prevent sediment and corrosion. If you keep at it, you’ll uncover more tips soon.
Choosing the Right Coolant for Your Vehicle
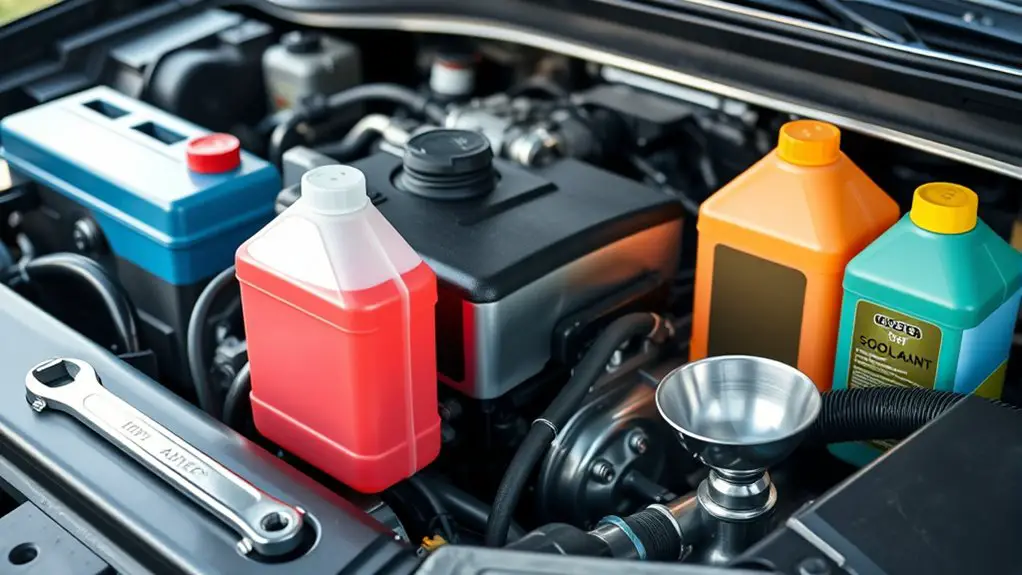
Choosing the right coolant for your vehicle starts with your engine’s specific requirements and your climate. You’ll assess coolant types by considering boiling and freezing points, corrosion inhibitors, and silicate content to protect the cooling system’s metals. Start with the owner’s manual or manufacturer label to confirm vehicle compatibility, then verify concentration and service interval recommendations. Note that OEMs often specify a single coolant family or a compatible alternative; mixing incompatible formulas can create deposits, bypass failures, or reduced heat transfer. Inspect the system for any existing leaks or contamination, as these factors influence suitable coolant types and replacement timing. If you’ve recently had parts replaced, double-check that the new fluid matches the original specification and dye color. While choosing, prioritize long-term protection, readily available formulations, and a reliable supplier. By selecting coolant that aligns with your engine’s needs and climate, you maintain peak performance and extend component life.
How to Mix and Measure Coolant Correctly
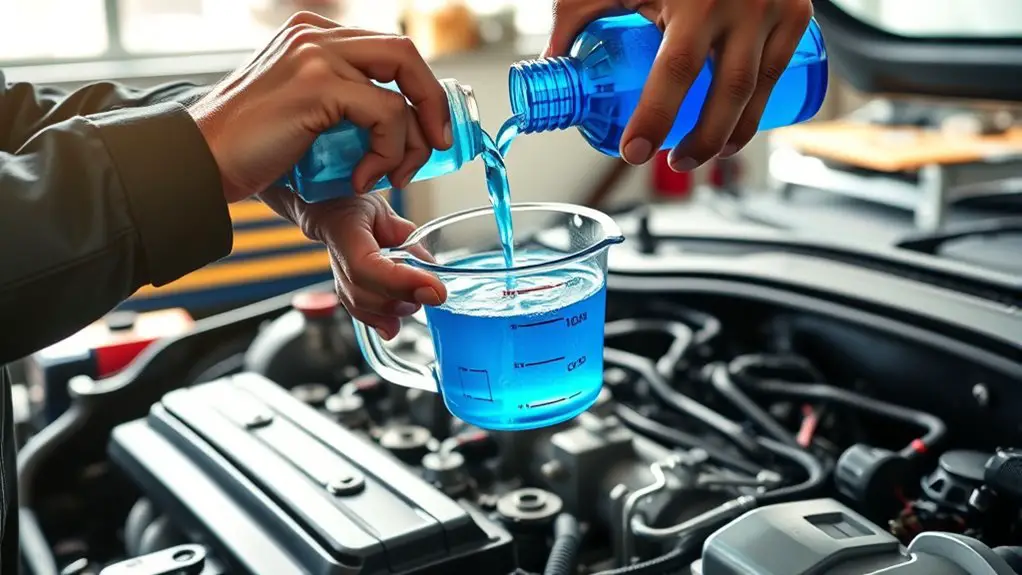
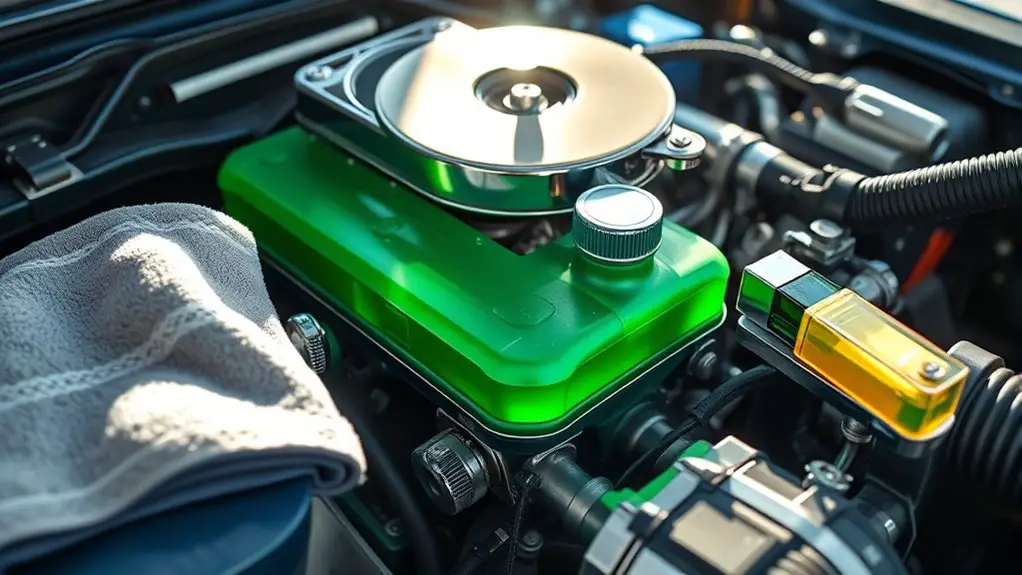
Once you’ve identified the correct coolant type for your vehicle, the next step is to mix and measure it accurately to ascertain proper protection and cooling performance. Begin by reviewing the manufacturer’s recommended coolant ratios, then gather clean, labeled containers and calibrated measuring tools. Use a clean funnel and pour the concentrate into the appropriate ratio with distilled water as specified. Measure water first for precision, then add coolant concentrate in small increments, swirling gently to ascertain full mixing without air pockets. Check labels on both components and confirm temperature considerations if heat is involved. Keep your workspace tidy to prevent contamination from dirt or debris, and never mix incompatible coolant formulas. Record the batch details, including date and source, for future reference. Once mixed, inspect the solution for uniform color and consistency before pouring into the reservoir. Avoid overfilling; leave space for expansion. Regularly verify levels and reseal containers after use.
Testing Coolant Concentration and System Ph
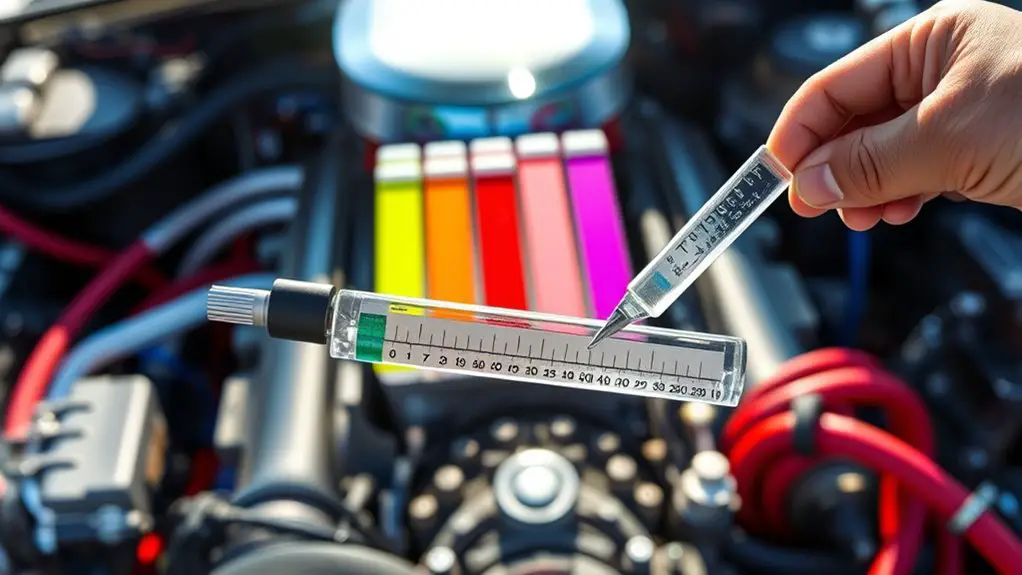
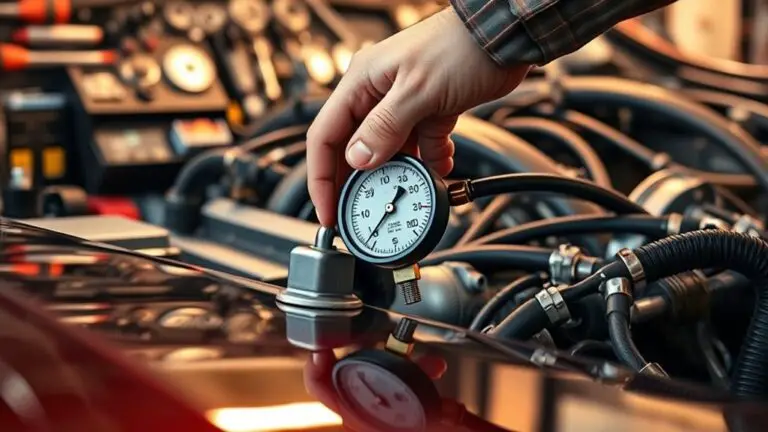
Have you verified your coolant’s concentration and the system’s pH level lately to secure ideal protection and cooling performance? You’ll approach testing with deliberate steps. Begin by gathering a calibrated refractometer or hydrometer for concentration checks and a reliable pH meter for acidity/alkalinity. Prepare clean, labeled samples from representative zones—supply lines, reservoir, and return loop—avoiding air bubbles that skew readings. For coolant testing concentration, compare measured values against your manufacturer’s target range; note any drift, and record ambient temperature, which influences indicators. For pH measurement, ascertain the probe is balanced to the test fluid and rinse between samples to prevent cross-contamination. If readings fall outside tolerance, adjust only per documented procedure, using compatible additives or dilution as specified. Maintain a concise log of date, time, readings, and corrective actions. Precision protects performance, reduces corrosion risk, and keeps your system operating with freedom and confidence.
Regular Cooling System Inspection Tips
Regular cooling system inspections are a practical habit that prevents surprises and downtime. You’ll build a reliable routine by focusing on clear steps, measurable results, and schedule discipline. Begin with a visual sweep: hoses, clamps, radiator, and reservoir for signs of wear, cracking, or seepage. Listen for unusual noises when the engine runs, and note any coolant smells near the front of the vehicle. Check coolant level—cold, in the reservoir, and within the marked range—and verify the expansion tank cap seals correctly. Document changes and establish an inspection frequency that matches usage, climate, and manufacturer guidance. Prioritize coolant leaks as the earliest warning; address small drips before they escalate. Keep a simple checklist, and update it after each service interval. If you discover incongruities, pause driving and seek professional diagnosis. Consistency, not haste, protects your system and preserves freedom from unexpected downtime.
Recognizing Signs of Contamination and Corrosion
You’ll learn to spot contamination indicators like cloudy or discolored coolant and metal particles, plus any unusual odors or foaming. Watch for corrosion warning signs such as rusty deposits, sediment buildup, pitting, and deteriorated hoses or fittings. Use preventive monitoring techniques, including regular test strips, coolant chemistry checks, and sediment inspections, to establish a baseline and catch changes early.
Contamination Indicators
Contamination indicators appear as tangible clues that corrosion and foreign substances have entered the coolant system. You’ll notice changes that matter: unusual color shifts, sediment or sludge in the reservoir, and particulate matter on filters or screens. Milky or cloudy coolant can signal emulsification, while gel-like deposits point to degraded additives. Temperature fluctuations without obvious cause may reflect obstructed flow from scaling or rust. You should assess pH drift, abnormal viscosity, and foaming, all of which warrant closer inspection. Track contamination sources by tracing intake paths, seals, hoses, and reservoir lids for leaks or cross-contamination routes. Employ your detection methods: sample the coolant, perform a simple test strip, and compare against baseline specs. Document findings, isolate potential sources, and plan corrective action before damage escalates.
Corrosion Warning Signs
Corrosion warning signs appear as clear indicators that the coolant system is breaking down, often alongside contamination. You’ll notice material pitting, metallic specks in the stream, or a metallic smell signaling underlying reactions. Watch for unexplained changes in coolant color, surface foaming, or granular sludge near drains. Pressure fluctuations, foul odors, or increasing coolant loss point to corrosion activity rather than a simple leak. Corrosion types vary in behavior: galvanic, dezincification, or acidic attack may precede failure of heater cores, radiators, or pumps if left unchecked. Document patterns and compare against service intervals to distinguish normal wear from active degradation. Protect critical surfaces with appropriate protective coatings, and guarantee coolant chemistry remains balanced to slow ongoing reactions. Regular inspection minimizes risk and preserves system performance.
Preventive Monitoring Techniques
Preventive monitoring hinges on systematic observation and timely sampling to detect contamination and corrosion before they escalate. You’ll implement a routine that pairs visual checks with quantitative tests, documenting results for trend analysis. Start with coolant monitoring of pH, conductivity, and total dissolved solids, noting any drift from baseline. Inspect hoses, fittings, and reservoirs for discoloration, grit, or sediment, recording location and severity. Use a refractometer or coolant analyzer to assess concentration and water quality, flagging deviations that prompt maintenance actions. Track coolant maintenance activities, including filter changes, additive dosing, and system flushing, ensuring proper intervals are followed. Maintain a clear log of temperature differentials and flow rates to spot blockages. Establish threshold criteria, prompt sampling, and timely corrective steps to sustain system integrity and reliability.
Maintaining the Cooling System for Long-Term Health
Maintaining the cooling system for long-term health starts with a clear, proactive routine: inspect for leaks, monitor fluid levels, and schedule regular service intervals to prevent buildup and wear. You’ll track coolant concentration, replace aging hoses, and clean debris from radiators to optimize flow. Prioritize quality coolant and distilled water, using the manufacturer’s ratios to maximize cooling efficiency. When topping off, verify you’re not introducing contaminants, and bleed air pockets as needed to uphold consistent pressure. Document every inspection and service, enabling predictable coolant lifespan extension and fewer midseason failures. Regular flushing at recommended intervals helps remove sediment and protect seals, while observing thermostat and fan operation ensures sudden temperature spikes don’t catch you off guard.
| Action | Frequency | Benefit |
|---|---|---|
| Inspect leaks | Monthly | Prevents hidden damage |
| Check levels and concentration | Weekly | Maintains balance |
| Flush and replace coolant | As recommended | Extends coolant lifespan extension |
Frequently Asked Questions
How Often Should I Replace Cooling System Hoses?
You should inspect and replace cooling system hoses every 4–5 years, or sooner if you notice cracks, swelling, or leaks. Perform regular hose inspection frequency checks during each oil change or seasonal service. Consider coolant hose materials and age; silicone and EPDM hoses last longer than cheaper rubber variants, but all degrade with heat. Keep in mind that replacement intervals depend on climate, mileage, and operating pressures, and always use high-quality clamps during reinstallation.
Can I Use Tap Water for Top-Offs Safely?
Tap water isn’t safe for top-offs due to tap water risks like minerals and contaminants that can corrode cooling systems. You should use the vehicle manufacturer’s recommended coolant mix or distilled water. Safe alternatives keep your system protected and powered. You’ll maintain proper pH and antifreeze levels, avoiding sediment buildup. If you must top up, choose distilled water or pre-mixed coolant, and document usage to stay aligned with your performance standards and freedom to drive confidently.
Do Extended-Road Trips Affect Coolant Longevity?
Yes, extended trips can stress coolant and shorten its effective life. You’ll see more temperature cycling, heat soak, and potential boilover risks, which can degrade coolant performance over time. To protect it, monitor levels, check for signs of degradation, and adhere to your vehicle’s service intervals. On long journeys, you’ll benefit from a pre-trip coolant check, proper mixture, and a fresh fill if needed to maintain ideal cooling and peace of mind during extended trips.
What’s the Impact of Mineral Buildup on Heaters?
Mineral buildup reduces heater efficiency by clogging passages and insulating core surfaces. When mineral deposits accumulate, you’ll notice slower heat output and uneven warming. To preserve performance, you should flush the cooling system, use distilled water, and add a quality coolant with anti-scale additives. Regularly inspect hoses and the heater core for flow restrictions. By maintaining clean passages, you keep heater efficiency high and enjoy steadier, quicker warmth.
How Can I Dispose of Old Coolant Properly?
First, you dispose of old coolant by taking it to a certified disposal facility or a licensed recycling center. If you handle it yourself, seal it in a clearly labeled, leak-proof container and never pour it down drains or onto the ground. Seek coolant recycling programs and hazardous waste collection events. Keep records and follow local rules. This protects you, your environment, and avoids hazardous waste pitfalls.