Preventing Coolant Loss Without Visible Leak Through Proper Coolant Care
To prevent coolant loss without a visible leak, you must monitor system pressure, purge air pockets, and keep the coolant concentration correct. Start by verifying reservoir and pump discharge pressures, then check cap integrity and hose joints for tiny leaks. Purge air through vent ports in the proper sequence and avoid rapid temperature swings that trap steam. Regularly verify concentration with the recommended mix and inspect hoses and clamps. If you stay on this path, you’ll uncover more precise steps ahead.
Understanding When Coolant Loss Isn’t a Visible Leak
Coolant loss isn’t always obvious from a puddle or a drip. You’ll sometimes detect a decrease in cooling performance without a visible leak, which points to non-obvious pathways like coolant evaporation and internal leaks. In practice, you monitor temperature gauges, fan cycles, and pressure readings on the reservoir and radiator cap to establish a baseline, then track deviations. Suspect evaporation when you observe rising coolant consumption without external discharge, especially after short drives or heavy loads where vaporization accelerates. Internal leaks may hide behind a swollen hose, a damp intake, or a corroded heater core; pressure tests and dye traces help confirm hidden paths. Systematically inspect seals, clamps, and reservoir caps for micro-leaks or permeation. Keep records of coolant mix, replacement intervals, and driving conditions that precede loss. By maintaining a disciplined diagnostic routine, you distinguish genuine loss from transient fluctuations and plan targeted interventions.
Choosing the Right Coolant and Mix Ratios for Your Engine
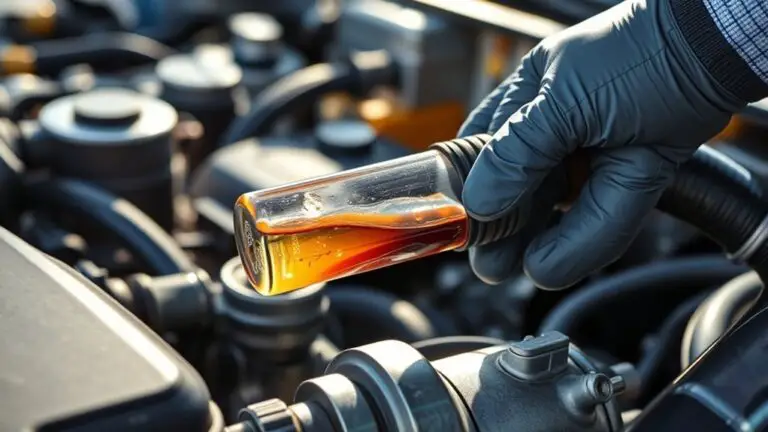
Choosing the right coolant and mix ratios starts with your engine’s specification: use the exact coolant type recommended by the manufacturer and match the premix or concentrate to the specified concentration. You’ll select coolant types based on system metal compatibility, temperature range, and corrosion protection, then confirm additive packages align with your thermal requirements. Next, assess your mix ratios, ensuring the dilution matches the supplied premix or the concentrate’s target concentration. Precision matters: incorrect ratios can undermine boilover protection, freezing resistance, and flow characteristics, leading to cavitation or blocked passages. Follow the vehicle’s labeling and your service manual, and verify with a refractometer or hydrometer if you’re mixing from concentrate. Maintain a clean system, cap off air pockets, and rotate through steady-state checks after a fill. With disciplined selection of coolant types and exact mix ratios, you balance protection, performance, and long-term reliability while preserving your freedom to push efficiency.
Detecting Subtle Signs of Coolant Loss Through System Checks
Even when a loss isn’t obvious, routine system checks can reveal subtle coolant leaks or consumption before they become critical. You’ll approach detection with a disciplined workflow: quantify baseline sensors, monitor trends, and correlate readings with operating states. Start with coolant sensors onboard the engine and radiator; log sensor outputs at steady intervals during warmup, steady cruise, and cooldown. Note any drift beyond manufacturer tolerances or intermittent spikes that reoccur under specific loads. Compare temperature fluctuations across channels—sudden deviations or lag between cylinder heads and coolant supply often signal a small breach or partial loss. Use diagnostic tools to verify pump performance, flow rate, and fan engagement in relation to readings, but avoid assumptions. Record ambient conditions, engine load, and time stamps to distinguish real loss from transient transients. Document findings, repeat tests, and escalate if trends persist, ensuring early intervention without overreacting to single data points.
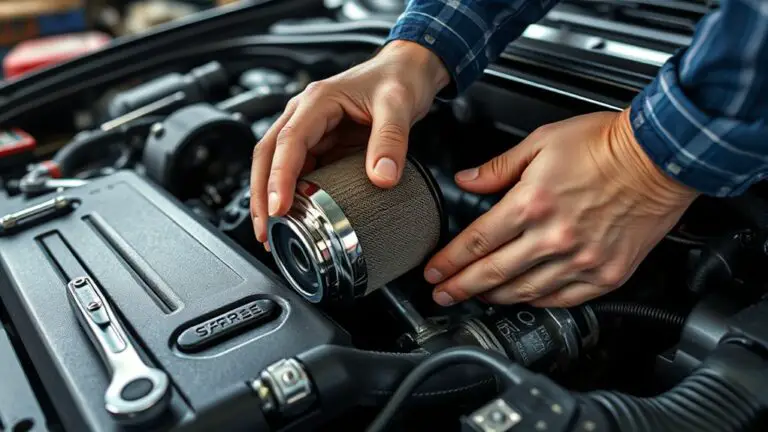
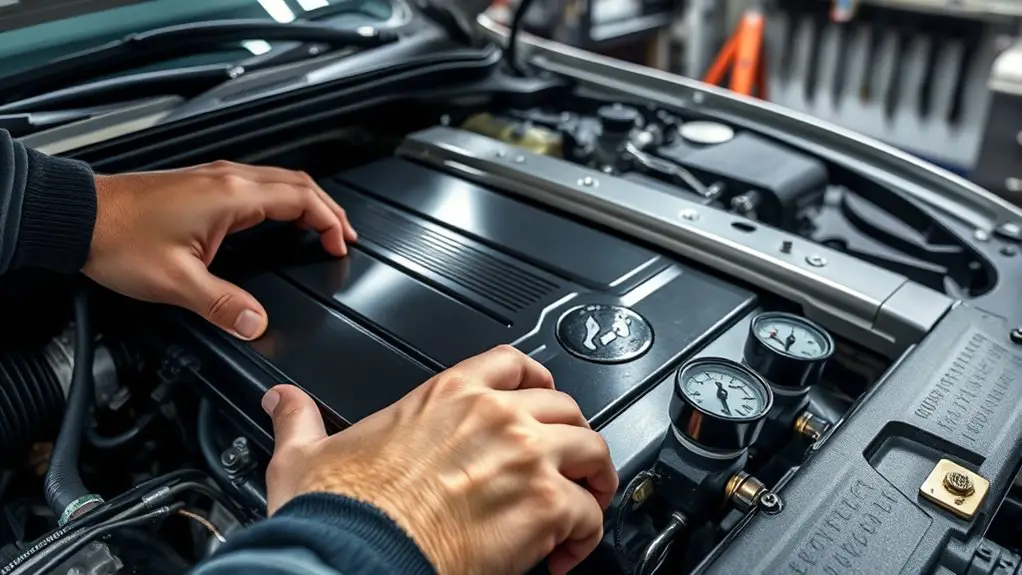
Maintaining Pressure and Air Pocket-Free Cooling Circuits
Maintaining pressure and an air pocket-free cooling circuit requires careful system management and disciplined procedures; when done correctly, it prevents hot spots, cavitation, and reduced heat transfer. In practice, you verify coolant pressure at the designated reservoir or pump discharge, guaranteeing it stays within the manufacturer’s spec for your circuit. You monitor cap integrity, hose junctions, and fittings for minor leaks that could alter pressure without visible drips. You purge air pockets by deliberate methods: vent ports opened in a sequence that encourages trapped air to escape while the pump runs steadily, avoiding reintroduction of air during filling. You avoid rapid temperature changes that invite steam pockets, and you confirm all flow paths remain unobstructed by debris. You document target pressures and venting steps, and you validate that sensor readings reflect actual flowing coolant. Consistent checks prevent pressure fluctuation, guarantee effective heat transfer, and maintain reliable system operation.
Regular Maintenance Steps to Prevent Overheating and Dwell Time
Regular maintenance starts with a disciplined routine to prevent overheating and dwell time. You establish an inspection cadence that targets temperature stability, flow consistency, and air pocket reduction. Start with a thermal check: monitor upper radiator hose temperature differentials and verify thermostat cycling within spec. Next, confirm proper coolant concentration and clarity; dirty or diluted fluid raises boiling risk and heat soak. Use a calibrated refractometer or hydrometer to guarantee correct mixture, and top off only after draining and refilling as needed. Inspect hoses and clamps for cracks, bulges, or leakage points that can alter flow and create hot spots. Document coolant condition, service intervals, and any deviations. For overheating prevention, consider coolant additives where compatible; these can improve corrosion resistance and lubricity, aiding pump efficiency and heat transfer. Maintain a clean reservoir cap and pressure seal; replace worn caps to sustain consistent pressure and dwell time reduction. Continuous practice yields reliable cooling performance.
Frequently Asked Questions
Can Coolant Loss Occur Without Any Coolant Smell?
Yes, it can happen. You might notice coolant loss without a smell, especially through evaporation or subtle leaks. You’ll want to monitor pressure dynamics in the cooling system, as tiny breaches or cap faults can drive gradual loss without odor. Track reservoir levels, check hose connections, and inspect the radiator for seams. Regular, precise checks help you manage coolant evaporation and preserve system performance, keeping you free to drive with confidence.
How Often Should Coolant Hoses Be Inspected for Hidden Leaks?
You should inspect coolant hoses every 3,000 to 5,000 miles or quarterly, whichever comes first. During hose inspection, look for cracks, bulges, soft spots, or seepage with a clean flashlight. Check clamps for looseness and guarantee proper routing to avoid heat or friction. Regular coolant maintenance protects against hidden leaks. If you notice any suspect area, replace hose promptly and recheck system pressure to confirm no further loss. Maintain documentation for reliable, long-term performance.
Do Aftermarket Additives Affect Coolant System Pressure Readings?
Additive effects can alter pressure readings, but typical aftermarket additives don’t reliably distort static cold or hot pressure beyond manufacturer tolerances. You’ll see minor pressure fluctuations as additives circulate and react with coolant minerals; use precise test methods and compare to baseline values. If readings spike or drift beyond spec, suspect a seal, hose, or cap issue rather than additive influence. Maintain documented test procedures and monitor pattern, not single data points, for accurate conclusions.
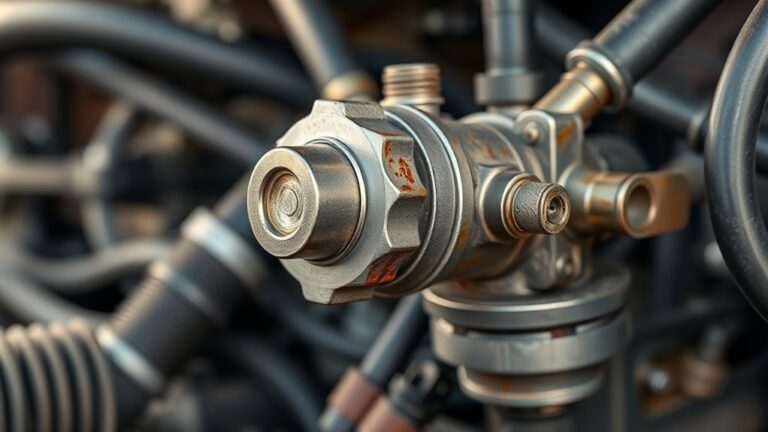
Can Radiator Cap Wear Cause Invisible Cooling System Leaks?
A worn radiator cap can indeed cause invisible leaks. Picture a hot-road case where pressure drops after a drive, yet no puddle forms—until a coolant smell hints at a cap letting steam escape. In your radiator maintenance routine, monitor cap sealing and replace worn units promptly. A tight system relies on proper cap pressure; even small compromises matter. Do cap replacement as a standard, preventive step to stabilize pressure and prevent hidden losses.
Is There a Safe Method to Test for Small Internal Leaks?
Yes, there is a safe method: perform a pressure test and dye inspection. First, seal the cooling system and apply a precise pressure with a proper tester. Observe for drops indicating a leak. Next, introduce a UV dye and run the engine briefly, then inspect with a dye lamp or glasses for glowing traces. This combination reveals small internal leaks without dismantling components, balancing accuracy with controlled, respectful testing.