Preventive Checks to Extend Battery Life and Avoid In-Car Electronics Resetting
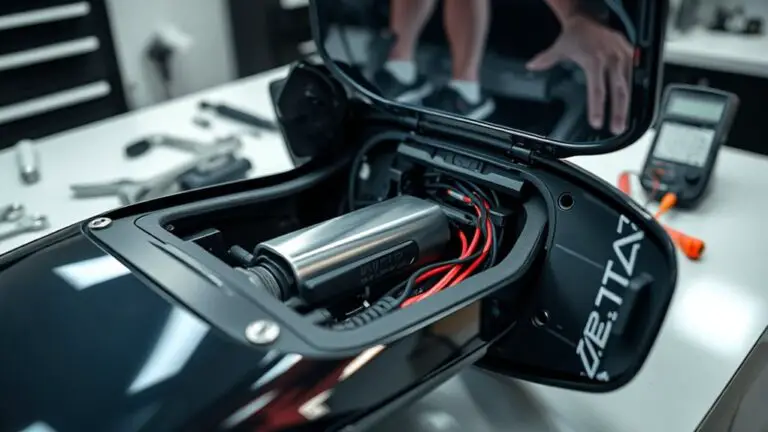
Regularly monitor your battery’s health and charging habits to prevent resets. Check the alternator output, belts, and battery voltage at idle and under load, and look for dim lights or slow cranking as warning signs. Inspect cables, connectors, and grounding; clean or replace corroded parts and guarantee terminal clamps are snug but not overtight. Use moderate charging currents and keep SOC stable with timely top-offs. If issues persist, consult a tech; more preventative steps await.
Battery Health Basics: What to Watch

Battery health basics are about keeping the battery capacity as high as possible and understanding how usage affects longevity. You’ll monitor how you discharge and recharge to protect battery lifespan and performance. Focus on consistent operating ranges: avoid deep discharges, keep charging when practical, and minimize exposure to extreme temperatures that hasten wear. Battery maintenance means tracking voltage and resting state, recognizing that gradual capacity loss is normal but avoidable spikes signal issues early. You should favor moderate charging habits, use quality chargers, and verify connections are clean and secure to maximize efficiency. Regular checks of state of charge and available capacity help you plan usage patterns that extend life without compromising reliability. Document indicators like cycle count, temperature, and charge efficiency to map aging trends. By prioritizing these practical signals, you preserve battery lifespan, reduce replacement frequency, and maintain system responsiveness across your vehicle’s electrical demands.
Checking the Alternator and Charging System
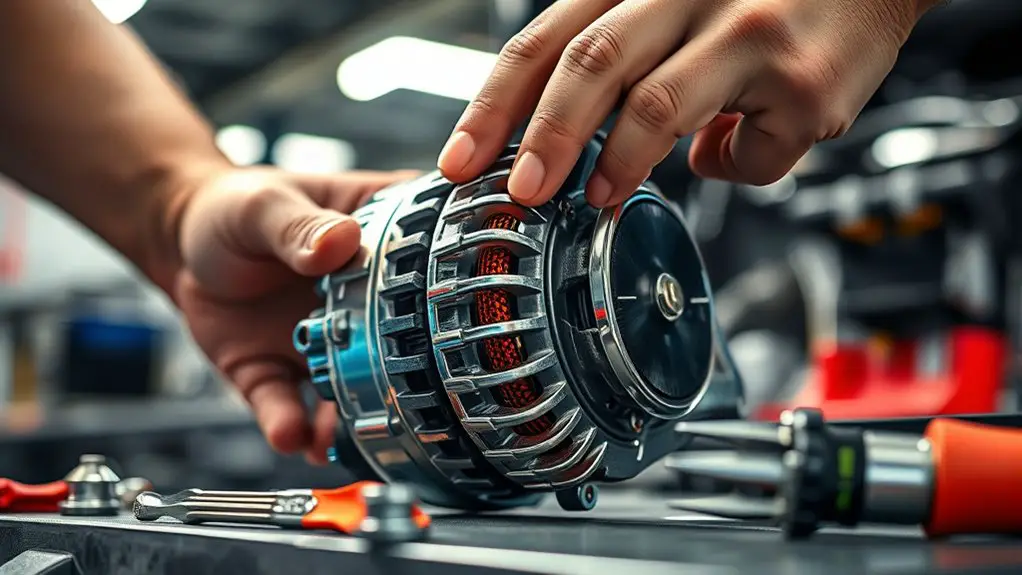
Your alternator health and the charging system deserve a quick check to prevent unexpected stalls. Look for warning signs like dim headlights, slow-cranking, or a charge light that lingers; those symptoms point to possible alternator or belt issues. We’ll cover how to perform a basic health check and interpret common charging faults next.
Alternator Health Check
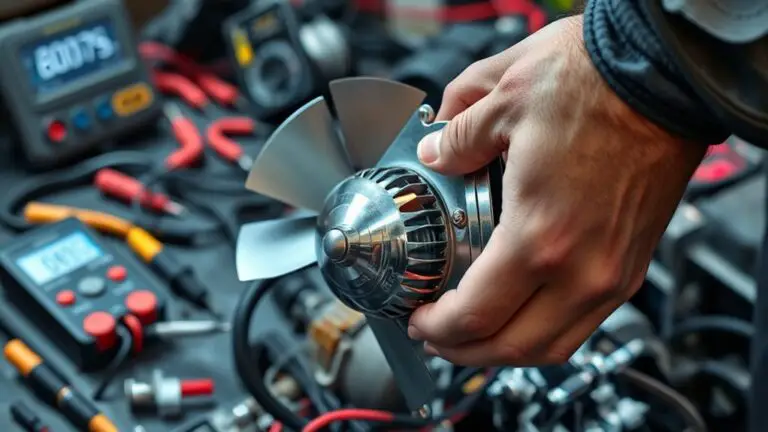
To determine if your alternator and charging system are functioning properly, start with a quick voltage check at the battery terminals with the engine off, then repeat with the engine running to confirm a rise to about 13.8–14.8 volts. If you stay under or overshoot the range, you may have alternator testing needed to pinpoint the issue. Check for smooth voltage rise during cranking, listen for bearing noise, and inspect belts for wear. A failing alternator can cause sudden electronics resets, so verify charging current at idle and under load. If readings are inconsistent, plan alternator replacement before draining accessories. Document measurements, and compare against OEM specs. This keeps your system reliable, minimizes surprises, and supports freedom through proactive maintenance.
Charging System Symptoms
If your alternator or charging system isn’t performing up to spec, you’ll start noticing a handful of symptoms that point to electrical strain. You’ll hear unusual whines or squeals from the belt, dimming headlights, and slower interior lighting response. Battery warning lights may illuminate even with a healthy battery, signaling charging issues rather than discharge. You might notice fluctuating voltages on the dashboard gauge or a sudden drop in electrical performance during peak loads. Check charging system diagnostics and test the alternator output at specified RPM, plus the belt tension and electrical connections for corrosion. Battery performance indicators, such as resting voltage and load tests, help confirm root cause. Addressing faults early preserves performance and avoids unexpected resets.
Inspecting Cables, Connectors, and Grounding
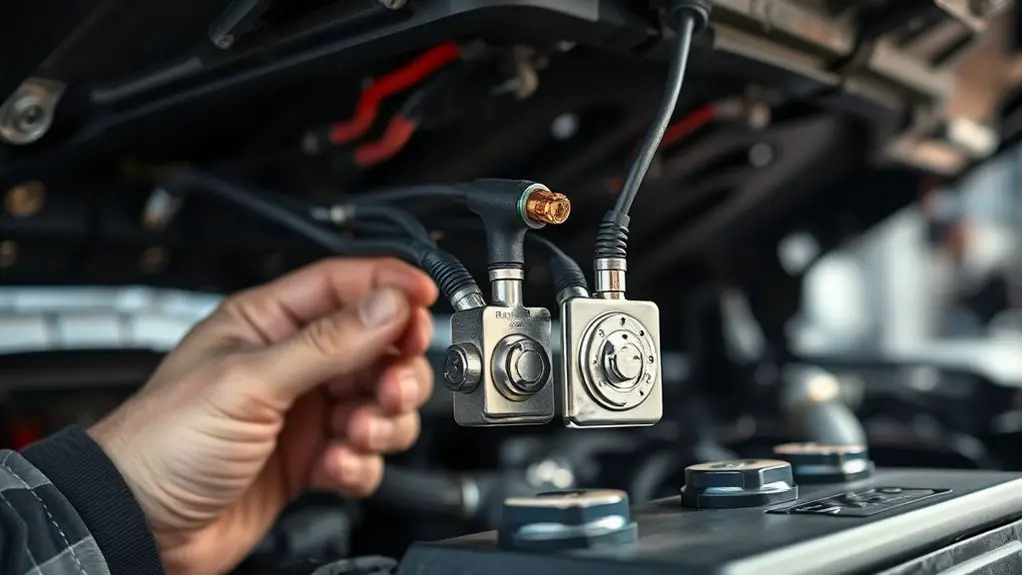
Inspecting cables, connectors, and grounding is essential for reliable battery performance. You’ll inspect for integrity, clean connections, and solid ground paths that prevent parasitic drains and resets. Focus on cable wear and connector corrosion, which quietly undermine system voltage and start-up reliability. Loose or frayed conductors can spike resistance, while corrosion adds impedance that bleeds current. You want tight, clean terminals and a chassis ground with bare metal contact.
- Check cable insulation for cracks, chafing, and insulation wear near bends
- Inspect connectors for corrosion, bent pins, and secure locking mechanisms
- Test ground straps for continuity and absence of rust or paint insulation
- Confirm battery terminals and clamps are snug without over-torquing
If you find issues, clean with appropriate contact-safe solvents, re-torque where specified, and replace damaged parts. Routine checks sustain peak voltage delivery and reduce the risk of unexpected electrical resets. You’ll keep the system responsive and free to roam.
Safe Fuse and Relay Inspections
When you perform Safe Fuse and Relay Inspections, start with Fuse Condition Checks to confirm proper rating, intact body, and no signs of overheating. Then inspect Relay Contacts for wear, pitting, or sticking, and test contact bounce to guarantee clean, reliable switching. Finish with Safety Margin Testing to verify that fuses and relays respond correctly under fault conditions without nuisance trips.
Fuse Condition Checks
Fuse condition checks involve verifying fuses and relays are intact and functioning properly; start by visually inspecting for obvious damage, corrosion, or loose connections, then test continuity and resistance as needed. You’ll confirm fuse types align with circuit requirements and that fuse ratings match the manufacturer’s specs. When in doubt, replace any suspect fuse with the correct rating and recheck system response. Avoid overloading circuits, and document any deviations for future reference. Keep a clean, dry workspace and use proper protective gear to prevent shorts. Regular checks reduce reset risk and preserve system reliability.
- Inspect for corrosion, burns, or discoloration on both fuses and holders
- Confirm fuse types and ratings match the intended circuit
- Verify continuity across each fuse path
- Test relay coil activation and safety switch integration
Relay Contact Inspection
Smooth operation hinges on clean, reliable relay contacts; start by ensuring all contacts seat firmly and show no signs of pitting, arcing, or excessive wear before powering the circuit. You’ll inspect relay types you actually use, distinguishing solid-state from electromechanical models for proper handling. Remove power, then test coil resistance and contact bounce with a multimeter or scope as needed. Look for smooth actuation, consistent travel, and no sticking. During contact maintenance, verify contact surfaces are clean and free of corrosion or deposits; clean with approved contact cleaner only if specified. Document findings, replace worn or pitted parts, and preserve a spare set for critical circuits. Maintain clear labeling, torque fasteners to spec, and keep wiring organized to minimize future arcing and heat buildup.
Safety Margin Testing
In safety-margin testing, you verify that fuses and relays tolerate overloads without nuisance trips or premature failures by applying controlled, within-spec stress while monitoring responses. You perform safety-margin analysis to quantify tolerance margins and identify weak points in the harness, connectors, and power paths. Follow testing protocols that minimize risk, document results, and enable repeatability. The goal is to guarantee reliability under peak load conditions without false positives from transient spikes. You’ll compare device thresholds to specification, log hysteresis, and verify recovery times so your system maintains uptime under dynamic driving demands. Precision, repeatability, and clear criteria matter, as they translate to real-world confidence.
- Clear pass/fail criteria for each component
- Documented test setup and load profiles
- Measured response times and recovery
- Traceable results for future audits
Monitoring Voltage and Battery Temperature
Monitoring voltage and battery temperature is essential for safe, reliable performance; by keeping an eye on these readings, you can detect stress, prevent overcharging, and implement timely cooling or charging adjustments. You monitor voltage monitoring to verify the pack stays within spec, watching for rising impedance or sudden drops that signal degradation. Pair this with battery temperature data to catch thermal runaway risk, hot spots, or inefficient cooling. Keep thresholds explicit: set conservative alerts for high and low voltages, plus a temperature band that corresponds to your chemistry. When you see excursions, respond with calibrated charging ramps, active cooling, or load shedding to stabilize the system before resets occur. Self-check routines should timestamp readings and flag persistent drift. Document trends, but avoid overreacting to transient noise. This disciplined approach preserves capacity, reduces fault events, and supports an autonomous, freedom‑mized driving experience.
Prudent Charging Habits to Extend Life
After tracking voltage and temperature, you’re positioned to optimize charging behavior. Prudent charging habits reduce stress on the pack and improve longevity without sacrificing performance. You’ll want a disciplined approach: avoid extreme state-of-charge swings, use moderate charging currents, and respect charging windows that suit your driving patterns. Smart charging protocols can balance fast fills with long-term health, prioritizing efficiency and thermal stability. Battery maintenance hinges on consistent routines and awareness of pack temperature during charge.
After tracking voltage and temperature, optimize charging with prudent, balanced routines for longevity and performance.
- Practice smart charging by matching charger output to need and avoiding consistently high currents
- Keep charging sessions within moderate temperature ranges to minimize stress
- Favor regular top-offs over deep discharges to stabilize state of charge
- Schedule maintenance checks that review connectors, cables, and charging hardware for wear
These steps align with a freedom-minded mindset: you stay in control, protect capacity, and preserve performance for the next miles.
Diagnosing Common In-Car Electronics Glitches
Diagnosing common in-car electronics glitches requires a systematic approach: reproduce the symptom, isolate potential causes, and verify repairs with a controlled test. You’ll map the sequence of events that precedes the glitch, noting timing, vehicle state, and accessory load. Start with power-related checks: battery voltage under load, alternator output, and grounding integrity. If the symptom is intermittent, confirm reproducibility under consistent conditions before moving to deeper diagnostics. Use a process of elimination: instrument cluster anomalies, infotainment freezes, steering assist warnings, and door latch errors each point to different subsystems. For each candidate fault, validate with a targeted test—disconnect a suspected connector, swap a module, or apply a known-good reference signal while observing system responses. Document results and reset state where appropriate. If the issue persists after controlled tests, you’ve narrowed it to a likely electronic reset or module fault, guiding preventive maintenance and future precautions. common glitches, electronic resets.
When to Seek Professional Help and Maintenance Habits
If you’ve worked through the common in-car electronics glitches, you’ve built a baseline for what tends to fail and how it behaves. You’ll know when a symptom warrants a check beyond routine tweaks, and that insight drives smarter decisions about professional assessment and maintenance frequency. Seek help when issues persist after basic resets, or when electrical smells, overheating, or intermittent failures reappear across trips. A mechanic or certified tech can confirm battery health, alternator output, and fuse integrity without guesswork. Establish a maintenance cadence that matches your vehicle’s use, climate, and age, then document results to spot patterns. Treat maintenance as a control, not a cost, and stay disciplined about timing and scope.
- Understand thresholds that trigger professional assessment
- Align maintenance frequency with driving demand and environment
- Track results to refine your baseline and future checks
- Prioritize preventative actions over reactive fixes
Frequently Asked Questions
Can Battery Life Be Extended by Screen-Off Standbys and Idle Time?
Yes, screen-off standby can extend battery life, since idle time reduces active power draw and wear. When you keep the display off during idle periods, you cut parasitic consumption and thermal stress, improving longevity. Screen off benefits accrue even with brief silences between use. However, excessive idle time might still drain due to background processes. Monitor idle time impacts by checking app activity and auto-refresh settings to sustain performance and freedom.
Do Cold Climates Require Different Preventive Checks for Batteries?
In cold weather precautions, yes—cold climates demand stricter battery maintenance tips. You’ll want to keep terminals clean, use a battery warmer if available, and guarantee full-niveau charge before frosty nights. You may notice cranking sluggishness; that’s normal, plan for longer starts. Check electrolyte levels if applicable, and inspect for corrosion. By following battery maintenance tips, you preserve performance, reduce resets, and maintain fleet confidence, preserving your freedom to drive without interruption.
How Often Should I Recalibrate My Battery Sensor Readings?
You should recalibrate your battery sensor readings about every 6 months, or after a major electrical event. This helps maintain accurate battery sensor recalibration and battery health monitoring. If you notice odd starts, warning lights, or unexpected voltage shifts, recalibrate sooner. Keep the system paired with your vehicle’s diagnostics, run a full cycle, then verify with a health report. Regular recalibration supports reliable power and smoother performance, aligning with your freedom-minded, concise tech approach.
Can Aftermarket Alarms Drain the Battery During Extended Parking?
Yes, aftermarket alarm effects can drain the battery during extended parking, though modern systems are designed to minimize it. If you park long, expect a small draw that grows with alarm features left active. The parking duration impact depends on the unit, wiring, and starter battery health. Use a timer or disconnect when away for weeks. Regular checks prevent surprises and protect your electrical system’s reliability.
Do Hybrid/Electric Vehicles Have Different Preventive Checks Than Gas Cars?
Yes, hybrid and electric vehicles have different preventive checks than gas cars. You’ll focus more on battery health, thermal management, and high‑voltage system integrity. Regularly inspect cooling, insulation, charging hardware, and state of charge windows to maintain hybrid technology reliability and electric efficiency. You’ll also monitor firmware updates, regenerative braking performance, and coolant levels. This approach supports freedom to stay reliable on the road while maximizing efficiency and longevity of your powertrain.

