Preventive Tips to Avoid Interior Lights Flicker With Infotainment Unit
You can prevent interior light flicker by balance-loading the system, confirming the battery and alternator meet specs, and securing clean ground paths before diagnosing the infotainment power supply. Start by cataloging loads and staggering high-draw devices. Check battery health, charge, and connections, then test alternator output under idle and load. Inspect fuses and grounding, and guarantee wiring behind the dash is intact with good insulation. If issues persist, you’ll find more targeted steps ahead.
Understanding the Flicker: Causes in the Vehicle Electrical System
Various electrical factors can cause interior lights to flicker. You’ll analyze how the alternator, battery state, and wiring integrity interact to produce transient changes in voltage. The flicker frequency—how often the brightness oscillates per second—depends on load steps, regulator behavior, and engine RPM. You’ll observe that electrical fluctuations arise from momentary surges as devices engage, such as HVAC compressors, infotainment startups, or power-hungry accessories. In steady conditions, the charging system maintains a regulated output, but transient events create brief voltage dips or spikes that the lamp circuits convert into visible flicker. You’ll differentiate nuisance flicker from fault-related patterns by noting consistency, duration, and correlation with engine activity. Resistive, inductive, and capacitive loads each respond differently to voltage variations; lamps may react more conspicuously to sudden current changes. By mapping these relationships, you establish a baseline, enabling targeted diagnostics without unnecessary repairs.
Inspecting Battery Health and Charge Level
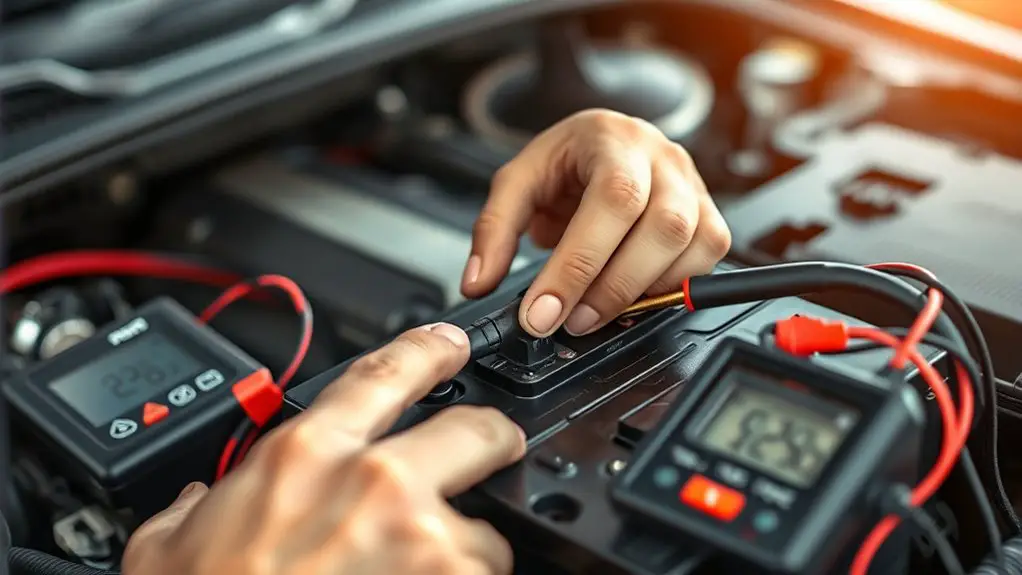
Start by checking Battery Health Indicators to assess overall condition and expected longevity. Next, review Charge Level Monitoring to confirm functional charging and identify any abnormal drains or readings. Finally, consider Alternator Impact Guidance to determine if charging system performance is contributing to interior lights flicker and address corrective steps.
Battery Health Indicators
Battery health indicators provide a quick, objective read on whether your lighting system will perform reliably. You’ll verify that the battery’s capacity aligns with your infotainment load, and you’ll assess voltage stability under typical startup and idle conditions. Track small deviations, note them, and compare against recommended thresholds. If readings drift, inspect connections, fuse integrity, and alternator performance before chasing symptoms. Use a systematic approach: document tests, record ambient effects, and repeat after resets or accessory use. The goal is a stable baseline that supports consistent illumination without flicker.
| Indicator | Ideal Range | Action if Out of Range |
|---|---|---|
| Battery health | 12.6–12.8 V (idle) | Inspect terminals, load test, or replace |
| Voltage stability | ±0.1–0.2 V under load | Verify alternator and wiring |
| Charge integrity | minimal drop during start | Check battery age, capacity, replace |
Charge Level Monitoring
Charge level monitoring entails verifying that the battery’s state of charge aligns with the anticipated load and usage pattern, ensuring reliable illumination. You assess charge proactively by checking voltage, current, and remaining capacity against your infotainment demand profile. Use charge level indicators to confirm, at a glance, that the pack isn’t under or overcharged during operation. Monitor gradual declines under heavy accessory use and abrupt drops when start-stop cycles occur. Track resting state entropy and temperature alongside charge metrics to distinguish healthy health from degradation. Perform periodic battery maintenance tasks: calibrate indicators if needed, verify connections, and log seasonal variations. Maintain a concise record to identify trends and trigger timely service before flicker becomes symptomatic of battery health impairment.
Alternator Impact Guidance
Alternator health directly affects battery charge level, so start by inspecting alternator performance as you verify battery health. You’ll assess output under load, comparing voltage at idle and at higher RPM. Measure while dimming indicators run to simulate infotainment draw; note any drop below 12.6 volts or spiking above 14.8 volts. Confirm proper belt tension and assess wiring for corrosion or loose connections. If readings drift, investigate alternator regulation behavior, since voltage regulation importance governs charging stability. Document transient responses and recovery time after load removal. Apply standard alternator maintenance tips: clean grounds, replace worn brushes, and verify pulley alignment. Conclude with a calibrated multimeter test and, if needed, alternator replacement before flicker becomes intermittent.
Checking the Alternator’s Performance and Output
You’ll start by verifying the alternator’s output against your vehicle’s specified range and cross-checking it with the battery’s health status. Monitor the charging voltage at idle and under load, noting any drop-offs that exceed manufacturer tolerances. Correlate the results with the battery-alternator health relationship to identify potential causes of continued interior light flicker.
Alternator Output Check
To assess the alternator’s performance and output, begin with a straightforward voltage and current check at the battery under load. You’ll verify that charging voltage stays within spec and that current capacity meets demand without excessive fluctuation. Next, observe alternator behavior under idle and mid-RPM conditions, noting any dropouts or harmonics that could induce flicker in the infotainment system. Consider alternator types and how voltage regulation interacts with load, zoneing the response to headlights, HVAC, and audio peaks. Table below summarizes key checks.
| Test | Target Range | Notes |
|---|---|---|
| Voltage under load | 13.8–14.8 V | Confirm steady output |
| Charging current | 20–60 A | Match engine rpm |
| Ripple/noise | minimal | Check regulator health |
| Belt tension | proper | Prevent slip |
| Temperature | normal | Monitor steady rise |
Battery-Alternator Health
Assess the battery-alternator health by verifying coordinated performance under load. You’ll assess efficiency, voltage stability, and response to demand from the infotainment system while engine RPM fluctuates. Start with a controlled test: measure charging voltage at idle and under load, then compare to manufacturer specs. Look for consistent electrical output without dips that spark flicker. If readings deviate, pursue battery maintenance or alternator servicing before replacing components. Monitor tone and cadence of alternator signaling, since erratic output hints at internal wear. Address parasitic drain and grounding integrity, as poor connections can mask real capacity. Use this checklist to keep electrical efficiency high and prevent unexpected dimming.
- Verify charging voltage within spec
- Check for voltage drop under load
- Inspect connections and grounds
- Test for parasitic drain
Securing and Cleaning Ground Connections
Securing and cleaning ground connections is essential to prevent interior lights from flickering. You’ll inspect chassis and body grounds, focusing on low-resistance paths that feed the infotainment unit. Start with the battery negative terminal, then follow main grounding straps to the engine block and vehicle frame. Use a multimeter to confirm continuity and target readings within spec; document any outliers. Disconnect power before handling any conductors to avoid sparks or damage. Remove corrosion, grime, and oxidation with a non-abrasive brush and a diluted electrical contact cleaner, then dry completely. Reapply corrosion prevention measures, such as conductive grease or anti-oxidant compound, on exposed metal surfaces before reassembly. Tighten fasteners to manufacturer torque specs and verify tightness after initial operation. For long-term reliability, perform periodic ground connection maintenance, especially after heavy usage or electrical system upgrades. This practice reduces flicker risk and supports stable voltage supply to the infotainment unit.
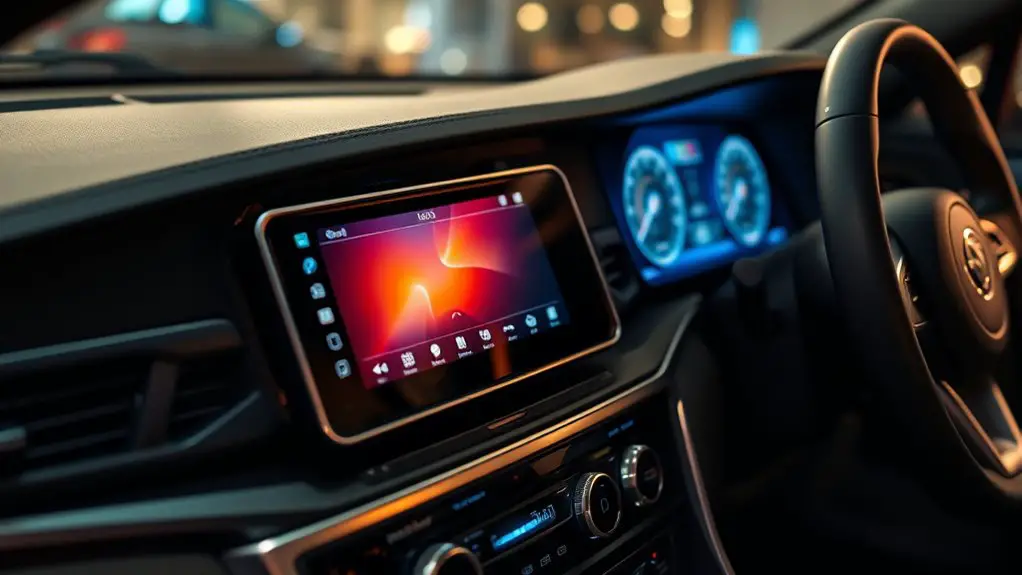
Assessing Infotainment Power Supply and Fusing
When evaluating the infotainment power supply, start by verifying that the primary feed from the battery and the secondary power sources deliver stable voltage within spec. You’ll inspect voltage rails, ground referencing, and any voltage drop under load, then confirm that the supply remains within tolerance across operating conditions. Assess fuse types and placement to protect circuits without triggering nuisance faults. Document observed polarities, connector integrity, and harness routing to prevent chafing or EMI.
- Check power supply rails for stable, ripple-free voltage under load
- Verify fuse types and ratings match each circuit’s current draw
- Confirm proper inline protection and fuse substitution rules
- Inspect harness routing and grounding to minimize resistance and interference
If irregularities appear, isolate the infotainment unit from the main bus, re-test with a known-good supply, and re-seat connections. Maintain a precise log of test results to guide future preventive checks.
Managing Load: Avoiding Excessive Electrical Demands
Excessive electrical demands can strain the vehicle’s electrical system, so you should identify and limit high-load loads before they cause voltage dips or component faults. You’ll enhance load by cataloging powered devices and sequencing usage to prevent simultaneous startup spikes. Prioritize essential systems (infotainment, lighting) and defer noncritical accessories during engine idle or peak demand periods. Implement load balancing by distributing accessory draws across different circuits and avoiding peak clustering on a single fuse or relay. Monitor current draw with diagnostic tools or onboard gauges, noting any persistent plateaus or step changes that signal overload risk. Maintain electrical efficiency by choosing energy-conscious settings, such as dimming interior lights during heavy boot sequences or when high-demand devices engage. Establish a routine: pre-drive assessment, targeted usage, and post-drive review to confirm no lingering excessive loads remain. This disciplined approach minimizes voltage sag, preserves component life, and sustains peak system performance.
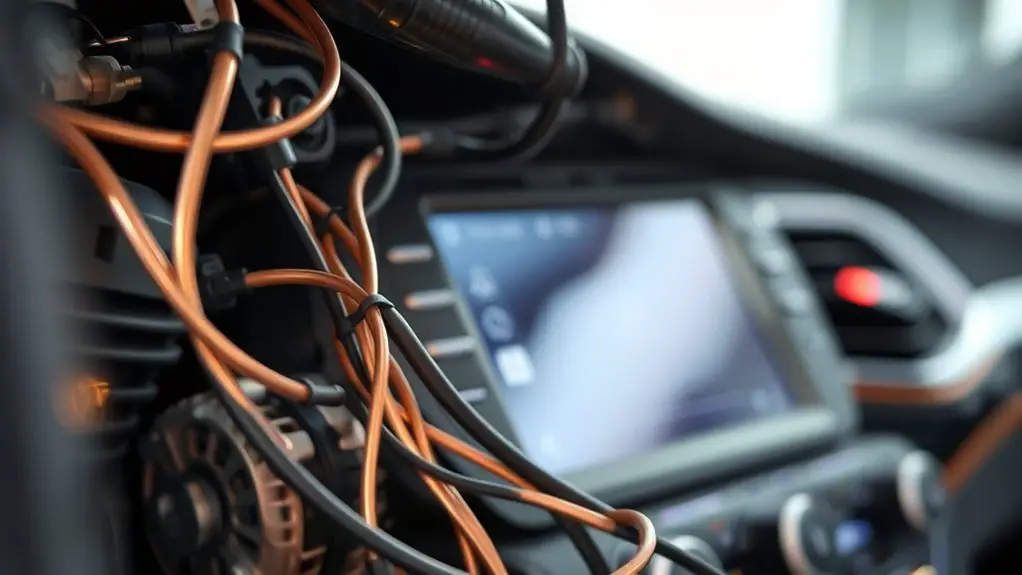
Inspecting Wiring and Connectors Behind the Dashboard
Inspecting wiring and connectors behind the dashboard requires a methodical approach: begin with a neutral power-down, then verify all related fuses and relays are de-energized before handling any components. You’ll assess wiring integrity by tracing harnesses for signs of wear, pinched insulation, and loose grounds, documenting issues as you go. Prioritize clean, controlled work areas and use proper lighting to spot corrosion risks that could undermine performance. Be mindful of connector corrosion, which often manifests as green or gray deposits and intermittent contacts; clean or reseat affected connectors with manufacturer-approved methods. Maintain any protective clips and loom channels to prevent future stress fractures. Test continuity only after re-energizing in a controlled sequence, avoiding live probing.
Inspect wiring methodically, power down, reseat connectors, and verify grounds before testing.
- Check for signs of corrosion on connector housings and terminals
- Verify all grounds are secure and free of oxidation
- Inspect harnesses for abrasion, splits, or exposed wires
- Re-seat and tighten terminals to spec, replacing damaged parts if needed
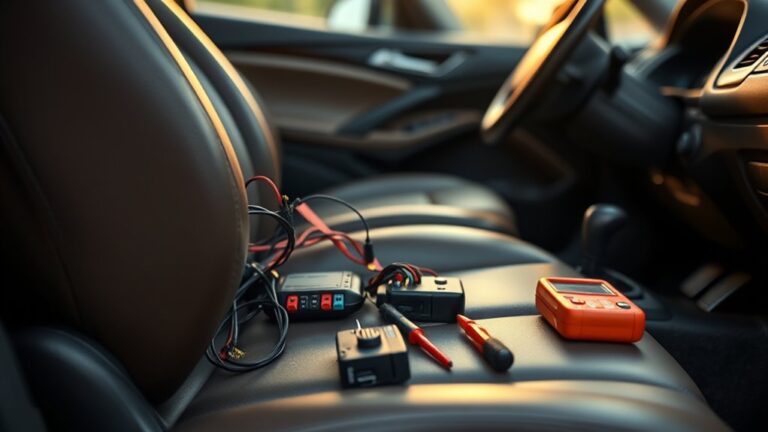
Simple DIY Diagnostics You Can Try Safely
Building on the groundwork of checking wiring and connectors, you can run simple, safe DIY diagnostics that don’t require unplugging the entire harness. First, verify battery voltage and ground continuity with a multimeter, ensuring readings stay within manufacturer specs. Next, inspect fuses related to the infotainment unit and vehicle lighting circuit, noting any signs of corrosion or looseness; replace as needed with identical ratings. Then, perform a controlled load test by turning on interior lights and media functions while watching voltage stability; if you observe drops over a small threshold, there’s a downstream drain. Check ground points behind the dash for tight, clean connections, re-seating any suspect bolts. For harness integrity, gently wiggle loom sections during operation to detect intermittent contacts without disassembly. Document results, and rely on safe inspections to guide whether more targeted checks or professional input is required. DIY troubleshooting, done methodically, reduces guesswork and preserves system freedom.
When to Seek Professional Electrical Inspection
There are clear signs that a professional electrical inspection is warranted when interior light flicker persists despite basic DIY checks, or when you notice recurring voltage drops, burned smells, or unusual heat around wiring. You seek professional services to diagnose electrical issues with rigor, safety, and accountability. A structured inspection focuses on harness connections, fuse and relay integrity, grounding schemes, and alternator charging behavior, isolating transient from sustained faults. Expect documented findings, actionable remediation steps, and a risk assessment tailored to your vehicle’s infotainment load.
- Persistent flicker despite clean connections
- Recurrent voltage drops or bursts of heat around wiring
- Burning odors or melted insulation near sensitive components
- Unclear fault origin after standard checks
Choose a provider who outlines scope, costs, and timelines before work. Avoid DIY substitutions for critical safety components. Prioritize accredited electricians, transparent reporting, and follow-up verification to guarantee the electrical system remains stable and your interior lighting behaves predictably.
Frequently Asked Questions
Can Aftermarket Infotainment Upgrades Cause Flickering Symptoms?
Yes, aftermarket infotainment upgrades can cause flickering symptoms. When compatibility between the unit and your vehicle isn’t exact, electrical load changes can occur, stressing the power circuit. You’ll see dimming, pulsing, or intermittent lights as the system draws uneven current. To mitigate, verify aftermarket compatibility, use a high-quality harness, and assess the vehicle’s electrical load. If issues persist, consult a professional to recheck grounding and fuse ratings and guarantee proper installation.
Do Certain Vehicle Models Have Known Flicker Issues?
Yes, some vehicle models have known flicker issues. You’ll find patterns among common vehicle brands, especially with newer infotainment upgrades. For precise flicker troubleshooting tips, start by checking grounding, battery health, and alternator output, then inspect common connections near the head unit. If symptoms persist, consider model-specific forums for known fixes, and document any intercoupling between accessories. You’ll gain control by methodically testing each step and recording results for future reference.
Is Surge Protection Necessary for Infotainment Power Input?
Surge protection is not strictly mandatory, but it’s highly advisable for power stability. You should include surge protection on the infotainment power input to guard against voltage spikes and transient events. Think of it like a dam holding back floods: it keeps your system steady. You’ll benefit from consistent performance, reduced flicker risk, and longer component life, especially if your vehicle experiences automotive load changes or charging irregularities. Implement dedicated, automotive-rated protection devices.
Can Battery Aging Trigger Intermittent Dash Light Flicker?
Yes, battery aging can trigger intermittent dash light flicker. As the battery loses capacity, voltage sags may occur under load, creating flicker symptoms in the dash and infotainment circuit. You should perform battery maintenance checks, inspect connections, and test alternator output. If voltage drops persist, consider battery replacement or deeper electrical diagnostics. Track patterns, confirm with a multimeter, and verify that warning lights aren’t false positives caused by loose grounds or parasitic drains.
Should I Reset the Infotainment Unit After a Power Fluctuation?
“Like a compass needle steady after a storm,” you should reset the infotainment unit after a power fluctuation. Yes, perform a controlled infotainment reset to clear transient glitches and restore normal operation. Confirm vehicle power is stable, then reboot the head unit following your model’s instruction set. This helps prevent ghost errors and guarantees proper firmware communication. If flickers recur, check battery health and rule out parasitic drains tied to ongoing power fluctuations.