Preventive Tips to Avoid Odometer Glitches With Armrest Hinge
To prevent odometer glitches, treat the armrest hinge as a precision interface. Inspect for misalignment and surface contamination, and torque fasteners to spec using a calibrated wrench. Clean the hinge area, then apply a light, low-viscosity lubricant to moving joints—avoiding sensors or seals. Verify smooth operation and consistent odometer increments after each cycle. Log torque values, lubricant type, and mileage milestones for traceability. If you keep going, you’ll uncover more practical safeguards and steps.
Diagnosing Symptoms of Armrest Hinge Stiction Near the Odometer
Diagnosing symptoms of armrest hinge stiction near the odometer requires a systematic check of tactile resistance and alignment. You’ll assess hinge functionality by isolating motion at the armrest joint and measuring any binding, play, or abrupt feedback during small-angle rotations. Begin with visual inspection for surface contamination, misalignment, or bent mounting points that could alter engagement with the dash panel. Next, perform a controlled torque test, noting the onset of resistance, irregular jerks, or inconsistent return to rest. Compare the feel across multiple cycles to distinguish transient stick from persistent binding. Document any correlation between increased resistance and specific odometer indicators, making sure you don’t confuse electrical signals with mechanical drag. Verify your assessment preserves odometer accuracy by ruling out cable or gear noise as confounders. If resistance persists, plan a targeted adjustment or service pathway that restores smooth hinge functionality without compromising calibration or user freedom.
Tools You Need for Quick Armrest Hinge Inspections
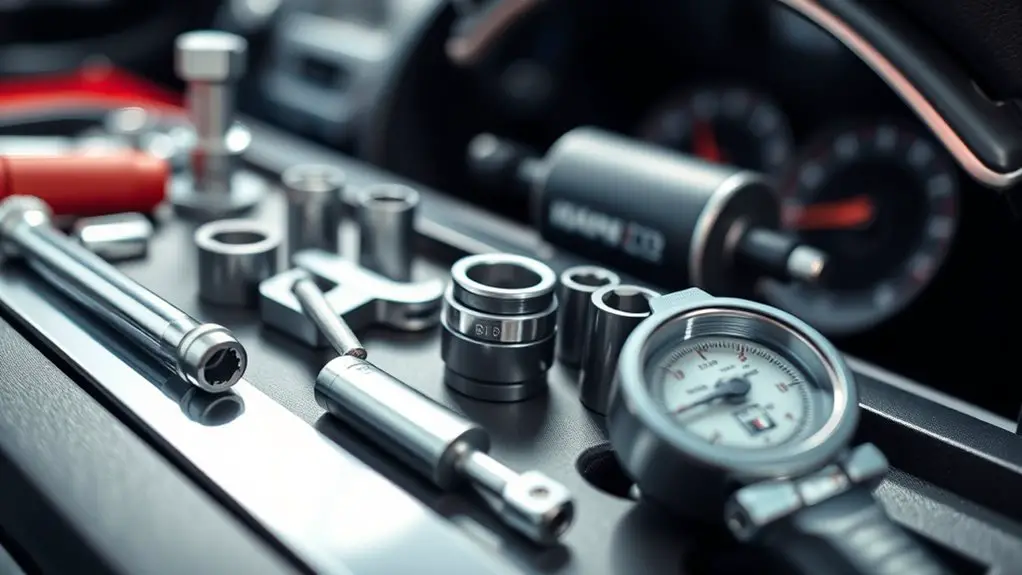
To inspect an armrest hinge quickly and reliably, assemble a focused set of tools: a torque wrench or calibrated driver for controlled twist, a small flashlight or headlamp for glare-free visibility, a set of precision screwdrivers (Phillips and flat-head), and a digital caliper or caliper-style depth gauge for evaluating play. With these in hand, you assess armrest durability and inspect hinge materials without guesswork. Precision in torque prevents over-tightening, preserving both hardware and upholstery. A caliper measures play and misalignment, while the light source reveals surface wear and debris. You’ll balance speed with accuracy, keeping downtime minimal.
| Tools | Purpose |
|---|---|
| Torque wrench/calibrated driver | Controlled torque, preserves hinge integrity |
| Small flashlight/headlamp | Clear visibility in tight recesses |
| Precision screwdrivers (Phillips/flat-head) | Secure fasteners without stripping |
| Digital caliper/depth gauge | Quantify play and alignment |
Cleaning Steps to Prepare the Armrest For Lubrication
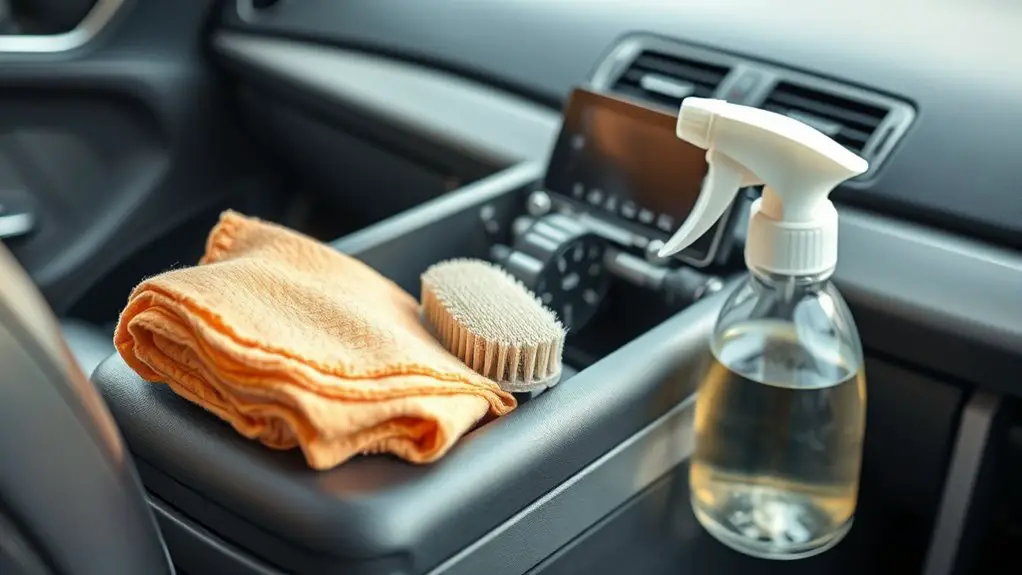
Before you lubricate, clean the armrest surface to remove dust, grime, and residues that could impede lubrication. Proceed with a targeted prep: wipe with a microfiber cloth, then follow with a mild cleaner suitable for plastics to prevent residue buildup. This guarantees the lubrication layer adheres evenly and long-term performance is preserved.
Cleaning Before Lubrication
Cleaning before lubrication is a critical preparatory step; you should start by removing any debris from the armrest surface so lubrication can contact bare metal or plastic, not dirt.
- Inspect the armrest surface for dust, fibers, and grime with a quick visual scan
- Wipe with a lint-free cloth dampened by a mild solvent compatible with plastics
- Use compressed air to dislodge particles from crevices and hinge gaps
- Confirm the area is dry before applying lubrication products or proceeding
This routine guarantees a clean interface, reduces clogging, and supports consistent lubrication performance. You’ll gain reliable hinge movement and improved sensor readings, while preserving material integrity through controlled, deliberate maintenance.
Prep Steps for Armrest
You’ll prep the armrest for lubrication by confirming a clean, dry surface and removing any remaining debris from all contact areas. Begin with a focused inspection, identifying dust, oils, and residue that could impede film formation. Use a lint-free cloth slightly dampened with isopropyl alcohol to wipe the armrest top, sides, and hinge interface, then dry with a second cloth to prevent streaking. Check for micro-scratches or gouges that could trap dirt; address these with a thin, even wipe. Verify hinge pins and surrounding housings are free of adhesive remnants or corrosion indicators. Record any irregularities that may affect armrest functionality or hinge durability. Conclude by resecuring any loose fasteners and verifying the area remains clean and ready for lubrication.
Lubrication Techniques That Protect Mileage Readings
Lubrication is critical for protecting mileage readings because it reduces wear on mechanical linkages and sensors that translate wheel revolutions into odometer data.
You’ll apply targeted lubrication to reduce friction without contaminating sensors or seals. Use lubrication types that suit metal-to-metal and plastic components in the armrest hinge area, selecting lightweight, low-viscosity formulas for precision parts. Avoid petroleum-heavy compounds near sensors; opt for synthetic, dry-film, or PTFE-based variants where appropriate. Clean surfaces thoroughly before applying; a minimal bead or thin film suffices. Reapply on a defined maintenance cadence aligned with driving conditions and climate, not just mileage. Monitor for signs of binding, stick, or altered readings after operation cycles. Keep faster-moving linkages free of debris to preserve mileage accuracy and prevent cumulative drift. Document dates, part numbers, and lubricant type for traceability and future servicing.
- Inspect hinge surfaces and apply a conservative, even coating
- Choose lubrication types that minimize residue and attract dust
- Wipe excess to prevent contamination of sensors
- Schedule reapplication based on usage and environmental exposure
Preventive Checks During Routine Car Cleanups
During routine cleanups, inspect the armrest hinge for smooth operation and verify that the latch remains aligned with the mounting points. Clean the area around the hinge, remove debris, and apply appropriate lubricant to the mechanism to prevent stiction that could affect interior readings. Confirm that the hinge movement is free and consistent, documenting any resistance or misalignment for corrective action.
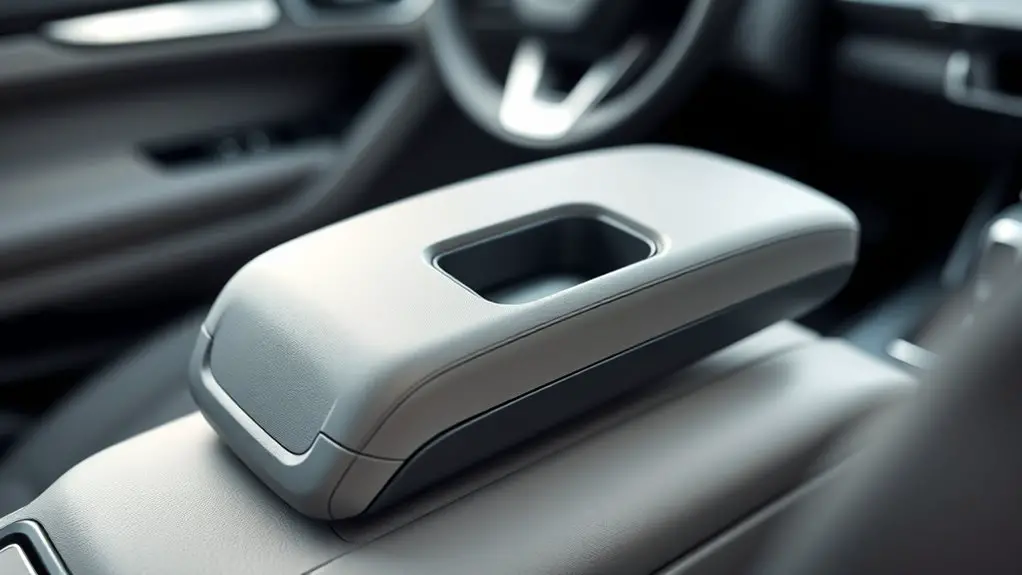
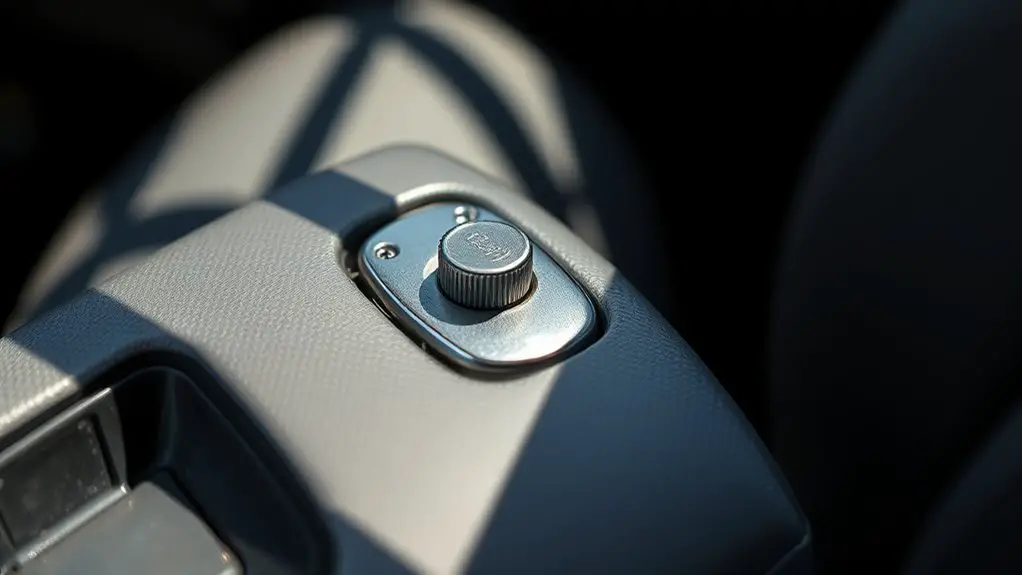
Inspect Armrest Hinge
Inspect the armrest hinge during routine cleanups by verifying smooth operation and secure attachment. You’ll assess joint travel, listen for creaks, and confirm that mounting hardware remains tight without play. Check that armrest alignment preserves consistent contact with adjacent surfaces, ensuring no binding or gap that could affect odometer readings via vibration. Document any looseness or misalignment and address with manufacturer-recommended fasteners or shims. Evaluate hinge durability by inspecting wear patterns on pivot points and ensuring corrosion resistance is intact. Maintain precise torque specifications and verify that the mechanism returns to its resting position reliably after movement.
- Confirm smooth hinge travel and no binding at full range
- Inspect mounting screws for tightness and corrosion
- Check armrest alignment relative to adjacent panels
- Assess pivot wear and document any durability concerns
Clean & Lubricate Mechanism
Before you start, isolate the mechanism and prepare the workspace with a clean rag, degreaser, and the correct lubricant type. You’ll perform armrest cleaning with a focused approach, then apply hinge lubrication precisely where needed. First, wipe surfaces, remove debris, and dry the hinge area. Next, inspect for wear, play, or binding; note any stiffness. Apply a small amount of suitable lubricant to pivot points, avoiding overspray on upholstery. Operate the armrest through its full travel to distribute lubricant evenly, then recheck movement and clearance. Table:
| Step | Action | Result |
|---|---|---|
| 1 | Clean | Removes grime |
| 2 | Lubricate | Reduces friction |
| 3 | Test | Confirms smooth operation |
Armrest cleaning and hinge lubrication done, you maintain performance without compromising freedom.
Early Warning Signs That Signal Hinge or Odometer Issues
A quick check can reveal whether the odometer or its hinge is failing: look for inconsistent mileage increments, sudden jumps that don’t align with the vehicle’s service history, or digits that resist smooth rotation.
- Watch for erratic or non-linear mileage progression during normal driving windows.
- Note any shared resistance or friction when turning the armrest hinge, signaling potential misalignment.
- Compare displayed mileage against service records and inspection stamps for discrepancies.
- Observe whether digits stall or snap to a new value with uneven cadence, indicating possible mechanical wear.
These indicators directly relate to hinge alignment and odometer accuracy, guiding you to early, targeted inspection. If you detect anomalies, document exact times and conditions, and avoid relying on the display for critical decisions. Maintaining precise readouts protects resale value, guarantees compliance, and supports reliable mileage tracking as you pursue freedom with verified instrument functions.
Maintenance Schedule to Keep the Armrest Hinge and Odometer Accurate
To keep the armrest hinge and odometer accurate, implement a structured, periodic maintenance schedule that targets mechanical wear, alignment, and electrical signal integrity. Establish a baseline inspection every 3,000 miles or quarterly, whichever comes first, documenting hinge play, fastener torque, and signaling continuity. During each session, perform armrest maintenance: lubricate joints with a low-viscosity, automotive-grade compound, verify smooth travel, and re-torque mounting screws to spec. Assess alignment by confirming the hinge trace aligns with the odometer index input, correcting any offset that could skew readings. Inspect electrical connectors for corrosion, insulation damage, and secure harness routing to avoid pinch points. Run functional tests: cycle the armrest and monitor odometer output for consistent increments. Schedule a quarterly or mileage-driven recalibration if the system includes a self-check function. Maintain a log detailing dates, mileage, and results to support odometer accuracy and reliable, freedom-focused operation.
Frequently Asked Questions
Can Armrest Hinge Issues Affect Odometer Accuracy While Driving?
Yes, armrest hinge issues can affect odometer accuracy if the mechanism interferes with sensor placement. You should inspect armrest design and mounting to guarantee it doesn’t alter wheel or drivetrain signals. If movement shifts sensors, recalibration may be required. Could a loose hinge distort signal timing and register incorrect mileage? Verify tight tolerances, document sensor placement, and test with controlled drives. This methodical check maintains precision while preserving your freedom to drive confidently.
Do Temperature Changes Impact Hinge Lubrication Longevity Near the Odometer?
Temperature fluctuations can affect hinge lubrication longevity near the odometer. You’ll want consistent lubrication maintenance, using a appropriate lubricant and interval checks to counter thixotropic changes. Monitor for stiffness after temperature swings, and reapply as needed. You should avoid over-lubrication, which can attract dust and hinder movement. Maintain a baseline, document results, and adjust schedules when climate shifts are extreme. This methodical approach protects accuracy while preserving your freedom to trust readings.
Should I Reset the Odometer After Hinge Repairs or Lubrication?
You don’t need to reset the odometer after hinge repairs or lubrication. You should document and verify the mileage as part of hinge maintenance, then proceed with calibration if your vehicle’s manufacturer requires it. Maintain consistency in records, monitor readings, and test the system for smooth operation. Keep odometer reset procedures in mind only if the service manual directs it; otherwise, rely on precise, methodical checks to guarantee accuracy and freedom from glitches.
Can Aftermarket Lubricants Interfere With Factory Odometer Sensors?
Yes, aftermarket lubricants can interfere with factory odometer sensors if they aren’t compatible. You should assess lubricant compatibility with sensor materials and seals before application. Choose products labeled for automotive use and non-conductive if possible. Apply sparingly to hinge interfaces, avoiding sensor housings, and wipe excess to prevent migration. Test after maintenance, monitor readings, and document any discrepancies. If issues arise, switch to OEM-approved products to mitigate aftermarket effects and maintain reliability.
Is There a Recommended Mileage Threshold for Hinge Inspections?
Yes. You should start hinge inspections around every 30,000 miles and at major service intervals, adjusting for duty cycle and environment. You’ll want to document mileage monitoring data and look for play, binding, or misalignment. Use careful torque checks and lubrication as needed, without overdoing it. Treat hinge maintenance as routine, not reactive. A well-timed inspection keeps odometer readings accurate and drives confidence in the vehicle’s reliability.