Quick Fixes for Common Cup Holder Sticky Before Visiting a Shop
If your cup holder’s sticky, start by removing loose debris with a dry wipe. Then scrub with a mild cleaner and a soft brush to lift gunk from seams and ridges. Use circular motions, don’t rush, and wipe dry to prevent more buildup. For best results, repeat after spills and test cleaners on a hidden spot first. Keep supplies in your car for quick touch-ups, and you’ll curb stickiness fast—more tips await if you keep going.
How to Identify Sticky Cup Holders
Identifying sticky cup holders is straightforward: look for residue or film on the surface, lingering odors, and sticks-to-the-hand feel when you remove or insert a cup. You’ll notice tacky patches, uneven gloss, or color dulling where material has degraded. Identify stickiness by touch tests across high-contact zones—tray lips, seams, and under any ridges. Inspect for moisture buildup, grime, or plastic degradation that traps dust and oils. Common causes include spilled beverages, evaporated cleaners leaving film, and repeated contact with hot beverages that loosen adhesives. Environmental factors like humidity accelerate tackiness, while low-quality plastics can craze and shed microfragments. Record the area’s condition with a quick pass: dry wipe, then a mild cleaner test in a discreet spot. If odor persists after cleaning, note it as a separate cue. Use these observations to guide whether a DIY wipe suffices or you should pursue a replacement, prioritizing functional performance.
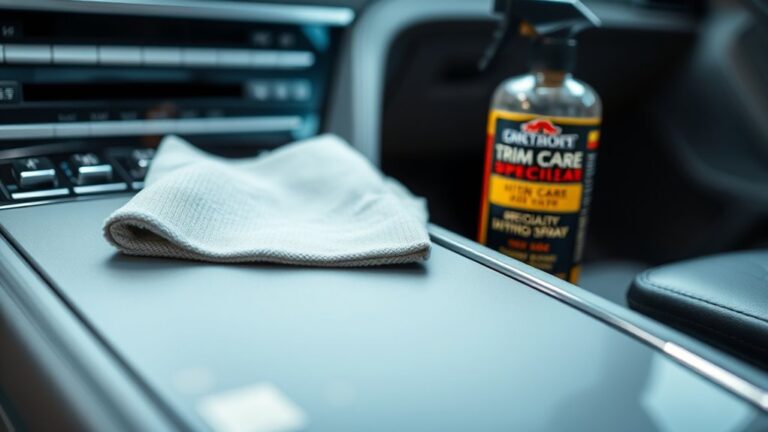
Tools You Need for a Quick Clean
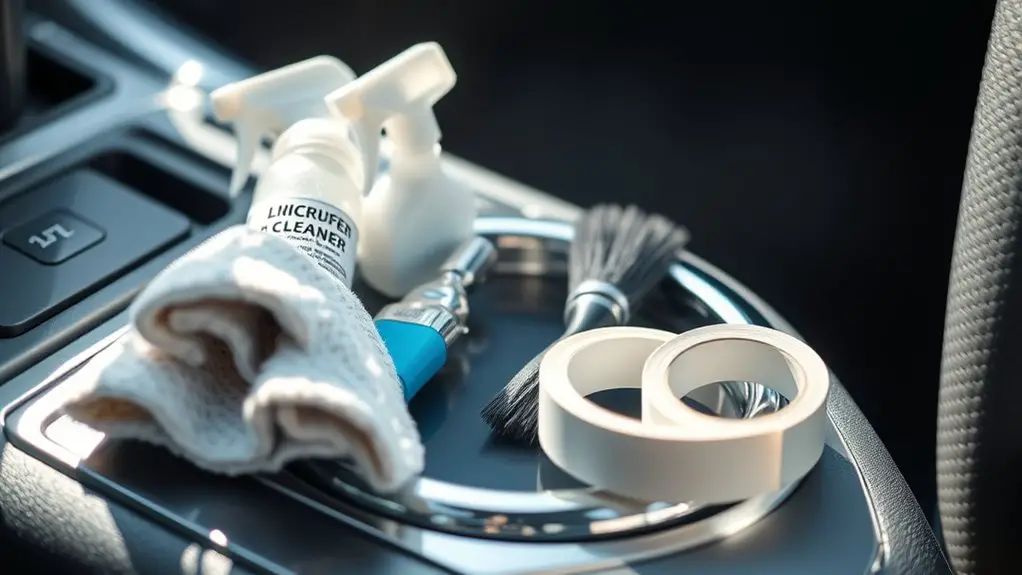
You’ll need a compact set of essentials for a quick cup holder clean: microfiber cloths or disposable wipes for residue removal, a gentle all-purpose cleaner or mild dish soap, a soft-bristle brush or old toothbrush for crevices, and a small spray bottle to apply the cleaner evenly. With these cleaning tools, you can map a practical workflow that minimizes downtime. Use the cloths for initial blotting and surface wipe-down, then target stubborn spots with a light foam from the cleaner. The brush loosens grime in seams and under rims without scratching plastic or rubber. Keep the spray bottle at a comfortable distance to prevent over-wetting. Rinse functions aren’t needed if you use a damp cloth to remove soap film. This approach delivers effective solutions while preserving your independence—efficient, controlled, and straightforward. Store tools in one place so you’re ready for fast, repeatable results on demand.
Step-by-Step: Remove Obvious Debris and Gunk
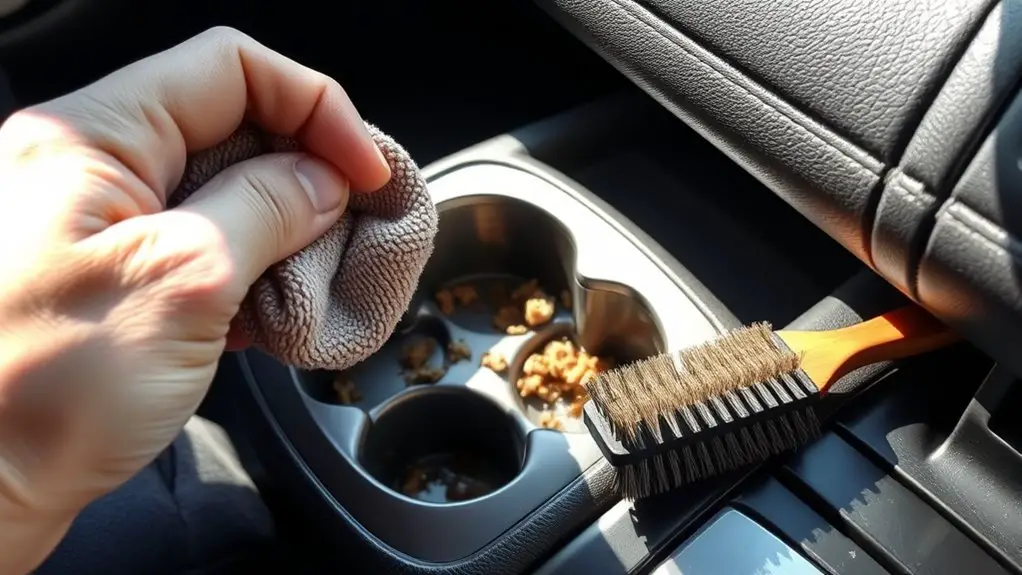
Start by removing obvious debris and gunk with quick, direct actions: grab a microfiber cloth, a soft brush, and a mild cleaner, then wipe, loosen, and lift loose grime from the cup holder’s surface and seams. You’ll classify debris types as you go: snack crumbs, liquid residues, dust, and hair. Begin with a dry wipe to pull loose matter from crevices, then dampen the cloth with cleaner and scrub in small circles along edges and bottoms. Use the soft brush to dislodge embedded particles without scratching plastic. Focus on seams where gunk accumulates; lift it away rather than smearing it deeper. Rinse the cloth and repeat, removing loosened debris and leaving a clean surface. For stubborn spots, a second pass with slightly damp cloth handles it. Finish with a dry wipe to prevent future stickiness. This gunk removal step reduces residue and prepares the cup holder for precise maintenance.
Safe Cleaning Solutions for Plastic and Rubber
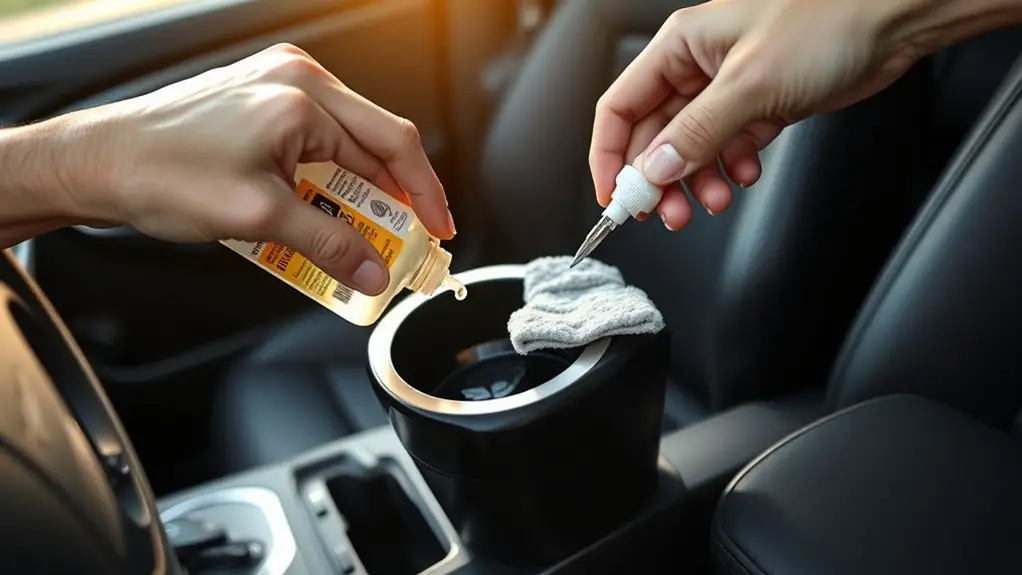
When cleaning plastic and rubber cup holders, use mild, non-abrasive cleaners and test a hidden spot first to avoid damage. Focus on safe methods for plastics and rubber—gentle scrubbing, warm water, and soft cloths, avoiding harsh solvents. This sets the foundation for proper care and longevity of the materials.
Safe Cleaning Methods
Safe cleaning methods for plastic and rubber cup holders prioritize non-abrasive, non-toxic options that won’t degrade materials. You’ll want simple, effective steps that anyone can perform without tools. Begin with common household cleaning products that are gentle: a mild dish soap solution or a dedicated plastic cleaner, applied with a soft cloth or sponge. Gently rub sticky areas in circular motions, then rinse with clean water and dry completely to prevent residue. For tougher films, a diluted vinegar solution can help, but test a hidden spot first. Avoid solvents, bleach, or abrasive pads. Regular maintenance tips include wiping surfaces after spills and cleaning weekly to prevent buildup. This approach aligns with practical maintenance tips while preserving material integrity and your freedom to choose products.
Plastic and Rubber Care
Plastic and rubber keepers demand gentle, effective cleaning that won’t soften or degrade materials. You’ll approach plastic care and rubber care with a practical, no-nonsense method: use mild cleaners, test in an inconspicuous spot, and avoid harsh solvents. For plastics, choose a pH-neutral soap and warm water, then wipe with a soft microfiber, drying to prevent water spots. For rubber, steer clear of petroleum-based cleaners; opt for light detergent and a damp cloth, followed by thorough drying to prevent residue. If residue lingers, re-wipe with diluted isopropyl alcohol and re-dry. Protect surfaces by applying a thin, compatible conditioner after cleaning, only as directed. This keeps grips, liners, and seals resilient, ensuring simple, freedom-filled maintenance. plastic care, rubber care.
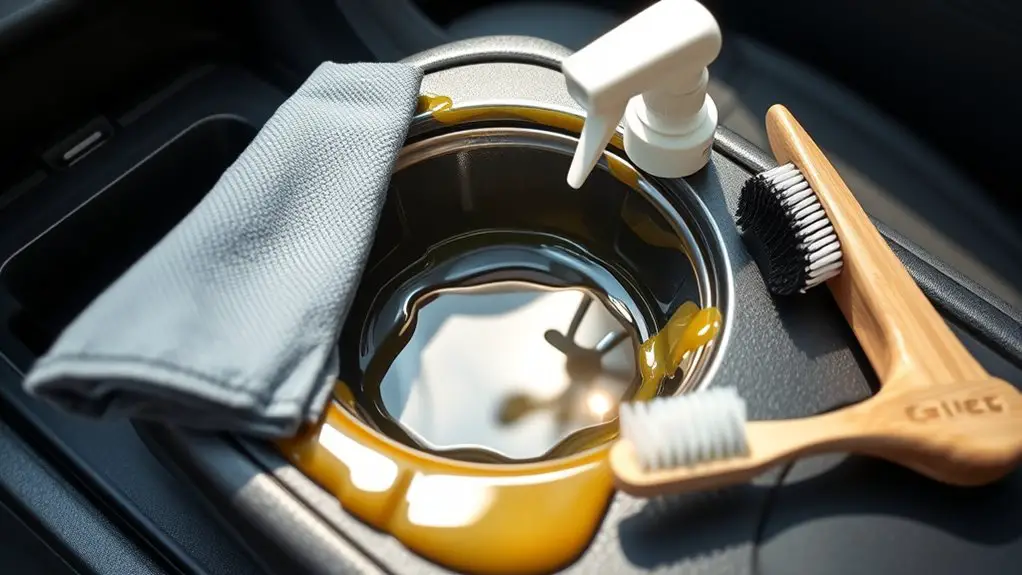
Deep Clean Routine for Stubborn Residue
If you’re dealing with stubborn residue, start by evaluating the residue type and surface material to choose a safe cleaner and technique. For tough films, begin with a dry wipe to remove loose grit, then apply a minimal amount of cleaner compatible with plastic or rubber surfaces. Use a microfiber cloth and gentle, circular motions to lift buildup without scratching. When needed, switch to a non-abrasive brush for embedded glues or tannins, then wipe clean with a damp cloth. For stubborn residue solutions, mix a small amount of dish soap with warm water or use a dedicated plastic cleaner in a test spot first to verify compatibility. Rinse thoroughly to avoid streaks and guarantee no residue remains. Dry with a lint-free towel to prevent water spots. Document your process for future reference, and repeat as part of a routine deep cleaning routine. This approach supports deep cleaning techniques while keeping you in control and free to move forward.
Preventive Tips to Keep Cup Holders Fresh
Even with regular cleaning, a few proactive habits can keep cup holders fresher longer. You’ll want a simple baseline routine: perform preventive habits that limit residue buildup, and schedule regular inspections of the cup holder area after spills. Wipe spills immediately with a microfiber cloth and a mild cleaner, then dry thoroughly to prevent sticky film. Use a dedicated tool or brush to reach crevices, ensuring no liquid pools remain. Apply a light, residue-free shield or conditioning spray only if recommended by the manufacturer; avoid heavy oils that attract dust. For ongoing freshness, keep a small absorbent sachet or silica pack nearby to curb moisture and odors between cleanings. Establish a quick post-drive check: look for crumbs, sticky edges, and accumulated residue, and address them before they harden. Document any persistent odors or sticking spots as part of regular inspections to guide faster future maintenance.
Quick Maintenance After Each Use
After each use, do a quick wipe-down to prevent residue from setting. This quick maintenance step keeps the cup holder predictable and ready for the next use, without pulling you into a long routine. You’ll want to target the contact surface, crevices, and any rubber liners with a lint-free cloth dampened lightly with mild cleaner or water. Avoid saturating areas that trap moisture, which can promote stickiness or odors. After wiping, dry thoroughly with a second clean cloth to prevent streaks and slow buildup. Integrate a daily check into your routine: inspect for sticky slicks, crumbs, or damp spots, and address them immediately. If you notice persistent residues, repeat the wipe with a fresh cloth and consider a slightly stronger cleaner designed for plastics. Keeping trims dry and surfaces clean preserves functionality, reduces friction, and supports a freedom-focused mindset by eliminating recurring hassle. Quick wipe discipline minimizes future maintenance time.
Frequently Asked Questions
Can I Remove Cup Holders Without a Toolkit or Screws?
If you don’t have a toolkit or screws, you can’t remove it safely. You’ll need specialized fasteners or a trim tool, so expect limited results. Cup holder materials vary, so use gentle prying as a last resort. DIY removal methods rely on soft wedges, plastic cards, and patience, avoiding marring. Remember, forcing it can break mounting clips. If it’s sticking, clean and lubricate, then reassess—freedom comes from knowing when to seek proper tools.
Will Strong Chemicals Affect Car Interior Materials?
Strong chemicals can affect your interior materials, so yes, they can cause chemical reactions and interior damage if misused. You should test in an inconspicuous spot, dilute harsh solvents, and avoid strong acids or bases near plastics, leather, or fabrics. Use compatible cleaners and follow product directions. If you notice discoloration, warping, or a strong odor, stop and ventilate. Your goal is safe cleaning that minimizes chemical reactions while preserving finish and resilience.
How Often Should I Replace a Damaged Cup Holder?
You should replace a damaged cup holder whenever its function fails or safety is compromised. Regular signs like sticking, wobble, or cracks merit replacement rather than risky repairs. For practical cup holder maintenance, track replacement frequency based on wear and exposure: once every 3–5 years for typical interiors, sooner if material delaminates or degrades. This keeps you in control, guarantees reliability, and respects your freedom to choose durable, technically sound options.
Are Reusable Liners Better Than Wipes for Stickiness?
Reusable liners are generally better than wipes for stickiness, you’ll gain longer-lasting clean with less waste. You’ll notice better cleaning effectiveness because liners trap grime and can be rinsed or replaced as needed. The reusable benefits include cost savings over time and fewer disposables. To use, you’ll simply insert a liner, wipe lightly for initial residue, then rinse or replace when needed. This approach keeps your cup holder sanitary and ready.
Do Scent-Free Cleaners Work as Well as Scented Ones?
Scent-free cleaners work about as well as scented ones for removing residue and odors, with scent effectiveness often hinging on surface type and dwell time. You’ll notice similar cleaning power if you choose a product labeled for tough messes and test first. Your cleaner preferences matter: stick to enzyme or solvent blends you trust, and use proper ratios. You’ll gain consistency, control, and freedom when you apply methodical, parallel steps to cup holder upkeep.