Quick Fixes for Common Window Regulator Failure Before Visiting a Shop
If your window won’t move, start with quick checks on the switch, fuse, and regulator. Firmly press the switch and listen for a relay click to confirm contact. Inspect the switch and harness for damage or loose pins, then verify the fuse hasn’t blown and replace it with the same rating. Check the regulator cables for fraying and feel for any binding or resistance in the track. If it still won’t budge, you’ll uncover more steps below.
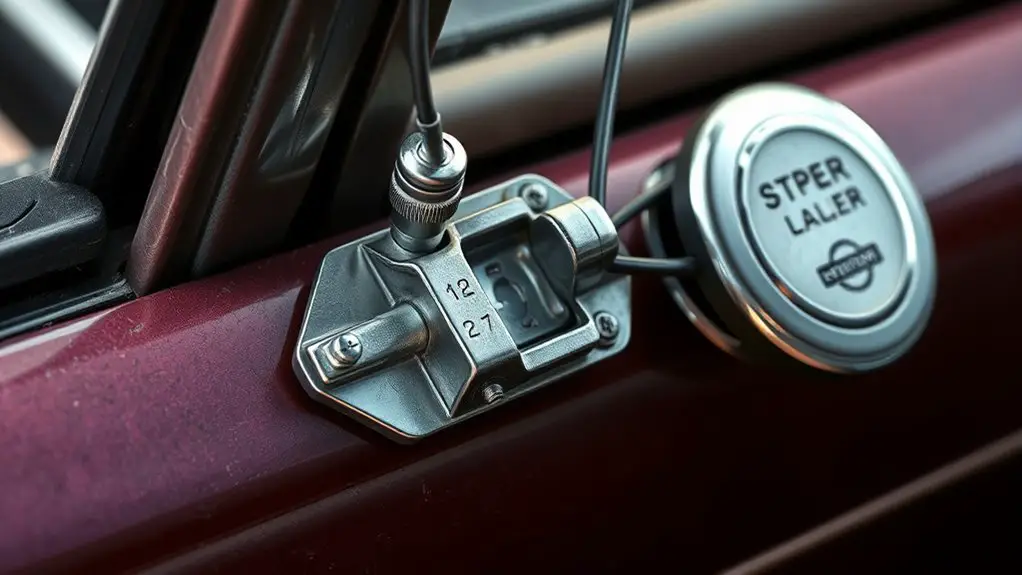
Diagnosing a Non-Responsive Window Switch

A non-responsive window switch can stall your ability to raise or lower a window, but the problem is usually straightforward to confirm. You’ll start by testing consistency: press the switch firmly, listen for a relay click, and note whether any movement occurs. If nothing moves, inspect the window switch itself for obvious damage or corrosion. Check the electrical connections at the switch harness—unplug, reseat, and look for loose pins or frayed wires. Wiggle each connection gently to feel for a dead spot, then re-seat with steady pressure. If the window still won’t respond, try the opposite direction to rule out a stuck regulator. Consider polarity and timing in your checks, but avoid guesswork—align your observations with what you see and hear. Document any signs of wear, heat, or discoloration, because durable electrical connections are the foundation of reliable window operation and freedom from repeated failures.
Checking for a Tripped or Blown Fuse
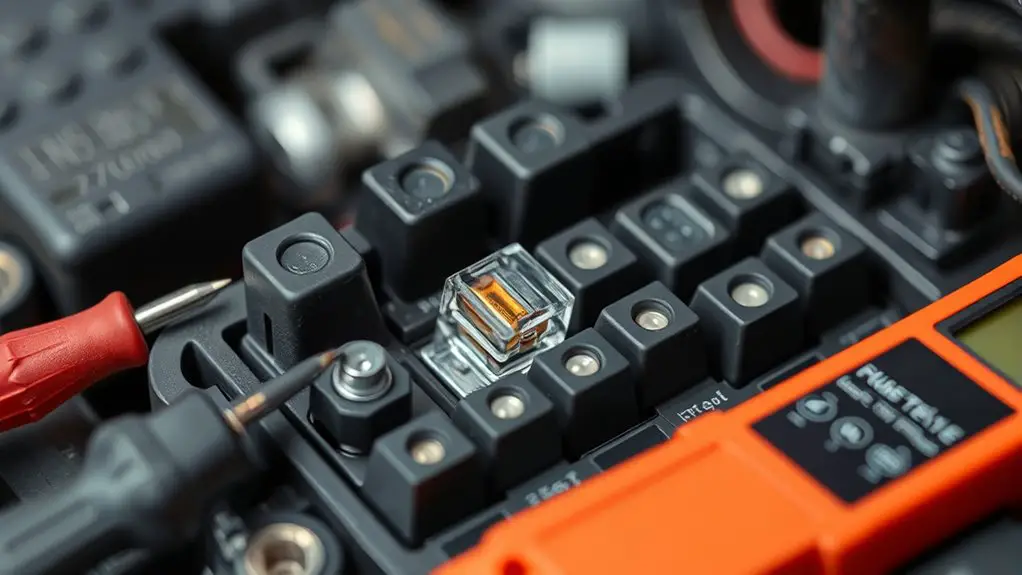
If a switch checks out but the window still won’t move, the issue may be a tripped or blown fuse.
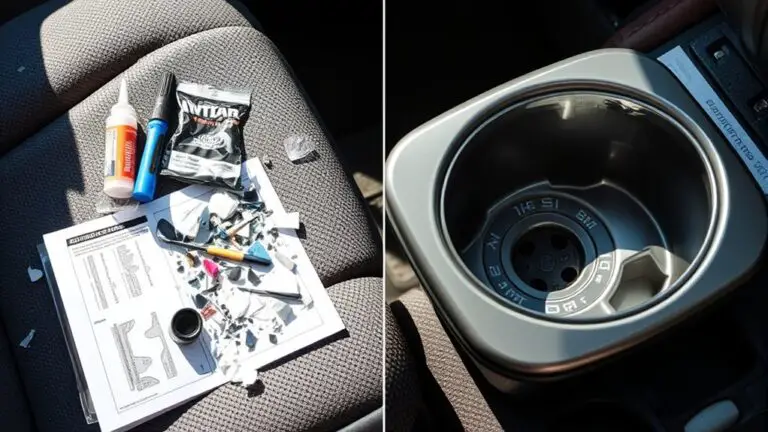
- Identify fuse types and fuse locations in your vehicle or home setup to know where to look.
- Confirm the circuit is dead by testing with a voltmeter or a simple test light.
- Replace blown fuses with the same amperage rating; never upsize to mask a problem.
- Reset the circuit, then reattempt the window operation to verify function.
A practical approach keeps you in control. Fuse types matter because some devices use fast-acting fuses while others rely on slow-blow variants; using the wrong one can trigger repeated failures. Fuse location varies by model, so consult the manual or a quick diagram before poking around. If the fuse repeatedly blows after replacement, the root cause is likely a short or overload in the wiring, not the regulator itself. In that case, seek a professional assessment. You gain freedom by ruling out electrical faults efficiently and safely.
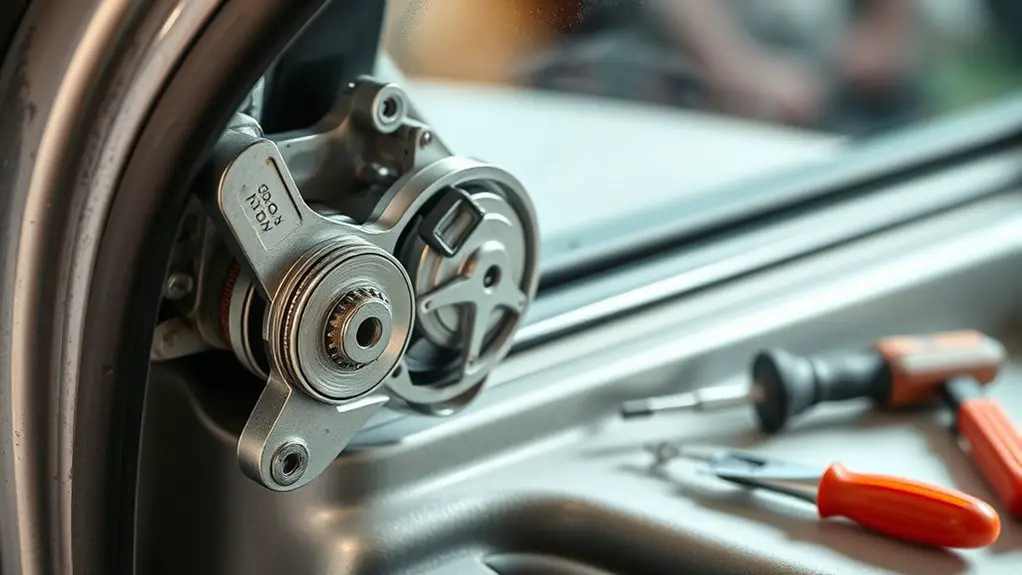
Inspecting the Window Regulator and Cables
When inspecting the window regulator and cables, start by lowering the pane fully and supporting it so it can’t drop unexpectedly. You’ll want a stable work area and good light, so you can see wear without guessing. Inspect the regulator track for bends, twists, or debris that would derail movement. Look at the cables for fraying, corrosion, or broken strands, and test tension by gently tugging along their length at several points. If you notice slack or uneven resistance, note it as a sign of misalignment or wear. Check the pulley wheels or guide clips for cracks or binding. Regulator alignment tips: verify mounting points sit square to the frame and that the regulator moves in a straight line without side play. Keep fasteners snug but not overtightened. Document any irregularities so you can compare them when deciding on repair options. Window cable inspection should be methodical, not rushed.
Testing for a Motor Issue vs. Mechanical Jam
To tell apart a motor issue from a mechanical jam, start with simple clues: a smooth, consistent motor sound with no movement suggests a motor problem, while abrupt resistance or no movement points to a jam. Check for motor current and, if possible, test voltage at the regulator to confirm activity; unusual baud or no current with movement indicates a mechanical snag. Use quick diagnostic steps—listen for changes in speed, feel for resistance, and observe door movement—to guide the next repair move.
Motor vs. Jam Clues
A quick way to tell whether the window motor is at fault or the track is jammed is to observe the motor’s behavior vs. the window’s movement. If the motor spins but the glass barely moves or stalls, you’re seeing motor functionality issues. If the glass moves slowly or stalls while the motor struggles, a mechanical obstruction is likely present. Use these clues to guide your next step, not guesswork.
- Listen for grinding or grinding-like whine during operation.
- Note if the window fully stalls at one point or stops inconsistently.
- Compare motor RPM to actual glass travel; a mismatch signals motor strain.
- Check for smooth travel when manually assisted; resistance points to obstruction.
Quick Diagnostic Steps
If the window isn’t moving as expected, start with quick, concrete checks to separate motor fault from a jam. Begin by testing each window type you own using its switch locations, noting which doors respond and which stay stubborn. Listen for a faint motor hum when you press the switch; silence or a stall, with audible load, signals a motor issue rather than a mechanical bind. Try moving the glass manually after a brief power test to feel for resistance that isn’t present with full power. Swap to another switch if available to rule out a switch fault. Document behavior, then compare with prior diagnostics. If one regulator misbehaves consistently, you’ve narrowed it to the unit, not hinge friction.
Safe Steps to Lubricate and Realign Tracks
You’ll start by safely preparing the workspace: disconnect power to the window, remove any obstructions, and lay out the tools you’ll need. Then you’ll proceed with a calm, methodical approach to lubrication techniques and track alignment, aiming for smooth, reliable operation without guesswork.
1) Inspect the track for debris and corrosion, and wipe clean with a dry, lint-free cloth.
2) Apply a light, non-greasy lubricant to the track, avoiding overspray on glass or seals.
3) Realign the sash by guiding it along the track from bottom to top, correcting any binding points.
4) Test several cycles, noting resistance changes and repeat adjustments as needed.
Tips: keep hands dry, use minimal contact pressure, and document any sticking points. This disciplined method preserves freedom of movement, reduces noise, and supports consistent performance without unnecessary parts replacement. Remember: lubrication techniques and track alignment are the foundation for stable operation.
When to Seek Professional Help Before Driving It Again
If you’ve finished basic lubrication and alignment but still notice jerky motion, grinding sounds, or consistent resistance, it’s time to call in a professional before driving it again. You want to avoid sudden drops, glass breakage, or a regulator that seizes mid-ride. Seek professional advice when symptoms persist after simple fixes, or if you can’t determine the root cause safely. Common red flags include uneven window ascent, high motor load, or cables that jump off pulleys. Don’t ignore intermittent failure or abnormal heat near the switch or motor. A qualified technician will diagnose whether the issue is mechanical wear, binding channels, or a failed regulator, and will verify electrical safety interlocks. Until then, minimize use, park with the door closed, and protect passengers from potential surprises. Prioritize window safety over convenience, and remember that professional advice can prevent costly, risky damage and restore dependable operation.
Frequently Asked Questions
Can Window Regulators Be Repaired Without Removing the Door Panel?
Yes, you can usually repair a regulator without removing the entire door panel, though access and exact steps vary by car. Start by pulling the window up, then disconnect power or roll it down carefully. Remove a few trim screws and feel for hidden bolts; you may need just the lower panel removed. Stay patient, use DIY repairs mindset, and document window behavior. This Window maintenance approach lets you test fixes and decide next moves.
Do Weather Conditions Affect Window Regulator Performance?
Yes, weather conditions can affect window regulator performance. You’ll notice slower or noisier operation in cold, humid, or icy conditions, and extreme heat can strain the motor. Seasonal effects matter: lubricants thicken in cold, cause binding; moisture can corrode components over time. You should expect occasional sluggishness after temperature swings. Keep tracks clean, lubricate as needed, and address corrosion early. If you rely on openness in a storm, plan for potential temporary failure and safer manual operation.
Is a Malfunctioning Regulator Covered by Warranty?
Did you know that about 1 in 5 car owners file a warranty claim for window regulators? If your regulator malfunctions, yes—warranty coverage often applies if the issue stems from manufacturing defects, not wear or damage. You’ll want to check your policy details. Expect to cover diagnostic fees, but repair costs can be fully or partially reimbursed. Review your terms, document failures, and contact your dealer promptly to maximize coverage and minimize out-of-pocket expenses.
Can Non-Technical Home Fixes Cause Further Damage?
Yes, non-technical home fixes can cause further damage if you push parts or misalign components. You should avoid improvising with force and consult a professional when in doubt. Instead, use non technical solutions as temporary fixes only, to buy time while you plan proper repair. Stay practical: document symptoms, disconnect power safely, and don’t bypass safety features. This approach keeps options open without risking more harm, and preserves room for reliable, long-term fixes.
How Long Should a Temporary Fix Last Before Replacement?
When you’re waiting for a fix, your window’s quiet faith can slip, so plan for a short-lived phase. A temporary solution should last only days to a couple of weeks, depending on use and mood of the mechanism. Expect modest lifespan expectations; don’t bank on it. You’ll know it’s time when resistance grows, creaks worsen, or it won’t stay in place. Prioritize a proper replacement for durable, reliable function.