Step-By-Step: Repairing a Blowout Caused by a Damaged Wheel Bearings
To repair a blowout caused by damaged wheel bearings, you first diagnose wear by listening for rhythmic changes with speed and inspecting heat, play, and tire wear. Secure the vehicle on a solid, level surface, chock it, and raise safely. Remove the wheel, detach the hub assembly, and inspect the bearing bore, seals, and race seating. Install a repaired or new bearing with correct torque and clean surfaces, then reassemble and test drive carefully to confirm stability—more steps ahead if you continue.
Diagnosing Wheel Bearing Damage and Warning Signs
Wheel bearing damage often starts subtly, with warning signs that surface before a failure becomes dramatic. You’ll approach diagnosis with structure: collect observations, reproduce conditions safely, and compare to baseline benchmarks. Diagnosing symptoms requires systematic checks across vibration, noise, and play in the wheel assembly. Listen for rhythmic humming or grinding tones that shift with speed, and note any pulsations felt through the steering or brake pedal. Inspect for abnormal heat after a short drive; touch is brief and cautious, but warmth beyond normal indicates lubrication loss or bearing fatigue. Check for uneven tire wear patterns, steering pull, or increased drift, which can mirror alignment issues yet point to bearing wear when combined with other cues. Inspect the hub and axle seals for leaks, and verify bearing preload and torque per spec. Warning indicators often appear in combination, not isolation, guiding you toward targeted, safe repairs rather than guesswork. Maintain documentation to track symptom progression and validate decisions.
Assessing Vehicle Condition Before Repair
Before you begin repairs, assess the vehicle’s overall condition to establish a safe, actionable plan. You perform a focused vehicle inspection to identify immediate hazards and verify that the chassis, suspension, and wheel hub are stable. Document wear patterns, fluid leaks, and tire integrity as part of a structured damage assessment. Prioritize issues that could influence repair outcomes or safety, such as unsupported weight, cooling system strain, or compromised braking components. Maintain a logical sequence: verify wheel torque, inspect brake lines, and confirm hub bearing play. Use objective criteria to decide whether you can proceed or need additional tools. This approach minimizes risk and guides parts selection, ensuring you don’t overlook latent damage.
| Step | Focus |
|---|---|
| 1 | Vehicle inspection scope |
| 2 | Damage assessment criteria |
| 3 | Immediate safety checks |
| 4 | Decision criteria |
Safety Preparations and Workspace Setup
Safety preparations and workspace setup should begin with a clear safety plan and a well-organized work area. You’ll establish risk controls, define roles, and outline emergency procedures before any action. Confirm vehicle stability, chocking, and exhaust ventilation, then map a sequence of steps to minimize surprises. Your safety gear includes gloves, eye protection, hearing protection, and a fire extinguisher within reach. Check lighting and create a dedicated, clutter-free zone to reduce trips and dropped parts. Maintain a clean floor, use a sturdy work surface, and designate zones for drain, fasteners, and waste. Practice workspace organization by labeling containers, securing tools, and removing unnecessary items that could impede access. Maintain communication with any helpers, and pause if fatigue or distractions arise. Document any deviations from procedure and return to the baseline plan once conditions are safe. Precision and discipline protect you and preserve components during this repair.
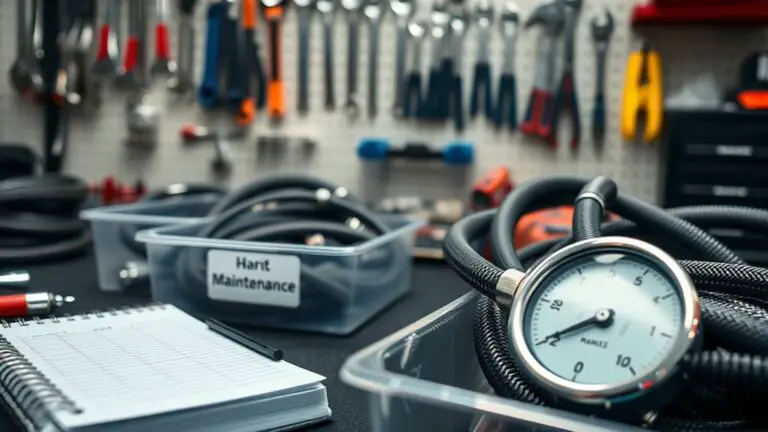
Tools and Materials You’ll Need
You’ll want a concise, well-organized set of tools and materials to start the repair. This section outlines the essential tools list and the materials checklist you’ll rely on for safe, accurate work. Use these items as your baseline to verify readiness before you begin.
Essential Tools List
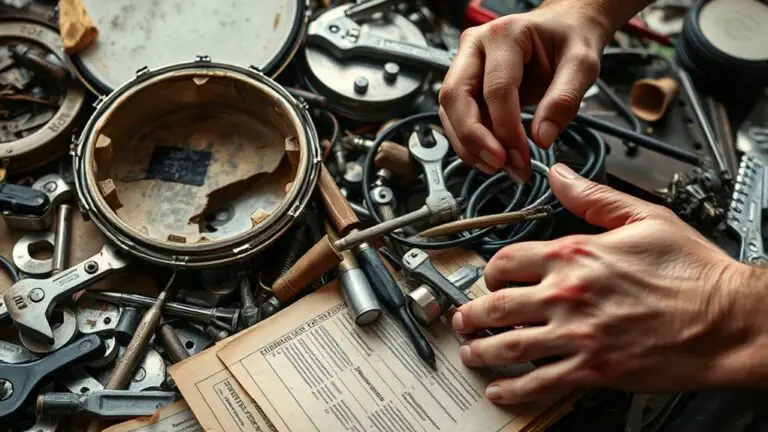
To tackle a wheel bearing blowout repair effectively, assemble a concise set of tools and materials tailored to the job: a torque wrench, metric and standard socket sets, open-end wrenches, screwdrivers, pliers, pry bars, and a hammer, along with a breaker bar for stubborn fasteners. You’ll also want a digital multimeter for any sensor checks and a torque angle gauge for precise fastener seating. Keep a magnetic tray and labeled containers to organize fasteners. Guarantee proper jack stands and wheel chocks for safety, plus a breaker bar extension if needed. Bearing maintenance tips and wheel inspection advice should guide your checks after removal, focusing on hub surface condition, seal integrity, and rotor condition, then plan reassembly with manufacturer specifications. Maintain cleanwork habits and verify torque on all fasteners.
Materials Checklist
Having assembled the basic tools in the previous step, you now compile a focused list of materials and equipment needed for the blowout repair. You’ll prioritize reliability, compatibility, and ease of sourcing. This Materials Checklist emphasizes choosing materials mindfully and sourcing components with traceability. Ascertain fasteners, seals, lubricants, and rotor components match your vehicle’s specifications. Keep a detailed inventory to avoid mid-repair shortages.
| Category | Item | Notes |
|---|---|---|
| Fasteners | Lug nuts, studs | Accomplish correct thread pitch |
| Seals & Bearings | Wheel bearing kit, seals | OEM or equivalent quality |
| Lubricants | Assembly grease, anti-seize | Temperature appropriate |
| Tools | Torque wrench, pry bar | Calibration verified |
Stabilizing the Vehicle on Solid Support
You’ll start by ensuring the vehicle is on solid, level support before any inspection or repair. Apply stable chocks and elevating points to maintain a secure stance, then verify that all supports remain fixed under load. This sets the foundation for reliable stabilization techniques and accurate assessment of wheel bearing damage.
Solid Support Basics
Solid support is essential to prevent movement while inspecting or repairing a wheel bearing. You set the vehicle on a firm, level base, ensuring contact with secure points and avoiding overextension of suspension components. Begin by selecting solid support types that match your vehicle’s weight and geometry, such as jack stands rated for the load and cribbing that resists shifting. Position supports under reinforced pinch points or frame members, not under delicate components. Check alignment and apply wheel chocks to prevent rollback. Use solid support materials that maintain stability: wood cribbing with flat, broad faces, or metal blocks with clean, unmarred surfaces. Verify stability with gentle rocking tests before loosening fasteners. Document contact points, and recheck after any adjustment to sustain a safe working environment.
Stabilization Techniques
To stabilize the vehicle on solid support, verify all contact points and assure the support system is level before any work. You’ll apply stabilization methods that maintain clearance and prevent movement during bearing inspection. Position jacks, stands, or a hydraulic lift so load paths are centered on sturdy, rated points, then gently level the platform. Confirm wheel chocks are placed forward and aft on fixed surfaces, and confirm the vehicle remains secure before loosening fasteners. Use a divider plan to monitor weight distribution and avoid overextension. Table below aids visualization of setup steps.
| Step | Action |
|---|---|
| 1 | Check contact points |
| 2 | Level support system |
| 3 | Apply chocks and verify stability |
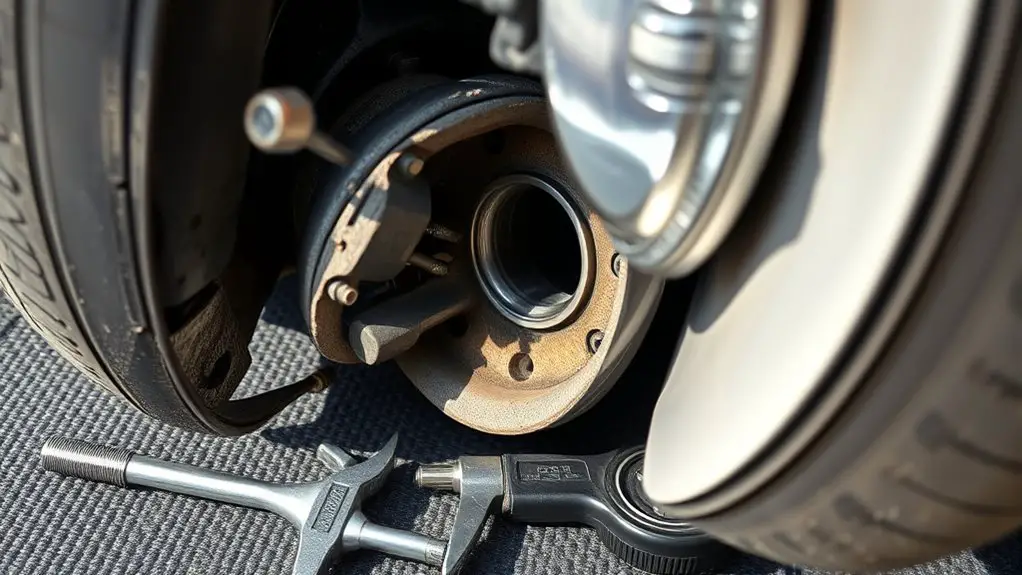
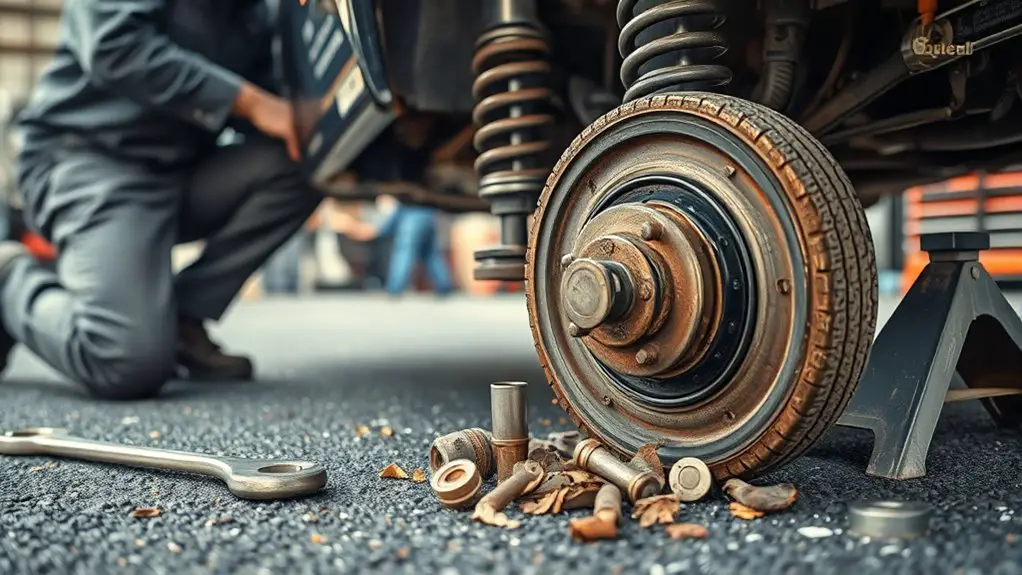
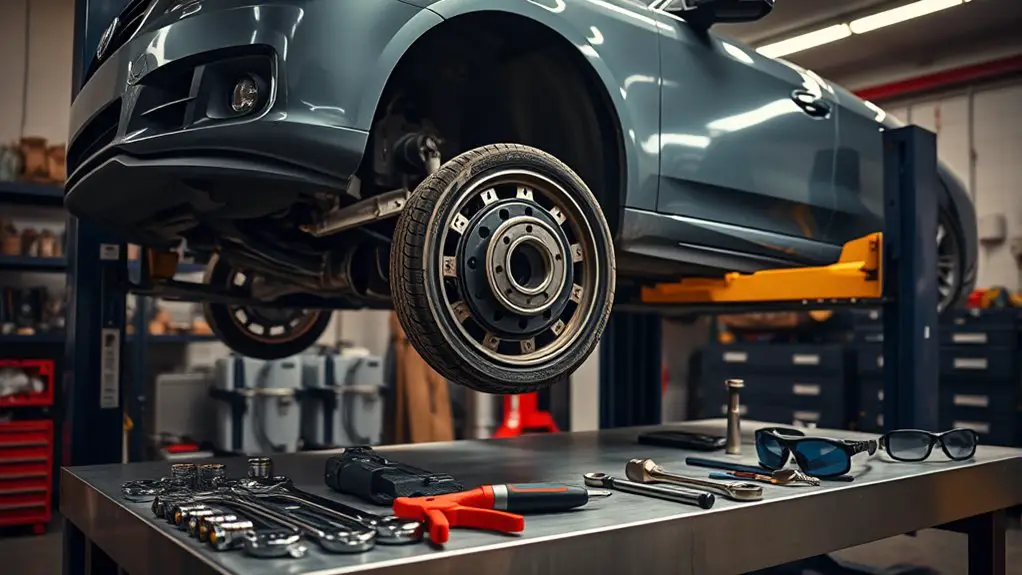
Removing the Damaged Wheel and Brakes
Begin by safely positioning the vehicle and preparing the workspace, then loosen the lug nuts with the correct socket before lifting the car. Once elevated, secure with stands and remove the wheel to expose the brake assembly. Inspect the brake caliper, pads, and rotor for wear or damage, noting any sticking hardware or fluid leaks. If you encounter a seized brake caliper, apply penetrating lubricant to guide pins and carefully retract the piston with a C-clamp, keeping pressure steady. Disconnect the brake line only if you must, ensuring you have a sealed container for fluid. With the wheel removed, verify the wheel hub surface is clean and free of debris before proceeding. Perform a baseline brake inspection to identify heat scoring or glazing, and check for rotor runout using a dial indicator if available. After clearing debris, reference wheel alignment implications and reassemble, torquing fasteners to spec. Lower the vehicle and test via gentle movement to confirm stability.
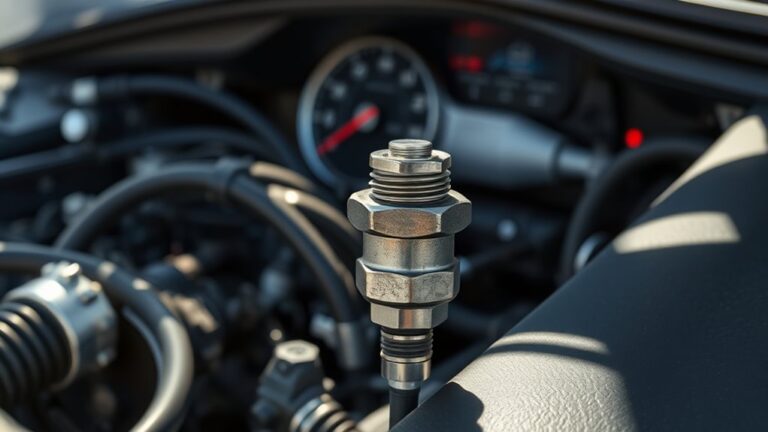
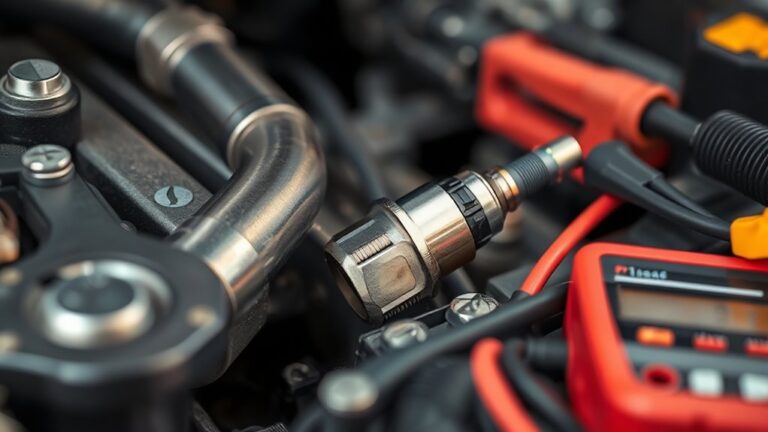
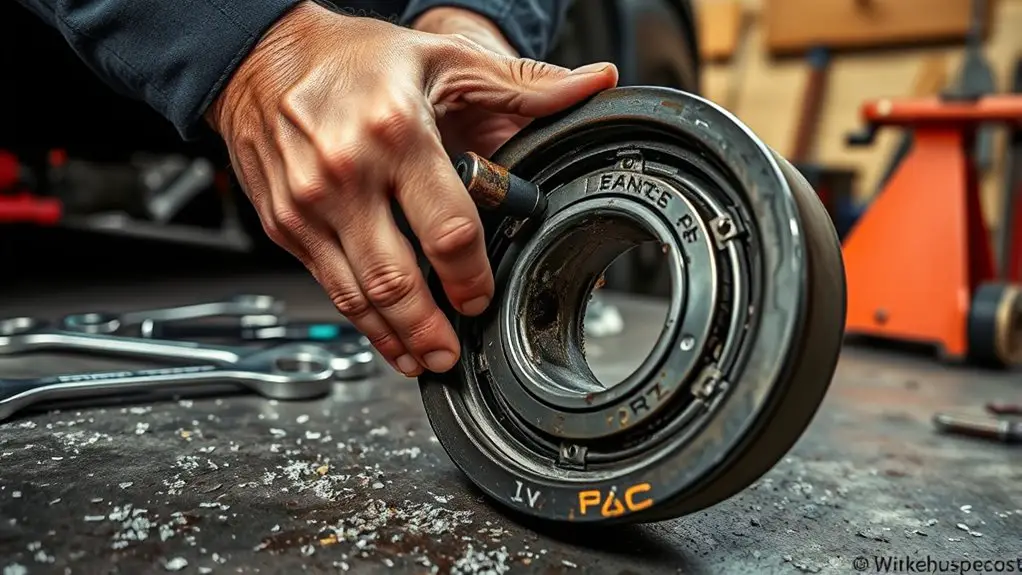
Accessing and Removing the Faulty Wheel Bearing
Accessing and removing the faulty wheel bearing requires a methodical sequence to prevent damage and guarantee accuracy. You’ll verify access points, locate fasteners, and prepare the work area to minimize contamination and misalignment. During wheel bearing inspection, note clearances, stud integrity, and hub condition before removal, so you don’t chase hidden damage. Proceed with bearing removal techniques that preserve mating surfaces and retain race integrity.
- Secure the vehicle, release tension, and remove the wheel with standard torques documented for your model.
- Detach the hub assembly’s retaining components, clean contact surfaces, and support the bearing to avoid sudden shifts.
- Extract the bearing using appropriate tools, inspect the bore and seals, and record measurements for replacement accuracy.
Ensure you document wear patterns, cover any debris, and maintain clean hands and safeguards. This disciplined approach keeps bearing removal techniques predictable, allowing precise future installation and reliable performance.
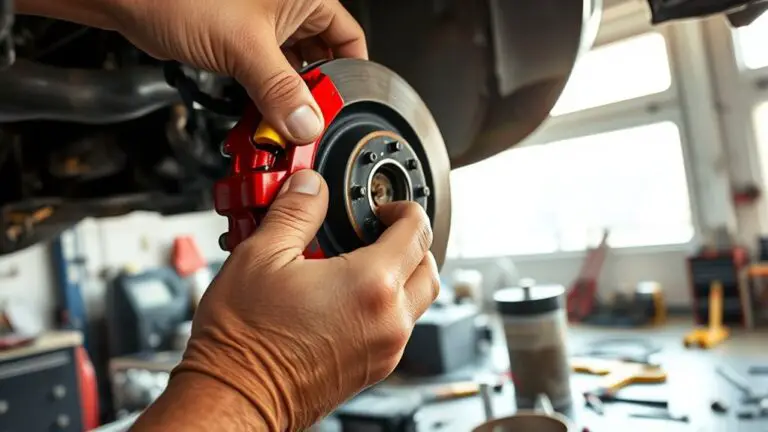
Installing a Repaired or Replaced Bearing
Install the repaired or replaced bearing with exact alignment and clean surfaces, ensuring the race seats correctly and the hub mates squarely to the bore. You align the bearing by pre-fitting without force, verify the shoulder position, and confirm no binding as you rotate the assembly. Use a torque-limiting wrench to secure fasteners per spec, then recheck play and spin freely. Maintain cleanliness throughout, wiping away debris and lubricating only with the approved compound to avoid contamination. If you encounter resistance, stop and inspect for burrs, misalignment, or an out-of-spec bore. Bearing installation techniques require patient, deliberate actions, not shortcuts. Record torque values, seating depth, and any measured end-play for traceability. Bearing alignment importance lies in preventing uneven loading, heat buildup, and premature wear. After seating, perform a light spin test and verify that the bearing remains centered as you restore the hub to its mating components. Proceed to reassemble with controlled, deliberate steps.
Reassembling Components and Refitting the Wheel
You’ll begin by aligning the hub, rotor, and caliper components to factory tolerances, then confirm that fasteners and mounting surfaces are clean and undamaged. Next, follow the reassembly steps in order, seating the bearing and wheel assembly securely before torquing fasteners to spec, and apply the wheel refitting tip to guarantee proper seating and runout. Finally, perform a brief check for smooth rotation and proper brake engagement, noting any misalignment or binding for correction before test drive.
Reassembly Steps
Reassembly begins by carefully aligning all removed components and seating them with correct orientation, so you can restore proper fit and function. You apply controlled torque and verify preload to avoid later play. Maintain cleanliness to prevent contamination and guarantee reliable sealing.
- Reinstall the hub, bearing, and dust shield in precise order, confirming flat surfaces contact evenly and fasteners thread cleanly.
- Align the rotor or wheel hub flange with the knuckle, confirming component alignment before torquing to spec.
- Refit the axle nut or fasteners, then confirm proper rotation with a smooth, resistance-free sweep and confirm proper preload.
Proceed with final torque checks, recheck rotor runout, and test spin by hand to guarantee consistent engagement and freedom of movement.
Wheel Refitting Tip
Wheel refitting requires confirming that all previously seated components are clean, properly oriented, and able to seat evenly against the hub and rotor. You’ll verify that the brake rotor sits flat, the wheel bearing preload is correct, and the spacer or adapter is aligned with casting marks. Ascertain lug studs thread cleanly and seats sit flush without binding. As you mount the wheel, rotate slightly to confirm no contact between caliper, pad, or rotor. Tighten fasteners in a cross pattern to spec, then recheck torque. Recheck wheel alignment visually before lowering. Once on the ground, verify tire pressure matches manufacturer specs and spin to listen for rub or imbalance. Finish with a final alignment and dynamic check for smooth steering response.
Testing for Proper Operation and Road Readiness
After completing repairs, you should verify the axle and bearing assembly through controlled testing to confirm proper operation and road readiness. The goal is a precise road test and a formal performance evaluation that validates all components function as designed. Follow a structured sequence to guarantee repeatability and safety.
After repairs, perform controlled testing to verify axle and bearing function, ensuring precise road readiness and formal performance evaluation.
1) Pre-test checks: inspect mounting hardware, tire condition, and brake response; verify wheel alignment indicators are within tolerance.
2) Controlled operation: accelerate, cruise, and decelerate on a serviced surface; listen for abnormal noises, monitor heat, and confirm no vibrations transmit to the chassis.
3) Post-test evaluation: review telemetry data, compare to baseline, and document any deviations for further adjustment or replacement.
Road testing should be incremental, with conservative thresholds and a clear stop criterion. You’ll gain confidence in performance evaluation by confirming smooth bearing rotation, stable axle alignment, and predictable braking behavior under real conditions.
Frequently Asked Questions
How Long Does a Wheel Bearing Repair Typically Take at Home?
You’ll likely spend 2 to 4 hours, depending on your experience and tools. If you’ve got wheel bearing tools and follow precise steps, you’ll move through removal, inspection, and replacement efficiently. Home repair techniques vary, but missteps add hours, so stay organized and secure your workspace. Expect extra time for aligning the hub and rechecking torque. You’ll gain freedom by finishing confidently, and your wheel will roll smoothly after you confirm proper calibration.
Can I Drive Short Distances to a Shop After a Blowout?
Yes, you can drive short distances to a shop, but only if you take safety precautions and avoid high speeds. Stop if the tire shows further damage, pull over on a safe surface, and use your emergency kit to signal others. Check your traction, control, and braking before moving. Keep it slow, planned, and direct, then proceed with caution. If anything feels off, don’t risk it; call for roadside assistance instead.
Will Damaged Brakes Affect Bearing Replacement Reliability?
Yes, damaged brakes can affect bearing replacement reliability. If brake wear is excessive or calipers are sticking, you’ll misalign components and compromise bearing seating, risking premature wear or improper torque. Ascertain brake wear is within spec and inspect brake rotors and caliper pins before bearing work. Maintain precise bearing alignment and proper preload during installation. Any misalignment or uneven brake surface can skew results and reduce long-term reliability. Follow exact specs, and verify with a test run.
What Are Common Replacement Bearing Failure Symptoms After Repair?
Yes, common replacement bearing failure symptoms after repair include persistent bearing noise and an uneven tire ride. You’ll notice increased rumble or grinding during acceleration and turns, plus vibration transmitted through the steering wheel. Check for looseness or play in the hub, unusual warm spots after short drives, and uneven tire wear patterns. If these appear, recheck bearing preload, seals, and spacer alignment promptly to avoid accelerated wear and unsafe handling.
Should I Replace Related Components to Prevent Future Failure?
Yes—you should replace related components to prevent future failure. Plan preventive maintenance and perform a thorough component inspection of all adjacent parts (axle, seals, hubs, brakes, tires). Replace worn or damaged items proactively, and confirm proper tolerances and lubricant levels. Document inspection results, schedule follow-up checks, and stay vigilant for noise, vibration, or heat. This methodical approach helps you maintain reliability and freedom from unexpected breakdowns.