Replacing the AC Condenser: a DIY Guide
You’ll replace the condenser only after confirming a fault is present, selecting an exact-match unit, and following safe, code-compliant procedures to restore reliable cooling. Start with identifying a faulty condenser—look for reduced cooling, leaks, or rising system pressure. Choose the right replacement by matching size, port locations, and pressure ratings, and verify mounting and electrical compatibility. Wear proper safety gear, reclaim refrigerant, and torque fittings to spec. After install, test pressures, airflow, and temperatures; more details await if you continue.
Identifying a Faulty Condenser
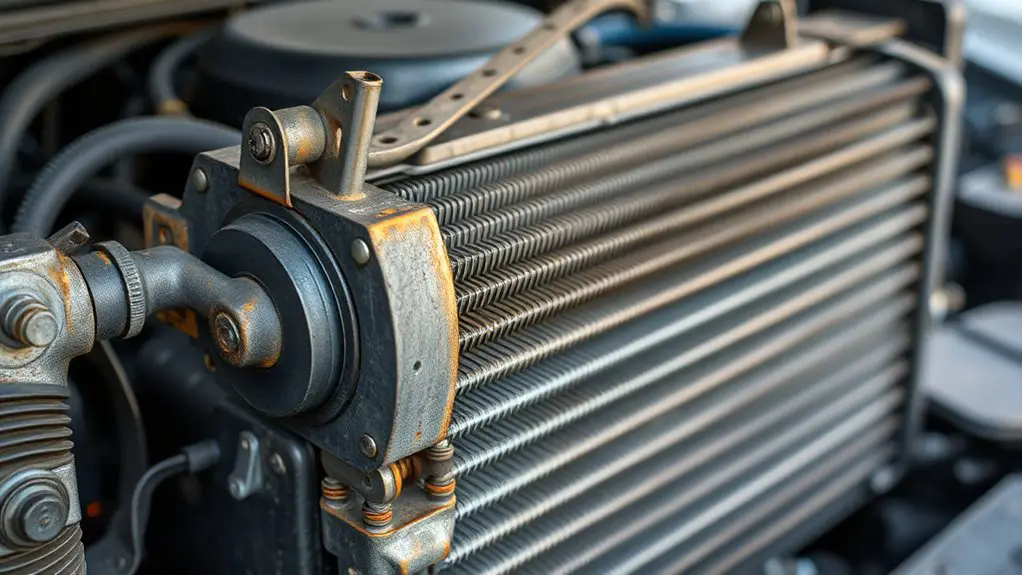
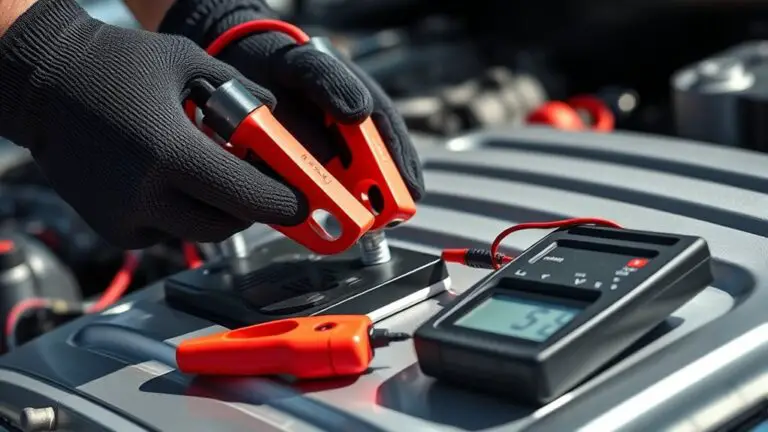
A faulty condenser usually shows itself through reduced cooling efficiency, visible leaks, or a rise in system pressure that doesn’t respond to normal charge adjustments. You’ll recognize symptoms quickly by inspecting both performance and hardware. Start with performance indicators: inconsistent cabin temperatures, longer compressor cycles, and reduced airflow across the condenser coil. Next, perform a careful external check for oil dampness, greenish or amber residues, and frost formation on lines—these point to seal or gasket failures. Visually confirm coil cleanliness; heavy fouling limits heat rejection and signals impending failure. Listen for abnormal fan operation, including intermittent spinning or unusual noise, which can indicate motor or bearing issues affecting cooling capacity. For troubleshooting techniques, verify demand-side controls are not masking core problems, and measure system pressures with the engine at idle and under load. Document observed symptoms, correlate with service manuals, and decide if replacement or repair aligns with safety and reliability goals.
Choosing the Right Replacement
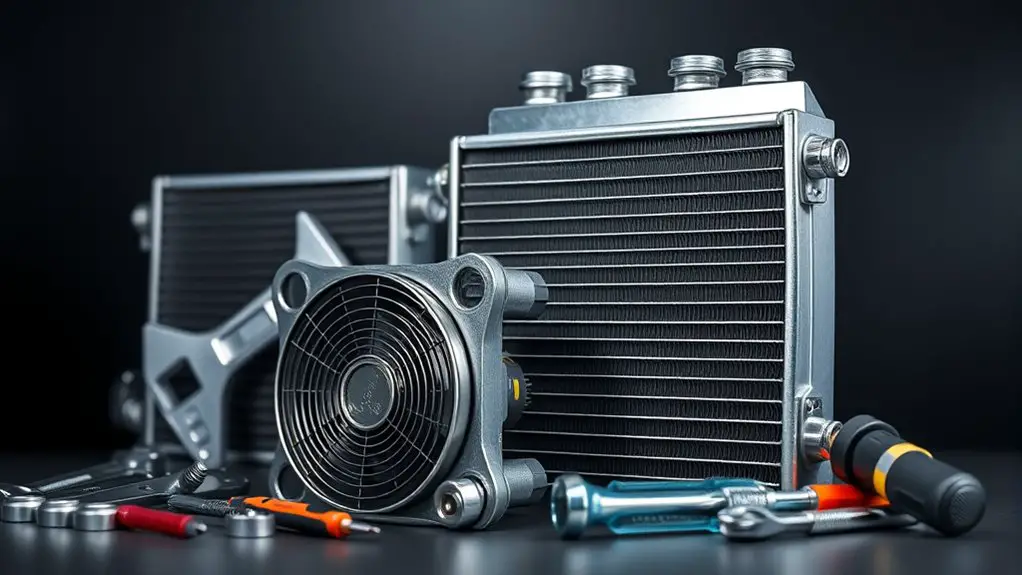
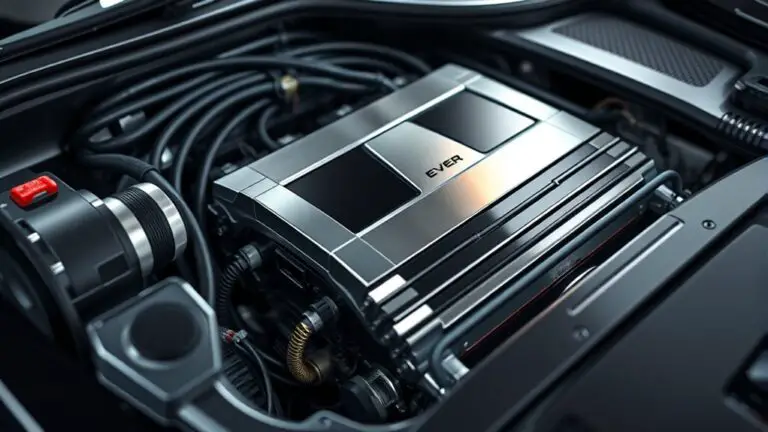
When selecting a replacement condenser, prioritize the exact specifications of your system: size (diameter and length of the core), port locations, and allowed pressure ratings must match your compressor output and rated refrigerant. You’ll assess condenser types by core material, fin density, and tube count to guarantee thermal mass aligns with your air flow and vehicle or equipment demands. Verify electrical and mounting compatibility, including stud spacing, bracket design, and inlet/outlet orientation, to avoid fitment issues during installation. Compatibility issues arise if a substitute condenser diverges from factory refrigerant charge, pressure limits, or fan duty cycle, leading to performance loss or early failure. Cross-check with the original part number, service bulletins, and refrigerant type, then compare alternative models for pressure drop and heat rejection capability under your typical load. Document measurements and fit checks, and confirm warranty terms before committing. Precision in selection saves labor and reduces risk of repeat failures.
Safety Precautions and Tools
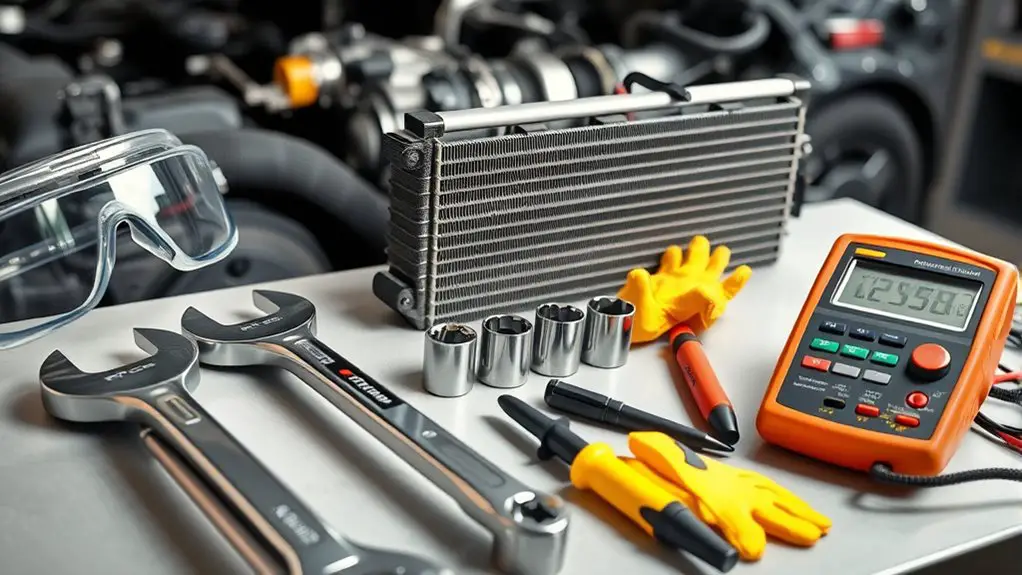
Safety is non‑negotiable here: disconnect the battery, relieve system pressure, and lock out power before any work begins, since refrigerant and electrical hazards can cause injury or equipment damage. You’ll approach this task with focus and method, so establish a controlled work zone and verify isolation at the source. Wear safety gear: eye protection, gloves rated for refrigerants, and hearing protection if you’ll be using loud tools. Confirm the area is well ventilated and free of ignition sources. Before touching metal or wiring, inspect for sharp edges, hot surfaces, and stored energy. Maintain a precise tool checklist to avoid missteps: insulated pliers, torque wrench, service gauges, manifold set, refrigerant recovery equipment, and a multimeter. Keep hoses, fittings, and fasteners organized to prevent cross‑contamination. Document the process as you go, noting readings, torque values, and any anomalies. After work, perform a final safety review and restore the environment to a safe baseline.
Replacing the Condenser: Step-by-Step
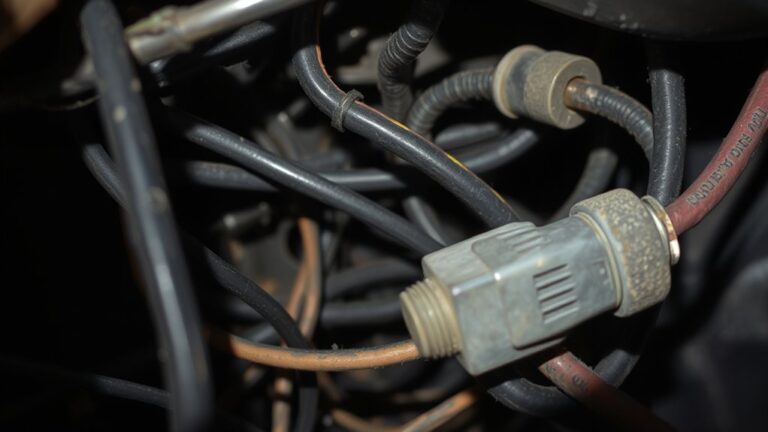
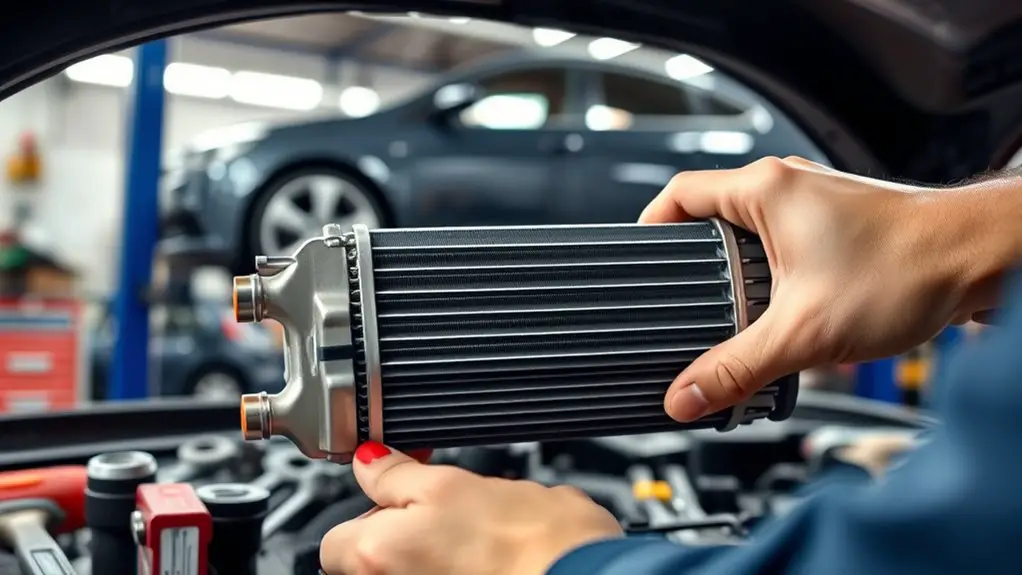
Begin by verifying the vehicle is safely accessible and the system is isolated; with the condenser located in the front-end core of the A/C circuit, you’ll first reclaim refrigerant per local regulations and connect recovery equipment to the service ports to prevent environmental release. Next, disconnect electrical and mounting hardware, document harness connections, and label lines for reassembly. Remove the grille or bumper as needed to access the condenser, then detach the condenser mounting brackets, low-side lines, and high-side lines with proper refrigerant seals to avoid leaks. Clean debris from fins and inspect for damage, bent tubes, or corrosion; replace severely damaged components. Install the new condenser with alignment pins, reconnect lines using new O-rings, and torque fittings to spec. Reinstall mounting hardware and confirm clearance for fan shrouds. Purge and leak-test the system, evacuate if required, and recharge per the manufacturer’s charge spec. Troubleshooting techniques include checking for leaks, airflow, and proper fan operation to guarantee peak cooling.
Post-Replacement Testing and Maintenance
Once the condenser replacement is complete, you’ll move into post-replacement testing and maintenance to confirm system integrity and long-term reliability. You’ll perform targeted performance checks to verify airflow, refrigerant pressure, and temperature differential across the evaporator. Use a manifold gauge set and thermometer to establish baseline operating ranges, then compare against manufacturer specifications. Inspect electrical connections, contactor operation, and capacitor health, listening for abnormal hums or cycling irregularities. Run the system through a full cooling cycle, observing time to steady-state temperatures and indoor vent quality. Check for refrigerant leaks with an approved detector; address any trace sightings promptly. For regular maintenance, schedule seasonal inspections: belt tension, fan blade integrity, coil cleanliness, and drainage pathways. Document readings and any adjustments to support future diagnostics. Maintain clear, accessible access to the condenser area and keep protective shields intact. With disciplined testing and regular maintenance, you’ll sustain reliable performance and extend equipment life.
Frequently Asked Questions
Can I Reuse My Old Condenser Refrigerant?
No, you shouldn’t reuse your old condenser refrigerant. Reclaiming and recharging isn’t a DIY task you should tackle without compliance. Refrigerant safety matters, and handling improper recovered gas risks leaks and fines. Use a certified recycler or service shop for recovery and disposal. Guarantee proper disposal of any unused refrigerant, and confirm you’re following local codes. You’ll maintain system integrity and stay within regulations while preserving your freedom to work confidently.
How Long Does the Replacement Process Take?
Replacement time varies, but you should plan for 4–8 hours depending on system access and refrigerant control steps. Condenser difficulty rises if you encounter seized bolts, corroded lines, or electrical rework. You’ll need precise recharging and pressure checks to avoid leaks. Expect pauses for safety checks, vacuum cycles, and post-test verification. Stay patient, follow the manifold gauges closely, and document torque specs. If anything feels off, don’t rush—rework now saves headaches later.
Will DIY Replacement Void My Cooling System Warranty?
Yes, it can void your warranty, depending on your manufacturer and terms. Warranty implications hinge on whether DIY replacement is permitted, installed components are compliant, and proper documentation is provided. You’re taking on DIY risks, including misdiagnosis, improper refrigerant handling, and leaks. To minimize impact, follow service bulletins, obtain authorization if needed, and keep detailed records. If you want certainty, consult the OEM or a certified technician before proceeding.
Do I Need to Vacuum the System After Replaced?
If you replaced it, yes—you should vacuum the system. Think of a hypothetical unit under test: after installation, you run a deep vacuum, remove moisture, and prevent compressor damage. The vacuuming process eliminates air, water, and noncondensables that degrade system efficiency. You’ll confirm a proper static pressure before recharge. Skipping this step risks leaks and reduced system efficiency, plus uneven cooling. Do it methodically, document gauges, and recheck after charging for peak performance.
Is Specialized Charging Equipment Legally Required?
Specialized charging equipment isn’t universally legal to own for personal use; rules vary by jurisdiction, so you should check local safety regulations. If allowed, you’ll still need to comply with safety regulations and manufacturer specs. You can operate only with the right specialized tools and proper training to avoid voiding warranties or causing hazardous emissions. Verify your setup includes calibrated gauges, a leak detector, and correct refrigerant type. Prioritize compliance and precision to protect yourself and the system.