Step-By-Step: Replacing the Pressure Tester to Fix Fan Not Engaging
To replace the pressure tester and fix a fan that won’t engage, start by verifying power and control signals, then safely de-energize the system. Locate the tester on the primary pressure port and inspect related lines. Disconnect the faulty unit, noting line labels, seals, and fittings. Install the new tester, hand-tighten and then torque to spec, reconnect all lines, and route them away from heat or moving parts. A proper test will confirm engagement, with more steps ahead if needed.
Assess the Symptoms of a Non-Engaging Fan
When a cooling fan won’t engage, start by confirming whether power is reaching the fan and if the control signal is being issued. You’ll assess symptoms with clarity and avoid assumptions. Check for audible cues, intermittent spinning, or complete stall, since such signs guide you toward the root cause. In fan operation analysis, focus on electrical supply, ground integrity, and relay or controller outputs. Verify voltage under load and observe whether changes occur with temperature or system demand. Document whether the fan responds to a direct power bridge or only via the control line, as this distinction narrows the troubleshooting techniques. Look for fuse status, connector corrosion, and harness wear that could impede signals. Assess consistency across multiple sensors and modules if your system uses networked control. Prioritize safety, confirm de-energized conditions before probing, and keep notes for reference. This approach guarantees precise diagnostics and maintains your autonomy in diagnosing fan behavior.
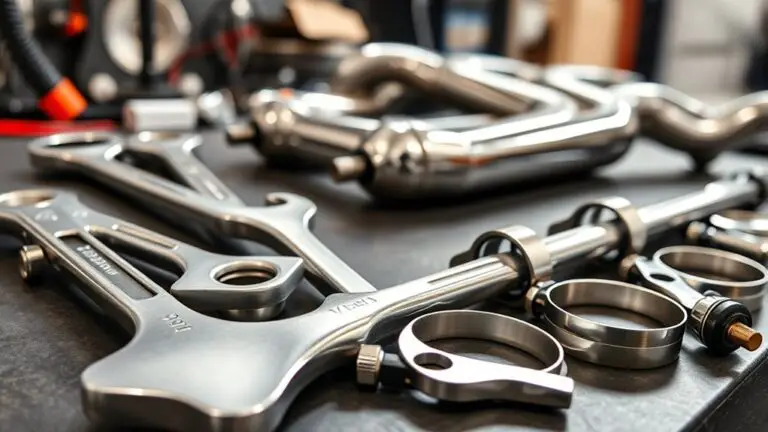
Gather Tools and Safety Gear for Replacing the Pressure Tester
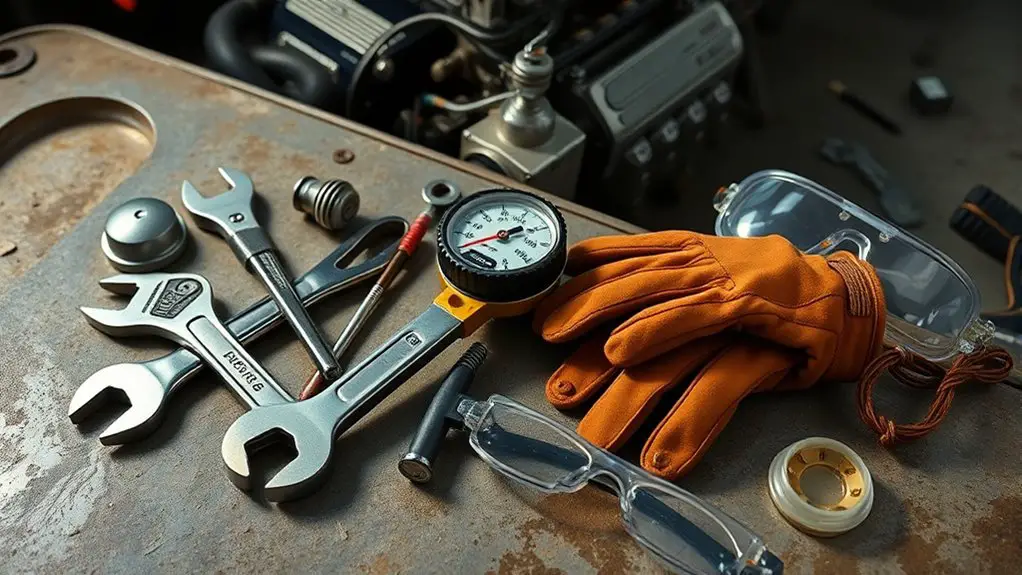
To proceed with replacing the pressure tester, gather the appropriate tools and safety gear, matching the system’s specifications and manufacturer recommendations. You’ll want a calibrated pressure tester, compatible adapters, a torque wrench, and a clean container for fluids. Include screwdrivers, pliers, and a multimeter for quick checks, plus dielectric gloves and eye protection to reduce risk. Keep a breathable, flame-resistant jacket handy if you’ll work near heat sources or electrical components. Tool selection should align with the manufacturer’s torque specs and connection sizes to prevent damage or leaks. Have a magnetic pickup and a spotless tray to organize fasteners. Prepare a spill kit and absorbent rags for minor drips. Safety precautions mean de-energizing the system, releasing residual pressure with proper venting, and verifying zero gauge readings before disassembly. Maintain dry, organized work surfaces and label parts as you remove them. This approach supports deliberate, freedom-respecting work without compromising safety or accuracy.
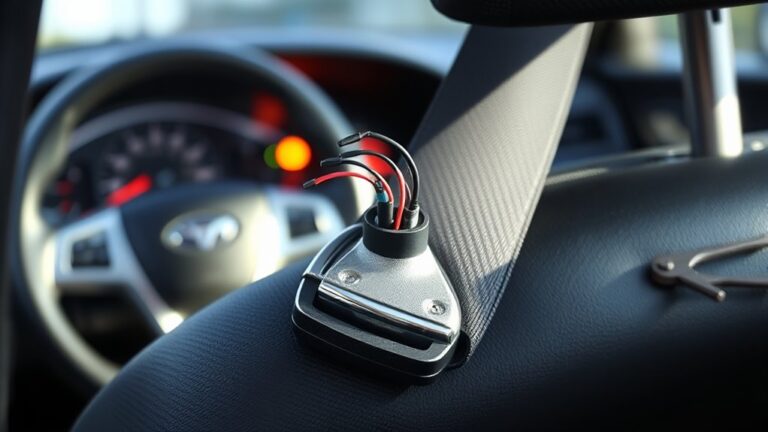
Locate the Pressure Tester and Related Connections
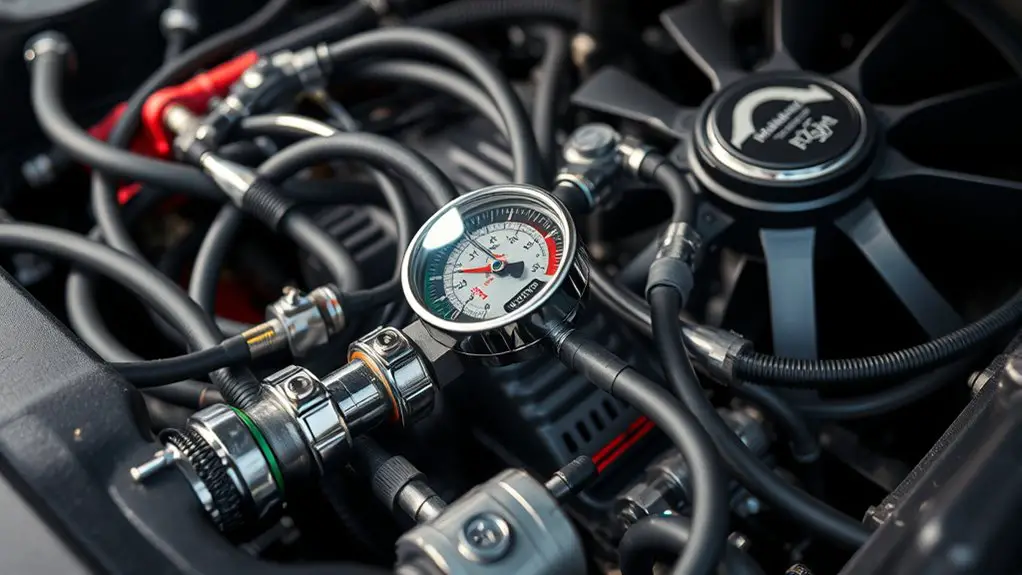
Begin by locating the pressure tester and its related connections on the system, using the manufacturer’s schematic or labeling as your guide. You should identify the primary pressure port, the return path, and any ancillary lines that interact with the tester assembly. Confirm the presence of all connection types, noting threaded fittings, quick-connect couplings, and seated adapters. Inspect the harness or conduit routing to verify it doesn’t conflict with moving parts or heat sources. Verify grounding points and the mounting fasteners; loose hardware can skew readings or cause vibration. Map each line to its function: supply, measure, relief, and bleed. Check for labels, color codes, or barcodes that aid cross-referencing in the service manual. If you encounter suspicious corrosion or damaged seals, document it, but do not attempt repairs here. Plan your next steps with clarity: confirm accessibility, prepare tool access, and ascertain system depressurization procedures are understood before removal.
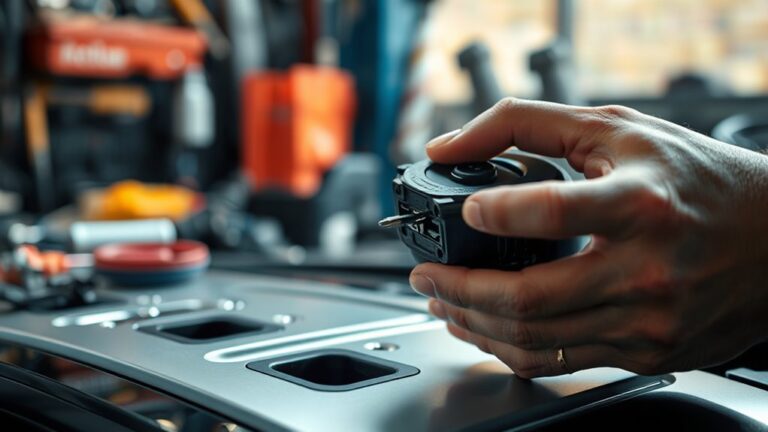
Remove the Faulty Pressure Tester and Prepare New Part
With the system depressurized and the harness clear of interference, disconnect the faulty pressure tester from its primary port and any ancillary lines using the appropriate fittings and tools, then set the assembly aside in a designated, clean workspace. You’ll evaluate the immediate area for faulty components and signs of wear, documenting any corrosion or damaged seals. Inspect the pressure tester’s connectors, threads, and o-rings for deformation before removal. Handle all parts with care to minimize contamination and avoid introducing debris into the line. Once detached, label each line for correct reassembly and verify the port integrity with a quick leak check, noting any scoring or cross-threading. Prepare the new part by verifying model compatibility and confirming the presence of required seals and fittings. Do not reuse compromised components; plan for replacements if any defects are found. With the faulty components isolated, you’re ready to move to the installation phase.
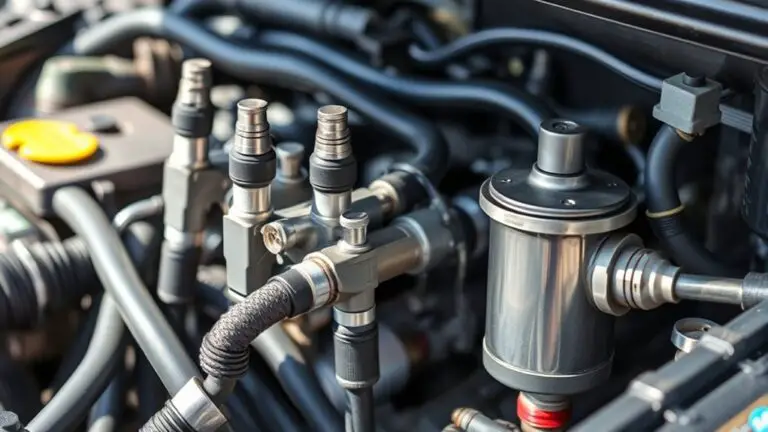
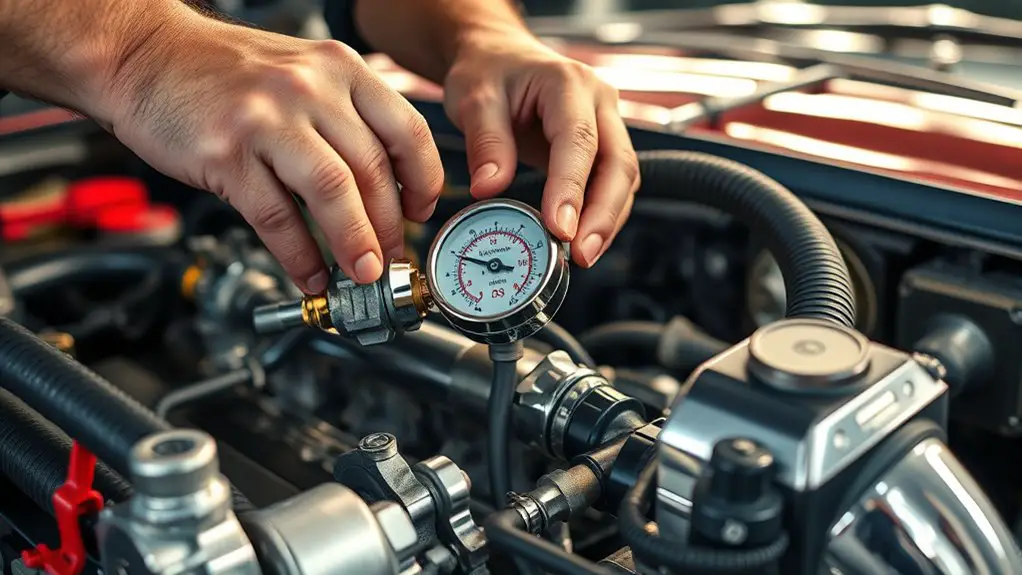
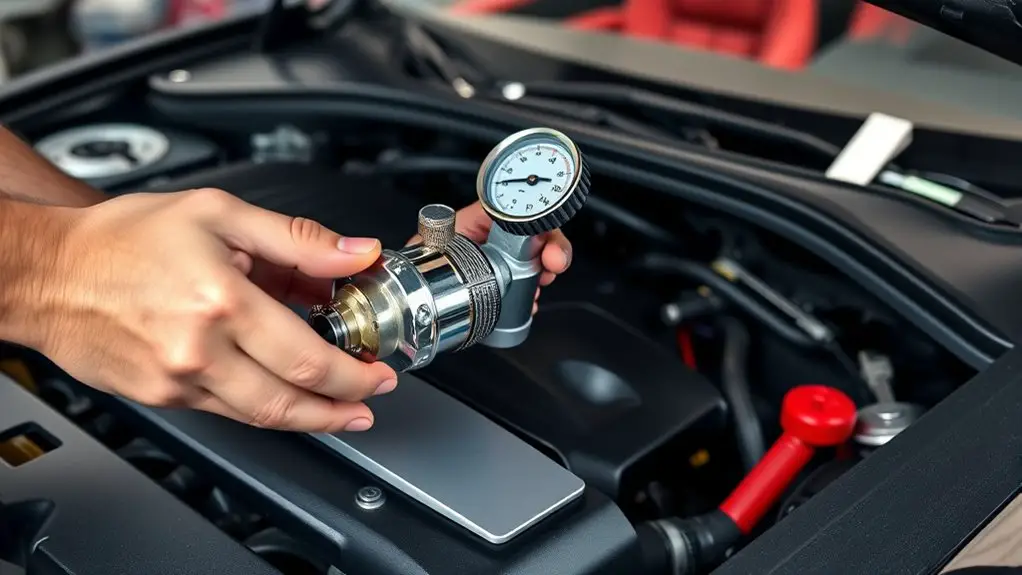
Install the New Pressure Tester and Reconnect Components
Install the new pressure tester by aligning the port and hand-tightening the fitting to seated contact, then tighten to the manufacturer’s specified torque. You’ll guarantee a leak-free seal and proper sensing without over-torquing.
Proceed to installing components with precision: connect pressure lines and adapters as required, verifying compatible fittings and correct orientation. When you’re reconnecting hoses, route them away from moving parts and heat sources to prevent abrasion or damage. Secure clamps or fasteners to the recommended preload, avoiding overtightening that can kink hoses or warp fittings. Inspect all connections for straight alignment and seated seating surfaces before applying any pressure. Tighten gradually in small increments if resistance is felt, then recheck torque to spec. Do a quick dry-fit pass to confirm clearance and accessibility for future maintenance. Document any part numbers and torque values for future reference. Maintain clean surfaces and use approved lubricants only where specified, keeping the system free of debris during reassembly.
Test the System and Verify Fan Engagement
Once the system is pressurized, power up the unit and observe the initial startup sequence to confirm there are no leaks, abnormal noises, or abnormal temperature changes; if the fan engages, verify it operates at the expected speed and cycling behavior across load conditions. You’ll assess fan operation by monitoring RPM, response time to load changes, and consistency across cycles. Compare observed behavior against the specified performance envelope and document any deviations. Perform targeted troubleshooting techniques to isolate potential causes—check wiring integrity, sensor feedback, and controller logic, then confirm that the pressure tester replacement isn’t introducing binding or impedance. Validate that safety interlocks remain functional and that the system cools within design margins after startup. If irregularities appear, repeat functional checks, adjust controls, and re-test under progressive load, ensuring repeatability. Conclude with a concise status: ready for normal operation, or outline corrective steps and recheck points for accurate diagnostics.
Frequently Asked Questions
What Are Common Symptoms Signaling a Pressure Tester Failure?
A pressure tester failure often shows erratic system pressure readings, sudden drops, or a stuck gauge needle. You might notice inconsistent readings across cycles, or no fluctuation when the system runs. Leaks, sudden spikes, or valve chatter can accompany it. You’ll feel uncertainty in the data, like fog over a clear dial. With a degraded pressure tester, you’re chasing accuracy, so verify with known-good references and monitor system pressure continuously for reliable results.
Can I Replace the Tester With a Generic Part?
Yes, you can’t just swap in any generic part. You need compatible specifications and approved readings for your system. Check generic part compatibility with your pressure tester brands, then confirm ratings, connectors, and calibration methods match. If you’re unsure, consult the OEM guide or a tech with the same equipment. Using an incompatible or uncalibrated tester can misread fan engagement and lead to further damage. Prioritize verified brands and documented compatibility.
How Long Should the Fan Take to Engage After Replacement?
In about 5–10 seconds, you should see prompt fan engagement after replacement. If it’s slower or erratic, recheck wiring, sensor compatibility, and fan control settings. Post replacement expectations: verify power, ground integrity, and any triggering thresholds in the control module. Anachronism: consider a sparkplug moment when you hear the relay click. If engagement is delayed beyond a few seconds, test with a diagnostic tool and confirm the part is within spec for your system.
What Are Signs of Incorrect Pressure Tester Installation?
Signs of incorrect pressure tester installation include leaks, inconsistent readings, and a slow or absent fan engagement. You might notice fluctuating pressure values, alarms, or a system that won’t hold setpoints. Installation issues can manifest as misaligned fittings, cross-threading, improper seals, or a tester that isn’t calibrated. Confirm proper torque, verify seals, and recheck connections. If readings remain erratic, re-seat the tester and consult the manufacturer’s installation procedure for precise alignment and calibration.
Do I Need to Calibrate the System After Replacement?
Yes, you should calibrate the system after replacement. Calibration guarantees calibration necessity is met and guards system accuracy. Without it, readings may drift, compromising safety and performance. You’ll want to follow the manufacturer’s procedures, verify reference points, and recheck zero offsets and span. In practice, perform a full calibration cycle, document results, and validate that system accuracy aligns with spec limits before relying on readings for operation and diagnostic decisions.