Step-By-Step: Replacing Transfer Case to Fix Automatic Hunting Gears
To fix automatic hunting gears, you’ll need to replace your transfer case. Start by identifying symptoms of failure like grinding noises or fluid leaks. Gather essential tools and a compatible replacement transfer case. Follow a step-by-step process to safely remove the old transfer case and install the new one, ensuring proper alignment. After installation, test your vehicle for responsiveness and smooth gear changes. For detailed instructions on each step, continue exploring this guide.
Understanding the Transfer Case and Its Function
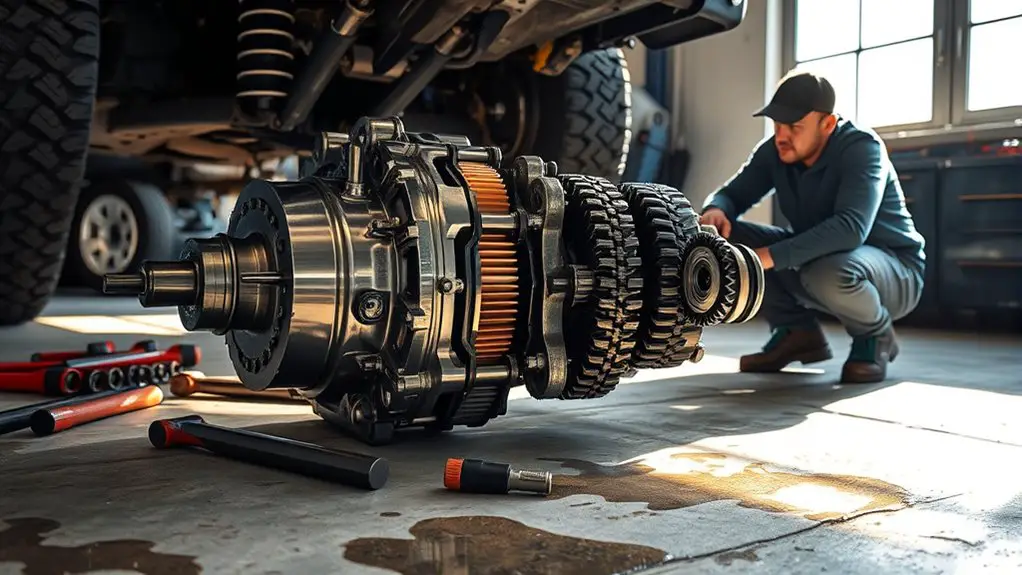
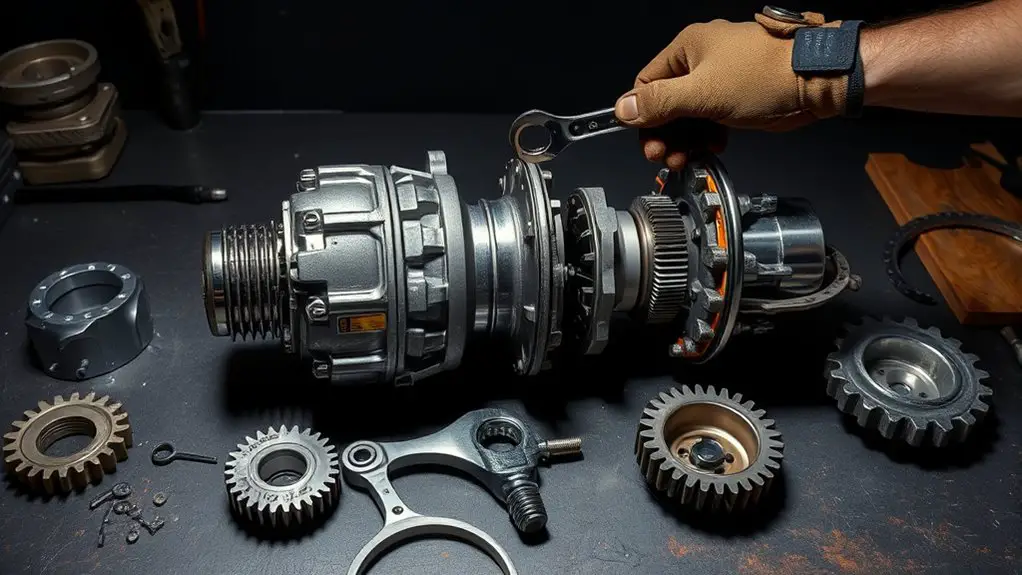
The transfer case is a critical component in four-wheel-drive vehicles, serving as the bridge between the transmission and the drive axles. Its primary role is to manage power distribution, allowing you to switch between two-wheel and four-wheel drive. Understanding transfer case mechanics is fundamental for any off-road enthusiast seeking freedom on varied terrains.
Within the transfer case, you’ll find various gears that facilitate gear engagement, allowing for smooth shifts under different driving conditions. Depending on the vehicle, it may feature low-range gearing for tough off-road situations or high-range gearing for normal driving. This versatility is essential for maintaining traction and control.
Regular maintenance is key to ensuring peak performance, as a well-functioning transfer case enhances your vehicle’s capability. Knowing how these components work together empowers you to make informed decisions about repairs or upgrades, keeping your adventurous spirit alive.
Identifying Symptoms of a Failing Transfer Case
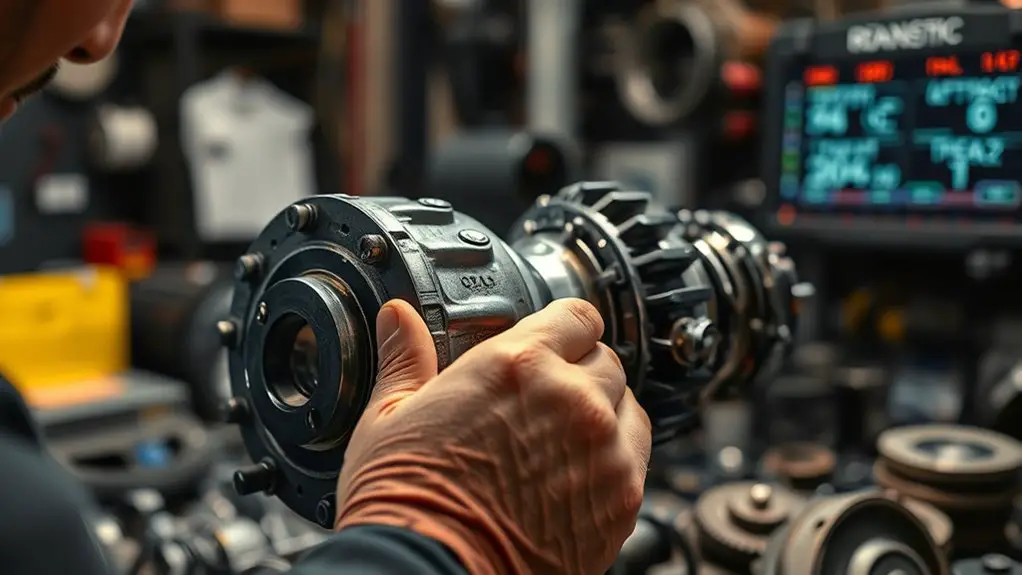
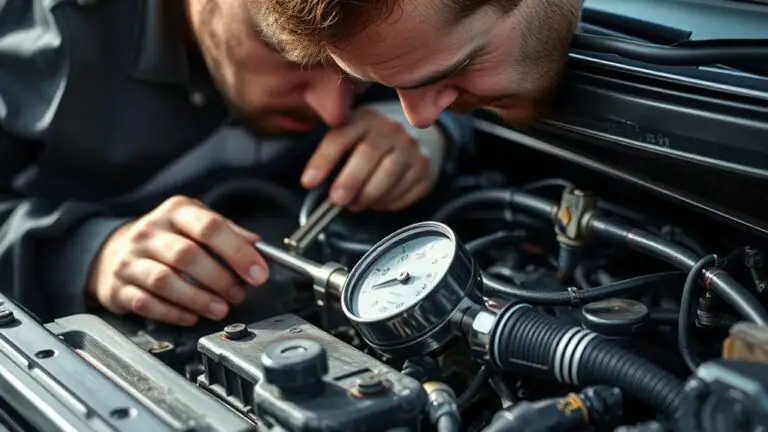
You need to recognize the signs of a failing transfer case to prevent further damage to your vehicle. Common symptoms include unusual noises during operation and difficulty shifting gears, which can indicate internal issues. Diagnosing these problems early can save you time and costly repairs down the line.
Common Transfer Case Symptoms
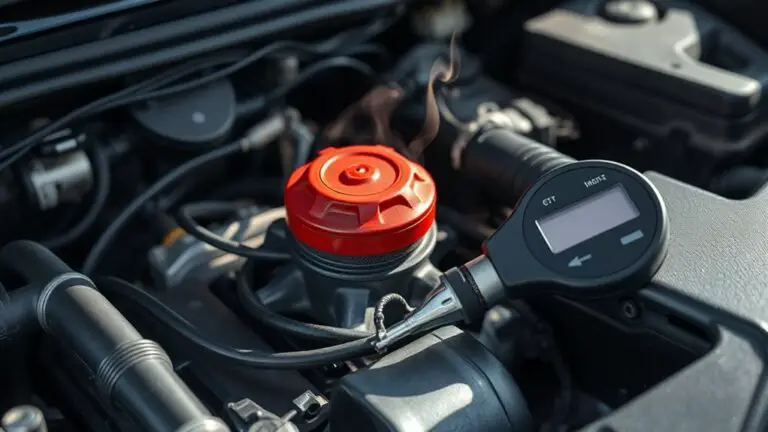
A failing transfer case can lead to a range of noticeable symptoms that should not be ignored. You might experience difficulty switching between drive modes, unusual noises such as grinding or clunking, or even fluid leaks under your vehicle. These issues can vary depending on the transfer case types—whether it’s full-time, part-time, or active. Additionally, you may notice a lack of power to the wheels when accelerating or a jerky feeling during gear changes. It’s essential to perform regular transfer case maintenance, including checking fluid levels and replacing worn components, to prevent these symptoms from escalating. If you recognize any of these signs, addressing them promptly can save you from more extensive repairs down the road.
Diagnosing Gear Shifting Issues
While diagnosing gear shifting issues, it’s vital to pay attention to specific symptoms that could indicate a failing transfer case. One of the primary signs is irregular gear engagement; you might notice that gears don’t engage smoothly or even slip unexpectedly. Additionally, you should monitor your shifting patterns. If you experience delayed shifts or hear grinding noises when changing gears, these could signal a malfunctioning transfer case. Pay close attention to warning lights on your dashboard as well, as they may indicate underlying problems. Finally, if you feel vibrations or unusual resistance while shifting, it’s important to investigate further. Addressing these symptoms early can prevent more severe damage and maintain your vehicle’s freedom and performance.
Preparing for the Replacement Process
Before diving into the transfer case replacement, it’s crucial to gather the necessary tools and components to guarantee a smooth process. Familiarize yourself with the different transfer case types your vehicle may have, as this will influence your approach and the specific parts needed. Verify you’ve researched the compatibility of your new transfer case with your vehicle model.
Additionally, take this opportunity to review maintenance tips for your transfer case. Regular maintenance can prevent future issues, so consider checking fluid levels and inspecting the seals and gaskets. Knowing these details will not only streamline your replacement but also enhance the longevity of your new transfer case.
Gathering the Necessary Tools and Materials
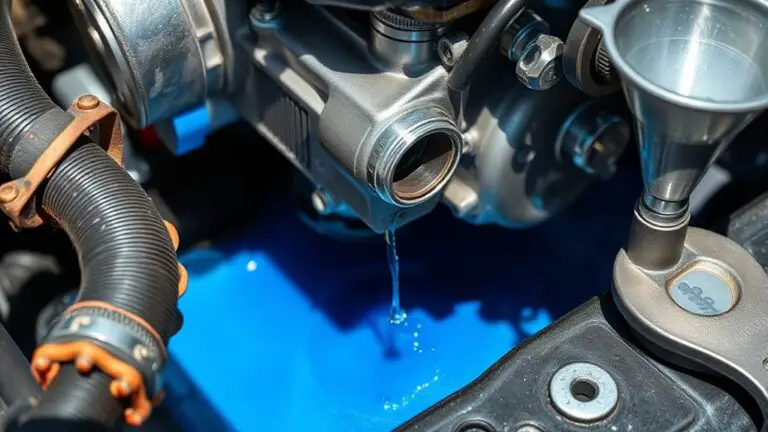
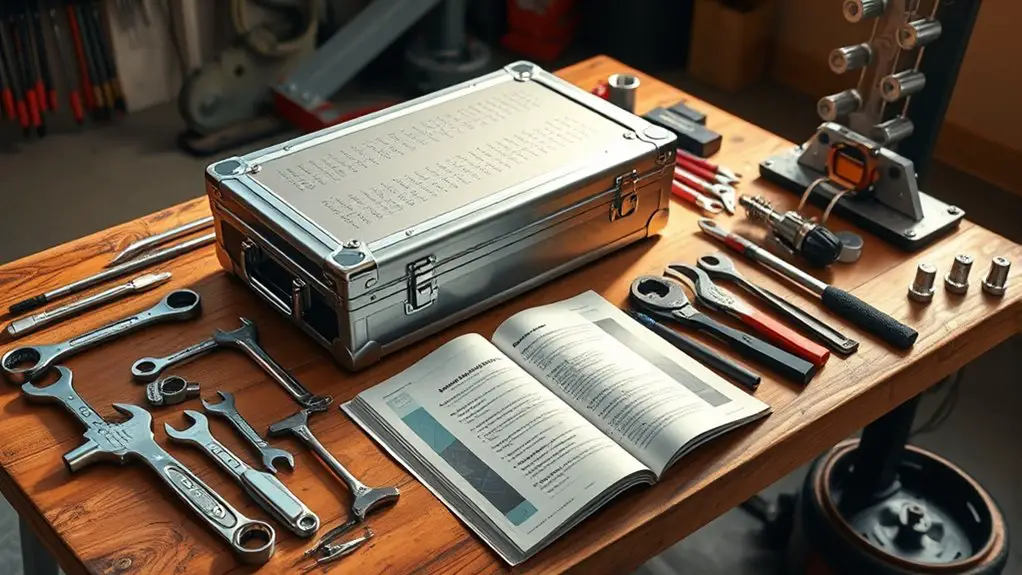
Having prepared for the replacement process, it’s time to gather the necessary tools and materials to guarantee everything goes smoothly. First, you’ll need to focus on tool types; a socket set, torque wrench, and screwdrivers are essential for the transfer case removal. Don’t forget a pry bar for stubborn components and a drain pan to catch any fluid.
Next, consider material selection. You’ll require a new transfer case compatible with your vehicle model and fresh seals or gaskets to prevent leaks. Transmission fluid is crucial, so make sure you select the correct type as specified in your vehicle’s manual.
Additionally, protective gear, like gloves and safety glasses, is essential to keep you safe during the process. By gathering these tools and materials ahead of time, you’ll streamline the replacement and reclaim your driving freedom without unnecessary delays.
Step-by-Step Guide to Removing the Old Transfer Case
Before you start removing the old transfer case, it’s essential to prioritize safety. Make sure you’ve got the required tools and equipment on hand, including a jack, jack stands, and a socket set. Double-check that you’re wearing the appropriate safety gear to protect yourself during the process.
Safety Precautions First
Although replacing a transfer case can seem intimidating, prioritizing safety is crucial to assure a smooth and secure process. Before you begin, make certain you’re wearing appropriate safety gear, including gloves, goggles, and steel-toed boots. This protects you from sharp edges and heavy components. Additionally, it’s important to have an emergency plan in place. Familiarize yourself with basic first aid and have a phone nearby to call for assistance if needed. Make sure your workspace is well-lit and organized to minimize hazards. Disconnect the battery to prevent accidental electrical shocks, and always use jack stands when lifting the vehicle. By taking these precautions, you’ll create a safer environment, allowing you to focus on the task at hand with confidence.
Required Tools and Equipment
To successfully remove the old transfer case, you’ll need a specific set of tools and equipment to guarantee the process runs smoothly. Start with a tools checklist that includes a socket set, wrenches, a torque wrench, and a pry bar. You’ll also need a transmission jack for safe handling of the transfer case. Don’t forget safety gear like gloves and goggles to protect yourself. A fluid catch pan is essential for managing any spills, and a flashlight helps illuminate tight spaces. Having a service manual for your vehicle can provide critical torque specifications and diagrams. With this equipment at your disposal, you’ll be ready to tackle the removal of the transfer case efficiently and effectively.
Installing the New Transfer Case
Installing the new transfer case requires careful alignment and secure mounting to guarantee peak performance. Begin by lifting the transfer case into position, ensuring it aligns with the transmission and output shafts. Use a transmission jack for stability, and don’t forget to check the input and output shaft alignment — improper alignment can lead to premature wear or failure.
Once in position, secure the transfer case using the designated bolts, tightening them to the manufacturer’s specified torque settings for maximum safety. Make sure to install any necessary gaskets or seals to prevent leaks.
After the transfer case installation, double-check that all connections, including electrical connectors and linkage, are properly attached. Finally, inspect the mounting points for any signs of misalignment or instability. A secure, well-aligned transfer case is essential for your vehicle’s performance and longevity.
Testing Your Vehicle After the Replacement
After securing the new transfer case, it’s essential to test your vehicle to confirm everything functions correctly. Start with a controlled test drive in a safe environment. Accelerate gradually, paying close attention to the responsiveness of the transmission. Monitor for any unusual noises or vibrations; these could indicate misalignment or improper installation.
Next, perform a performance evaluation by engaging different drive modes, such as 2WD and 4WD. Verify smooth changes without stuttering or hesitation. Check for warning lights on your dashboard, as they may signal underlying issues.
Finally, test the vehicle under various conditions, like tight turns and inclines, to assess overall handling and stability. If everything checks out, you’ve successfully completed the replacement process. Remember, regular monitoring after this initial test drive will help maintain the performance and longevity of your vehicle.
Frequently Asked Questions
How Long Does the Transfer Case Replacement Process Take?
The transfer case replacement process typically takes about 4 to 8 hours, depending on your vehicle’s make and model. This installation duration can vary due to factors like your experience level and the complexity of the system. If you’re equipped with the right tools and knowledge, you’ll streamline the transfer case time. Always make certain you’ve got a detailed guide and sufficient space to work safely and efficiently during the replacement.
Will I Need to Reprogram My Vehicle’s Computer After Replacement?
Yes, you might need to reprogram your vehicle’s computer after replacing the transfer case. This step guarantees transfer case compatibility with your vehicle’s systems, enhancing overall performance. If the new unit has different specifications or settings, failing to reprogram could negatively impact vehicle performance, leading to issues like improper gear shifting. Always consult your vehicle’s service manual or a professional to determine if reprogramming is necessary for your specific model.
Can I Reuse Old Transfer Case Hardware During Installation?
You can reuse old transfer case hardware, but it’s essential to guarantee transfer case compatibility and perform a thorough hardware inspection. Look for signs of wear, damage, or corrosion that could affect performance. If the hardware appears intact and meets specifications, it should be fine to use. However, replacing worn components can prevent future issues and maintain reliability, giving you the freedom to enjoy your vehicle without concerns about potential failures.
What Are the Costs Associated With a Transfer Case Replacement?
When facing transfer case replacement costs, you might be in for a surprise. Typically, you’re looking at $1,000 to $3,500, depending on your vehicle’s make and model. Labor can add another $500 to $1,500. Don’t forget about potential additional parts; a new transfer case might not come with all necessary components. It’s essential to budget for unexpected expenses, ensuring you’re fully prepared for this significant repair.
Is It Safe to Drive With a Failing Transfer Case?
It’s not safe to drive with a failing transfer case. You might notice transfer case symptoms like unusual noises, difficulty changing gears, or fluid leaks. Ignoring these issues can lead to further damage and potentially dangerous driving conditions. If the transfer case fails completely, you could lose control of your vehicle, jeopardizing your safety and that of others on the road. Addressing transfer case problems promptly is essential for maintaining driving safety.