Step-By-Step: Replacing the Water Pump to Fix Thermostat Stuck Open/Closed
Replacing a failed water pump to fix a thermostat stuck open or closed is a precise, stepwise job. Start by diagnosing pump failure, then gather safety gear and tools. Drain the cooling system, disconnect hoses, and remove the old pump, noting gasket alignment. Install the new pump with a clean gasket surface, torque in a crisscross pattern, and verify rotation. Refill, bleed air, and check for leaks while testing thermo behavior; continued guidance will sharpen your approach.
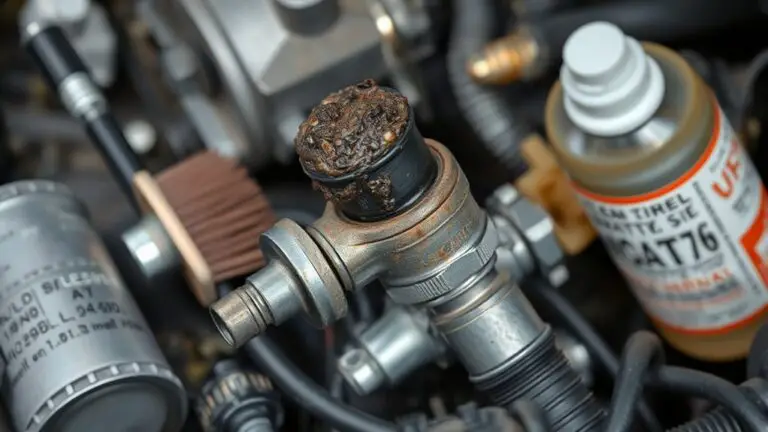
Symptoms That Point to a Failing Water Pump
A failing water pump often makes itself known through a few clear symptoms. You’ll notice unusual engine behavior that points to water pump failure, especially when the cooling system loses its efficiency. Overheating becomes a red flag; the gauge climbs, and you may smell hot coolant or see steam. Leaks around the pump indicate seal wear or a failing gasket, while a noisy pulley or bearing grinding noise signals mechanical wear. Inconsistent temperature readings or temperature fluctuations while cruising aren’t normal, and you could hear a whine as the pump strains. A drop in coolant level without external spills suggests internal leakage within the cooling system. If the drive belt shows cracking or slack, the pump won’t circulate properly. Finally, you might observe white exhaust or sweet-smelling vapors if the cooling system is compromised. Treat these signs as urgent: address water pump failure promptly to protect the engine.
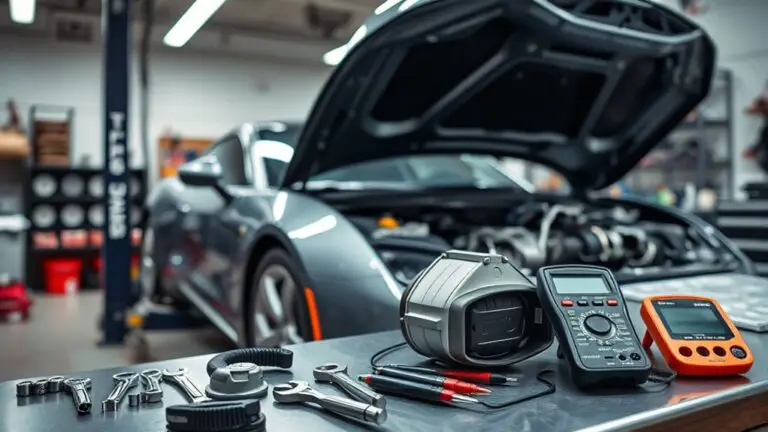
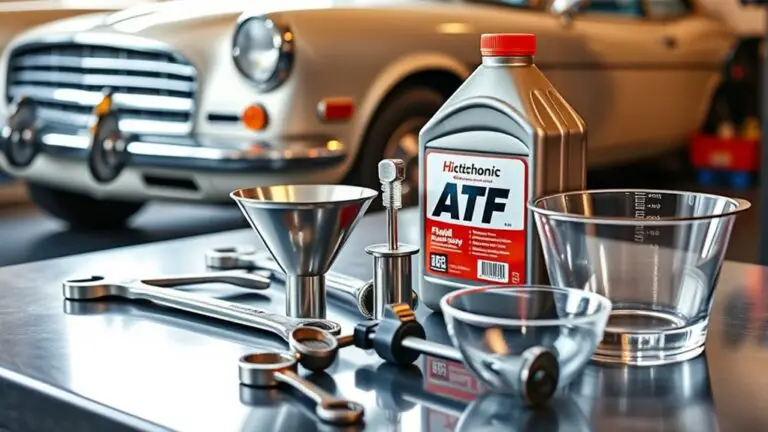
Tools and Safety Gear You’ll Need
Tools and safety gear are your foundation for a successful water-pump replacement. You’ll proceed with confidence when you’ve assembled the essentials and respect safety precautions that keep you in control.
Tools and safety gear underpin a confident, precise water-pump replacement.
- Safety gloves, eye protection, and sturdy footwear to guard against leaks and pinch points.
- Basic hand tools: socket set, wrenches, and screwdrivers sized for typical water-pump fasteners.
- Pliers, wire cutters, and a torque wrench to secure fittings without over-tightening.
- Fluid containment kit: rake towels, shop rags, and a drain pan to manage coolant spills.
Keep your workspace organized and well-ventilated. Follow manufacturer instructions for torque specs and disposal of old coolant. Prioritize essential tools that reduce messy errors and increase precision. Remember, safety precautions aren’t optional extras; they’re part of a clean, efficient workflow. You’ll gain speed with a calm, methodical approach, and you’ll finish knowing you controlled the process rather than letting it control you.
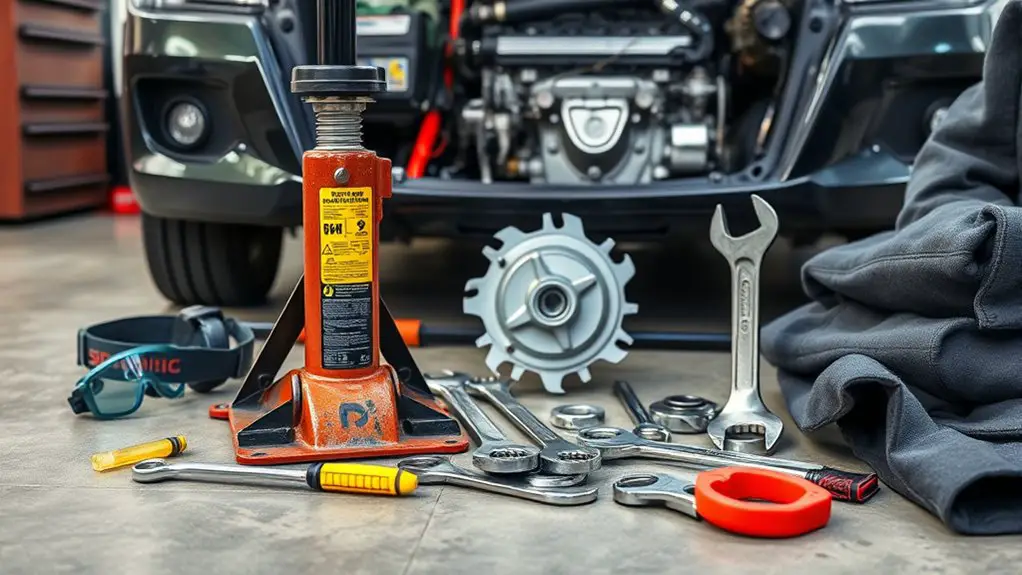
Preparing the Vehicle or Equipment for Work
Before you lift a wrench, take a moment to prepare the vehicle or equipment for work. You’ll establish a predictable routine, reducing surprises and preventing mistakes. Begin by securing the area: park on a level surface, engage parking brake, and remove keys. Inspect for leaks, locate the coolant reservoir, and confirm access to the water pump without unnecessary disassembly. Clear the workspace of clutter, tools, and trip hazards to support steady movements and quick access. Establish a dedicated tool tray and label fasteners to minimize misplacement. Prioritize vehicle safety by disconnecting the battery if servicing near electrical components and ensuring adequate lighting for precise work. Maintain workspace organization with a clear path to remove parts and store removed components. Communicate your plan with any teammates, keep notes of attached hoses and routing, and confirm all safety protocols remain in effect throughout the procedure. This disciplined setup underpins efficient, confident repairs.
Draining and Disconnecting the Cooling System
To drain and disconnect the cooling system, start by placing a drain pan beneath the radiator drain plug or coolant outlet and make certain the engine is cool before opening any caps. You’ll manage the process with control, not haste, ensuring fluids stay contained and your safety stays intact. As you proceed, note your coolant types and withdrawal method, so you don’t disrupt system maintenance practices later.
- Position the pan, relieve pressure slowly, then open the drain plug to collect coolant cleanly.
- Separate hoses and take note of clamps, routing, and sensor connections to avoid reassembly issues.
- Cap or seal the radiator outlet to minimize spills while you work.
- Confirm all hoses are free of damage before you proceed to disconnect the pump assembly.
This approach preserves coolant integrity, supports accurate maintenance records, and keeps you in command of the procedure.
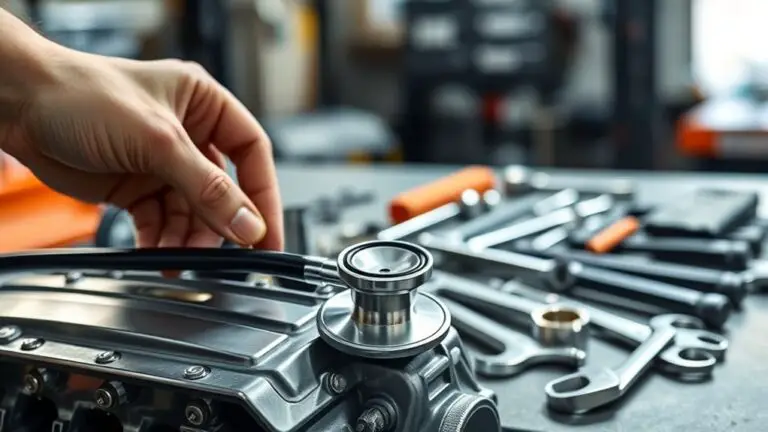
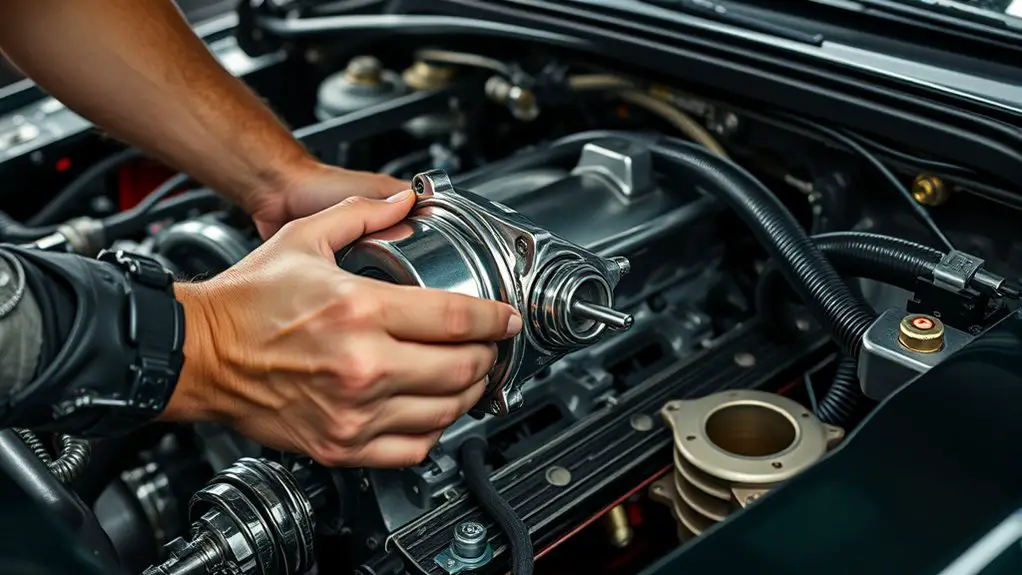
Removing the Old Water Pump
With the engine cool and the cooling system drained, stage the work area and gather the necessary tools. You’ll remove the old water pump by following a deliberate sequence to avoid damage. First, locate the pump and inspect its fasteners, noting sizes and thread types. Loosen and remove the bolts in a crisscross pattern to relieve stress evenly. If you encounter corrosion, apply penetrating fluid and pause briefly before continuing. Disconnect any sensor plugs or auxiliary hoses connected to the pump, labeling them if needed so you won’t confuse them later. Gently pry the pump away from the gasket surface, avoiding gouges on the mating plane, which could compromise sealing. Remove the pump with controlled, steady force, ensuring you don’t disturb adjacent components. Inspect the gasket surface for old components or debris; clean as required to prepare for the replacement. Retain bolts for reuse only if they’re in pristine condition.
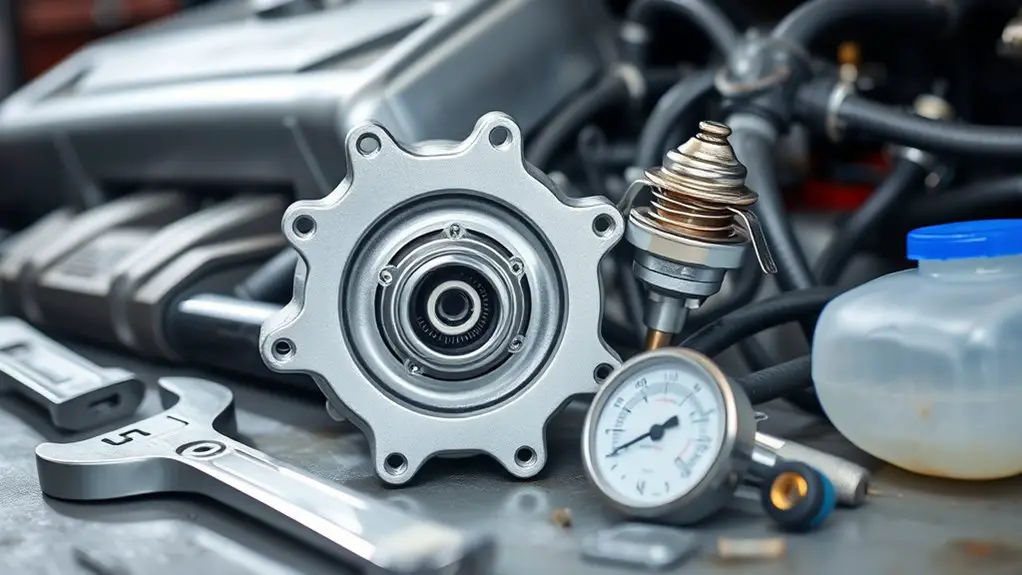
Installing the Replacement Pump
Proceed by aligning the replacement pump with the gasket surface, guaranteeing the mating faces are clean and free of debris. You’ll install it with confident precision, confirming fit before securing. Follow these steps for reliable seating and gasket sealing.
- Check mounting holes and align studs, guiding the pump straight onto the gasket surface without twisting.
- Lightly torque fasteners in a crisscross pattern to seat the pump evenly, avoiding warping or misalignment.
- Recheck gasket seating visually and by hand, guaranteeing there are no gaps or pinches around the perimeter.
- Verify the pump’s rotation by turning it manually once mounted, confirming smooth movement without binding.
Focus on pump alignment during initial seating and on gasket sealing as you tighten. This minimizes leaks and guarantees ideal coolant flow. Maintain steady, deliberate actions, and document any resistance or unusual feel for later review. Precision here supports reliable operation and a solid basis for the next steps.
Refilling, Bleeding, and Rechecking for Leaks
After installing the pump, begin refilling the cooling system, then bleed air from the highest points and recheck for leaks. You’ll refill coolant until the reservoir shows proper level, watching for steady flow without air pockets. Bleed air at each highest hose and component port to prevent trapped air from skewing readings. Keep the system clean and capped during the process to avoid introducing contaminants. Once you’ve bled, run the engine to bring coolant to operating temperature, then recheck for leaks and level again. If any seepage appears, tighten fittings a fraction and recheck. Refill coolant to the correct mark, ensuring consistent level as the system cycles. Document the final readings and secure all caps and covers. This methodical approach preserves cooling efficiency and supports reliable thermostat behavior.
| Step | Action | Outcome |
|---|---|---|
| 1 | Refill coolant | Proper level achieved |
| 2 | Bleed air | Eliminates pockets |
| 3 | Run & check | Confirm no leaks |
| 4 | Refill & confirm | Stable system |
Testing the System and Verifying Thermostat Performance
You’ll start by testing the cooling response to guarantee the system engages promptly and maintains steady airflow. Next, verify system pressure to confirm the pump and hoses hold the correct range under operating conditions. Finally, monitor temperature shifts across cycles to confirm the thermostat controls are accurate and consistent.
Test Cooling Response
To test the cooling response, start by confirming the system is fully assembled and all connections are secure. You’ll verify that coolant flow and thermostat function align with expected behavior, ensuring no leaks or air pockets distort readings.
- Start the engine and observe temperature rise, noting the point at which the cooling fan engages.
- Monitor coolant flow through the radiator upper and lower hoses, checking for steady, uninterrupted movement.
- Trigger ambient and engine heat tests to confirm thermostat opens and closes within spec.
- Record response times, comparing them to manufacturer guidelines to validate steady cycling and proper cooling performance.
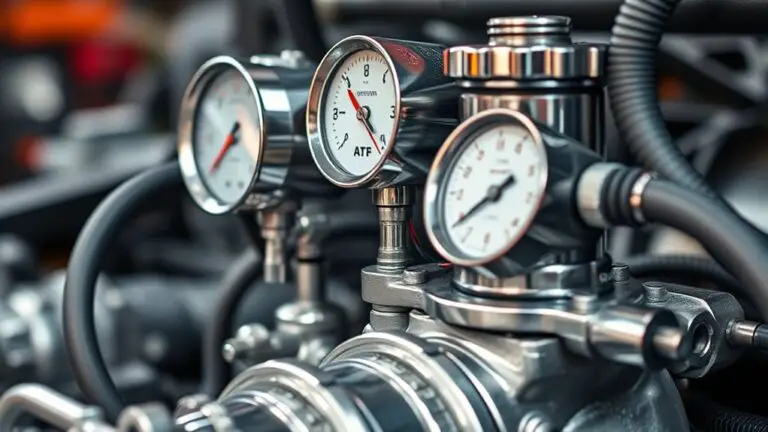
Verify System Pressure
Verify system pressure by ensuring a fully pressurized cooling circuit, then monitor the pressure readings with a calibrated gauge to confirm the radiator cap, cap seating, and reservoir integrity maintain correct pressure throughout operation. You’ll test system integrity by observing steady, expected pressure increases with engine load and gradual releases when cooling pauses. Use the pressure gauge to verify pre- and post-pump pressures align with spec, noting any spikes or drops that indicate a gasket or seal fault. Record readings methodically, cross-check with service data, and recheck after any top-off or hose reseat. Maintain a strict discipline: steady measurement, controlled adjustments, and concise notes. This approach supports reliable thermostat performance and durable cooling behavior without unnecessary deviation.
Monitor Temperature Shifts
Monitor temperature shifts by establishing a controlled baseline and tracking how readings respond to engine load. You’ll verify that the thermostat behaves as expected under varying demands, using clear, repeatable checks and precise observations.
1) Establish baseline readings at idle, then at known loads, noting normal ranges for temperature indicators.
2) Apply load incrementally, record responses, and compare against the baseline to detect anomalies.
3) Validate cooling system consistency, watching for delayed or overshoot in temperature indicators.
4) Document deviations, retest after minor adjustments, and confirm stability across cycles for reliable monitoring techniques.
Frequently Asked Questions
How Do I Know the Thermostat Is Stuck Open or Closed?
Are you wondering if your thermostat is stuck open or closed? You’ll know by symptoms and tests. If it runs cool, never reaches operating temp, or the heater works poorly, that points to open. If it runs hot, fans kick on nonstop, or you see overheating warnings, that points to closed. Run diagnostic tests: check coolant temp, scan for codes, verify sensor readings, and confirm with a live temperature test.
Can I Replace the Water Pump Without Removing the Timing Belt?
Yes, you can, but not safely in most setups. You’ll typically need to loosen the timing belt tension and access the water pump behind it. You should expect to remove or partially release the belt, drain coolant, and reverse reassembly with correct tension. If the timing belt isn’t easily moved, don’t force it—follow the manufacturer’s service limits. Precision matters; misalignment can damage the engine.
What Torque Specs Are Required for the Pump Bolts?
The pump bolt torque specifications depend on your exact engine model; consult the factory service manual for precise values. You should clean threads, use new bolts if required, and tighten in the recommended sequence to the specified torque. Verify after installation with a light rotational check and recheck torque after a short run. If you’re unsure, don’t guess—use the manual. Using the right pump bolt torque specs protects the water pump seal and overall cooling system integrity.
How Long Should the System Take to Bleed Completely?
You should expect coolant bleeding to take about 5–15 minutes, depending on system design and how stubborn air pockets are. You’ll know it’s complete when steady flow returns, no bubbles rise, and hoses feel warm. You’ll cycle the thermostat, top off as needed, and recheck for leaks. You’ll repeat the bleed until no air pockets surface, then verify by watching the temperature gauge. You’ll stay patient, precise, and disciplined while ensuring the system remains sealed.
Is a Coolant Flush Necessary With a New Water Pump?
No, a coolant flush isn’t automatically required with a new water pump. You should assess coolant condition and system cleanliness first; if it’s clean and free of contaminants, you can defer flushing. If you’re proactive about coolant maintenance, consider flushing at intervals the manufacturer recommends. A fresh flush supports water pump lifespan and ideal cooling, but only when needed. Follow service manuals, monitor for overheating, and maintain proper coolant concentration for lasting performance.