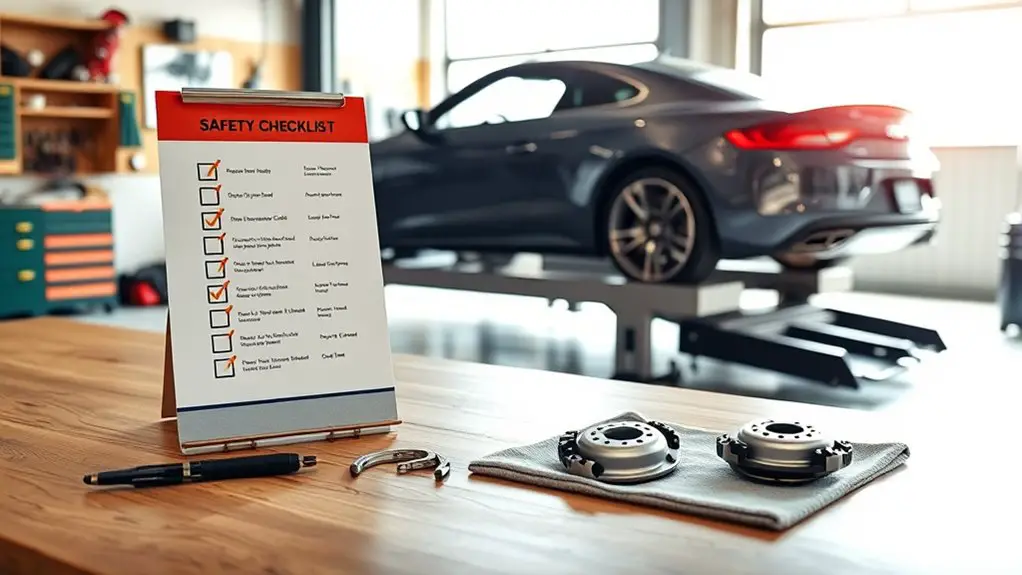
Safety Checklist After Fixing Spongy Brakes
After fixing spongy brakes, start by inspecting your brake fluid levels. Confirm there are no leaks or damage in the lines and fittings. Press the brake pedal firmly; it should feel solid and responsive. Check the thickness and condition of brake pads and rotors for any wear or damage. Finally, observe any warning lights on the dashboard that could indicate issues. Following these steps guarantees a reliable braking system, and there’s more to reflect on for safety.
Inspect Brake Fluid Levels
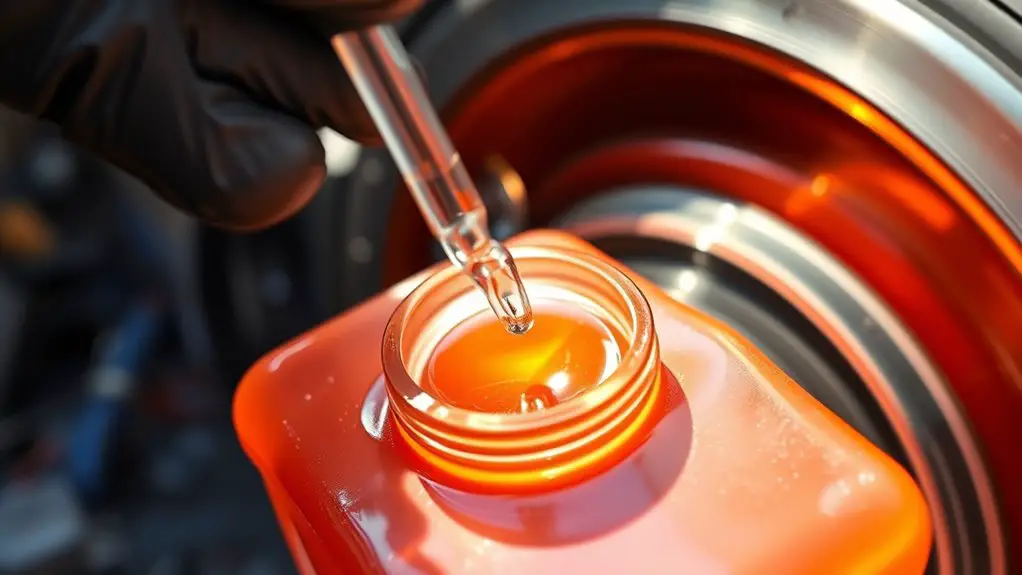
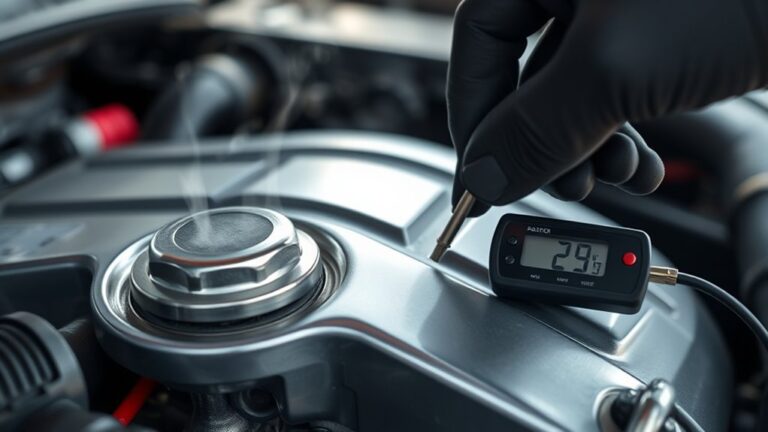
Before you take any further steps to address spongy brakes, it’s essential to inspect your brake fluid levels, as low fluid can greatly affect braking performance. Check the brake fluid reservoir, usually located near the back of the engine bay. If the fluid is below the minimum mark, it’s time to refill. Remember, maintaining proper fluid levels is one of the vital brake maintenance tips that guarantees your system functions effectively.
Additionally, be aware of fluid contamination effects. Old or contaminated brake fluid can introduce air into the brake lines, exacerbating sponginess. Look for signs of discoloration or particles in the fluid; these indicate that it may need to be replaced. Regularly changing your brake fluid according to your vehicle manufacturer’s recommendations can help prevent these issues, giving you peace of mind and enhancing your driving freedom. Always prioritize a well-maintained braking system for peak safety.
Check for Leaks and Damage
To guarantee your brakes function properly, start by inspecting the brake lines for any signs of wear or leaks. Next, examine the master cylinder for damage, as any cracks or leaks can lead to brake fluid loss. Finally, check the brake fluid itself; contaminated or low fluid can compromise braking performance.
Inspect Brake Lines
Inspecting brake lines is a significant step in guaranteeing your vehicle’s braking system functions effectively. You’ll want to check the brake line integrity closely, as any issues here can lead to serious safety concerns. During your inspection, focus on the following:
- Look for any visible leaks or fluid stains.
- Check for signs of corrosion or rust on the lines.
- Verify all fittings and connections are secure and tight.
- Inspect for any signs of wear or damage, including cracks or bulges.
A thorough corrosion inspection will help you catch potential problems early. Remember, maintaining healthy brake lines is fundamental for your safety and the freedom to drive confidently. Don’t overlook this important aspect of your vehicle’s maintenance.
Examine Master Cylinder
After confirming the brake lines are in good condition, it’s important to examine the master cylinder for any signs of leaks or damage. The master cylinder function is vital for the overall performance of your brake system. Start by visually inspecting the cylinder for any fluid leaks around the seals and fittings. Any signs of fluid accumulation or corrosion may indicate a problem. Next, check the cylinder housing for cracks or deformities that could compromise its integrity. During brake system maintenance, verify the master cylinder operates smoothly by pressing the brake pedal; it should feel firm without any sponginess. Addressing any issues here can prevent more significant problems and guarantee your vehicle’s braking system functions effectively.
Check Brake Fluid
Since brake fluid is crucial for your vehicle’s braking system, checking its level and condition regularly is important. Start by inspecting the brake fluid reservoir for any signs of leaks or damage. Make certain you know the different brake fluid types, as they can affect performance. If the fluid appears dark or contaminated, it’s time for a fluid replacement.
Here are key points to reflect on:
- Check the fluid level against the “min” and “max” lines on the reservoir.
- Look for any external leaks on the brake lines or connections.
- Test the fluid’s moisture content; excess moisture can lead to brake failure.
- Verify you’re using the correct brake fluid type specified in your vehicle’s manual.
Stay safe on the road by keeping your brake fluid in check!
Test Brake Pedal Feel
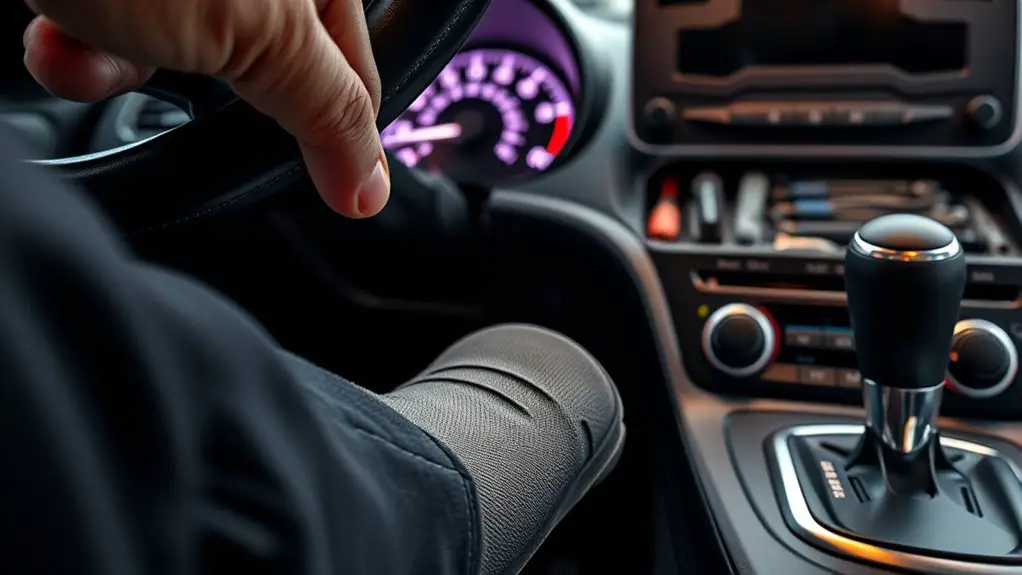
Testing the brake pedal feel is essential for guaranteeing your vehicle’s braking system is functioning properly. Start by pressing the brake pedal firmly. You should feel a solid response without any sponginess. If the pedal feels soft or sinks to the floor, it could indicate air in the brake lines or a potential fluid leak—both of which require immediate attention. Assess the brake pedal responsiveness during various speeds to determine if it maintains consistency. A reliable brake pedal should provide a predictable and immediate reaction when pressed. If you notice fluctuations in feel or excessive play, this points to the need for a spongy brake diagnosis. Remember, your safety and freedom on the road depend on a fully operational braking system. After testing, if any issues arise, don’t hesitate to consult a professional mechanic to guarantee your vehicle’s brakes are in prime condition.
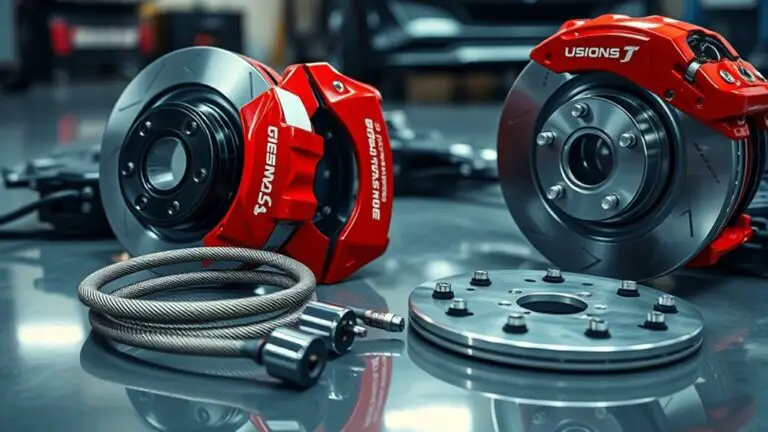
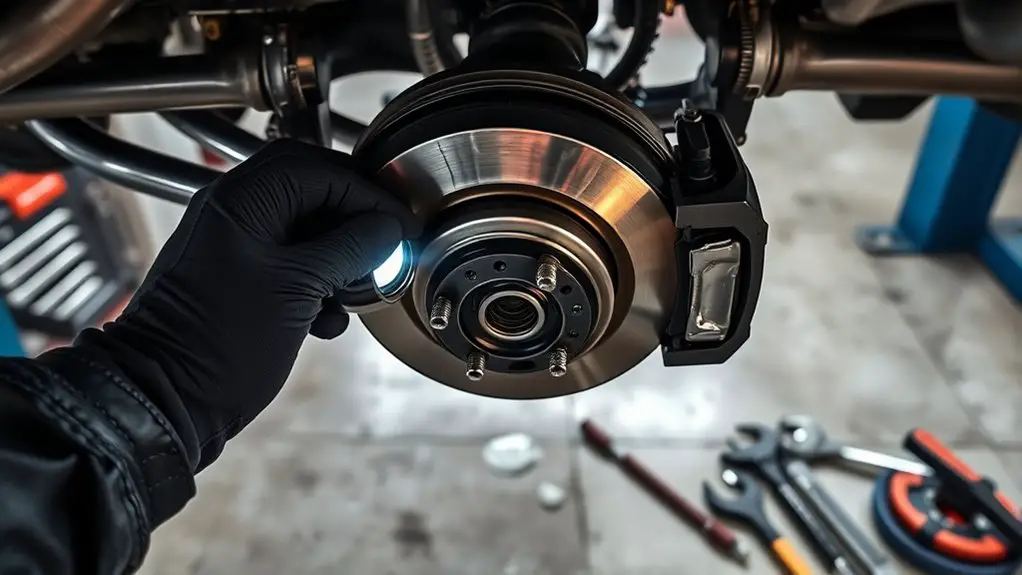
Examine Brake Pads and Rotors
A thorough examination of your brake pads and rotors is essential for ensuring peak braking performance. Start with a detailed brake performance evaluation to assess how your system is functioning overall. Pay close attention to the following:
- Brake Pad Thickness: Check for wear; pads should be at least 1/4 inch thick.
- Surface Condition: Look for cracks, glazing, or uneven wear on the pads.
- Rotor Surface: Inspect for grooves, scoring, or rust, as these can affect braking efficiency.
- Rotor Wear Assessment: Measure rotor thickness; if it’s below the manufacturer’s specifications, consider replacing it.
Conduct Road Tests
Conducting road tests is essential for identifying spongy brakes and evaluating how your vehicle responds under real-world conditions. Start by finding a safe, open area to assess your brake performance. Gradually increase your speed and apply the brakes firmly, noting any delay or lack of responsiveness. Pay attention to how your vehicle handles under various driving conditions, such as sudden stops and gradual deceleration.
Make sure to test the brakes on different surfaces—like wet or gravel roads—to see how they perform under diverse scenarios. Listen for unusual noises, such as grinding or squeaking, which could indicate underlying issues.
After completing your tests, evaluate whether the braking system feels consistent and reliable. If you notice any anomalies, it may signal the need for further inspection. Ultimately, understanding your brake performance in real-world situations is vital for your safety and freedom on the road.
Review Warning Lights and Alerts
Have you checked your vehicle’s warning lights lately? It’s essential to guarantee the alert system functionality is operating correctly, especially after addressing spongy brakes. Ignoring these warning lights can lead to serious issues down the road. Start by identifying any warning lights that may be illuminated on your dashboard.
Here’s what to look for:
- Brake Warning Light: Indicates issues with the brake system.
- ABS Light: Signals problems with the anti-lock braking system.
- Battery Light: Warns of electrical system issues that could affect braking.
- Check Engine Light: May relate to various engine issues impacting overall vehicle performance.
Frequently Asked Questions
How Long Should I Wait Before Driving After Fixing Brakes?
After fixing your brakes, you should ideally wait at least a few hours before driving. This allows the brake fluid to settle and guarantees peak brake performance. Think of it as letting a fine wine breathe; patience pays off. Rushing can compromise your driving safety. Always check for leaks or unusual noises before hitting the road. Remember, your freedom on the open road relies heavily on reliable brakes and a cautious approach.
Can Spongy Brakes Return After Repair?
Yes, spongy brakes can return even after repairs. If you don’t maintain your brakes regularly or if air gets trapped in the brake lines, you might experience a decline in brake performance. Regular brake maintenance is essential to guarantee your system remains effective. Keep an eye on brake fluid levels and check for leaks or wear. Staying proactive can help you avoid the frustration of spongy brakes returning unexpectedly.
What Tools Do I Need for Brake Inspection?
For a thorough brake inspection, you’ll need some essential tools. Grab a jack and jack stands to lift your vehicle safely, along with a lug wrench to remove the wheel. A brake pad gauge helps you assess wear, while a caliper tool allows you to check the caliper’s condition. Don’t forget a torque wrench for proper reinstallation. With these tool essentials, you’ll navigate your brake inspection like a sailor charting a steady course through turbulent waters.
Should I Replace Brake Fluid After Fixing Brakes?
Yes, you should replace the brake fluid after fixing the brakes. Brake fluid can absorb moisture over time, which may lead to decreased performance and corrosion within the system. When you perform any brake work, it’s a good practice to verify that the fluid is fresh and at the correct level. This fluid replacement not only enhances your braking efficiency but also promotes the longevity of your brake components, guaranteeing your freedom on the road.
How Often Should I Check My Brake System?
You might think checking your brake system is a hassle, but it’s actually your ticket to freedom on the road. For ideal brake maintenance, inspect your brakes every 6,000 miles or at least twice a year. This frequency keeps you ahead of potential issues and guarantees your safety. Regular inspections can save you from costly repairs later on, so embrace the habit and enjoy the peace of mind it brings!