Safety Tips When Working on AC Belt
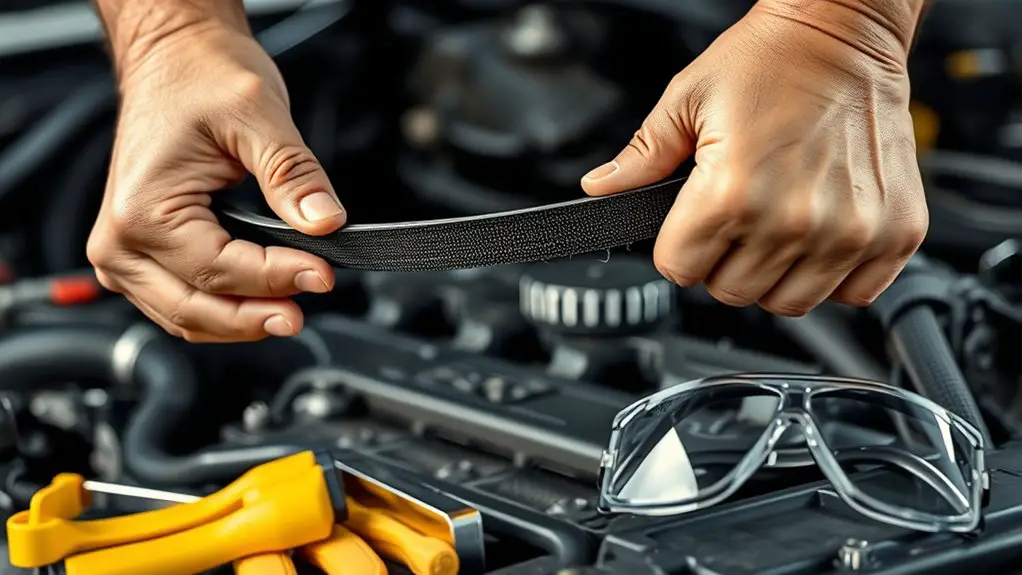
Before you touch an AC belt, prep your workspace, unplug the power, and verify all energy sources are isolated. Check belt tension with the deflection method, confirm pulleys run true, and inspect for fraying or cracks. Wear PPE, eye protection, and cut-resistant gloves, and keep hands clear of moving parts. De-energize, lockout, and tag out before adjustments. Stop if you see damage, then recheck after any replacement. If you keep going, you’ll uncover more essential safety steps.
Preparing for the Job: Safety Basics
Before you start working on an AC belt, inspect the workspace and tool setup to ascertain a safe baseline: clear debris, secure the machine, and unplug or lock out the power source before any contact with moving parts. You’ll establish a disciplined work area where risks are minimized and focus remains on exact steps. Begin with a straightforward equipment inspection: verify belt tension, pulley alignment, and mounting integrity, then confirm guards are in place and accessible. Document any discrepancies and address them before proceeding. Maintain a clean work area, organizing tools and replacement belts so they’re within reach but not cluttering footpaths. Wear appropriate PPE, including eye protection and gloves, and test your controls at idle to ascertain smooth operation without load. Follow established procedures for loosening tensioners and replacing the belt, then recheck tension and alignment after reassembly. This proactive routine supports freedom of movement while preserving safety and reliability.
Recognizing Common Belt Hazards
Loose belts can snap or slip if not secured, so you should check tension and alignment before starting. Pinch point hazards occur where hands or clothing can catch between moving parts, so keep hands clear and use tools to handle components. Stay vigilant for signs of wear or fraying that increase risk, and address them before the belt engages.
Loose Belt Risks
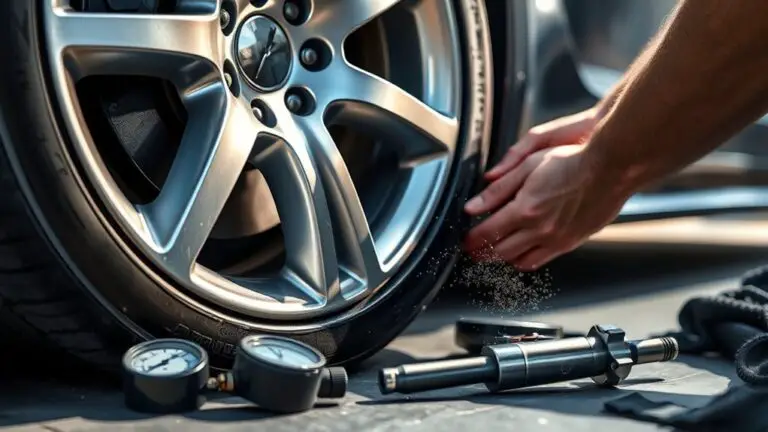
When a belt is loose, it can slip, overheat, or wear unevenly, increasing the risk of sudden failure during operation. You must perform a belt tension assessment before startup and again after any adjustment, ensuring correct deflection per manufacturer specs. If tension is too loose, re-tension promptly and recheck. Too tight can strain bearings and reduce efficiency. Inspect for belt wear indicators, such as cracking, glazing, fraying, or missing ribs, and replace when indicated. Maintain a consistent testing interval and document results for traceability. Use proper tools, avoid shortcuts, and verify pulley alignment after tightening. Keep guards in place during inspection, and stop the system if abnormal noise, heat, or movement occurs. This disciplined approach minimizes unexpected belt failure and promotes safe, controlled operation.
Pinch Point Hazards
Pinch point hazards arise when moving belt components bring skin or clothing into contact with rollers, pulleys, or belt edges. You stay safe by identifying risk zones before power is on, keeping hands away from belts, and using guards as intended. Develop pinch point awareness to spot rotating edges and leverage points that can pull clothing or fingers into movement. Pinch point prevention relies on lockout/tagout, proper clothing, and clear, maintained barriers between you and the belt system. Follow protocols, test controls, and keep a clean workspace to minimize surprises.
- Verify guards are in place and intact before operation
- Wear fitted clothing and remove loose jewelry
- Stop the equipment and notify supervision if any guard or stop works are missing
Power Down and Lockout/Tagout Procedures

Before beginning any work on an AC belt, you must power down the machine and apply lockout/tagout (LOTO) procedures to prevent unexpected restart. You’ll verify the energy source is isolated, then tag the device with clear, durable indicators. Next, test the circuit to confirm it’s de-energized before you touch any components. Document each step for safety compliance and audit readiness. Keep keys and tags secured, and guarantee only authorized personnel can reenergize the system. Communicate the status to your team, signaling that maintenance is in progress and the machine is non-operational. Use standardized lockout procedures to control all energy inputs, including electrical, hydraulic, and pneumatic lines. Recheck that stored energy, such as capacitors, is released safely. When reassembly begins, remove tools and test once, then re-energize only after confirming all guards are in place. This discipline supports safety compliance and maintains your freedom to work confidently.
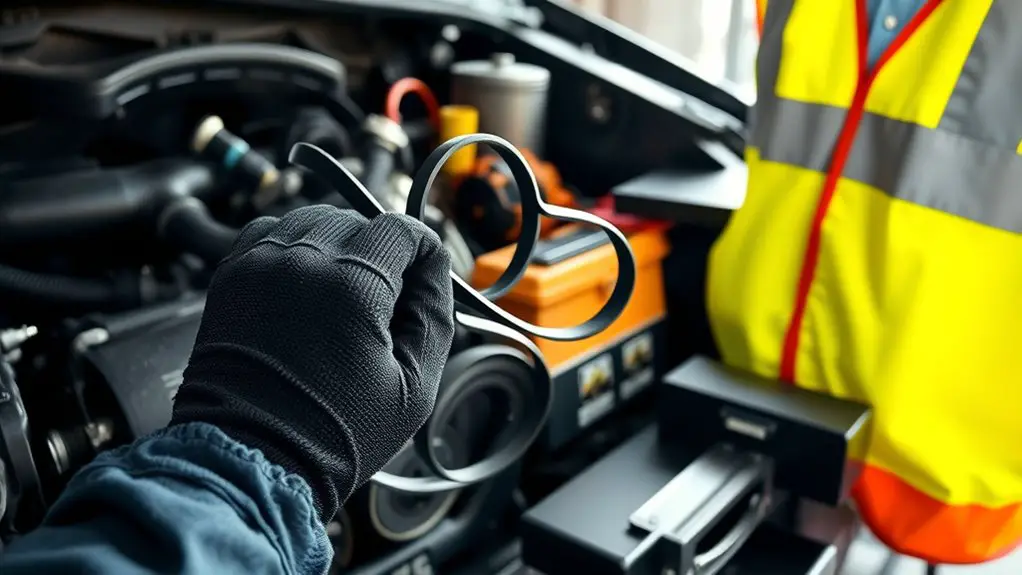
Personal Protective Equipment You Need
You should wear proper eye and face protection to guard against flying debris and chemical splashes, and guarantee a face shield or goggles fit securely. Use appropriate hand and arm protection, selecting gloves and sleeves that resist cuts and abrasions while allowing full dexterity for belt work. Confirm all PPE is intact, properly rated, and worn before starting the procedure.
Eye and Face Protection
Eye and face protection is essential when working on an AC belt; selecting the right gear and using it correctly prevents injuries from flying debris, splashes, and unexpected belt failures.
- Choose eye protection that fits snugly and resists impact, with side shields for peripheral guard.
- Use a properly fitted face shield when there’s splash risk or potential arc-like debris.
- Inspect all gear before work and replace cracked lenses or torn straps immediately.
Procedure:
Put on eye protection first, then the face shield, ensuring a clear, unobstructed view. Secure straps, adjust for comfort, and maintain a safe work distance. If anything feels loose, stop and retake the setup. This routine keeps you protected and maintains freedom to work confidently.
Hand and Arm Gear
When working on an AC belt, your hands and forearms face direct exposure to moving parts, sharp edges, and potential hot surfaces. You’ll choose proper hand protection before any adjustment. Inspect gloves for signs of wear, tears, or compromised seams; discard damaged pairs. For performance, select glove materials appropriate to heat, oils, and abrasives, balancing dexterity with protection. Guarantee a snug fit to prevent snagging on pulleys, and verify cuff design won’t ride up during handling. Wrist support should be considered when you anticipate repetitive motions or strain, but avoid overly restrictive options that limit circulation. Don gloves in clean, dry conditions and remove only after the machine is secured and powered down. Follow these steps to maintain control, reduce risk, and preserve freedom of movement.
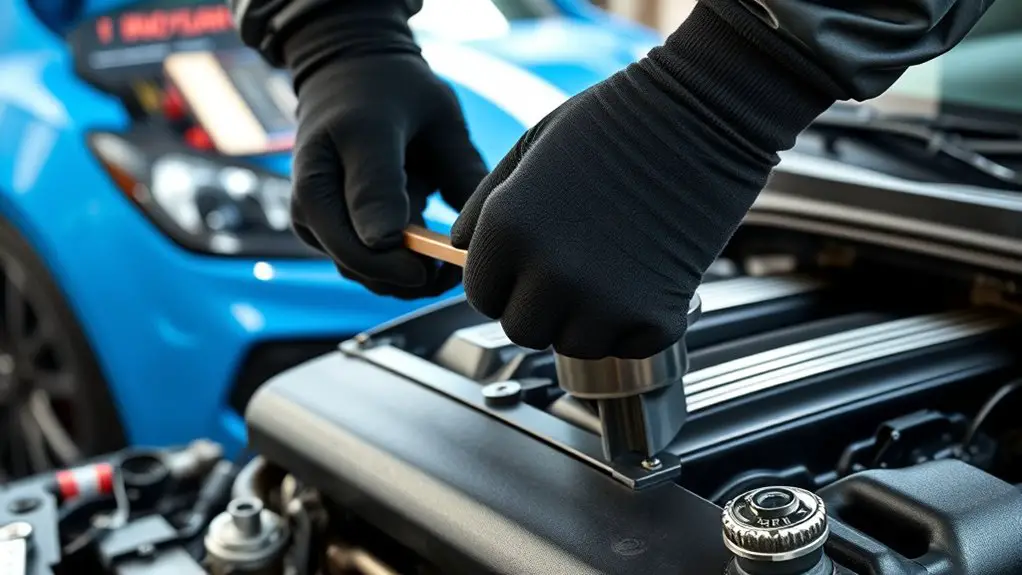
Tools and PPE: Proper Use and Maintenance
Tools and PPE should be selected for the task and inspected before each use. You’ll guarantee proper tool maintenance and clear PPE storage protocols to prevent injury and downtime. Before powering anything, verify that you have the right tool for the job, check for damage, and replace worn parts. Put PPE in place: gloves, eye protection, and hearing protection, and confirm a secure fit. Maintain a routine that minimizes risk, keeps surfaces clean, and reduces wheel and belt wear.
Tools and PPE: inspect, fit, and prep before every use to prevent downtime and keep belts running smoothly.
- Inspect, clean, and lubricate regularly
- Store PPE properly and label storage locations
- Tag and retire damaged tools immediately
Keep maintenance logs and follow manufacturer guidelines for sharpening, calibration, and replacement intervals. Use PPE storage that protects against moisture, dust, and impact hazards, and don’t mix tools and PPE in the same drawers. By adhering to these steps, you maintain reliability, extend life, and preserve your freedom to work confidently around AC belt systems.
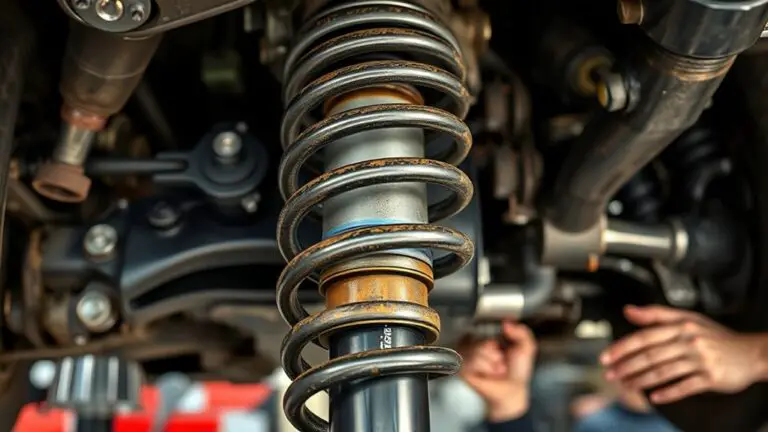
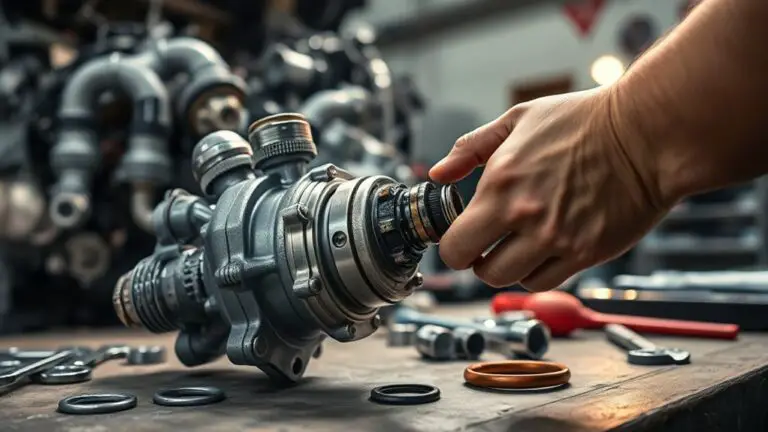
Inspecting Belts, Pulleys, and Tensioners
Begin by visually inspecting belts, pulleys, and tensioners for wear, cracks, fraying, glazing, or misalignment, and check for oil or coolant contamination that can degrade belt material. If you spot wear, mark its location and plan replacement. Check pulley surfaces for grooves, galling, or debris that could wear belts unevenly. Spin the engine or accessory belt system slowly and listen for squeaks or rubbing; note any side-to-side movement of pulleys. Verify belt tension by pressing the belt midspan with a rule of thumb—deflection should meet manufacturer specs. If tension feels lax or overly tight, either over-wunting or under-tensioning can cause premature failure. Perform belt alignment by ensuring pulleys run in a single plane and track true; adjust as needed using the tensioner’s calibrated mechanism, not force. After adjustments, recheck deflection, belt tracking, and pulley rotation. Document findings and schedule a follow-up inspection per maintenance interval.
Safe Handling Around Moving Parts
Safe handling around moving parts starts with identifying all energized or rotating components before work begins. You’ll map out belts, pulleys, fans, and motors, then lock and tag devices as needed. Before any contact, de-energize and verify zero energy using proper test equipment. Maintain a clean, organized work area and keep hands, hair, and loose clothing away from moving parts. Follow safe work practices to minimize risk and guarantee predictable outcomes. Use guards and barriers, and never bypass safety devices. Communicate clearly with teammates about what you’re touching and when you’ll re-energize.
- moving part precautions: verify isolation, secure access, and maintain distance from rotating parts
- safe work practices: use personal protective equipment, and follow procedure steps in sequence
- ongoing vigilance: reassess hazards as tasks evolve and stop if anything seems unsafe
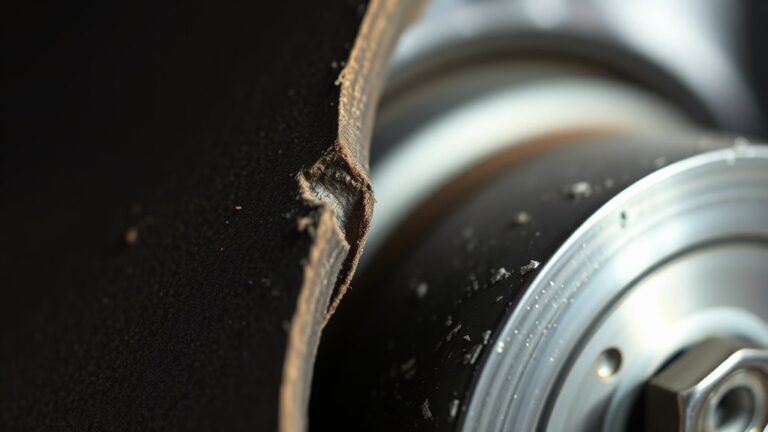
Dealing With Frayed Belts or Damaged Components
When you notice frayed belts or damaged components, stop the work area and assess before proceeding. Inspect the belt’s edges, cords, and surface for wear, glazing, or cracks, and verify tension matches the manufacturer’s spec. Isolate the drive and lock out energizing sources to prevent unexpected motion during evaluation. Document exact locations and extent of fraying or damage before touching any part. If fraying is light but ongoing, use belt replacement strategies that minimize downtime: remove the belt, inspect pulleys for alignment, and replace with the correct type and size. If any component shows cracks, missing teeth, or excessive wear, discontinue use and perform component inspection techniques on adjacent parts to prevent cascading failure. Never reuse damaged belts or fasteners. After replacement, re-tension and recheck alignment, then test at low speed. Maintain a clean area, labeled tools, and a clear resumption plan for safe operation.
Emergency Procedures and Post-Work Checklist
If an emergency arises, cut power immediately, secure the area, and verify all energy sources are isolated before taking any further action. You follow a clear, stepwise approach to safeguard yourself and others, then assess the situation and initiate incident reporting as required. After stabilizing conditions, you confirm the scene is safe, document findings, and notify designated authorities using emergency contacts. You keep a concise log of actions, times, and identifiers to support accountability and later review.
In an emergency, cut power, secure the area, verify isolation, then log, report, and communicate for swift safety.
- Confirm power, lockout-tagout status, and PPE readiness before any re-entry.
- Record all details for incident reporting, including witnesses and equipment involved.
- Communicate with teammates and supervisors, updating the chain of command and ensuring follow-up steps are assigned.
Post-work, you conduct a thorough cleanup, inspect tools and belts, and verify that control systems are restored correctly. You review the procedure, capture lessons learned, and file a final report.
Frequently Asked Questions
How Often Should You Replace a Worn AC Belt Before Failure?
You should replace a worn AC belt before failure, based on replacement intervals you establish through inspection and manufacturer guidance. You’ll schedule belt maintenance every 6, 12, or 24 months, or sooner if cracks, glazing, or fraying appear. Don’t wait for symptoms; preventive practice says test tension, listen for squeal, and check alignment. Track intervals, log wear, and replace proactively to avoid downtime and expensive damage. This keeps your system running reliably and safely.
Can AC Belts Cause Injuries During Unexpected Rewinding?
Injury isn’t just possible—it can strike when rewinding starts unexpectedly. Yes, AC belts can cause injuries if you’re caught by a moving pulley. You must respect belt tension and follow safety precautions. Before touching anything, de-energize, lockout, and release stored energy. Keep hands out of pinch points, wear gloves, and verify guards are in place. Maintain proper belt tension, and proceed only when the area is clear and controlled. Stay vigilant, stay protected.
What Noise Indicates a Failing Belt Early Warning?
A squeaking noise signals a slipping or misaligned belt, while a grinding sound points to bearing or pulley interference. Early warning means you should stop, inspect belt tension and alignment, and check pulleys for debris or wear. If the squeak or grind persists after adjusting tension, replace the belt and inspect the tensioner. Maintain safe clearance, disconnect power, and plan a controlled stop to prevent further damage. Proceed cautiously, and document findings for prevention.
Are There Age Limits for AC Belt Components?
You bet—there aren’t strict age limits on AC belt components, but you should treat wear as your guide. Expect hoses, pulleys, and belts to show signs of fatigue regardless of age. Follow a proactive routine: check tension, inspect for cracks, replace per manufacturer specs, and renew worn components as part of AC belt maintenance. Regular inspections extend AC belt lifespan; listen for squeals, misalignment, or slipping, and act before failures. Stay vigilant.
How Do Ambient Temperatures Affect Belt Performance?
Ambient temperatures affect belt performance by changing tension and slip risk. Temperature impacts material stiffness, while humidity effects can cause belt glaze and reduced grip. You’ll notice faster wear at high heat and greater contraction in cold, so check tension more frequently. Inspect pulleys for glazing, misalignment, and debris. Maintain proper cooling airflow, replace worn belts promptly, and avoid extreme temps when testing. Stay proactive, document changes, and use temperature-compensated parts where possible.