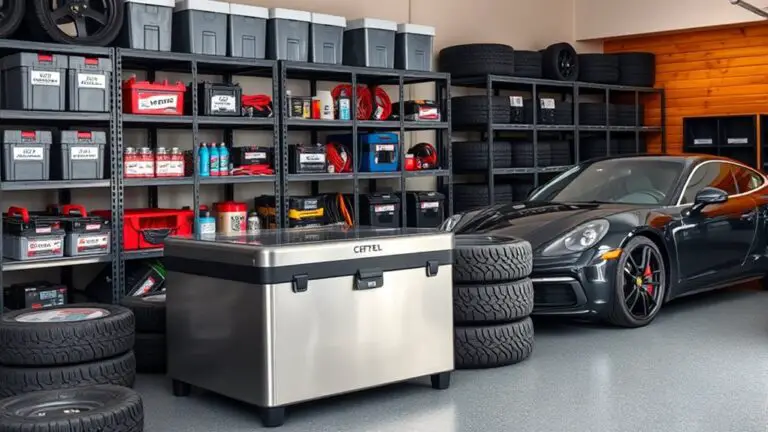
Seasonal Tire Care to Prevent Puncture Repair Failure
Seasonal tire care prevents puncture repair failure by recognizing how temperature affects tire pressure, tread wear, and seals. Check and record cold tire pressures before driving, then adjust to the target plus or minus 1 psi as temperatures change. Inspect tread depth and sidewalls for cracks, cuts, or embedded objects, and rotate tires per schedule. Use proper patch or plug methods only when appropriate, and test repaired tires before driving away. Stay proactive—more steps follow to protect your tires.
Understanding Seasonal Tire Stress on Seals and Tread
Seasonal tire stress on seals and tread occurs as tire construction meets changing temperatures and surfaces. You’ll notice how tire material responds to cold or heat by stiffening or softening, affecting grip and resilience. Precisely monitor edge wear, bead seating, and tread depth as indicators of evolving seal integrity. When temperatures swing, your inspection routine must adjust: check sidewalls for microcracks, confirm valve stem seating, and verify bead seating pressure with calibrated gauges. Maintain consistent inflation within manufacturer specifications to reduce slip, pinch, and heat buildup that threaten seal integrity. Record environmental conditions during each check, noting road surface, moisture, and ambient temperature. Use only approved sealants and lubricants, avoiding random mixtures that could compromise tire material or cause degradation. Follow a disciplined schedule for rotation and balancing, ensuring even load distribution and maintaining predictable contact with the road. Your freedom to drive confidently depends on rigorous, safety-focused care.
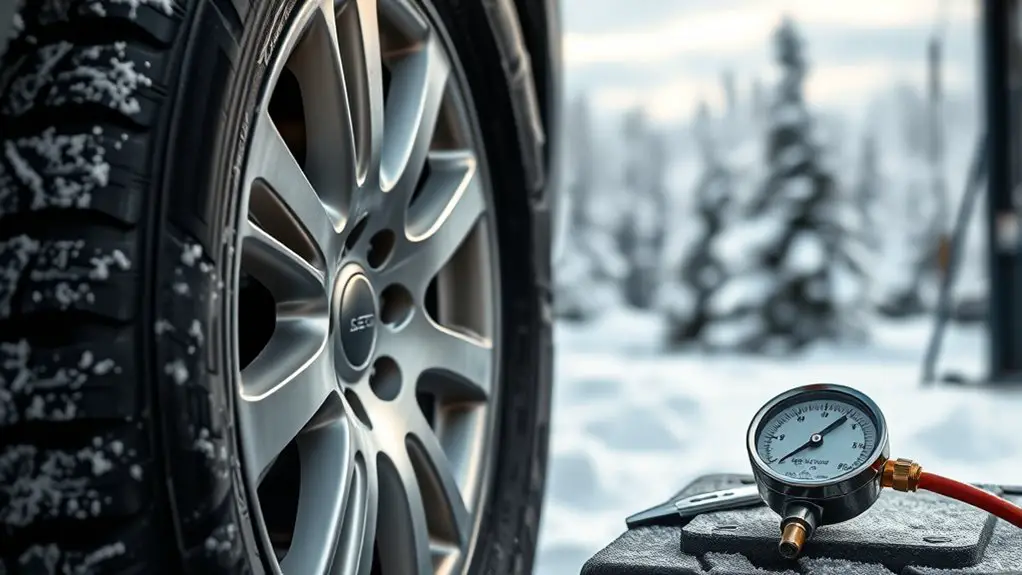
How Temperature Shifts Affect Tire Pressure and Safety
Temperature shifts directly affect tire pressure, which in turn impacts grip, braking, and overall safety. When temperature rises or falls, your tire pressure changes by roughly 1 psi for every 10°F change. You should check pressures at a consistent time and level of ambient temperature, preferably before a routine drive. Record baseline readings for your primary tires, then compare after notable weather swings to identify pressure adjustments needed for ideal contact with the road.
Follow a quick protocol: use a calibrated gauge, inspect for even inflate across both sides, and correct to the vehicle manufacturer’s recommended cold pressure. If you notice persistent under- or over- inflation after a temperature shift, schedule a professional inspection to rule out leaks or valve issues. Maintain tire pressure within ±1 psi of target during seasonal changes to preserve grip and shorten stopping distances. Remember, sustained underinflation reduces load capacity and increases heat buildup, elevating puncture risk. Stay proactive, monitor weekly, and document changes to enhance safety.
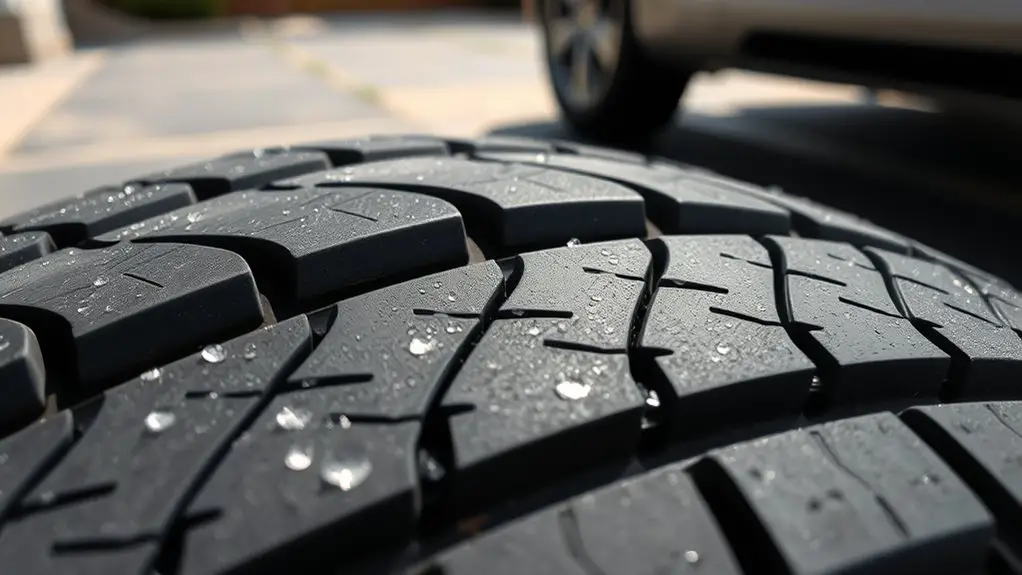
Inspecting Tread Depth and Tread Wear Patterns by Season
To protect your grip and stopping ability, inspect tread depth and wear patterns by season with a systematic approach: measure tread regularly using a proper gauge, and check for even wear across all wheels.
- Use standardized tread indicators to judge safety thresholds and note any unusual seasonal pattern shifts
- Compare front and rear wear to guarantee balanced traction across seasons, documenting deviations
- Record measurements and visually inspect for cupping, feathering, or flat spots that align with seasonal conditions
Follow a repeatable routine: in spring, look for softened edges from rain and heat; in summer, confirm consistent wear despite higher temperatures; in autumn, check for gravel wear and abrupt pattern changes; in winter, watch for rapid smoothing, chunking, or blocks near sipes. This method guarantees you detect seasonal patterns early, enabling timely action. Maintain clarity in your notes, and use tread indicators to guide replacement decisions, preserving safety and performance.
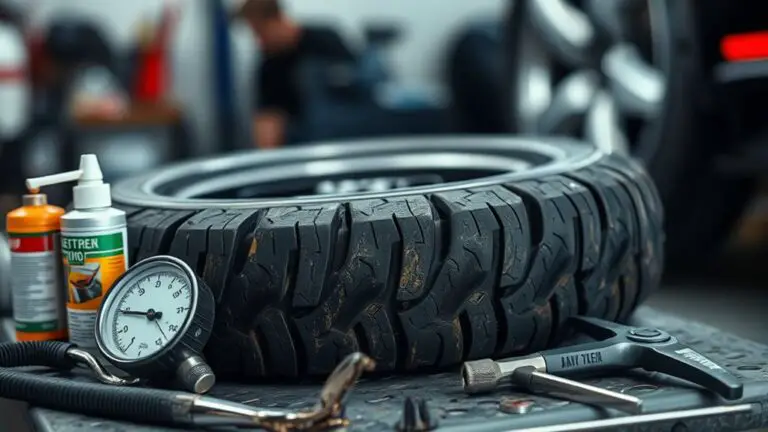
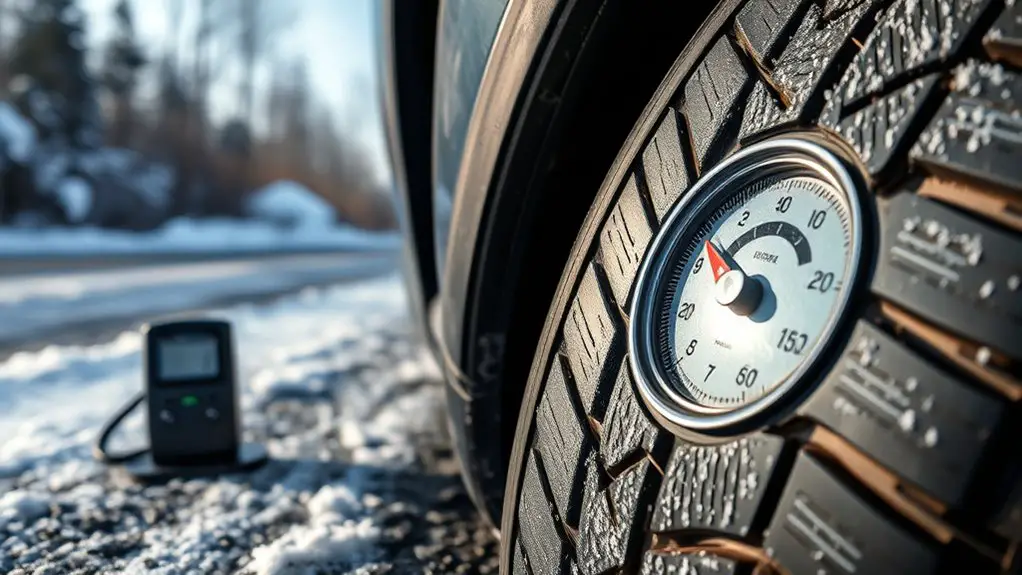
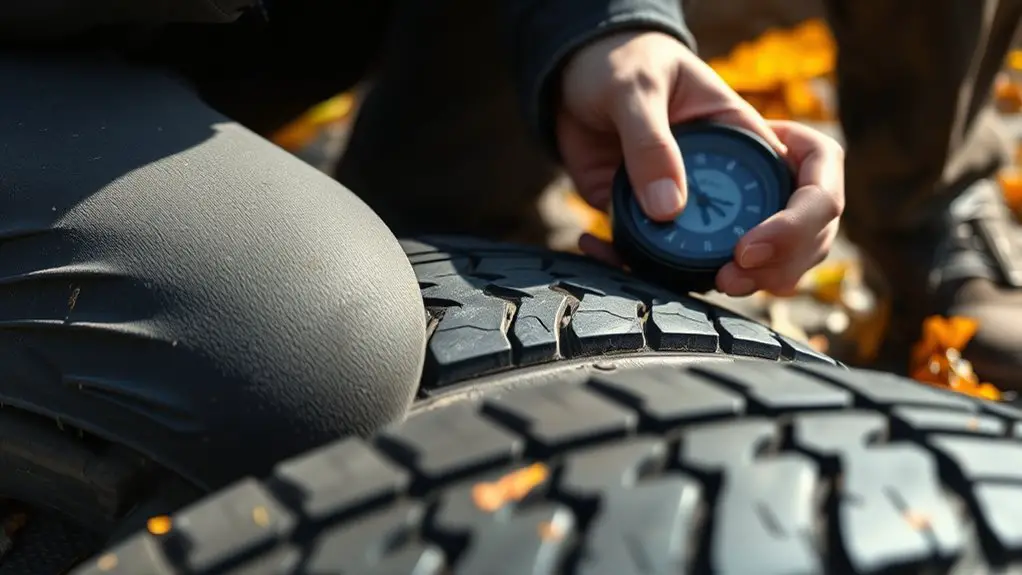
Optimal Pressure Checks: When and How to Measure
Ideal tire pressure is critical for safety and efficiency, and it should be checked regularly using a clear, repeatable procedure. You’ll start when the tires are cold, ideally before driving or at least three hours after use. Locate the valve stems, remove valve caps, and press the gauge onto the stem firmly to get an accurate reading. Note the vehicle’s recommended pressure from the door jamb sticker or owner’s manual, not the tires’ sidewalls. Use tire pressure measurement techniques that avoid air leakage and heat distortion, such as a digital gauge or a high-quality analog gauge with a tight seal. Record each reading, then adjust by adding or releasing air in small increments until you meet the target. Recheck after adjustments to confirm stability. Always inspect for signs of slow leaks or temperature-related variation and repeat checks weekly or after long trips. Maintain records for season-to-season consistency and puncture-repair prevention.
Rotating Tires Timely to Equalize Wear Across Seasons
Rotating tires on a regular schedule is crucial to equalize wear and extend tire life across seasons. You’ll rotate to balance load, heat, and road conditions, preserving grip and preventing uneven fatigue. Follow procedure, then verify results with tire alignment checks and wear indicators.
Rotating tires regularly balances wear, preserving grip and extending tire life.
- Rotate patterns: front-to-back or cross-pattern per vehicle manual, and align according to axle direction for even tread wear.
- Inspect wear indicators during rotation and note any asymmetry or cupping; reschedule rotation sooner if indicators show uneven wear.
- Confirm fasteners and lug torque after rotation; verify wheels are reinstalled to factory specifications and tightened in a star pattern.
Safety notes: stay on a flat surface, engage parking brake, and use wheel chocks. If you detect irregular wear or alignment drift, address it promptly to avoid puncture-prone stress points and compromised handling.
Sealing Common Puncture Prone Areas Before They Cause Failures
Sealing common puncture-prone areas before they cause failures is essential to maintain tire integrity and road safety. You’ll inspect wheel rims, valve stems, and bead seats for nicks, corrosion, or loose components, then address issues with purpose-built tools. Begin with a calm, methodical approach: remove the tire, inspect the bead area, and clean all debris before reseating. If you find minor bead damage, don’t patch it with improvisation—perform seal maintenance using manufacturer-approved compounds and a clean, dry surface. Apply sealing compounds only as directed, avoiding excess that can trap air or trap debris. Replace compromised parts rather than risking failure on the road. Document findings and schedule follow-ups to guarantee continued puncture prevention. Maintain consistent tire pressures per vehicle specifications, and recheck after mounting. Your disciplined routine reduces repair failures and extends tire life while prioritizing personal safety, vehicle performance, and freedom to drive with confidence.
Patch vs. Plug: Choosing the Right Puncture Repair Method
When you’re choosing how to fix a puncture, understand that patching and plugging serve different scenarios, surfaces, and safety outcomes. You’ll assess hole size, location, and wheel type before selecting a method. Patching is preferred for clean, accessible punctures on inner tubes or tires with enough carcass integrity; it pairs with a core sealant and requires proper cleaning, roughening, and a durable patch application. Plugging works best for roadside repairs in holes near the tread but away from sidewalls, using a radially placed plug that seals the entry point. Both approaches demand correct tool use, stringent cleanliness, and adherence to manufacturer guidance to avoid leaks or heat buildup. Always verify after repair with pressure checks, road-test, and recheck for leaks. For ongoing safety, document the repair in your tire maintenance tips and replace compromised tires when needed.
- Choose patching for surface-access punctures with intact carcass
- Use plugging for roadside, tread-area holes when patching isn’t feasible
- Verify repairs with pressure test and road-test before driving away
Preparatory Steps for Winter and Summer Driving Conditions
Before you drive, check tire pressure to match your vehicle’s specs and the season’s demands. Inspect tread depth and overall wear to guarantee adequate contact with the road, and look for any cuts, bulges, or embedded objects. Finally, inspect for damage such as sidewall cracks or punctures and address immediately to maintain safe handling in winter and summer conditions.
Check Tire Pressure
Check tire pressure before you drive, as under- or over-inflated tires can reduce grip and fuel efficiency.
- Confirm the correct PSI for your vehicle, using the door jamb plaque or owner’s manual
- Measure when tires are cold, then adjust to target pressure, including the spare if equipped
- Recheck after a short drive, ensuring no slow leaks or fluctuating readings
Maintain tire monitoring as you go, noting any sudden pressure changes and scheduling a quick inspection if you detect irregularities. Pressure adjustments should be deliberate: inflate with a reliable gauge, and never exceed the manufacturer’s max rating. Keep a portable gauge in your kit for on-the-road checks. Consistent monitoring supports ideal handling, efficient fuel use, and safer braking through stable contact with the road. Proceed with confidence, prioritizing accuracy and proactive maintenance.
Inspect Tread Depth
Tread depth serves as your tire’s frontline defense against slipping and hydroplaning, so inspect it now for both winter and summer driving. Start with a visual check across all grooves for wear signs and uneven wear patterns. Use a reliable gauge or the coin test to confirm remaining tread depth, noting any abrupt changes. Document tread height at three or more random points per tire to catch cupping or one-way wear. Apply tread measurement techniques consistently to compare across tires and seasons. Look for seasonal tread indicators like wear bars and depth thresholds to guide replacement timing. Maintain evenness by rotating tires per your vehicle’s schedule and road conditions. Stop when measurements fall below recommended limits to preserve grip and safety.
Inspect for Damage
Inspect for damage at a glance, then methodically inspect each tire for cuts, bulges, cracks, and embedded objects that could lead to failure under winter or summer loads. You perform a visual inspection, noting any abnormal wear patterns or foreign matter that might compromise integrity. Focus on sidewalls, tread edges, and bead areas, evaluating damage that could worsen with temperature swings and road conditions. Conduct a damage evaluation quickly but thoroughly, reserving a deeper look if you detect irregularities. Verify tire pressure is correct before testing, and check for objects embedded near the tread. Address issues promptly to avoid puncture repair failures and unpredictable handling.
- visual inspection checklist
- damage assessment criteria
- remediation actions and safety precautions
Maintenance Routines to Extend Tire Life and Repair Reliability
You should start every season with a tire pressure check, ensuring each tire matches the vehicle’s recommended spec and the spare is ready. Next, perform a seasonal tread inspection to spot cuts, bulges, or uneven wear and address any issues before they worsen. Finally, verify repair kit readiness, confirm sealant and tools are present and usable, and replace any expired items to maintain repair reliability.
Tire Pressure Checks
For reliable tire life and vehicle safety, check your tire pressure regularly and before any long trip. You’ll verify measurements with your chosen method, then adjust to the vehicle’s recommended PSI. Use a proper gauge, read accurately, and record results if needed. Underinflation or overinflation raises puncture risk and handling issues, so be decisive and consistent.
- Inspect tires, note current pressure, and compare to door jamb or owner’s manual PSI
- Use a reliable pressure gauges, recalibrate if readings vary from known standards
- Inflate or deflate to specification, recheck twice, and log the result for future trips
Seasonal Tread Inspections
Seasonal Tread Inspections are about confirming your tires’ wear and grip to keep handling predictable and safe across changing conditions. You’ll inspect tread depth with a gauge, noting if it falls below recommended limits, and check for uneven wear that signals alignment or suspension issues. Look for exposed cords, cracks, or bulging, then address any abnormal tread wear promptly. Record findings and compare against seasonal effects such as temperature swings, road salt, and moisture exposure that can accelerate aging. Confirm tread pattern remains intact on all tires and rotate if wear is uneven, preserving traction. Maintain a clear, actionable log so you can schedule maintenance before performance degrades. This routine supports freedom to drive confidently while protecting you and others.
Repair Kit Readiness
A repair kit readiness checklist guarantees you’re prepared to handle minor tire issues before they escalate. You’ll verify that your kit has essential tools, current lubricants, and properly inflated pressure gauges, plus a spare valve core kit. Inspect seals and tapes, ensuring everything is intact for seasonal storage. Keep a compact inflator with a calibrated gauge and a tire repair string that’s within its recommended service life. Prioritize safety by packing gloves and eye protection, and store the kit in a dry, accessible location during seasonal storage. Regularly refresh contents to maintain reliability, and test the inflator before trips.
- repair kit essentials
- seasonal storage
- quick-access layout
Safe Driving Practices to Minimize Damage and Costs
To minimize tire damage and costs, inspect your tires before each trip and adjust inflation to the recommended pressure, as under- or over-inflation can cause uneven wear, blowouts, and reduced fuel efficiency. You’ll drive safer by maintaining consistent speed, smooth steering, and deliberate braking. Observe road hazards and adjust speed accordingly to avoid abrupt impacts that threaten belts and sidewalls. Rotate tires as recommended and monitor tread depth; replace tires showing unusual wear patterns promptly to prevent punctures. Keep wheels aligned and suspension components in good condition to preserve even contact with the road. When loading, distribute weight evenly and avoid exceeding axle limits, which stresses tires and suspension. Plan routes to avoid construction debris and sharp obstacles, and give yourself ample following distance to reduce sudden braking. Practice tire maintenance and mindful driving habits to extend life, lower costs, and preserve freedom on every journey.
Frequently Asked Questions
How Do Seasonal Stresses Impact Tire Seal Compatibility and Puncture Repairs?
The seasonal stresses affect seal compatibility and puncture repairs by challenging seal integrity during temperature and pressure shifts. You should inspect valve stems, rims, and patch surfaces for damage, using proper torque and curing times to maintain seal integrity. Monitor seasonal fluctuations in ambient temps and tire pressures, recheck after changes, and replace compromised patches or plugs promptly. Follow safety protocols, document findings, and guarantee compatibility with repair materials to preserve performance and your peace of mind.
What Tools Are Best for At-Home Seasonal Tire Pressure Checks?
You should use reliable tire pressure gauges and digital check tools for at-home tests. For accuracy, keep your tire pressure gauge within easy reach, and verify readings when tires are cold. Use a gauge with a large dial or digital readout, and record results. Safety first: don’t overinflate, and recheck after road warms. Maintain a routine, noting ambient temps. This way, your tire pressure checks stay precise, repeatable, and aligned with your freedom to drive confidently.
Do Temperature Shifts Alter Sealant Effectiveness Over Time?
“Time is money.” Do temperature shifts alter sealant effectiveness over time? Yes, they can affect sealant viscosity, causing it to thicken in cold or thin in heat, which reduces puncture-sealing performance. You should monitor sealant viscosity during extreme temperature swings and replace as needed. Check manufacturer guidelines, maintain consistent tire pressures, and perform routine inspections. In safety terms, don’t rely on sealant beyond its rated temperature range or service interval; act decisively when extremes occur.
How Often Should Tread Wear Patterns Be Re-Evaluated Seasonally?
You should re-evaluate tread wear patterns every season. During seasonal inspections, check tread depth and look for uneven wear, cupping, or feathering. If depth falls below 2/32 inches or you notice irregular patterns, replace or rotate tires as needed. Document findings, adjust pressure per load, and review sealing and puncture repair procedures. Maintain a safety-first mindset, keep personal freedom in control, and guarantee ongoing compliance with manufacturer guidelines.
Can Driving Style Affect Puncture Repair Longevity Across Seasons?
Yes, your driving style can affect puncture repair longevity across seasons. You should adapt your driving habits to minimize impact, avoid potholes, and reduce curb contact. Regular tire maintenance, including checking pressures and tread depth, is essential. Drive smoothly, accelerate, brake, and corner gently to prevent further damage. Seek professional puncture repair advice seasonally, and follow manufacturer guidance. Protective tire management sustains repairs longer while preserving safety and freedom to roam.