Step-By-Step: Changing Coolant Additive Without Mistakes
To change coolant additive without mistakes, start by evaluating when to replace based on fluid condition and performance, then select a compatible additive matched to your system’s specs. Gather safety gear, a calibrated funnel, containers, and a diagnostic hydrometer. Drain old coolant, flush with clean water, and mix in the new additive per the specified ratio. Refill, bleed the system, and verify levels, leaks, and air removal. If you keep going, you’ll tighten the process further and prevent common issues.
Assessing When to Change Coolant Additive
Determining the right time to change coolant additive hinges on exposure duration, operating conditions, and the additive’s formulation. You’ll measure readiness by tracking coolant lifespan indicators and observing system performance under typical loads. Start with baseline fluid condition: turbidity, color, and any film formation signal degradation. Next, apply temperature monitoring techniques to detect altered heat transfer efficiency and rising outlet temperatures, which often precede performance loss. Use your monitoring data to establish a replacement window rather than a fixed interval, then tighten or extend it based on actual exposure and use. Consider dilution effects from leakage, contamination, or mixing with incompatible formulations, as these shift the ideal change point. Document all readings and correlate them with service history, engine load profiles, and ambient conditions. You want predictable protection, not surprise failures, so align coolant additive replacement with confirmed indicators rather than calendar-only planning. In short, act when indicators trend toward diminished protection and elevated thermal stress.
Selecting the Right Coolant Additive for Your System
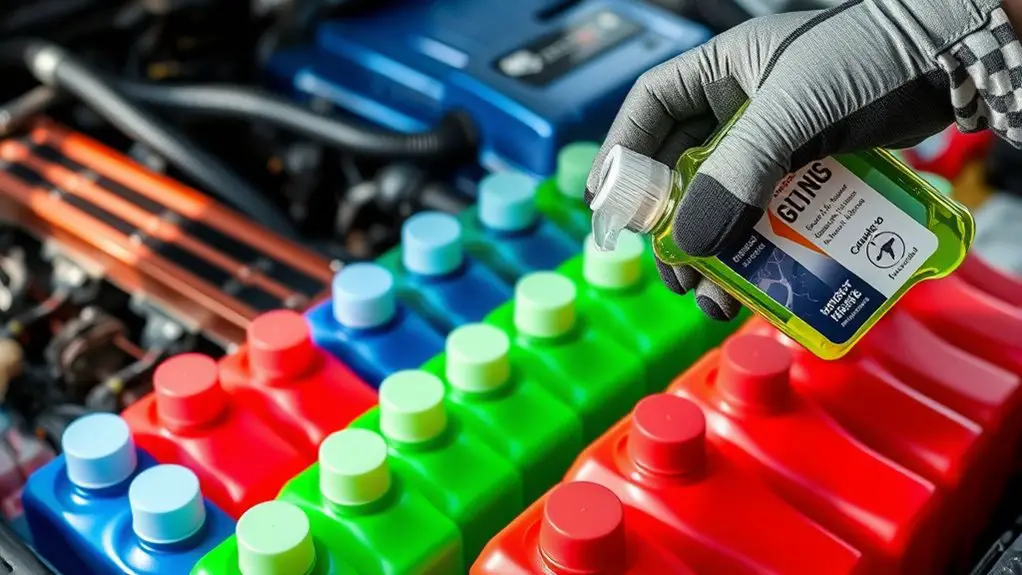
To select the right coolant additive, guarantee a proper coolant type match with your system’s specifications and operating conditions. Verify additive compatibility with existing coolant and materials to prevent adverse reactions or deposits. Consider your system requirements and the fluids already in use to guide additives that meet both performance and compatibility criteria.
Coolant Type Match
Selecting the right coolant additive hinges on matching your system’s coolant type to the additive’s chemistry and performance targets; mismatches can reduce heat transfer, corrode metals, or cause deposits. You’ll verify compatibility by checking manufacturer specifications for base coolant chemistry (ethylene glycol vs. propylene glycol, silicate- or phosphate-free blends) and the additive’s corrosion inhibitors, anti-foaming agents, and lubricants. Don’t assume universal effectiveness; some additives target specific metals or sealing materials, while others optimize top-off performance. Consider coolant color significance as a quick compatibility cue, then confirm with datasheets to prevent color-based misinterpretations. Also assess coolant temperature effects on additives’ film formation and pH drift across operating ranges. Align your choice with service intervals and system pressures, ensuring reliable heat exchange and long-term corrosion resistance.
System Requirements
Carefully assess your system’s operating conditions and compatibility needs to identify the right coolant additive. You’ll align formulation with alloy exposure, operating temperature, pressure cycle, and maintenance cadence, guaranteeing compatibility with seals, gaskets, and inhibitors. Selective criteria center on measured coolant properties and impact on corrosion control, pH stability, and fouling resistance, all while preserving system efficiency. A disciplined approach minimizes risk, clarifies performance expectations, and supports long-term reliability.
- Assess system operating range and material compatibility
- Verify coolant properties meet specification limits
- Confirm additive doesn’t compromise seals or gaskets
- Consider maintenance intervals and monitoring plans
Additive Compatibility
Additive compatibility hinges on matching the chosen coolant additive with your system’s materials, operating conditions, and maintenance plan. You evaluate your fleet’s metals, elastomers, gaskets, and coatings, then align additive types to avoid corrosion, gasket swelling, or deposit formation. Consider temperature range, flow rates, and pressure cycles to anticipate dilution effects and buffering capacity. You also verify compatibility testing results against your specific coolant formulation, ensuring no adverse reactions with the base fluid or rust inhibitors. Documenting test outcomes helps you compare performance across brands and batches, enabling informed choices with minimal risk. Choose additives that maintain pH stability, heat transfer efficiency, and compatibility with seals. In practice, you select a compatible solution, then implement a controlled change, monitoring for anomalies during operation.
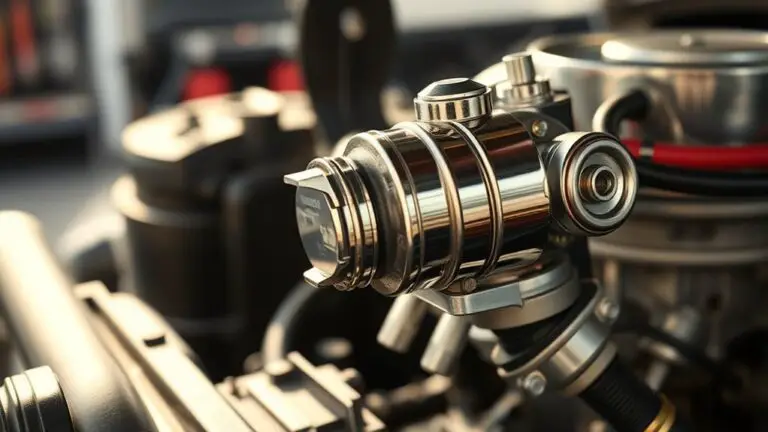
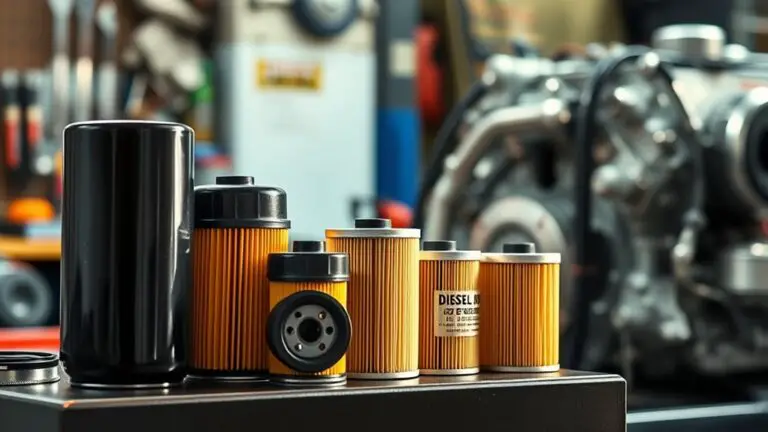
Tools and Safety Gear You’ll Need
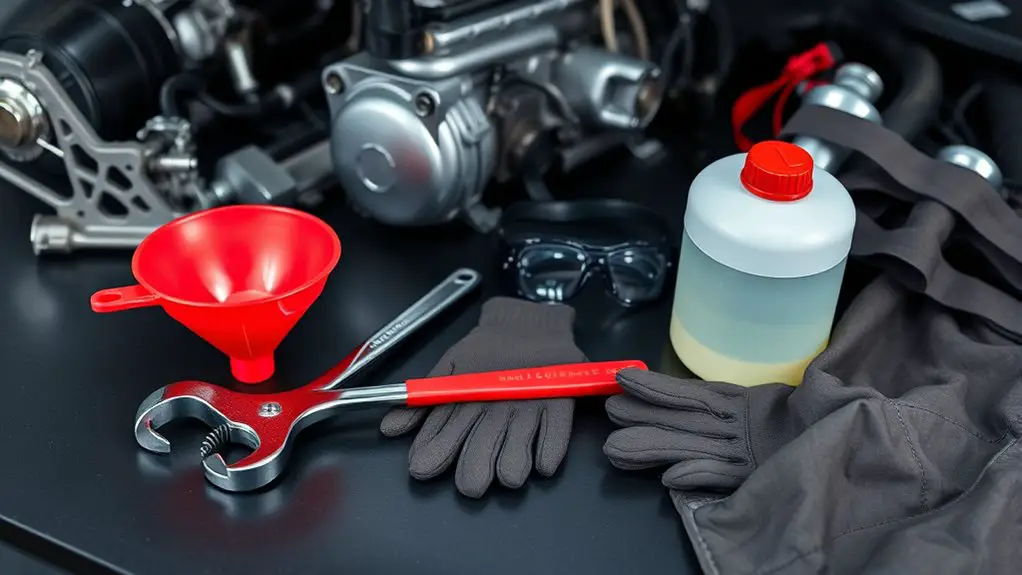
You’ll need essential safety gear and a proper tools list to perform coolant additive changes safely and accurately. Start with gloves, eye protection, and a respirator or dust mask as appropriate, plus a calibrated funnel, coolant-compatible containers, and wrenches or pliers for any fittings. Follow handling precautions to prevent spills, exposure, and contamination of the cooling system.
Essential Safety Gear
Before starting any coolant-related work, gather the essential safety gear and tools to protect yourself and guarantee accurate results. You’ll approach this with discipline and a mindset of freedom, prioritizing control and clarity over guesswork. Focus on protective basics and immediate visibility, then proceed to precise steps.
- safety goggles
- gloves usage
- long-sleeve, chemical-resistant attire
- closed-toe, non-slip footwear
This gear minimizes splash exposure, eye injury, and skin contact while you monitor chemical interactions. Your accuracy hinges on staying dry, clean, and alert; a single distraction can undermine a precise change. Ascertain ventilation is adequate and surfaces are prepared. Regularly inspect gear for wear, replace compromised items, and maintain a methodical workflow to sustain confidence, safety, and freedom in handling coolant additive.
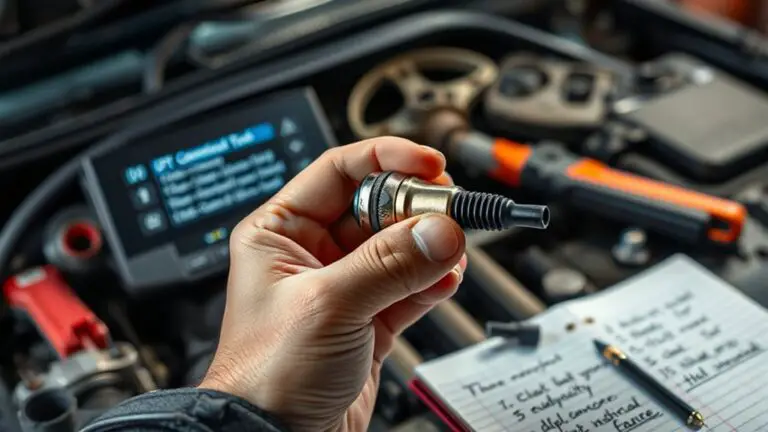
Proper Tools List
To change the coolant additive safely and effectively, assemble a focused set of tools and protective gear beforehand, ensuring all items are clean, functional, and within reach. You’ll need a metric toolkit, assorted wrenches, pliers, screwdrivers, a funnel, and a diagnostic hydrometer for coolant testing. Include a dedicated drain pan, lint-free rags, and a spill kit for controlled waste handling. For safety, wear goggles, gloves, and a long-sleeve apron; have a fire-safe container for any volatile concentrate. Keep the coolant compatible with your system’s specifications and verify additive storage conditions—coolant stored upright, sealed, and away from heat. Document lot numbers and expiration when you reassemble. Maintain clear access, label segments, and confirm connections before startup. Do not overlook calibration checks.
Handling Precautions Ready
Handling precautions are essential before you begin: assemble a focused set of tools and safety gear, verify they’re clean and in good working order, and keep everything within arm’s reach to minimize delays. You’ll follow a precise routine to reduce mistakes and safeguard your environment, respecting safety protocols while you work. Prioritize control, visibility, and orderly workflow to support freedom of action without risk exposure.
- PPE: gloves, goggles, and a lab coat or coveralls
- Tools: socket set, funnel, spill pads
- Containment:DRS or tray, sealable waste bag
- Documentation: MSDS sheet, coolant additive label checks
Safety protocols and environmental considerations guide every step, ensuring clean disposal, minimal waste, and compliant handling. Stay focused, deliberate, and efficient.
Preparing Your Vehicle and Workspace
Preparing your vehicle and workspace is essential to a safe, efficient coolant additive change; start by securing the area, gathering all required tools and materials, and ensuring the engine is cool before beginning. You’ll perform a quick vehicle inspection to confirm no leaks, proper fluid levels, and accessible access points. Position the vehicle on a flat surface, engage parking brake, and disconnect any accessories that could hinder work. Maintain workspace organization by designating zones for tools, containers, and waste, and keep a clear path to the engine bay. Prepare a drip tray, absorbent pads, and sealed containers for used additives or coolant components. Verify lighting is adequate and ventilation is sufficient to handle fumes safely. Keep references at hand, including torque specs and safety data sheets as needed. Proceed with confidence, knowing that a tidy, organized environment minimizes risk and supports precise, freedom‑driven execution of the steps that follow.
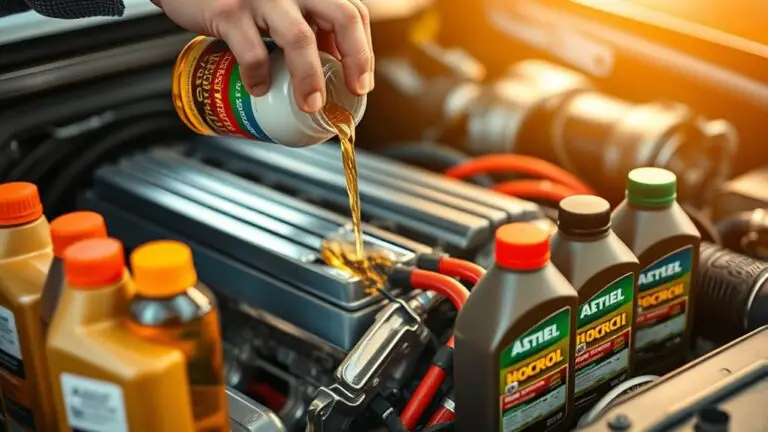
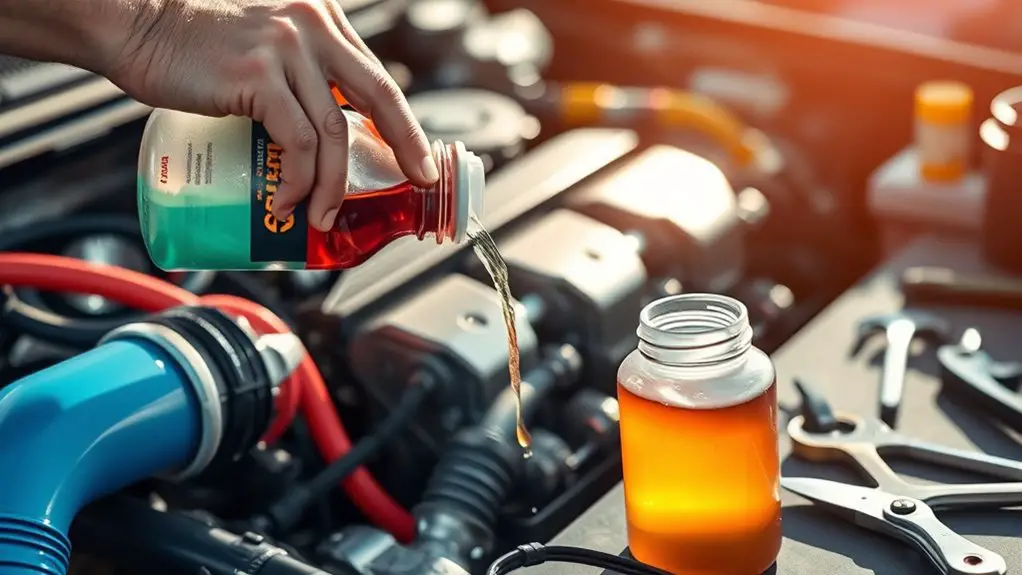
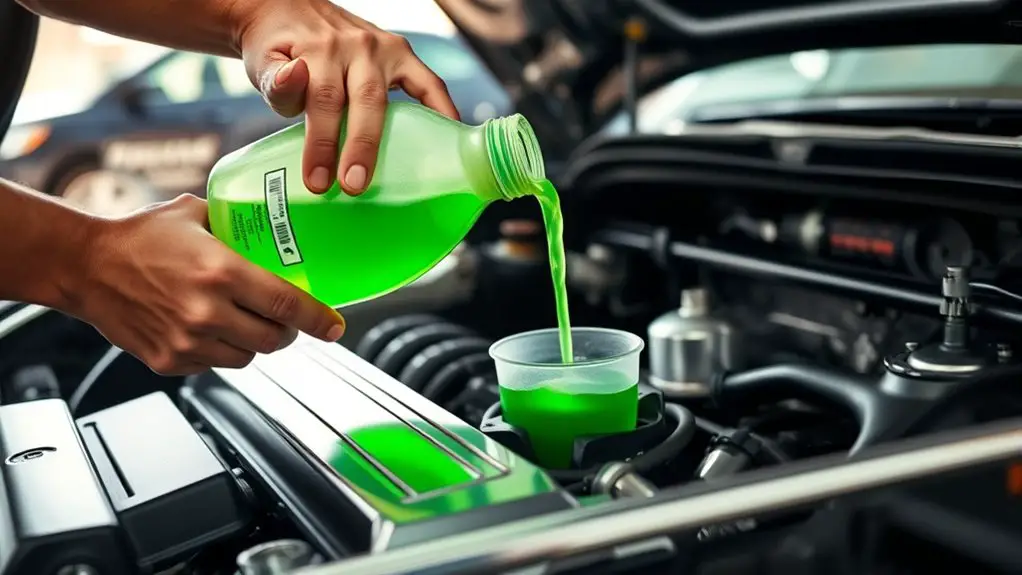
Draining, Flushing, and Refilling Procedures
With the vehicle secured and the system cooled, you’ll begin by draining the old coolant from the radiator and engine block, then flushing to remove residue and contaminants before refilling with the new additive-enhanced coolant. You’ll monitor coolant temperature throughout the process to guarantee safe handling and accurate measurements. During draining, collect used fluid in a suitable container and dispose of it per local regulations. For flushing, run clean water through the system, cycling until clear flow is achieved. When refilling, mix the coolant with the required additive at the correct mixing ratios, then top to the appropriate level, verifying expansion tank readings. Recheck for air pockets by cycling the engine and allowing the system to reach stable coolant temperature before a final top-off.
- Drain and collect old coolant, then dispose of it properly
- Flush with clean water until clear
- Mix additives using specified mixing ratios
- Refill, bleed air, and verify coolant temperature stability
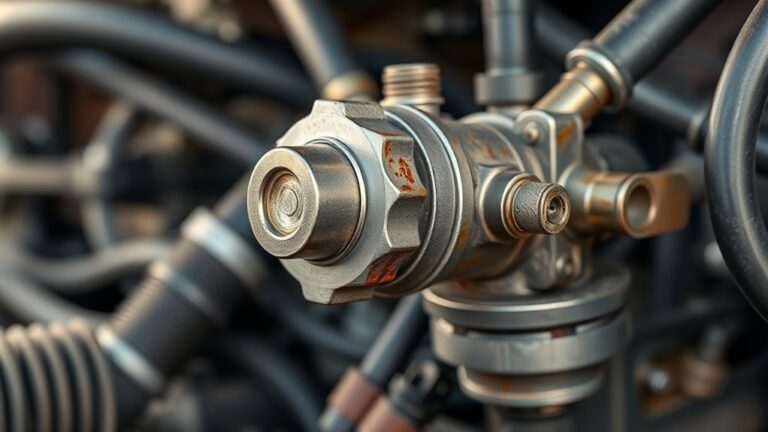
Verifying Seals, Hoses, and Radiator Connections
Before reassembly, inspect all seals, hoses, and radiator connections for signs of wear, cracking, or leaks. You’ll assess seal integrity by looking for deformation, hardening, or any seepage at gasket faces. During hose inspection, check routing and clamps for looseness, cracks, or bulges, and verify that hose material remains pliable, not brittle. Trace each inlet and outlet fitting to the radiator core, ensuring no threads are stripped and no corrosion hides behind fittings. Pay attention to overlap joints and changeover elbows where heat stress concentrates. Document any findings, noting location, material, and fault type to guide replacement decisions. Maintain clean mating surfaces and avoid overtightening, which can damage threads or seals. After repairs, recheck all connections for tightness and absence of leaks with system pressurization. Prioritize reliability over haste, and confirm that seal integrity and hose inspection results meet OEM tolerances before proceeding.
Bleeding the System and Removing Air Bubbles
After ensuring all connections are tight and the cooling system is sealed, begin the bleed process to remove trapped air. You’ll perform controlled depressurization to encourage air bubbles to migrate toward the highest point of the radiator or bleed valve. Use a clear, calibrated container to observe coolant flow and confirm steady drainage without spurts. Keep the engine at idle to maintain circulating flow while monitoring pressure and temperature indicators. When you see a steady, continuous stream without air pockets, close the bleed valve and re-check the level after a brief warm-up. If you still detect air bubble emergence, repeat the cycle once more until the system bleeding proves consistent and bubble-free. Do not overfill; maintain the specified coolant level and torque of caps and fittings. Maintain patience, document the cycle, and verify no leaks develop after refilling.
Begin with tight connections, bleed the system, watch the clear container, and ensure a steady stream before closing the valve.
- Confirm highest-point bleed location and valve access
- Observe coolant flow for a continuous stream
- Recheck levels after warm-up and gentle top-off
- Inspect for leaks and valve tightness post-bleed
Safety Checks Post-Refill and Common Pitfalls
During the post-refill phase, you’ll verify the system’s integrity and identify common issues before taking the vehicle back into service. This is where disciplined checks prevent returns to the bench. Begin with post refill inspections: confirm coolant level accuracy in the reservoir, verify that the additive mix is uniform, and guarantee no air pockets remain in the upper radiator hoses. Listen for abnormal hissing or pressure changes when the cap is reopened, and watch for leaks at hose joins, sensor ports, and the radiator neck. Monitor temperature readings as the engine reaches operating heat, noting any unexpected spikes or slow cool-downs. Document every irregularity, then triage quickly to avoid cascading faults. Common mistakes include rushing the bleed sequence, neglecting cap torque, and ignoring small seepages that compound over time. Validate the system’s functionality under load, and resist returning to service until all indicators align with spec.
Maintenance Tips to Extend Coolant Additive Life
Maintaining coolant additive life hinges on proactive maintenance and disciplined fluid management, so you can maximize protective performance without unnecessary downtime. You’ll implement a focused routine that guards both coolant maintenance and additive lifespan, reducing variability and wear. Monitor concentration, temperature, and contamination; use calibrated test strips and reputable coolant brands to preserve formulation integrity. Schedule periodic drain-and-fill cycles aligned with your engine’s service intervals, avoiding abrupt changes that destabilize additive chemistry. Keep records of each maintenance event to track trends and detect early degradation. Verify reservoir cleanliness and clamp tight, secure fittings to prevent air ingress. Prioritize airflow, proper mixing, and gradual temperature ramps to minimize thermal shock. Use a dedicated funnel and labeled containers to prevent cross-contamination. Maintain a clean environment during service and replace seals when indicated.
- Track coolant maintenance metrics and adjust intervals based on observed additive lifespan.
- Use quality concentrate and compatible additives for reliable performance.
- Inspect hoses and clamps for leaks or contamination.
- Document every maintenance step for traceability.
Frequently Asked Questions
How Often Should You Replace Coolant Additive Based on Mileage?
You’ll typically replace coolant additive every 30,000 to 50,000 miles, though some formulations last up to 100,000. Don’t pretend that mileage alone governs this; you’re balancing coolant maintenance with additive longevity. If your vehicle or climate demands it, shorten the interval. Check manufacturer specs and test coolant chemistry regularly. You want protection, not surprises. Rely on precise data, monitor indicators, and maintain freedom to adapt as needed.
Can You Mix Different Coolant Additives Safely?
No, you shouldn’t mix different coolant additives. You risk chemical incompatibilities and reduced protection. If you’re considering changes, follow coolant compatibility concerns and the additive manufacturer guidelines exactly. Check labels, verify compatible base coolant types, and test for emulsion stability. If in doubt, flush the system and re-fill with a single, specification-approved additive. You’ll maintain performance, avoid corrosion, and preserve freedom to customize without compromising reliability.
Will Additive Change Affect Heater Performance or Heat Output?
Adding the additive can affect heater performance; yes, it can change heater efficiency and heat output. You’ll notice shifts if the coolant composition alters boiling points, flow, or viscosity. You’ll want to monitor the system, confirm compatibility, and run checks. You’ll compare temperatures, verify thermostat behavior, and assess heat delivery. You’ll maintain consistent mixing, document changes, and choose additives that preserve heater efficiency and optimize coolant composition for reliability and freedom in operation.
Are There Signs of Over-Adding Coolant Additive to Watch For?
Signs of over-adding coolant additive include observed coolant overflow, increased foaming, and reduced cooling efficiency. You might notice higher reservoir levels without driving, plus intermittent pressure spikes. Excess additive can promote system corrosion deposits and seals stress, so monitor for leaks, abnormal pH shifts, and misguided viscosity. If you see overflow after top-offs, depressurize and flush, then restore proper concentration. Stay precise, document changes, and avoid chronic over-application to prevent long-term corrosion risks.
Is a Freeze Protection Rating Needed for Every Climate?
No, a universal freeze protection rating isn’t mandatory for every climate, but you should tailor your coolant additive to local conditions. You’ll want to match your system’s needs with climate considerations, especially if you face extreme lows or rapid temperature swings. In practice, verify the additive’s freeze protection range and ascertain it aligns with your expected ambient temps. This keeps your engine reliable, reduces corrosion risk, and preserves performance across varying climates.