Step-By-Step: Changing Coolant Without Mistakes
To change coolant without mistakes, start by choosing the right coolant for your vehicle from the owner’s manual, noting the base chemistry and mixing ratio. Gather gloves, eye protection, and basic tools, then safely lift and support the car. Drain old coolant, flush the system, and flush again with clean water. Refill slowly, bleed at the highest point to purge air, run the engine to circulate, and recheck levels. Final checks and records guarantee future reliability, and more steps await you.
Choosing the Right Coolant for Your Vehicle
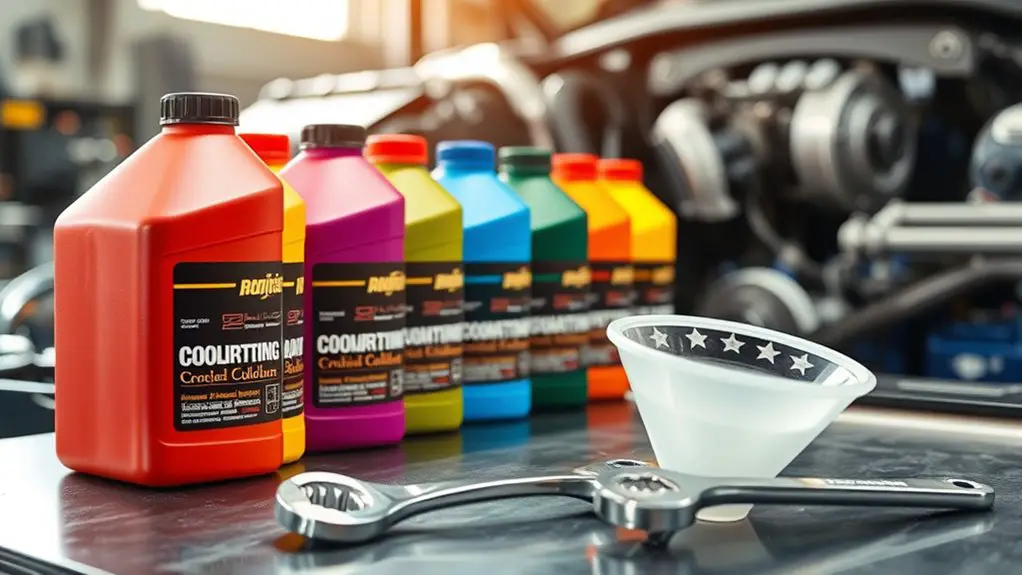
Choosing the right coolant starts with your vehicle’s specifications. You’ll confirm exact coolant types and base chemistry by checking your owner’s manual or manufacturer labels, then compare compatibility notes. While you search, focus on clear distinctions: organic acid, inorganic additive, and hybrid formulations, each with unique performance traits. You assess vehicle compatibility by reviewing radiator lines, engine metal types, and additive systems, ensuring the coolant matches your cooling system’s needs. Ignore guesswork; prioritize the specification sheet, not rumor. Record the exact product name, concentrate strength, and recommended mixing ratio, since precision keeps your system free from corrosion and deposits. Consider climate exposure and drive patterns, as some blends resist freezing or boil‑over better than others. When in doubt, ask a knowledgeable source or reference the vehicle’s warranty requirements. By aligning coolant types with your engine design, you uphold reliability and maintainability while preserving freedom to operate your vehicle confidently.
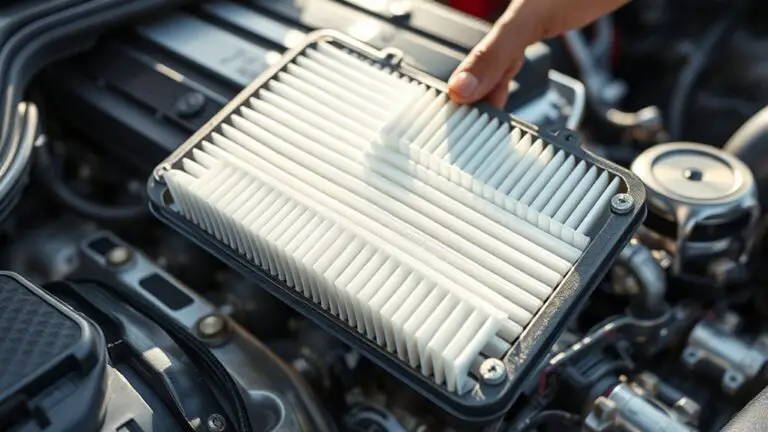
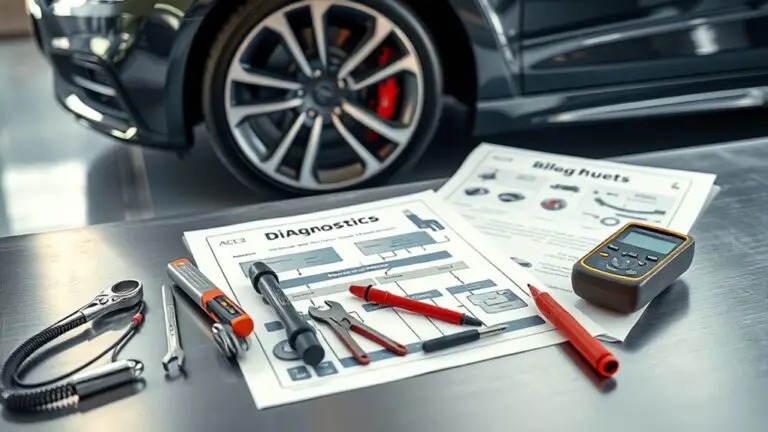
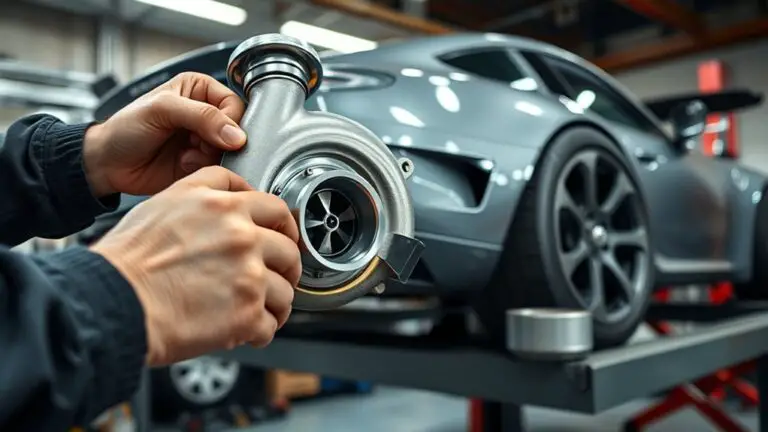
Preparing Your Tools and Vehicle Safety
Before you plunge in, assemble a focused set of tools and confirm your safety setup: a clean work area, properly supported vehicle with the parking brake engaged, wheel chocks in place, and a drained coolant pan ready.
Before you plunge in, assemble a focused set of tools and confirm your safety setup.
You’ll protect yourself and the system by organizing essential items first, then verifying safety. Choose tools that fit the job and avoid improvisation that invites mistakes. Keep coolant types and vehicle maintenance records nearby so you can reference specifications without delay.
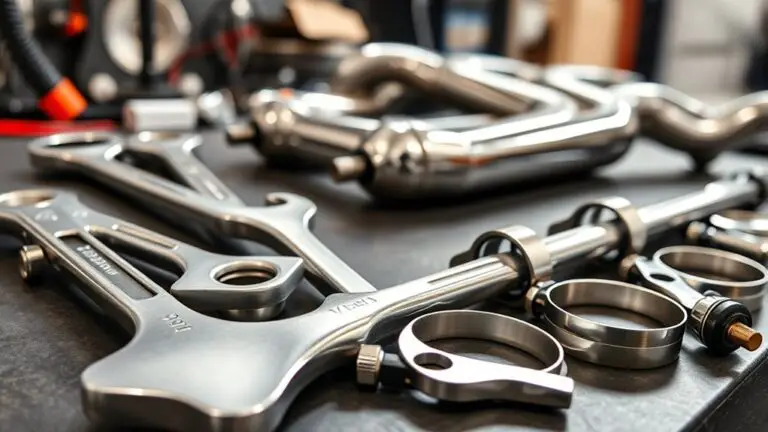
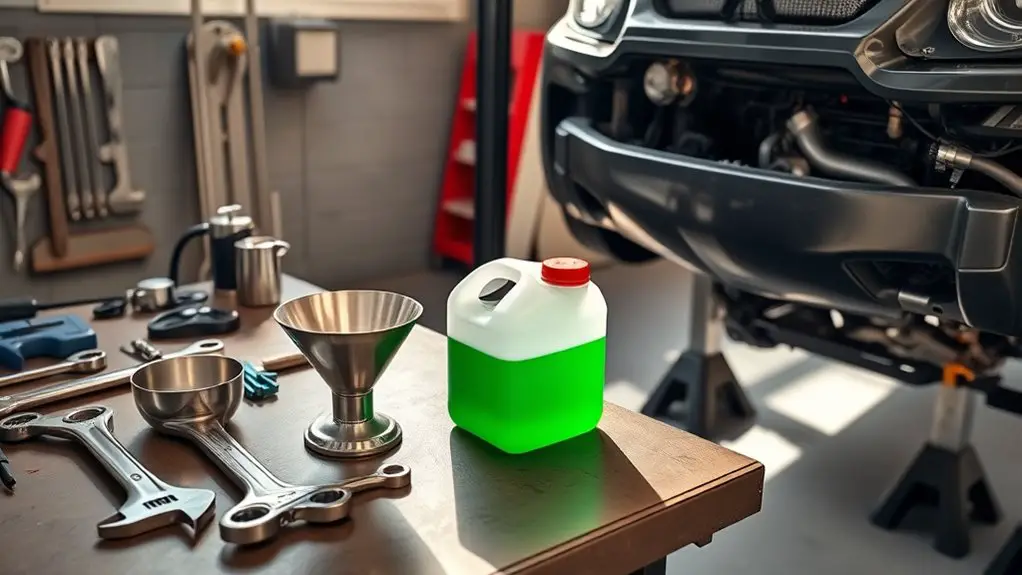
- Gloves, eye protection, and a stable tray for spills
- Ratchets, screwdrivers, pliers, and a calibrated thermometer
- A labeled container for old coolant and a clean funnel for refill
Approach with clarity: inspect the cooling system for obvious damage, confirm the correct coolant type for your vehicle, and note any preexisting leaks. Maintain a tidy workspace, and proceed deliberately to minimize risk and confirm reliable vehicle maintenance. Stay focused on safety, efficiency, and precision.
Draining the Old Coolant and Flushing the System
Drain the old coolant by placing a drained-coolant pan beneath the radiator drain plug or petcock, then open the valve and let the fluid flow until it stops. You’ll monitor for complete drainage, noting any residual pockets that require a gentle tilt of the engine or hose repositioning. Once flow ceases, close the valve firmly to prevent drips and prepare for flushing. Attach a compatible hose to the radiator inlet and circulate cleaner through the system according to the product instructions, paying attention to the coolant temperature as you work. Run the engine briefly to bring the cleaner through every passage, then drain again completely. Refit the drain plug, then introduce clean water and repeat flushing until the water exiting is clear. Check system pressure as you run the engine with the radiator cap loosened to verify stability. When satisfied, drain, tighten, and proceed to the next step with confidence.
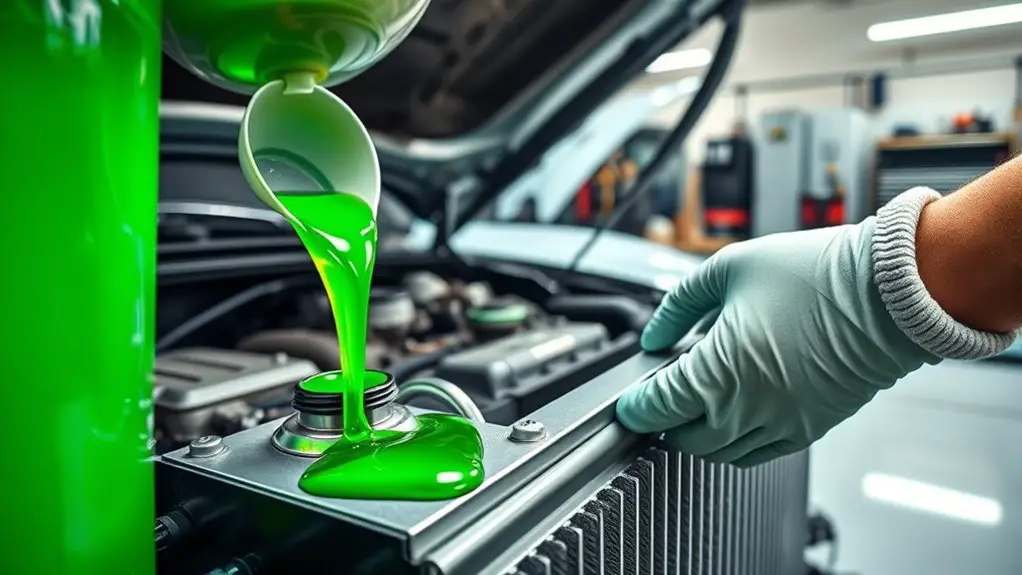
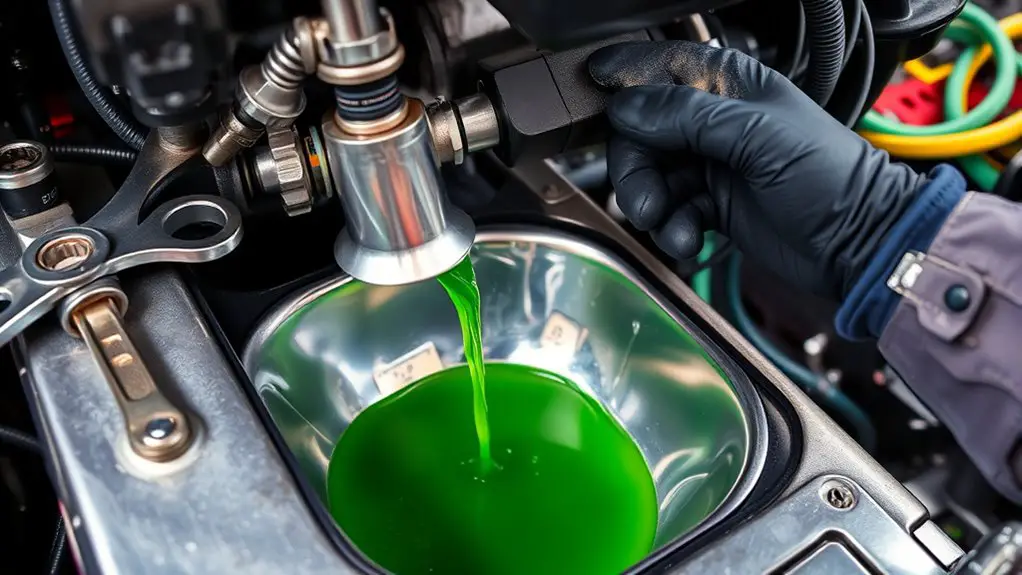
Refilling, Bleeding, and Air Removal Techniques
With the system drained and flushed, you’re ready to refill, bleed, and remove air so the cooling loop fills properly and circulates without pockets.
- Prepare coolant colors you prefer, ensuring compatibility with your system, then pour steadily to avoid splashes.
- Purge air pockets by opening the highest bleed point and topping off as needed, repeating until the flow is steady and uninterrupted.
- Monitor temperature and level, then run the engine briefly to circulate, recheck, and finalize a tight seal at all fittings.
Tip: keep the intake and reservoir clean and free of debris, and confirm the pressure cap seat is secure. If you notice lingering air pockets, recheck hoses for kinks and verify radiator and heater core connections. Use a clear sight tube or container when possible to visually confirm continuous flow. Document coolant colors used and the final fill level for future reference.
Final Checks and Preventive Maintenance After a Coolant Change
After completing a coolant change, perform final checks to confirm system integrity and prevent future issues. You’ll verify that hoses and clamps are secure, radiator fittings are tight, and the overflow reservoir shows proper levels. Start the engine and let it reach operating temperature, watching for steady temperature readings and steady fan operation. Inspect for coolant leaks at every connection, including heater cores and bypass lines, and note any damp spots or sweet smells that signal a leak. Check the coolant color and level again after warming, then recheck with the cap installed to confirm the pressure seal. Record readings, service intervals, and any anomalies in your maintenance schedule. Schedule proactive maintenance tasks—hose wear, thermostat performance, water pump status, and radiator cleanliness—so you stay ahead of failures. This disciplined approach minimizes downtime and keeps the system reliable for the long haul.
Frequently Asked Questions
How Often Should I Change Coolant After a Flush?
You should follow your coolant’s lifespan and maintenance schedule—usually every 2 to 5 years or 30,000 to 60,000 miles, whichever comes first. After a flush, treat it like a reset button: monitor color, leaks, and temperature swings, then log the change. You’re balancing risk and reliability, not rigidity. If in doubt, defer to the manufacturer’s coolant lifespan and your vehicle’s maintenance schedule, and plan ahead with reminders. Keep it precise, keep it protected.
Can I Mix Different Coolant Types From Various Brands?
No, you shouldn’t mix different coolant types from various brands. You risk coolant compatibility issues and reduced protection. Stick to one coolant specification for your system, or consult your vehicle’s manual. If you must mix, make certain the formulas are the same type and color, and flush thoroughly first. Remember brand differences can matter. After a flush, refill with the exact coolant type your maker recommends. Proceed methodically, then test for leaks and proper temperature behavior.
Is It Safe to Drive Immediately After a Coolant Change?
Short answer: no, don’t drive immediately after a coolant change. You want the system to reach proper temperature and pressure, and air to purge. Give it time to circulate, check for leaks, and verify levels and coolant safety before hitting the road. Rushing can overheat or cause radiator issues. If you’re unsure, consult your vehicle’s manual or a pro. Patience now saves you from costly fixes later. Immediate driving isn’t worth the risk.
What Signs Indicate a Failed or Leaky Cooling System?
Yes, signs you have a failed or leaky cooling system include coolant leaks and an overheating temperature gauge. You might notice puddles under your vehicle, sweet-smelling vapor, or steam from the hood. You’ll see low coolant levels, sluggish heater performance, and rising engine heat when you drive. Check hoses, radiator, and water pump for cracks or loose clamps. If components fail, stop driving, inspect carefully, and address leaks promptly to prevent severe engine damage.
Do I Need to Replace the Radiator Cap During a Change?
Yes, you should replace the radiator cap during a coolant change. It’s part of radiator maintenance to guarantee a proper seal and correct pressure. If the cap is gummed, cracked, or doesn’t seat cleanly, swap it for a new one rated for your system. When you’re picking coolant types, match the spec to your vehicle and use a clean funnel. This keeps everything reliable, precise, and hassle-free, with minimal risk.