Step-By-Step: Replacing a Clogged Diesel Injectors
To replace a clogged diesel injector, start with safety: disconnect the battery, relieve fuel pressure, and set up a clean workspace with tools and PPE. Access the injector rail, label connections, and carefully remove high‑pressure lines. Extract the faulty injector with a proper puller, inspect seats, O‑rings, and threads, then clean or install a new injector. Reinstall, torque to spec, and verify proper seating. Prime the system, bleed air, and test engine performance; you’ll uncover more steps as you proceed.
Diagnosing a Clogged Diesel Injector
Diagnosing a clogged diesel injector starts with a systematic check of symptoms and basic tests. You’ll observe rough idle, misfires, and reduced power, noting when the issue worsens under load. Next, verify fuel delivery: listen for irregular pump sounds and inspect for excessive white smoke or black exhaust, which signals combustion imbalance. Move to symptoms identification: map when the hesitation occurs, whether at idle or at higher RPM, and whether the engine runs smoky or noisy. Use diagnostic tools to quantify the problem: scan for fault codes related to injector circuits, rail pressure, and fuel pressure drop. Perform a controlled test by briefly swapping suspect injectors with known-good units, noting any change in performance. Check for common culprits—leaking seals, clogged ports, and contaminated fuel—but keep the focus on observable data, not assumptions. Record findings clearly to guide the next steps in the injector replacement process.
Safety Precautions and Required Tools
Before you begin, don your PPE—gloves, eye protection, and a respirator as needed—and review the safety data sheets for all fuels and solvents involved. Gather your essential tools and equipment, including proper sockets, torque wrench, and a clean work surface, laying them out in order of use. Maintain a strict shutdown procedure, disconnect the battery, relieve system pressure, and keep a written checklist to guarantee all precautions and tools are in place before you start.
PPE and Precautions
PPE and precautions are non‑negotiable when replacing clogged diesel injectors; start by verifying you have the right gear and a safe, ventilated work area. Before you touch anything, inspect your personal protective and safety gear, then don it properly to create a barrier against fumes, skin contact, and sparks. Maintain a calm, methodical pace to prevent mistakes and unintended exposure.
- Wear approved gloves, eye protection, and a respirator suitable for diesel fumes
- Guarantee clothing is snug, long sleeves, and footwear is slip‑resistant
- Confirm a clear escape path, fire extinguisher nearby, and proper ventilation
Keep tools clean and organized, discard damaged gear, and never bypass safeguards.
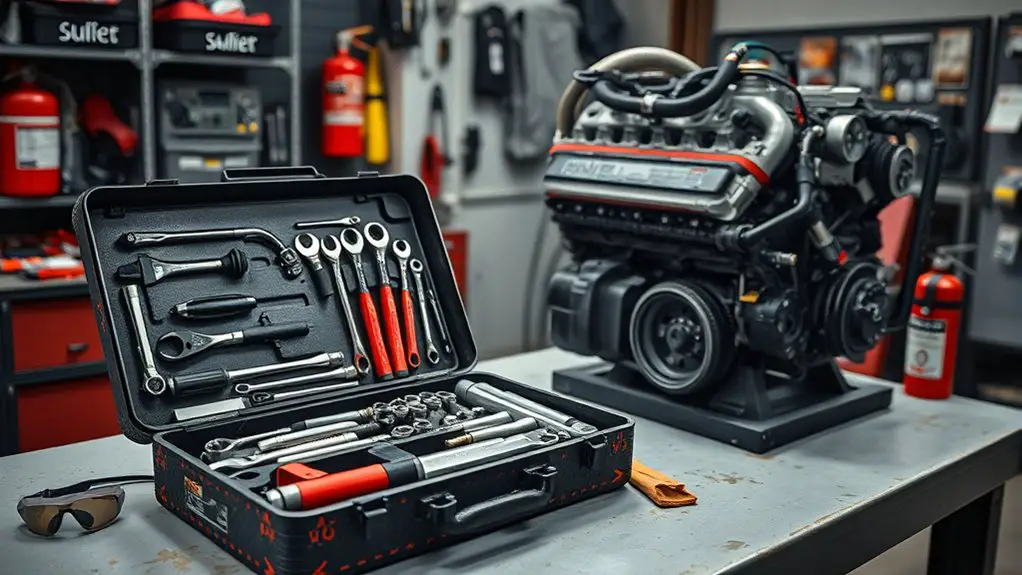
Tools and Equipment
Start by assembling only the tools and PPE you’ll actually use for replacing clogged diesel injectors, and verify they’re in good condition before you begin. You’ll need injector tools and a selection of calibrated wrenches, torque wrench, screwdrivers, pliers, and a micrometer or caliper for precise measurements. Have a clean, labeled tray for removed parts and a magnetic pick-up to recover small fasteners. Use safety glasses, gloves, and steel-toed boots, plus a fire extinguisher and spill kit within reach. Prepare a named, organized workspace to avoid cross-contamination. Equipment types matter: just-in-time lubrication, fuel-line clamps, o-rings, seals, and replacing any worn components. Verify torque specs, seal seating, and alignment as you work, documenting every step for repeatability and freedom in maintenance.
Preparing the Engine and Workspace
To prepare the engine and workspace, clear the area around the workbench and lift points, removing any tools, rags, or debris that could contaminate fuel or injector threads. You’ll set a clean baseline, ensuring metal shavings or dust won’t ruin seals. Establish a defined workflow: designate zones for isolation, tools, and used parts, minimizing cross-contamination. Confirm ignition-off status and battery disconnect to prevent accidental cranking. Gather labeled containers for dirty parts and clean wipes for quick contact-point maintenance. Maintain steady lighting and a sturdy surface, free of clutter, so you can work methodically. Remember that engine preparation and workspace organization hinge on discipline, not haste. Keep a running checklist to track progress and prevent omissions. Prioritize safety, but stay firm in your approach. With focus, you’ll reduce risks and start the replacement from a solid foundation.
- Clear zones and labeled containers
- Battery disconnected and ignition off
- Clean, well-lit, uncluttered workspace
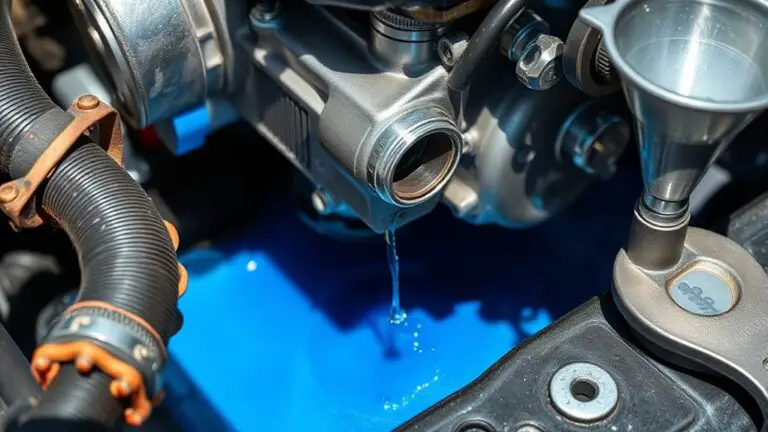
Accessing the Fuel System and Injector Rail
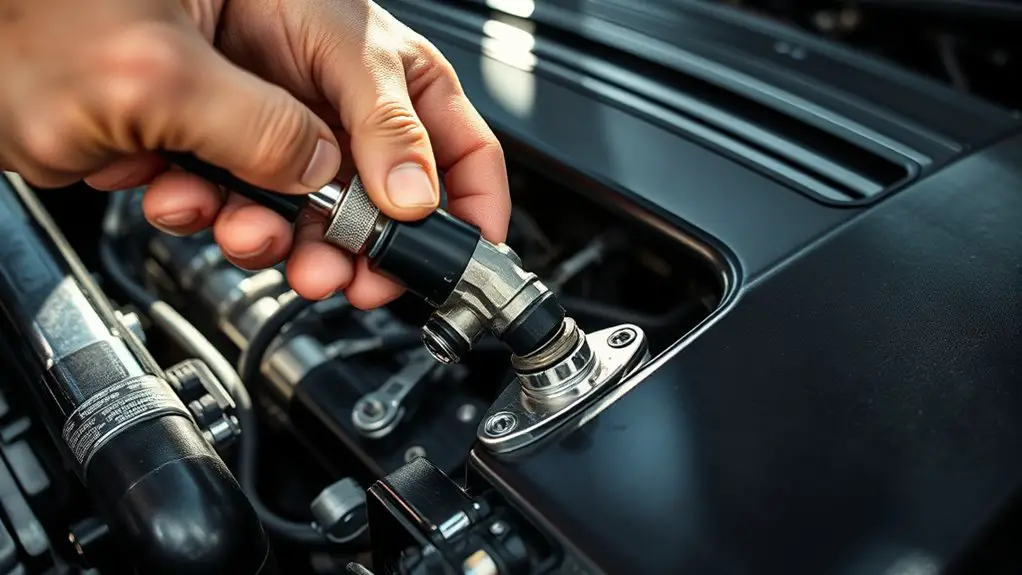
Accessing the fuel system and injector rail begins with locating the inlet lines and rail securely, then carefully loosening any protective covers. You’ll trace the fuel paths in the fuel system layout, identifying the main supply and return routes. With the engine off and keys removed, disconnect the battery to prevent accidental cranking. Next, relieve any residual pressure from the system using the proper valve or procedure for your setup. Gently detach protective shrouds to reveal the injector rail access points, keeping fasteners organized. Label each connection for reference, then loosen high-pressure fittings one at a time, taking care not to twist hoses or bend lines. Use approved tools and clean, lint-free rags to wipe threads before reassembly. Inspect the rail for corrosion or damage and note any signs of leakage. Maintain a calm, deliberate pace, ensuring you preserve alignment and integrity as you proceed.
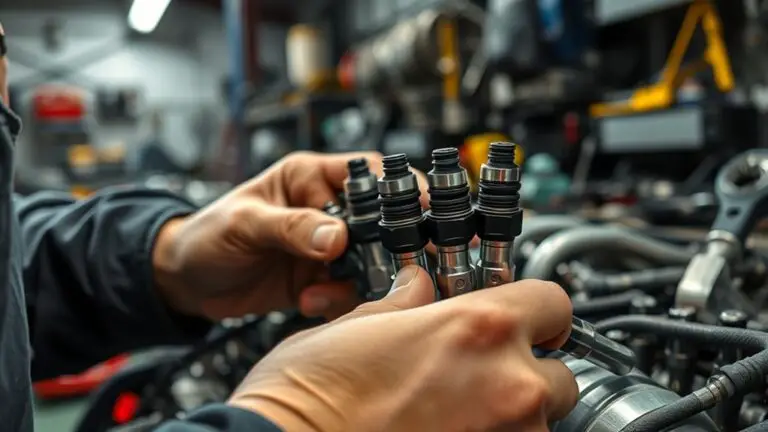
Removing the Clogged Injector
Carefully remove the clogged injector by releasing any remaining system pressure and disconnecting the injector from its high‑pressure lines. You’ll want to work methodically, keeping track of torque references and alignment marks to guarantee a clean pull. Once the lines are liberated, use the proper injector puller or a suitable grip to loosen the injector from its seat without twisting the carrier. If resistance remains, gently tap the housing with a soft mallet to free it, never hammering on the injector itself. After it comes free, inspect the seating surfaces for debris and measure any exposed threads for damage. Label the injector and its connector for accurate reinstallation later. Remember, precision matters in diesel maintenance, so avoid forcing parts and maintain clean hands on a stable work surface.
- Identify and disconnect high‑pressure lines first
- Use correct puller tool and steady, straight removal
- Inspect seating area and document injector condition
Cleaning or Replacing Components
You’ll weigh cleaning versus replacement at the component level, starting with a clear check of cleanliness, accessibility, and cost impact. Consider whether cleaning restores function without damage and if parts will hold up after cleaning, or if swapping modules saves time and reduces risk. Use a hands-on, step-by-step approach to document criteria for each component, then decide the best path forward.
Cleaning Vs Replacement
When deciding between cleaning and replacing diesel injectors, start by evaluating the fault and the symptom set: dirty or clogged injectors often respond to cleaning, while severe wear, damaged nozzles, or persistent leaks typically require replacement.
- Assess cleaning techniques and potential outcomes before pulling parts
- Compare replacement costs against the benefit of restoring spray patterns
- Decide quickly, then document steps to avoid retracing work later
You approach this with a hands-on mindset: verify symptoms, choose a method, and execute with focus. If choosing cleaning, stay disciplined with solvent cycles, ultrasonic baths, and precise flow checks. If replacing, secure the correct nozzle and seals, and follow torque specs. Maintain a concise record of tests and results for future reference. Clear choices save time and fuel.
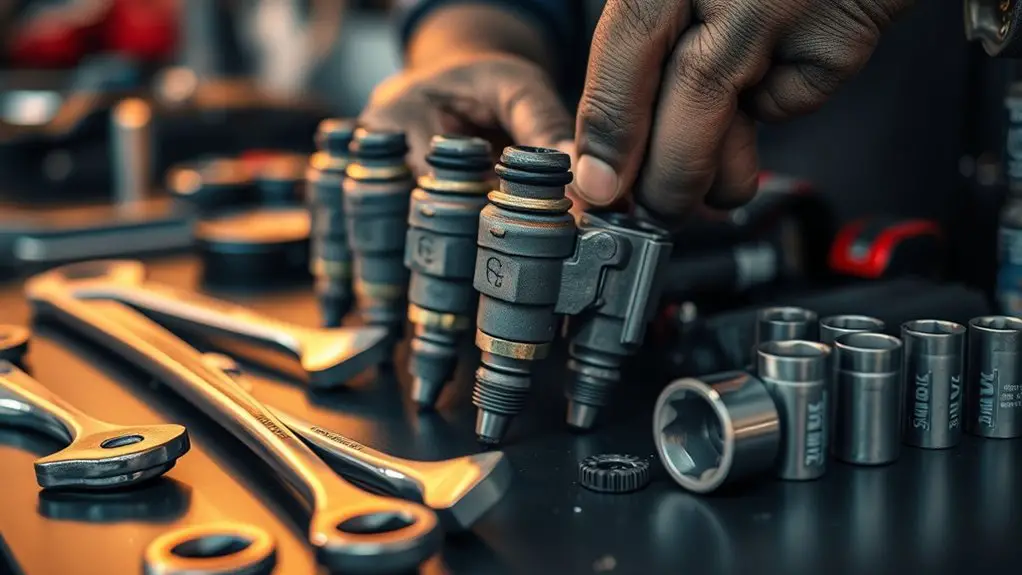
Part-Level Considerations
Part-level decisions hinge on targeted evaluation of each component’s condition. You assess whether cleaning will restore function or if replacement is inevitable, step by step. Begin with the injector body: check for crusted sediments, scored tips, and seal integrity; document findings and compare against injector specifications. If cleaning, choose compatible solvents and gentle agitation to avoid damage; verify that o-rings and seals remain pliable. When replacing, guarantee the new unit matches your engine’s fuel compatibility and flow rate. Inspect the fuel delivery system for contamination, replace filters, and test rail pressure after reassembly. Tighten connections to spec, bleed air, and run a diagnostic to confirm spray patterns meet standards. End with a test drive, confirming consistent idle and no leaks.
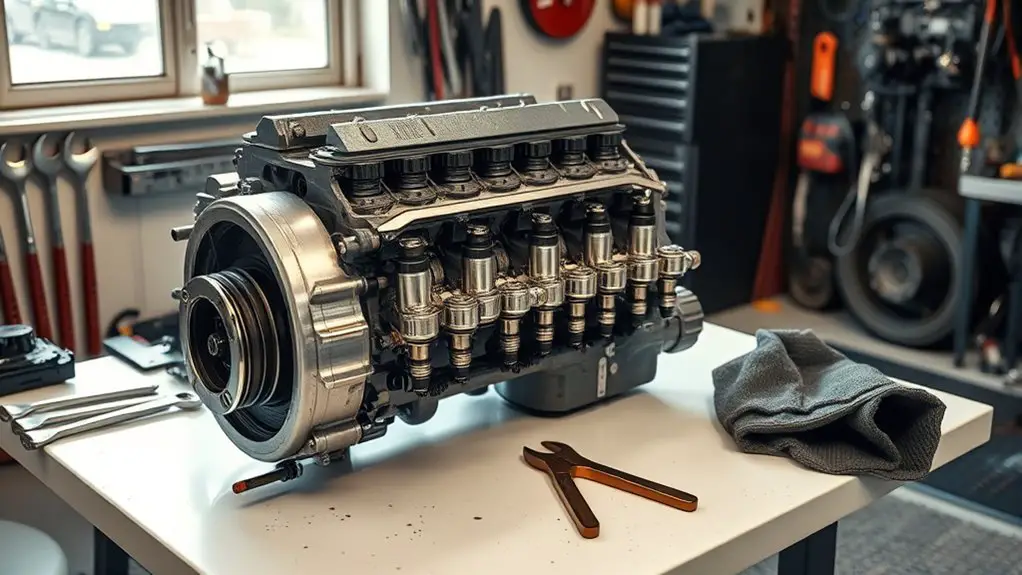
Reinstalling Injectors and Rechecking Torque
After reinstalling the injectors, torque each injector to the manufacturer’s specification using a calibrated torque wrench, then verify the hold-downs are snug without overtightening.
You’ll confirm injector alignment as you tighten, ensuring the seat sits evenly in the bore. Follow torque specifications exactly; mismatched settings can cause leaks or seating issues. Use a clean surface, inspect O-rings, and reseat if you notice any distortion. Wipe threads, apply no lubricant unless the spec calls for it, and avoid cross-threading. Once torque is reached, back off and re-torque per procedure to verify consistency. Listen for a subtle, firm clunk as the hold-downs bite, not a hollow feel. Recheck all lines for pinched connectors or movement during the final turn. If any injector feels high or low, pause, reseat, and re-torque.
- injector alignment checks
- verify torque specifications
- no overtightening, no shortcuts
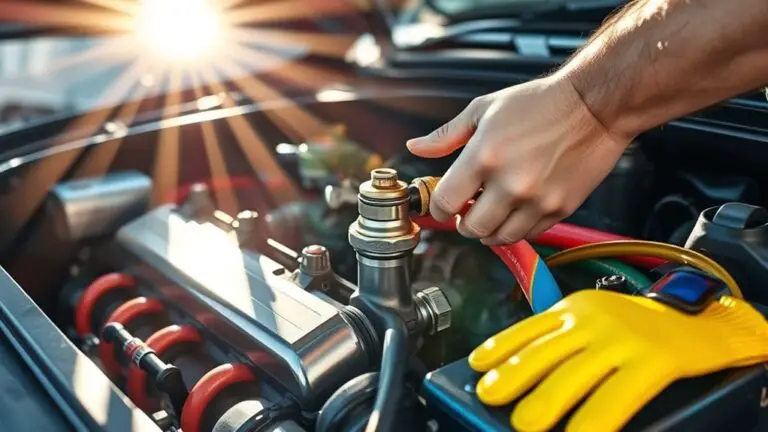
Priming the Fuel System and Bleeding Air
Priming the fuel system and bleeding air is essential to guarantee a smooth start after injector work: start by turning the ignition to the accessory position to circulate fuel and purge the priming pump, then watch for steady fuel flow and a brief, audible bleed when air pockets escape. You’ll notice a solid, continuous stream without foaming. If flow is sluggish, pause, recheck connections, and cycle the pump again until you see consistent movement. Next, loosen the bleed screw on the fuel rail just enough to release trapped air, then tighten once fuel streams steadily. Do this in controlled bursts to prevent splashing or spray. Keep the area clean and dry; wipe spills immediately. Confirm there’s no pressure drop when cranking lightly. Once fuel system pressure stabilizes, proceed with a cautious idle and listen for uniform engine rotation. Fuel system integrity is your anchor; air bleed must be clean and complete for a reliable start.
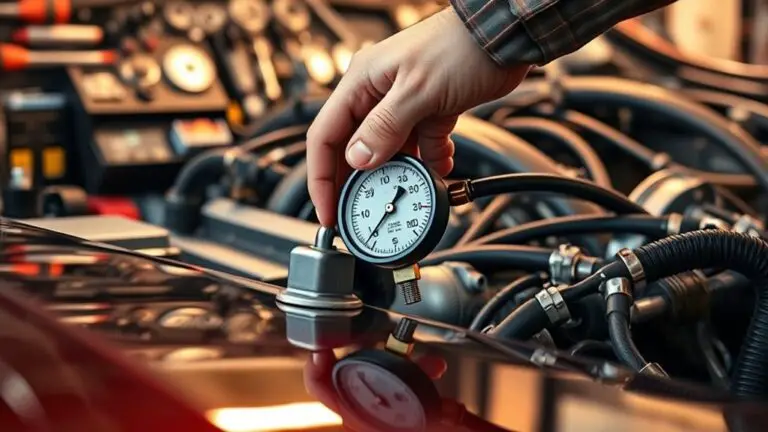
Testing the Engine Performance and Troubleshooting
Once the fuel system is primed and air is purged, start by performing a controlled engine run to evaluate performance and identify issues. You’ll listen for smooth idle, confirm consistent RPM, and observe exhaust color, smoke, and fuel trim behavior. Use engine diagnostics to monitor pressure, injection timing, and EGR operation, noting any deviations from baseline. During the test, compare real-time data to manufacturer specs and document abnormalities for later action. If performance flags appear, perform a targeted troubleshooting sequence to isolate injector-related symptoms versus turbo, intercooler, or pump concerns. Confirm your measurements are repeatable and under safe load. After the test, conduct a straightforward performance evaluation to determine if further injector recalibration or replacement is needed, and record findings for maintenance records.
- Verify engine diagnostics readings against specs and note anomalies
- Check fuel pressure, injection timing, and exhaust characteristics under load
- Assess post-test performance and decide on next steps
Frequently Asked Questions
How Often Should You Replace Injectors for Common Diesel Engines?
You’ll typically replace injectors when you notice performance decline or leaks, not on a fixed calendar. For common diesel engines, expect injector lifespan to vary, often around 100,000 to 200,000 miles, depending on fuel quality and duty. Keep to a strict maintenance schedule and monitor for popping disables, rough idling, or hard starting. Stay hands-on, track wear, and adjust timing as needed to maximize injector lifespan and reliability. This approach gives you true freedom in the engine bay.
Can You Reuse New Injector Seals After Reassembly?
No—don’t reuse new injector seals after reassembly. Fresh seals are designed for a single seating, and reusing them risks leaks and injector failure. Inspect the seal surfaces, replace if any deformation is present, and torque to spec. This aligns with injector seal longevity and diesel engine maintenance, ensuring a tight, reliable seal. You’ll preserve performance and avoid memory leaks down the line, maintaining a precise, hands-on, do-it-right attitude. Freedom comes with proper practice.
What Are Signs of Partial Injector Failure During Idle?
Even before you notice a rough idle, you’ll feel it: partial injector failure shows up as subtle misfires at idle. You may hear uneven idle and injector noise, a faint ticking that doesn’t settle. You’ll notice higher fuel smell and tiny power dips when you’re cruising. Idle symptoms include roughness, slightly low smoothness, and hesitation. You stay hands-on, diagnose with a scan tool, and confirm with cylinder balance tests, then address misfiring promptly.
Will a Fuel Additive Fix a Clogged Injector Temporarily?
Yes, a fuel additive may temporarily loosen deposits, but it won’t fix a clogged injector long-term. You should treat it as a stopgap in a tight moment. Focus on your fuel system and injector cleaning, then plan a proper diagnosis. If you notice persistent rough idle or power loss, don’t stall—pull back, check for leaks, pressure, and spray patterns, and consider professional cleaning or replacement to restore reliability.
Is Professional Alignment or Calibration Needed After Injector Work?
Approximately 7% of diesel issues are due to improper timing, so yes—professionally aligning or calibrating after injector work is smart. You should perform injector calibration and verify timing, fuel rail pressure, and spray patterns. Alignment importance guarantees consistent spray and avoids knock or poor combustion. After service, run a controlled test, log rail pressure, and confirm injectors match flow specs. You’ll gain reliability, smoother idle, and verified performance with deliberate, hands-on checks.