Step-By-Step: Replacing a Clogged Fuel Filter
Replacing a clogged fuel filter is a practical job you can tackle with basic tools. Start by locating the filter along the fuel line, usually under the vehicle or in the engine bay. Relieve fuel pressure safely, then disconnect the lines and remove the old unit. Install the new filter in the correct orientation, reconnect the lines, and secure all clamps. Check for leaks, start the engine, and monitor performance. If you keep going, you’ll uncover how to test reliability and spot issues early.
Preparing Your Workspace and Tools

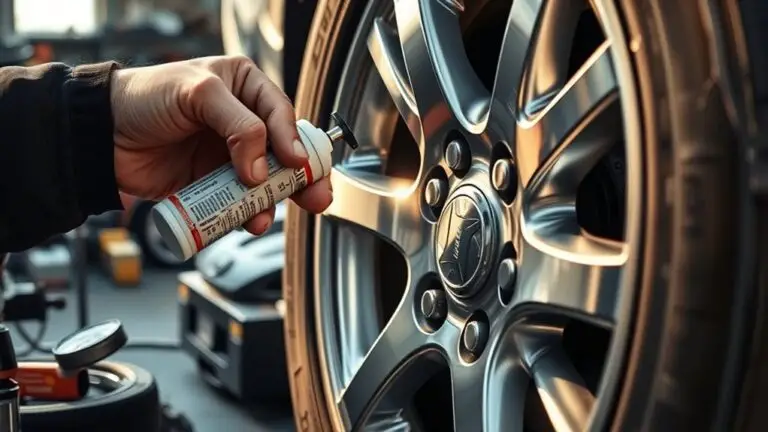
Setting up a clean, well-lit workspace is essential before you start: gather the tools you’ll need, lay out a stable work surface, and have a pan or rags handy to catch any fuel that spills. You’ll want a clear, organized bench and a dedicated container for fuel disposal. Begin with workspace organization: map out where each tool will live, keep hoses and clamps in one tray, and label parts as you remove them. Next, tool selection matters: choose a metric and standard wrench set, torx bits if applicable, pliers, screwdrivers, and a flashlight for visibility. Have gloves and eye protection within reach, plus a fire-safe mat or tray. Keep a spill kit handy and know your local disposal rules. Establish a distraction-free zone, so you can work methodically. By planning your layout and choosing the right tools, you’ll maintain control, boost efficiency, and reduce risk during the process.
Locating the Fuel Filter in Your Vehicle
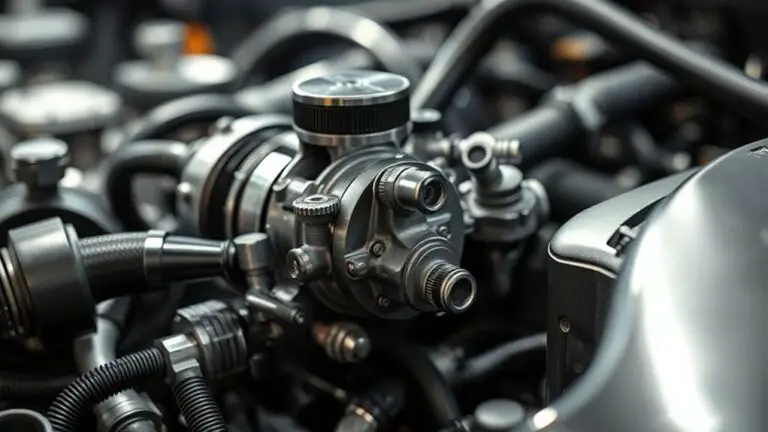
To locate the fuel filter, start by checking common spots like under the car along the frame, near the fuel lines, or in the engine bay near the firewall. Look for a metal or plastic canister with fittings on either end and a label or arrow indicating flow direction. If you’re unsure, consult your owner’s manual or a service diagram for your exact make and model.
Where to Find It
Locating the fuel filter is usually straightforward: it’s typically tucked along the fuel line under the car, near the fuel tank, or mounted along the frame. You’ll want to spot a small metal canister or a plastic housing with two hose fittings. Check both sides of the frame rails and along the underside near the tank, as layouts vary by model. If you’re unsure, consult your owner’s manual or a service diagram for your vehicle’s year and engine type. fuel filter types vary (inline, canister, or cartridge). Maintenance tips: verify hose clamps, avoid fuel spills, and keep a clean workspace. Table below helps you compare positions and access points at a glance.
| Position | Access tips |
|---|---|
| Underbody near tank | Support vehicle, disconnect battery if needed |
| Along frame rail | Use ramps or jack stands, clean fittings |
Visual Cues for Location
Look for recognizable cues along the fuel system: a metal canister or plastic housing with two hose fittings, usually mounted along the frame or under the vehicle near the tank. You’ll spot a compact, cylindrical or rectangular unit connected to two rubber lines. Follow the lines from the fuel tank and pump to trace the path—they converge at the filter, then continue toward the engine. Visual markers like clamps, brackets, and inline connectors help confirm the route. If you’re unsure, consult filter diagrams for your specific make and model. Compare what you see to the diagrams, noting orientation and arrow indicators on some units. When confident, you can identify the filter’s location quickly, avoiding unnecessary digging or guesswork.
Relieving Fuel System Pressure Safely
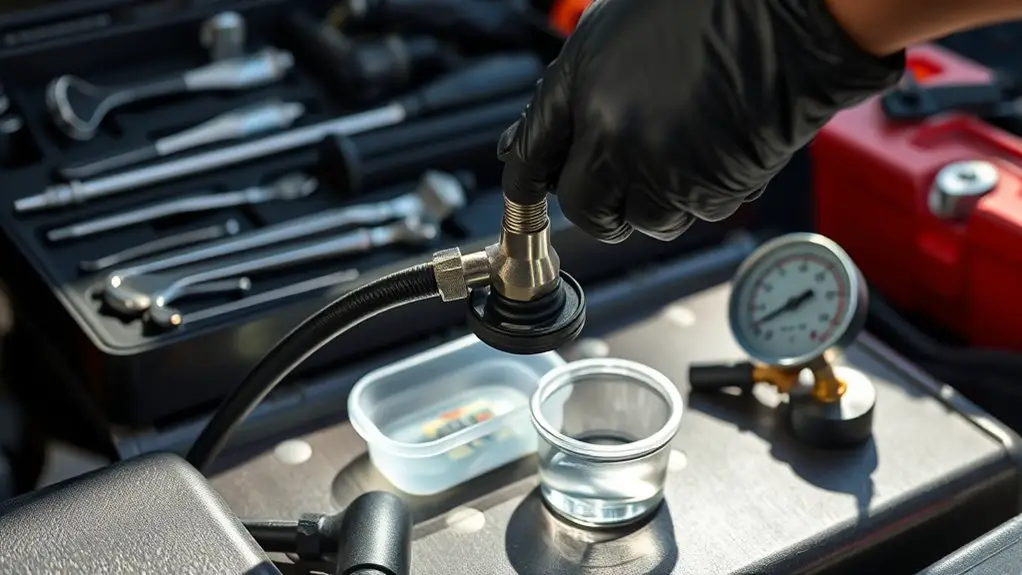
Relieving fuel system pressure is a simple, essential safety step before replacing a fuel filter. You’ll prevent spurts, reduce fire risk, and protect your work area. Locate the fuel pump fuse or relay, then remove it to disable the pump. Start the engine, letting it run briefly until it stalls, which releases remaining fuel pressure. Turn off the ignition completely, and wait a few minutes for components to cool. Gather rags, a catch container, and safety gloves; fuel can irritate skin. If your vehicle has a Schrader valve on the fuel rail, carefully relieve pressure by pressing the valve with a suitable tool—block or cap any spray. When you’re certain the system is depressurized, double-check by attempting to start the engine; it should not start. Follow safety precautions consistently: no open flames, good ventilation, and clean, dry hands. This step keeps you in control while you work.
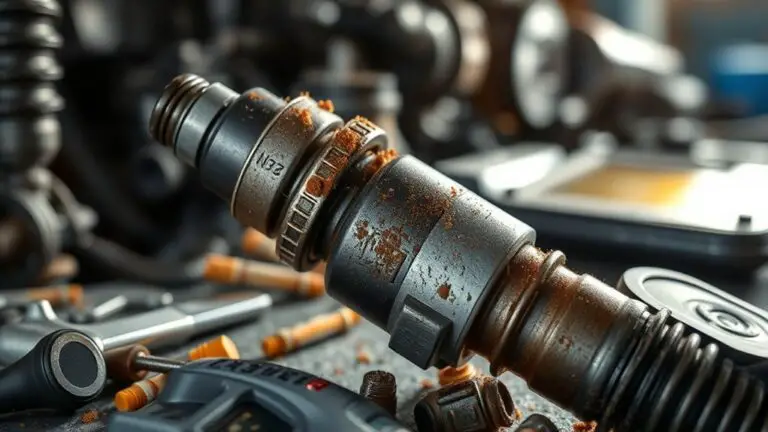
Removing the Old Filter and Inspecting Hoses
You’ll start by removing the old filter, then inspect the surrounding hoses for signs of wear or damage. Check hose connections and clamps for tightness and leaks, and assess the hose condition for cracking, soft spots, or bulges. This chapter sets up the next steps by documenting findings and noting any hoses that need replacement.
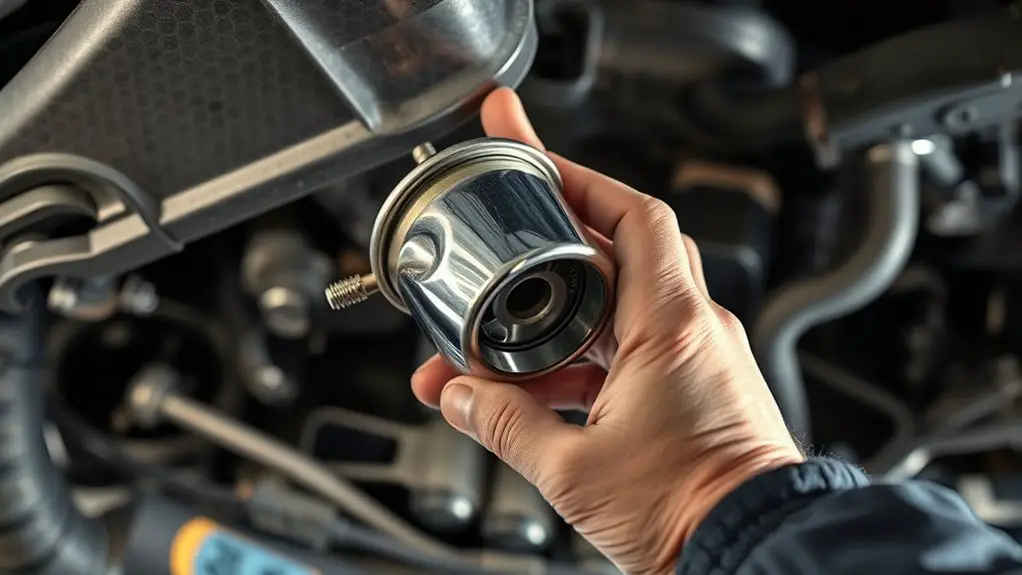
Old Filter Removal
Begin by locating the old fuel filter along the fuel line and preparing for removal. You’ll want a clean workspace, gloves, and rags ready. As you proceed, focus on control and precision to keep everything steady and predictable. Here are clear steps to guide you:
- Turn off the engine, relieve pressure, and disconnect the negative battery cable to avoid sparks.
- Note orientation, then loosen fittings using the correct tools, keeping a catch pan beneath for residual fuel.
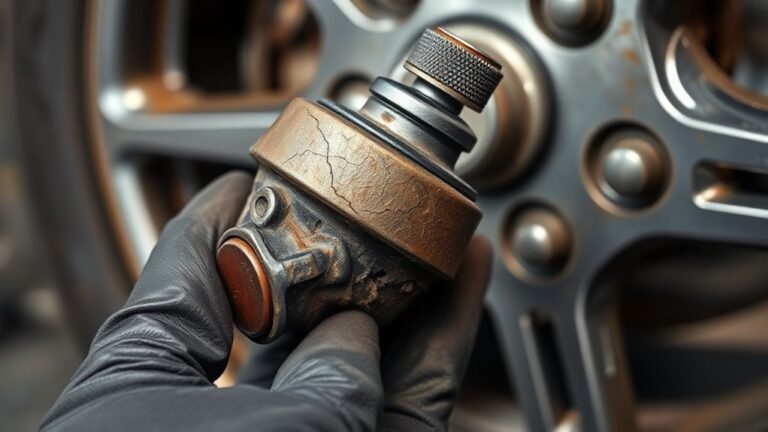
- Remove the old filter, inspect hoses for cracks, wear, or leaks, and set aside in a safe disposal container.
Old filter removal hinges on methodical handling, proper disposal, and thoughtful inspection to support reliable removal techniques and future performance.
Inspecting Fuel Hoses
Now that you’ve removed the old filter, inspect the surrounding hoses for signs of wear or damage, such as cracks, stiffness, swelling, or leaks, and replace any hose that shows deterioration to prevent future fuel leaks or pressure issues. You’ll check the fuel hose types you’re working with and confirm a compatible fit before continuing. Look for obvious kinks, soft spots, or bulges at clamps and fittings. Firm any loosened connections and replace damaged clamps if needed. Note hose routing to avoid contact with sharp edges or hot surfaces. Keep a clean toolbox ready for hose replacement, with proper sizes and fuel-rated clamps. After inspection, tag any suspect sections for later verification and proceed to the next step with confidence.
Hose Condition Check
During the Hose Condition Check, inspect all fuel lines and connections for signs of wear or damage—cracks, stiffness, swelling, leaks, or soft spots—and replace any hose that looks deteriorated to prevent leaks or pressure issues. You’ll assess hose wear and hose integrity as you go, fixing weak points before they fail under load.
- Check each hose for cracks, hard spots, or bulges and replace immediately.
- Squeeze lines gently to feel for stiffness or soft spots; replace if it doesn’t return to shape.
- Inspect clamps and fittings; tighten or swap as needed to maintain pressure.
This step guards continuous fuel flow and reduces risk of vapor leaks, keeping your system reliable and free.
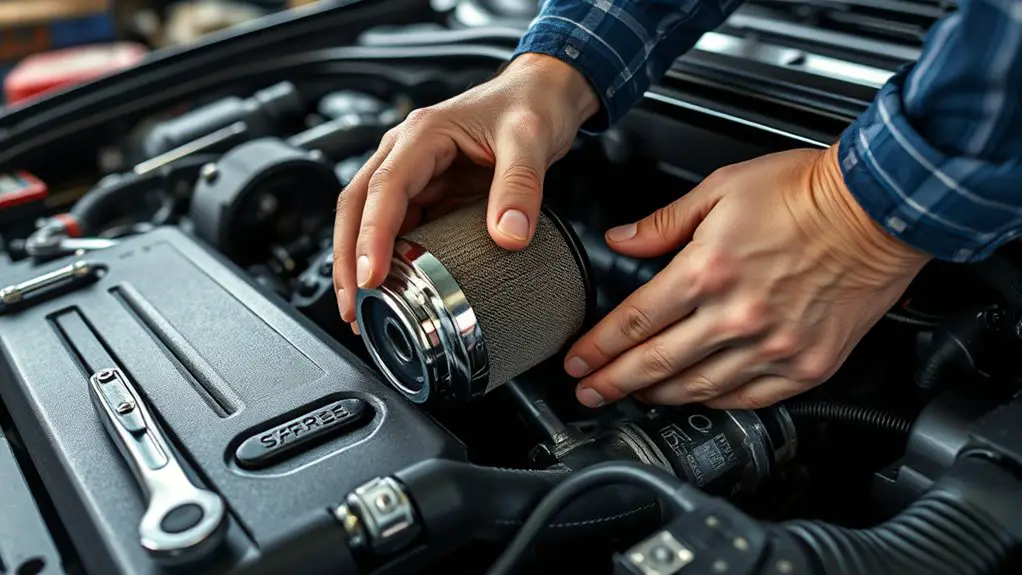
Installing the New Filter and Reconnecting Lines
Once you’ve installed the new filter, reconnect the fuel lines securely, starting with the inlet line and then the outlet line, ensuring all clamps or fittings are tight to prevent leaks. Confirm the filter orientation before threading connections, so flow direction matches the engine’s design. Hold lines steady as you tighten, avoiding over-tightening that could crack fittings. Use clean, compatible hose clamps or fittings, and verify seated gaskets where applicable. If you replaced a quick-connect style filter, listen for a click to confirm full engagement. With line connections secure, wipe any spilled fuel and inspect nearby components for signs of contact or abrasion. Keep the area accessible and free of debris to ease future maintenance. Recheck that no loose tools remain in the workspace. Once secured, prepare for a brief test after starting, but avoid pedal-to-metal revving until you’ve confirmed the system remains dry and free of leaks.
Checking for Leaks and Testing Performance
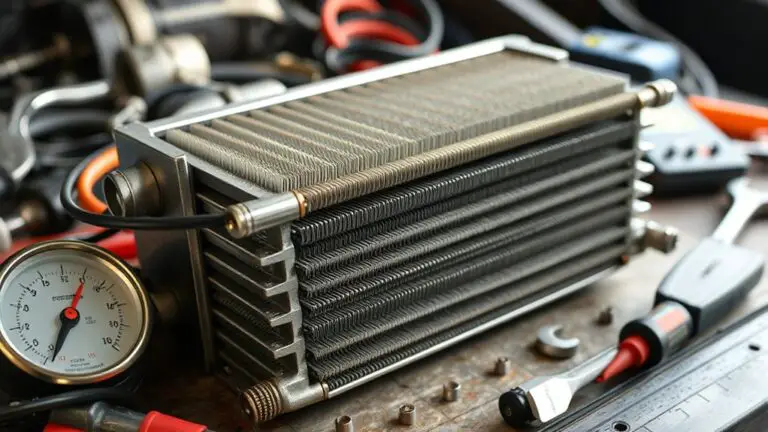
After you’ve secured the new filter and tightened all connections, it’s time to verify there are no leaks and gauge how the system performs. Start with leak detection by inspecting every joint, hose, and clamp under normal engine conditions. Look for wetness, dripping, or hissing sounds, and address any seepage immediately.
Then run a measured performance test to confirm flow and pressure meet spec. Note any bogging, stalling, or loss of power, and compare to your vehicle’s baseline.
Run a measured performance test to confirm flow and pressure meet spec, noting bogging or power loss against baseline.
Follow these steps:
1) Start the engine and listen for irregular noises while watching for any drip or spray.
2) With the engine idling, check fuel pressure and flow indicators if you have gauges; record readings at idle and after a short throttle.
3) Accelerate smoothly, noting responsiveness and fuel economy, then inspect lines again for leaks.
If anything flags, recheck connections, restart the test, and consult your manual. Leak detection and performance testing guarantee reliable operation and freedom from surprises.
Frequently Asked Questions
Can Fuel Filters Differ Between Gasoline and Diesel Engines?
Yes, they differ. You’ll notice diesel filters are tougher and often incorporate water separation. For example, you choose a diesel filter with a water separator when a farmer’s truck struggled after a rainstorm, and it finally ran clean. Fuel filter types vary by engine design, contaminants, and flow. Diesel filter differences matter for longevity and performance. You’ll value precision, using the right filter type for your engine to keep power and freedom intact.
How Long Can I Drive on a Bad Filter Before Damage Occurs?
If you’ve got a bad fuel filter, you shouldn’t push it far: you risk stalling, misfires, or a no-start condition. You’ll usually notice fuel filter symptoms like rough idle, loss of power, or sputtering under load. Don’t ignore it—signs of a clog escalate. When you see these symptoms, plan a filter replacement soon. Pay attention to filter replacement signs like decreased fuel pressure or hard starting, and get it changed before damage occurs.
Do I Need to Replace Fuel Lines With the Filter?
Yes, you don’t need to replace fuel lines with the filter unless they show damage or contamination. When you do filter installation, inspect the lines for leaks, cracks, or hard spots, and address any fuel line maintenance issues now. Use proper clamps and fittings, keep everything clean, and test for leaks after every step. If lines look questionable, replace them before starting. Maintain safety, and run the system smoothly.
Will the Engine Stall or Fail to Start After Replacement?
Replacing the filter won’t wreck your start; it’s more like a fresh breath keeping engine performance steady. You might notice mild starting issues if you introduced air or didn’t prime the system, but that usually clears with a few cranks. After replacement, make certain connections are tight, fuel is purged, and the pump primes. If stalling persists, there could be nozzle or sensor trouble. In most cases, you’ll regain smooth starting and reliable performance.
Are There Vehicle-Specific Torque Specs for Clamps?
Yes, there are vehicle-specific torque specs for clamps. Check your vehicle manual for the exact numbers. You should use the prescribed torque to guarantee proper clamp tightness without overtwisting. If you can’t find it, approximate by snug and then verify hose fitment and zero leaks. Rely on clamp tightness guidance in your vehicle manual, and don’t guess. You value freedom, but precision keeps you moving.