Step-By-Step: Replacing a Faulty Window Regulator
Start by diagnosing the regulator: check fuses and wiring, test the switch and motor with the door panel off, and listen for motor sounds. Gather safety gear and tools, disconnect the battery, and remove the door panel to access the regulator. Disconnect the electrical connector, lower the glass, unbolt the regulator, and free it from the glass and channel. Install the new regulator, torque fasteners to spec, route wires, and test the full travel for smooth, consistent operation—more details await.
Diagnosing the Window Regulator Problem
To diagnose a window regulator problem, start by confirming the basics: verify the fuse and wiring are intact, then test the switch and the motor with the door panel removed. You’ll assess window movement issues by observing the motor’s response and the regulator’s track alignment. If the glass remains idle or moves slowly, check electrical connections at the switch, connector, and regulator harness for corrosion, looseness, or pin damage. Listen for the motor’s click or hum—silence suggests a dead motor or a broken circuit, while irregular sounds point to binding, misalignment, or gear wear. Verify the window climbs evenly without stuttering; binding indicates regulator or track obstruction. Measure voltage at the motor while operating the switch; steady voltage with no actuation implies a switch or wiring fault. Document findings, then decide whether the issue is electrical connections, a faulty motor, or a mechanical binding requiring further disassembly. Maintain a precise, methodical approach.
Tools and Safety Preparations
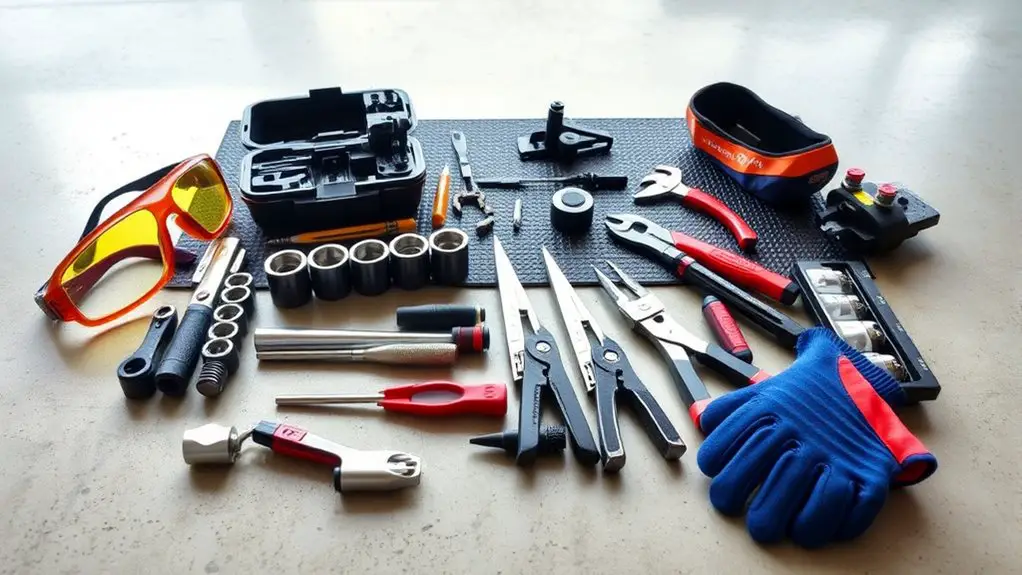
Before you grab tools, review the safety steps and assemble a focused, clean workspace. You’ll approach this methodically, listing safety gear and necessary tools before any disassembly begins. Begin with eye protection, gloves, and a sturdy, non-slip mat to stabilize the door panel area. Consider a headlamp or focused light to illuminate the window track and regulator mechanism clearly. Safety gear is non‑negotiable; it minimizes risk from springs, sharp edges, and accidental drops. Next, collect necessary tools: a small socket set, screwdrivers (Phillips and flat), trim removal tools, needle-nose pliers, a multimeter for quick circuit checks, and a torque wrench for precise reassembly. Maintain an organized tray or magnetized mat to keep fasteners in order. Disconnect the battery if working near electrical components. Keep a container for broken parts and a clean cloth to wipe surfaces. With workspace ready, you can proceed, maintaining control and reducing downtime.
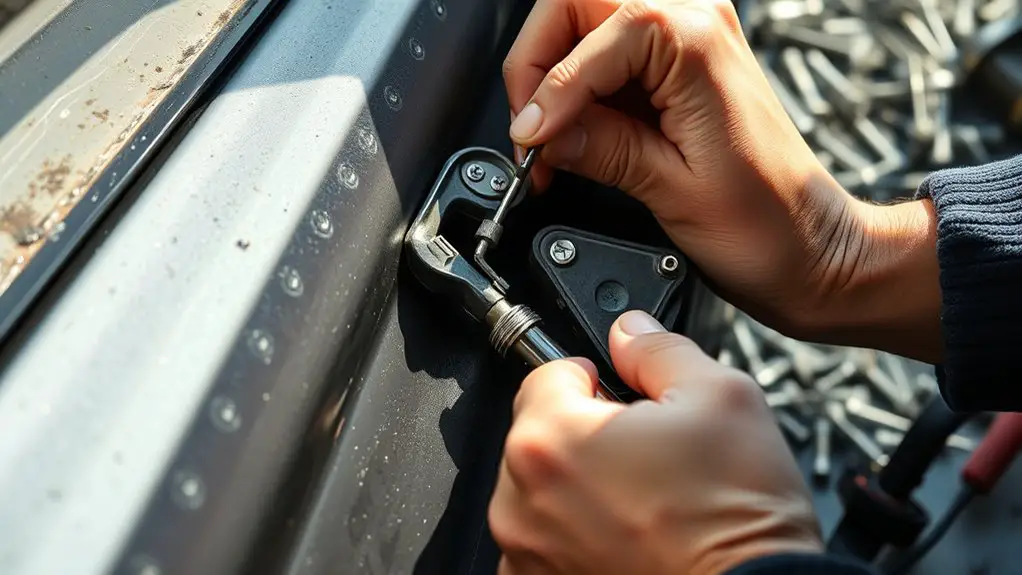
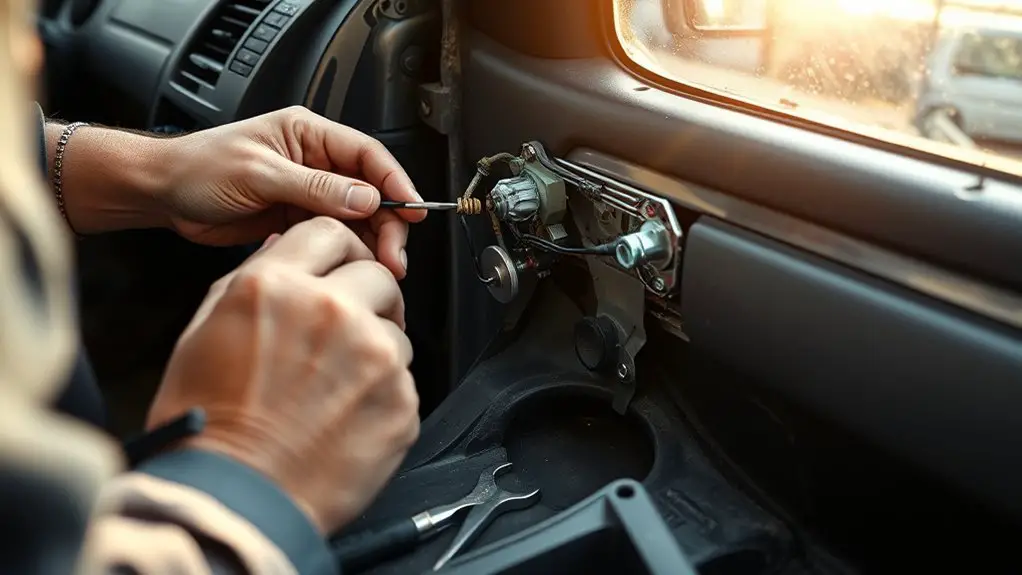
Removing the Faulty Regulator
Begin by disconnecting the window’s electrical connector to prevent any short circuits, then lower the glass enough to access the regulator without strain. You’ll remove the faulty unit by tracing its mounting points, unplugging the regulator’s wiring harness, and freeing its clips with steady pressure. Note the regulator’s track alignment and any spring-loaded components so you don’t disturb the mechanism when it comes free. Apply gentle, controlled force to release the regulator from the glass and channel, then withdraw it through the door cavity. Common issues include stubborn mounting bolts, corroded fasteners, and seized guide rails; address these with proper tools and anti-seize where appropriate. Consider a temporary spacer to keep the window usable during removal. To illustrate, imagine a simple grid of impact, access, and release steps:
| Access | Hold | Release |
|---|---|---|
| Glass lowered | Harness unplugged | Clips freed |
| Bolts visible | Rails align | Regulator out |
Removal techniques minimize damage; guarantee clean pathways for the next step.
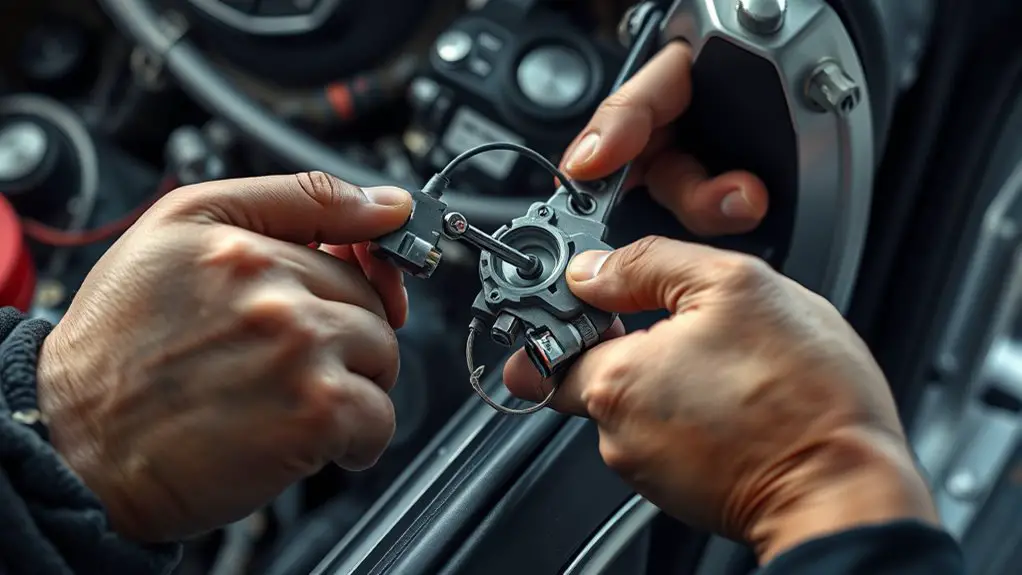
Installing the New Regulator
Once you’ve prepared the mounting area, align the new regulator with the door frame and channel, then secure it with the original fasteners to the specified torque. Begin by seating the regulator rail in its track and checking for smooth movement. Verify that the gear mesh engages the drive mechanism without binding, then attach the regulator to the regulator mount with the proper screws. Confirm that the window motor connector aligns with the regulator’s input and remains undamaged during installation. Route wiring away from pinch points and secure with clips to prevent movement. As you set the regulator height, confirm window alignment by manually raising and lowering the sash to collect even travel at full travel. Tighten fasteners incrementally in a crisscross pattern to maintain even load. After mounting, reconnect the electrical connections, verify polarity, and perform a preliminary safety check for smooth operation and obstruction-free travel.
Testing and Troubleshooting After Installation
Testing the new regulator starts with a controlled power-up: confirm the door is in a closed position, reconnect the battery if it was disconnected, and apply power to the window motor while observing for smooth, unobstructed movement through the full travel range. After initial activation, cycle the window up and down to verify consistent speed and force. Listen for irregular noises or binding that could indicate guide misalignment or cable strain. If movement stalls, stop and recheck wiring harness connections, switch polarity if applicable, and ascertain the regulator gear operates freely without obstruction. Document travel limits and verify the regulator returns to the closed position reliably. For troubleshooting tips, compare live current draw to the manufacturer’s spec; excessive current suggests binding or module fault, while too little indicates motor or power supply issues. Maintain clean connections, conduct repeat tests, and confirm all fasteners are secure. If anomalies persist, consult service literature or professional support.
Frequently Asked Questions
Will Replacing the Regulator Affect Window Tint or Seals?
Replacing the regulator won’t inherently ruin tint or seals, but you should handle them with care. If you preserve tint, you lock in tint preservation by keeping the glass stable during work. Watch seal integrity as you detach and reattach components; improper torque or creasing can cause leaks or gaps. You’ll finish with careful resealing and test rolls; any misstep should be corrected promptly to maintain both tint and seal integrity.
Can I Reuse the Old Regulator Mounting Bolts?
Yes, you can usually reuse the old regulator mounting bolts if they’re undamaged and thread clean. Inspect for stripped heads, corrosion, or wear. If acceptable, torques per the regulator installation tips, and verify bolt compatibility with the new unit. For reliable results, don’t mix hardware; replace any questionable fasteners. Maintain mounting alignment and test window movement gently. Mounting bolt compatibility matters, so confirm threads match and don’t bind during operation.
Should I Disconnect the Battery Before Starting the Job?
Yes, you should disconnect the battery before you start. This is a critical safety precaution to prevent accidental shorts while you work with electrical systems. Set the ignition off, remove the key, and disconnect the negative battery terminal. Keep metal tools away from exposed circuits. After your work is done, reconnect and test system functions carefully. This approach protects both you and the vehicle’s electrical systems during the procedure.
How Long Does a Typical Regulator Replacement Take?
Typically, regulator installation time runs about 1 to 2 hours, depending on your vehicle and access. You’ll need to disconnect power, remove panels, and replace the regulator assembly, then test window operation. This typical project duration assumes clean workspaces and standard fasteners. You’ll stay focused, organizing tools, and following steps methodically. You’ll gain confidence as you verify smooth ascent and descent with the new unit, avoiding rework or binding. Your precise timing should reflect your experience and vehicle complexity.
Are OEM Parts Required, or Are Aftermarket Parts Okay?
OEM parts aren’t strictly required; aftermarket options can work. OEM advantages include guaranteed fit, known specs, and potentially longer warranty. Aftermarket considerations involve price flexibility and broader selection, but quality varies by brand. You’ll want to verify compatibility with your vehicle year and model, check for proper electrical connectors, and assess load ratings. If freedom matters, weigh OEM reliability against aftermarket cost, and choose a reputable supplier to balance performance and value. Confirm you test full range after installation.