Step-By-Step: Replacing a Bad Starter That Causes Alternator Not Charging
To replace a bad starter causing your alternator not to charge, first identify symptoms like clicking sounds or dimming lights. Gather tools including a socket set, wrenches, and a multimeter. Safely disconnect the battery and remove the old starter using insulated tools. Install the new starter, guaranteeing correct alignment and secure connections. Finally, test the system by checking battery voltage and starter operation for consistent cranking. More detailed instructions can help guarantee your starter replacement is successful.
Identifying Symptoms of a Bad Starter

A vehicle’s starter is essential for initiating the engine’s operation, and recognizing its failure can save you time and money. You should be aware of several starter symptoms that indicate trouble. If you hear a single click or a series of rapid clicks when turning the key, that could signal a failing starter. Additionally, if the engine turns over slowly or not at all, it’s worth investigating.
Pay attention to any electrical issues, such as dimming lights or a dead battery, as these can also contribute to starter problems. A grinding noise might indicate that the starter gear isn’t engaging properly, leading to potential damage. Finally, if the dashboard lights flicker when attempting to start, that’s another red flag. Being proactive about identifying these symptoms guarantees you’re not left stranded and can maintain your vehicle’s freedom on the road.
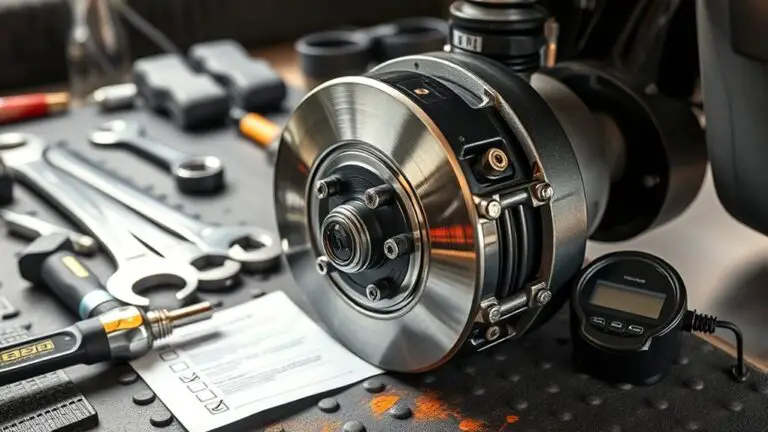
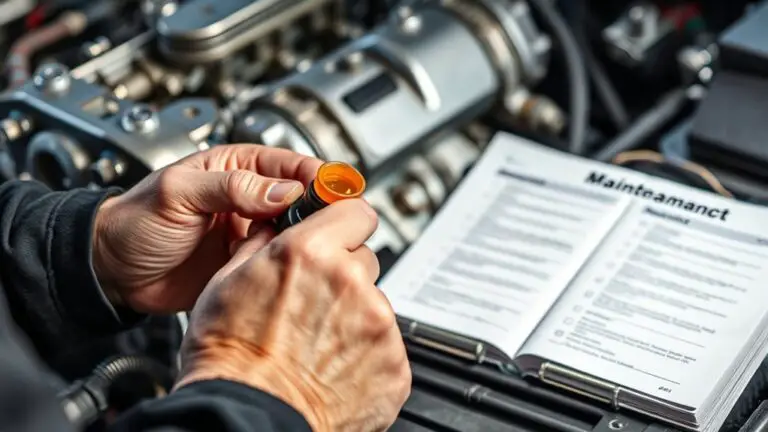
Gathering Necessary Tools and Materials
Before diving into the replacement process, it’s crucial to gather all necessary tools and materials to guarantee a smooth and efficient job. Start with a thorough tool checklist, which should include a socket set, wrenches, screwdrivers, and pliers. Depending on your vehicle’s starter types, you might also need a torque wrench for proper installation.
Don’t forget about safety gear—gloves and safety glasses are a must. You’ll also need a replacement starter, which can vary based on your vehicle’s make and model. Make sure you have access to a multimeter to test the new starter’s functionality post-installation. Additionally, having rags on hand can help keep your workspace tidy as you work. By preparing these items in advance, you’ll set yourself up for a successful starter replacement, empowering you to tackle the task with confidence and efficiency.
Safely Removing the Old Starter

Start by disconnecting the vehicle’s battery to prevent any electrical hazards while removing the old starter. This step is vital for your safety and guarantees a smooth starter removal process. Once the battery is disconnected, follow these safety precautions:
- Use insulated tools to avoid accidental shorts.
- Wear safety goggles and gloves to protect against debris.
- Keep the work area well-lit and organized to prevent mishaps.
- Confirm the vehicle is securely lifted or supported if working underneath.
Next, locate the starter, usually found near the engine block, and identify the wiring harness and mounting bolts. Carefully disconnect the wiring, taking note of their positions for reinstallation. Remove the bolts securing the starter, and gently pull it out from its housing. By following these steps and prioritizing safety precautions, you’ll effectively remove the old starter without unnecessary risks.
Installing the New Starter
With the old starter removed, it’s time to install the new one. First, verify you have the correct starter type for your vehicle; different models may require specific configurations. Position the new starter in alignment with the mounting holes on the engine block. Secure it with the bolts you previously removed, tightening them to the manufacturer’s specifications—typically around 15-25 ft-lbs.
Next, reconnect the electrical connections, making sure the positive terminal goes to the battery cable and the negative terminal connects to the ground. Use dielectric grease on the terminals to prevent corrosion.
As an essential installation tip, double-check that all connections are secure and free of obstructions. After installation, it’s a good practice to verify the wiring harness and any additional components that may have been disturbed during the process. This attention to detail guarantees a smooth operation once the system is tested.
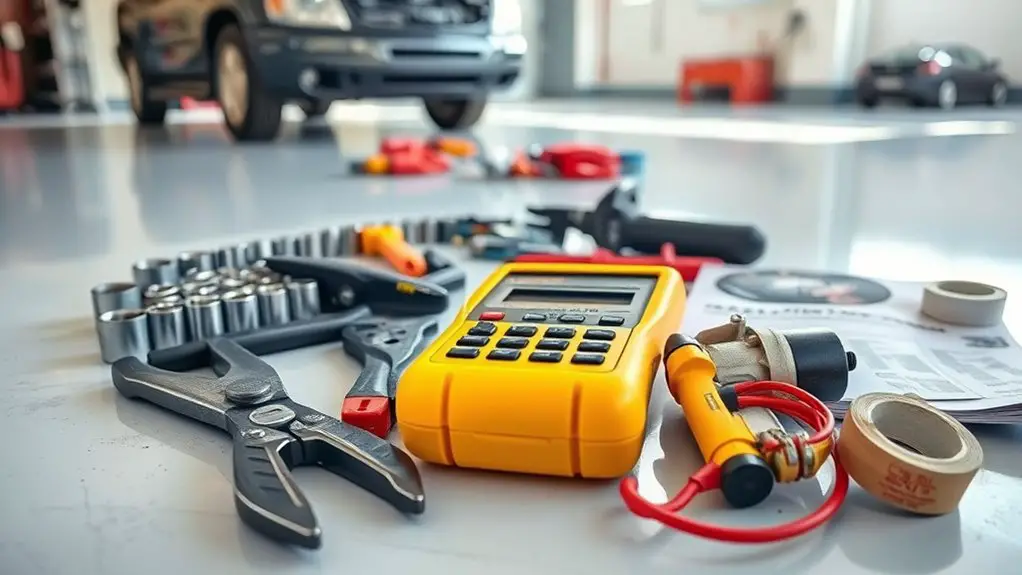
Testing the System and Ensuring Proper Functionality
After installing the new starter, it’s important to test the system to confirm everything functions correctly. Begin by performing system diagnostics to verify that all components are operating as intended. This includes checking for any fault codes that may indicate underlying issues.
Next, you’ll want to inspect all electrical connections to make sure they’re secure and free of corrosion. A poor connection can lead to intermittent faults, contributing to charging problems. Follow these steps:
- Verify battery voltage; it should be around 12.6 volts.
- Start the engine and check the voltage at the alternator; it should rise to about 14.4 volts.
- Test the starter operation by observing cranking speed; it should be consistent and strong.
- Inspect wiring for any signs of wear or damage, which could affect overall performance.
Frequently Asked Questions
How Much Does a New Starter Typically Cost?
A new starter typically costs between $100 and $400, depending on starter prices and brands you choose. Think of it like picking the right key for your car’s ignition; it needs to fit perfectly. Premium brands may come with a higher price tag, but they often offer better performance and longevity. Investing in a reliable starter can give you the freedom to hit the road without worries, ensuring your engine roars to life every time.
Can I Replace the Starter Myself, or Should I Hire a Mechanic?
You can replace the starter yourself if you’re comfortable with DIY repairs and have the necessary tools. However, if you’re unsure or lack experience, hiring a mechanic is wise. Professional advice can guarantee the job’s done correctly, preventing further issues. Consider your skill level and the complexity of your vehicle’s setup; sometimes, it’s worth the investment in professional help to avoid potential headaches down the line.
What Are the Risks of Driving With a Bad Starter?
Driving with a bad starter’s like dancing on a tightrope; one misstep, and you’re in trouble. Starter symptoms, like grinding noises or intermittent starting, signal potential starter failure. Ignoring these issues can lead to being stranded, risking damage to your vehicle’s electrical system, or even draining your battery. If the starter fails completely, you’ll be left helpless. It’s best to address starter problems before they escalate and compromise your freedom on the road.
How Long Does the Starter Replacement Process Usually Take?
The starter replacement process typically takes about 1 to 2 hours, depending on your vehicle’s make and model. You’ll first need to disconnect the battery, then proceed with starter removal, which involves unbolting it from the engine. Once you’ve installed the new starter, you’ll reconnect everything and test it. If you’re familiar with basic automotive work, you might find this process straightforward and rewarding, giving you that sense of freedom on the road.
Will a Bad Starter Affect My Battery’s Lifespan?
A bad starter’s like a leaky faucet; it can slowly drain your battery’s lifespan. If your starter shows symptoms like grinding or clicking, it’s not just an annoyance—it’s stressing your battery. This extra strain from repeated attempts to start the engine can lead to premature wear. To maintain your battery’s health, address starter issues promptly, ensuring you minimize unnecessary battery maintenance and extend its overall lifespan. Don’t wait; act before it’s too late!