Step-By-Step: Replacing Brake Rotors to Fix Squealing Brakes
To replace your brake rotors and fix squealing brakes, start by gathering necessary tools like a jack, lug wrench, and C-clamp. Confirm safety by wearing gloves, using wheel chocks, and working on a stable surface. Remove the wheel, detach old rotors, and check brake components for wear. Install new rotors, secure them using the manufacturer’s torque specifications, and reassemble everything. Finally, test your brakes for any abnormalities. You’ll find more detailed steps for each part of the process ahead.
Understanding Brake Rotors and Their Importance
Brake rotors are essential components of your vehicle’s braking system, directly affecting its performance and safety. They work by providing a surface for your brake pads to clamp down on, converting kinetic energy into thermal energy to slow or stop your vehicle. Understanding brake rotor functions is vital for maintaining ideal braking efficiency.
As rotors wear down over time, they can develop uneven surfaces that compromise braking ability. That’s where rotor wear indicators come in. These indicators alert you when it’s time to replace your rotors, preventing further damage and ensuring your safety on the road.
Regularly monitoring your brake rotors not only enhances your vehicle’s performance but also extends the lifespan of your braking system. If you value freedom on the road, keeping an eye on rotor health will help you maintain a reliable ride, allowing you to enjoy every journey with confidence.
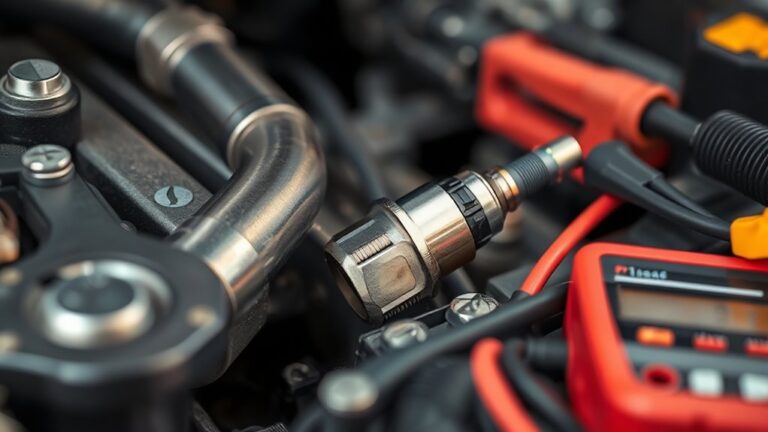
Tools and Materials Needed for the Job
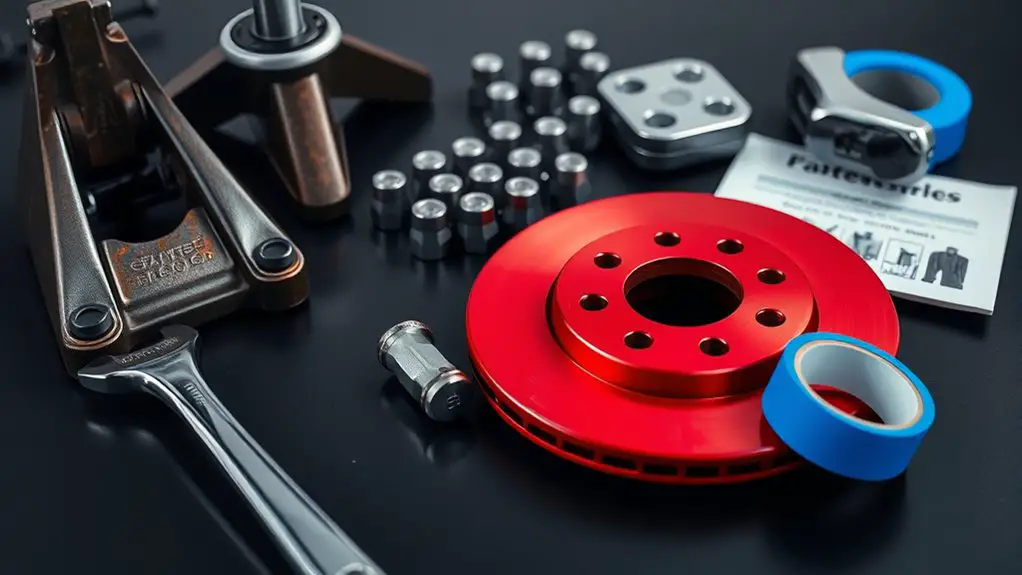
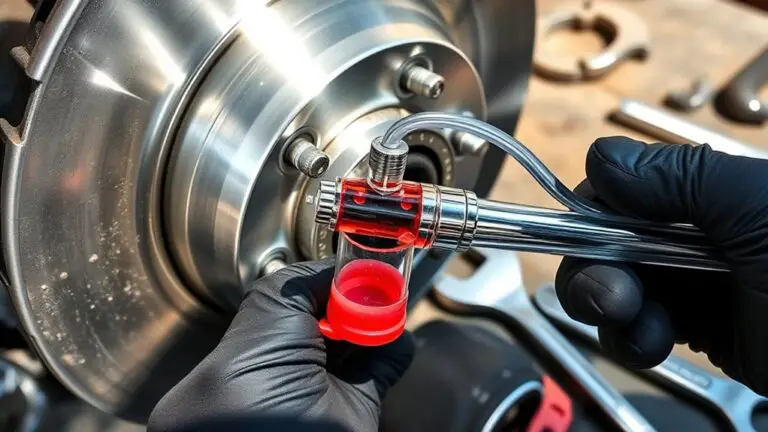
To replace brake rotors effectively, you’ll need a few vital tools and materials. First, gather a jack and jack stands to lift your vehicle securely. A lug wrench is important for removing the wheel nuts, and a socket set will help you access the caliper bolts. You’ll also need a C-clamp or brake caliper tool to retract the caliper piston for rotor replacement.
When it comes to brake rotor materials, make certain you have high-quality rotors suitable for your vehicle. It’s wise to have new brake pads on hand as well, since replacing rotors often necessitates replacing the pads simultaneously. Don’t forget brake cleaner to remove dust and debris from the components.
Lastly, wear safety gloves and goggles for protection. With these vital tools and materials, you’ll be well-prepared to tackle the brake rotor replacement process efficiently.
Safety Precautions Before Starting
Having the right tools and materials is just the beginning; safety precautions are equally important before starting the brake rotor replacement process. First, confirm you’re wearing appropriate safety gear, including gloves and safety goggles, to protect yourself from debris and sharp edges. A clean, well-lit workspace is essential for effective brake maintenance, allowing you to clearly see and access all components.
Next, engage the parking brake and consider using wheel chocks on the opposite side of the vehicle to prevent any unintended movement. Always work on a flat surface to further enhance stability. Be mindful of hot brake components; let them cool down before touching. Finally, familiarize yourself with the vehicle’s manual for any specific safety instructions. Taking these precautions not only protects you but also helps guarantee a successful and efficient rotor replacement.
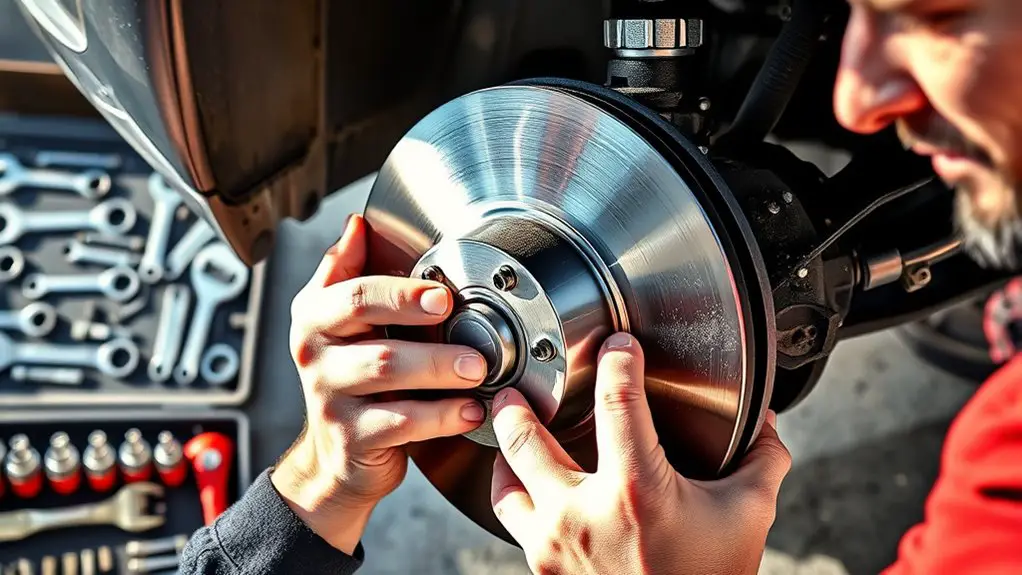
Removing the Wheel and Accessing the Brake Components
Begin by loosening the lug nuts on the wheel before lifting the vehicle. Use a lug wrench, applying counterclockwise pressure to each nut. Once they’re loose, secure the vehicle on jack stands for safety. Next, remove the lug nuts completely and take off the wheel, revealing the brake system overview.
Familiarize yourself with the essential components: the brake caliper, rotor, and pads. Utilize proper wheel removal techniques to avoid damaging any parts. If your vehicle has wheel covers or hubcaps, be cautious when removing them, as they can be fragile.
With the wheel removed, inspect the brake components for wear or damage. This step is vital for identifying any issues that may affect performance. Be sure to keep track of any hardware or clips you remove, as they’ll be needed during reassembly. You’re now ready to proceed with detaching the old brake rotors.
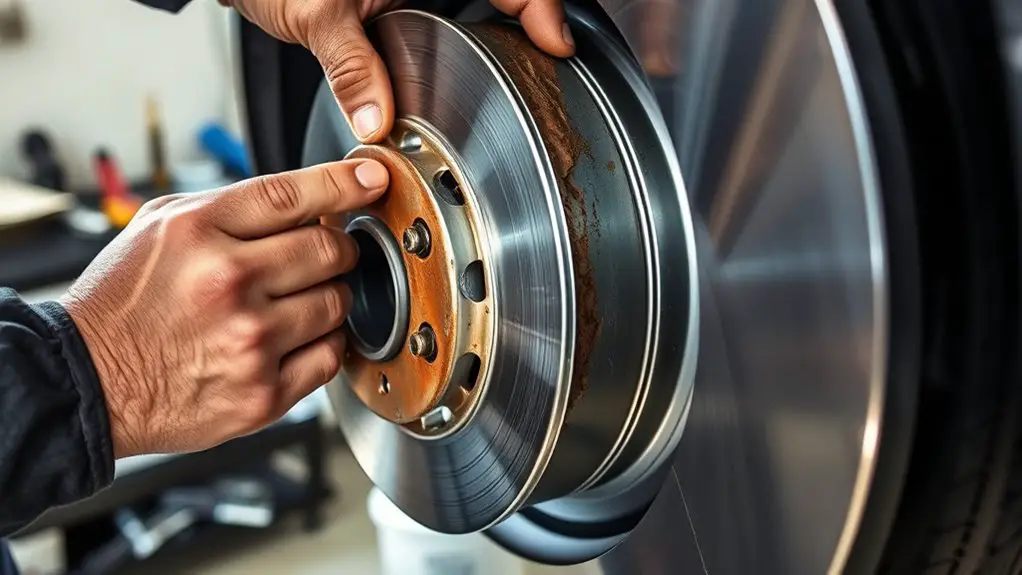
Detaching the Old Brake Rotors
Before you detach the old brake rotors, gather the necessary tools and make certain you’re following essential safety precautions. This step-by-step process will help you remove the rotors effectively and safely. Let’s go through the required tools and the precautions you need to take.
Tools Required for Replacement
When tackling the task of detaching old brake rotors, having the right tools is essential for a smooth and efficient process. You’ll need a lug wrench to remove the wheel, a socket set for the caliper bolts, and a brake rotor puller for stubborn rotors. A torque wrench is vital for properly securing your new brake rotor types during reinstallation, ensuring they perform effectively. Additionally, having a rubber mallet can help when you need to gently persuade the rotor loose. For rotor installation tips, keep a clean surface and apply anti-seize compound to prevent rust. With these tools at hand, you’re well on your way to successfully replacing your brake rotors with confidence.
Safety Precautions to Follow
Although replacing brake rotors is a straightforward task, following essential safety precautions is important to prevent injuries. Start by making sure your vehicle is on a flat surface and securely supported with jack stands. Always wear safety goggles and gloves to protect against debris and sharp edges during the process. Familiarize yourself with emergency braking techniques, as having a solid understanding of your vehicle’s braking system is essential. Here are some important brake maintenance tips to keep in mind:
| Safety Tip | Description | Importance |
|---|---|---|
| Use proper tools | Make sure you have the correct tools for the job | Prevents accidents and damage |
| Work in a well-lit area | Adequate lighting helps see all components | Reduces mistakes |
| Double-check stability | Confirm the vehicle is stable before working | Guarantees personal safety |
Step-by-Step Detachment Process
To detach the old brake rotors, start by removing the wheel from the hub assembly. Use a lug wrench to loosen and remove the lug nuts, then take off the wheel. Next, inspect the brake rotor types you’re dealing with; they may vary between vented and solid. Look for the retaining screws—if they’re rusted or stuck, you might need penetrating oil. After removing the screws, gently wiggle the rotor to detach it from the hub. If you encounter common issues like rust buildup, a rubber mallet can help dislodge it. Finally, check the condition of the brake calipers and pads while you’re at it, as they may need attention too.
Installing the New Brake Rotors
Before you install the new brake rotors, guarantee your workspace is clean and organized. Align the new rotors properly with the hub, making sure they fit securely. Finally, use the appropriate fasteners to secure the rotors in place, tightening them to the manufacturer’s specifications.
Preparing the Workspace
Preparing your workspace is vital for a successful brake rotor installation. A well-organized and clean area not only enhances efficiency but also guarantees safety during the process. Follow these steps for an effective workspace setup:
- Clear the Space: Remove any tools, debris, or distractions from your cleaning area. This prevents accidents and allows for focused work.
- Gather Your Tools: Collect all necessary tools, including a lug wrench, jack, and torque wrench. Having everything at hand minimizes interruptions.
- Guarantee Proper Lighting: Good lighting is essential. Make sure your workspace is well-lit to avoid overlooking critical details during installation.
With a prepared workspace, you’ll set the stage for a smooth and successful brake rotor replacement.
Aligning New Rotors
With your workspace set up, you can now focus on installing the new brake rotors. Begin by carefully aligning the new rotors with the hub assembly, making sure they sit flush against the mounting surface. Proper rotor alignment is essential for ideal brake performance and to prevent uneven wear. Once aligned, check the rotor’s position; it should rotate freely without any obstruction. If your vehicle requires brake calibration, guarantee you follow the manufacturer’s specifications closely. This step is critical for maintaining effective braking and enhancing your vehicle’s safety. After confirming alignment and calibration, you’re ready to proceed with securing the rotors. Remember, a precise installation now can save you from future issues down the road.
Securing With Fasteners
Secure the new brake rotors by tightening the fasteners to the manufacturer’s specifications. This guarantees ideal performance and safety. Use the following steps for proper installation:
- Select Fastener Types: Choose the appropriate fasteners, typically bolts or screws, designed for your specific rotor model.
- Check Torque Specifications: Refer to the vehicle’s service manual for exact torque specifications. This is essential for preventing damage or loosening.
- Use a Torque Wrench: Apply even pressure while using a torque wrench to achieve the correct tightness, making sure each fastener is secured adequately.
Reassembling the Brake System and Wheel
After replacing the brake rotors, it’s time to reassemble the brake system and wheel. Start by positioning the new rotors and securing them with the appropriate fasteners. Make certain they’re tightened to the manufacturer’s specifications. Next, if you haven’t already, replace the brake pads. Slide them into their respective caliper brackets, making sure they fit snugly against the new rotors.
Once the pads are in place, reattach the calipers by lining them up with the mounting points and securing them firmly. Now, it’s essential to check brake fluid levels in the reservoir. If necessary, top it off with the recommended fluid to maintain peak performance. Finally, reattach the wheel, making sure the lug nuts are tightened in a crisscross pattern to maintain even pressure. Once everything’s securely in place, you’re ready to move on to the next step of your brake system overhaul.
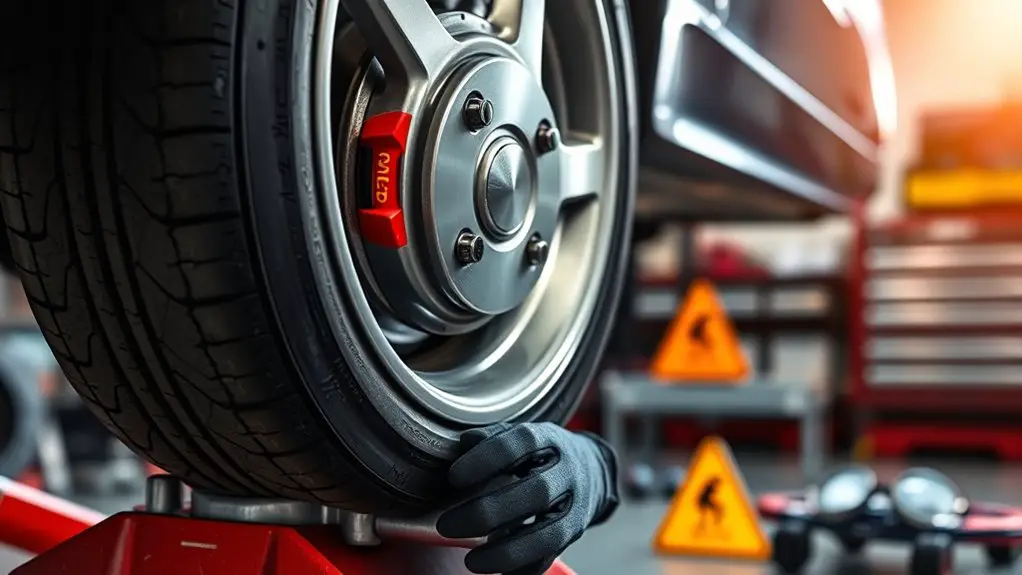
Testing Your Brakes After Replacement
Testing your brakes after replacement is essential to confirm safety and performance. You’ll want to verify that everything’s functioning correctly before hitting the road. Follow these steps for effective brake performance testing and noise assessment:
- Initial Brake Engagement: Slowly apply the brakes from a low speed to feel for any unusual vibrations or noises. This helps assess the initial performance.
- Gradual Speed Increase: Gradually increase your speed and apply the brakes firmly. Listen for any squealing or grinding sounds, which could indicate issues.
- Stop-and-Go Tests: Conduct a series of stop-and-go maneuvers in a controlled environment. This mimics real driving conditions and allows you to evaluate the brakes under varying loads.
Frequently Asked Questions
How Often Should Brake Rotors Be Replaced?
Brake rotors should typically be replaced every 30,000 to 70,000 miles, depending on your driving habits and vehicle type. To maximize brake lifespan, keep up with regular maintenance tips like checking for wear, ensuring proper brake fluid levels, and avoiding aggressive driving. If you notice any unusual noises or vibrations while braking, it’s wise to inspect your rotors sooner. Staying proactive can enhance performance and safety, giving you the freedom to drive confidently.
What Causes Brake Rotors to Wear Out Prematurely?
Brake rotors wear out prematurely due to several factors, including poor brake material quality and aggressive driving habits. If you frequently brake hard or ride the brakes, it generates excessive heat, causing rotor warping. Additionally, using low-quality brake pads can lead to increased wear. Regular maintenance and being mindful of your driving style can greatly extend the life of your rotors, ensuring a smoother, safer ride without the hassle of premature replacements.
Can I Replace Rotors Without Replacing Brake Pads?
You can replace rotors without replacing brake pads, but it’s not always advisable. If your pads are worn or old, they might not be compatible with new rotors, leading to uneven wear or noise. When installing new rotors, make certain you clean the hub surface and torque the bolts correctly. Remember, your vehicle’s braking system is essential for safety, so consider replacing both for peak performance and peace of mind on the road.
Is It Necessary to Resurface Brake Rotors?
It’s not always necessary to resurface brake rotors, but doing so can provide significant resurfacing benefits. If your rotors are within the manufacturer’s specified rotor thickness, resurfacing can enhance brake performance and prolong pad life by ensuring a smooth surface. However, if the rotors are too worn or damaged, replacement might be the better option. Always assess the rotor condition to determine the best course of action for your vehicle’s braking system.
What Are the Symptoms of Warped Brake Rotors?
Warped brake rotors can cause a noticeable decline in your vehicle’s performance. Did you know that about 30% of brake issues stem from rotor problems? If you notice squeaking noises while braking or experience vibration issues in the steering wheel or brake pedal, it’s a clear sign of warped rotors. Ignoring these symptoms can compromise your safety, so addressing them promptly is essential for maintaining peak braking performance and ensuring your freedom on the road.