Step-By-Step: Replacing Struts to Fix Steering Wheel Vibration
To fix steering wheel vibration, you’ll diagnose first by testing straight and during turns, watching for rhythmic wheel input and uneven feel, plus inspect tires, runout, and knuckles. Gather essential tools—jack stands, floor jack, socket set, torque wrench, spring compressor, calipers, flashlight—and replace with new struts, mounts, and bushings per the vehicle manual. Safely lift on level ground, support with stands, remove old hardware in sequence, and torque to spec on reinstall. A controlled test drive confirms results; more specifics follow.
Diagnosing Steering Wheel Vibration: Are Struts the Likely Cause?
Struts can cause steering-wheel vibration, but they’re not the only culprits. In this section, you perform a focused vibration diagnosis to determine whether strut symptoms exist as a primary driver. Begin with a reproducible test: drive straight at a steady speed, note any vibrations, then test during left and right turns. Compare patterns to common strut symptoms such as rhythmic wheel input, uneven feel, or amplified feedback at specific speeds. Inspect for abnormal tire wear, excessive runout, or loose knuckles that could mimic strut-origin vibration. Elevate the vehicle and manually feel for play in the wheel assembly, tying out wobble with the strut’s resistance. If vibration persists after confirmed tire balance and alignment, you’re closer to attributing it to the struts. Maintain methodical notes and isolate factors; this reduces guesswork and sharpens your vibration diagnosis, guiding whether replacement is warranted.
Tools and Parts You’ll Need for Strut Replacement
You’ll need a precise tools list, including socket wrenches, torque wrench, jack stands, and spring compressors, to safely remove and install struts. This section also covers replacement parts guidance—new struts, mounts, bushings, and related hardware—so you choose compatible, quality components. Finally, follow safety precautions like securing the vehicle, relieving spring tension correctly, and using proper PPE to prevent injury.
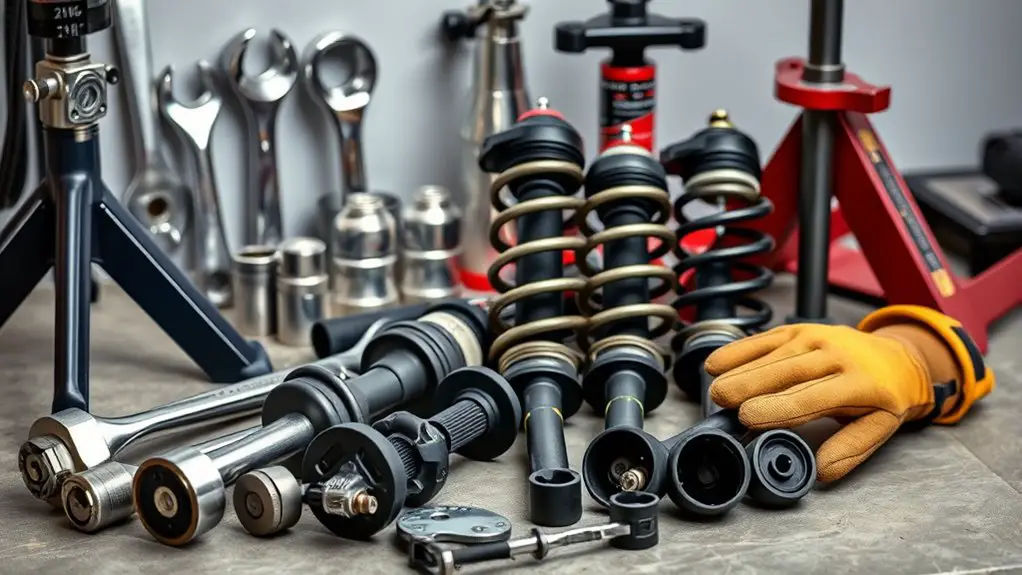
Essential Tools List
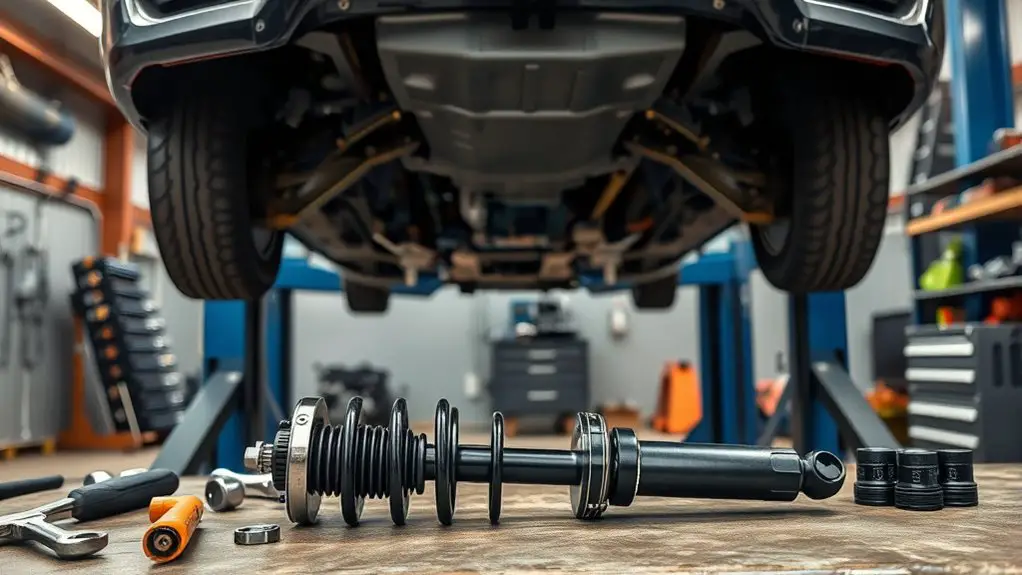
To replace the struts effectively, you’ll need a focused set of tools and parts that cover removal, inspection, and installation. You’ll work with basic hand tools, a torque wrench, jack stands, pry bar, and spring compressors, plus new struts matched to your vehicle. Have a service manual handy for torque specs and sequence. For inspection, include a digital caliper, flashlight, and mirror to verify mounting points and bushing condition. For installation, keep penetrating oil, thread locker, and anti-seize on hand. Table below conveys core themes.
| Tool/Part | Purpose | Note |
|---|---|---|
| Torque wrench | Correct fastener torque | Use in sequence |
| Spring compressors | Safe strut compression | Follow device limits |
| Jack stands | Safe support | Stabilize vehicle |
Replacement Parts Guide
A precise toolkit and carefully chosen parts set the foundation for a successful strut replacement. You’ll select components that match your vehicle’s suspension geometry and load demands, minimizing fitment issues and rework. Start with time-tested strut types, then verify compatibility with your model year and trim. Include a compatible spring compressor, jack stands, and a torsion bar tool if needed, plus a torque wrench with manufacturer-spec settings. For vibration causes, carry fresh dampers, top mounts, and, where applicable, dust boots and control arm bushings. Use OEM or high-quality aftermarket equivalents rated for your drive cycle. Don’t overlook alignment shims or axle spacers if required. Label fasteners, document torque sequences, and plan for a deliberate reassembly. Precision parts reduce risk and restore steering feel.
Safety Precautions Tips
When tackling strut replacement, assemble a safety-minded toolkit and verify part compatibility before any work begins. You’ll need a torque wrench, jack stands, a spring compressor, and matching struts and mounts. PPE is non-negotiable: gloves, eye protection, and steel-toed boots. Keep a magnet tray for fasteners and a labeled organizer for used parts. Before you start, perform a quick strut inspection to catch wear patterns and leaks, then plan a vibration analysis checkpoint to track progress. Table below clarifies purpose and outcome.
| Tool/Part | Purpose |
|---|---|
| Torque wrench | Accurate fastener tightening |
| Spring compressor | Safe spring handling |
Safety First: Lifting and Supporting the Vehicle
When you lift the vehicle, follow a safe, methodical process to prevent movement and injury. Maintain a stable stance and place supports firmly, using the vehicle’s designated lifting points and secondary stands for added security. Confirm ground stability and table the load before any inspection or work begins to guarantee secure, repeatable positioning.
Lifting Vehicle Safely
Lifting a vehicle safely requires a methodical approach and the right tools. You begin with a level surface, parking brakes engaged, and wheels chocked. Select jack stands rated for the load, and place them on solid, flat ground under designated lift points. Use a hydraulic floor jack to raise the vehicle high enough to clear components, then slide in jack stands to support the load. Never rely on the jack alone for long-term support. For lower clearance or uneven terrain, vehicle ramps can be used in conjunction with stands, but only after the vehicle is stabilized. Verify lift points, check for engaged transmission, and recheck height before work. Lower carefully in reverse, removing ramps only after full support by stands. Maintain clean, orderly surroundings.
Supportive Stance Techniques
Supportive stance techniques require stable, controlled positioning to prevent movement during service. You set a solid base, aligning feet to shoulders, distributing weight evenly, and anchoring with the vehicle’s chassis where allowed. Maintain neutral spine and knees slightly bent to absorb shifts as you work. Keep hydraulic jack points and stands under rated load, never relying on the jack alone. Your stance should enable quick, precise adjustments without losing balance during strut removal or reinstallation. Focus on strut alignment importance: guarantee the assembly remains square to the mounting points, preventing binding or offset so subsequent alignment tasks are predictable. Employ vibration dampening techniques by minimizing vibration transfer through your arms and torso, stabilizing your upper body to improve control and reduce fatigue.
Secure Ground Stability
Secure ground stability is the foundation for safe lifting and support. You verify the surface is level, solid, and free of debris before jack placement. Use a rated jack and compatible stands, positioned under reinforced chassis points per the vehicle manual. Chock wheels on both sides, then recheck ground stability after any adjustment. Center the load, avoid overextension, and keep the vehicle in a stable state throughout the procedure. When you lift, proceed in small, controlled increments and set temporary supports as you move to permanent stands. Maintain clear access to your tool paths and PPE. Understanding vibration causes helps you anticipate risky steps; secure footing reduces unintended movement. Ground stability minimizes mishaps and isolates vibration causes from altering your work.
Locating the Struts and Access Points
Locating the struts and access points is the first step in replacing steering wheel components, and it requires identifying the specific mounting locations and service panels without disturbing related systems. You’ll scan the engine bay and suspension region to map strut positions, noting upper and lower mount points, bolts, and bracket interfaces. Confirm proper alignment relative to knuckles, control arms, and linkages to prevent misrouting during net steps. Mark access points that provide service clearance for bolt removal and hydraulic lines, while avoiding fuel lines, wiring harnesses, and ABS sensors. Document fastener sizes, thread pitch, and any shims or spacers that influence fitment. Prioritize components that affect steering feel and wheel centricity, ensuring the chosen strut location aligns with the vehicle’s design tolerances. Verify that service panels can be removed without breaching safety interlocks. Maintain clear, concise notes for reassembly and future maintenance. Access points should allow tool access with minimal disassembly.
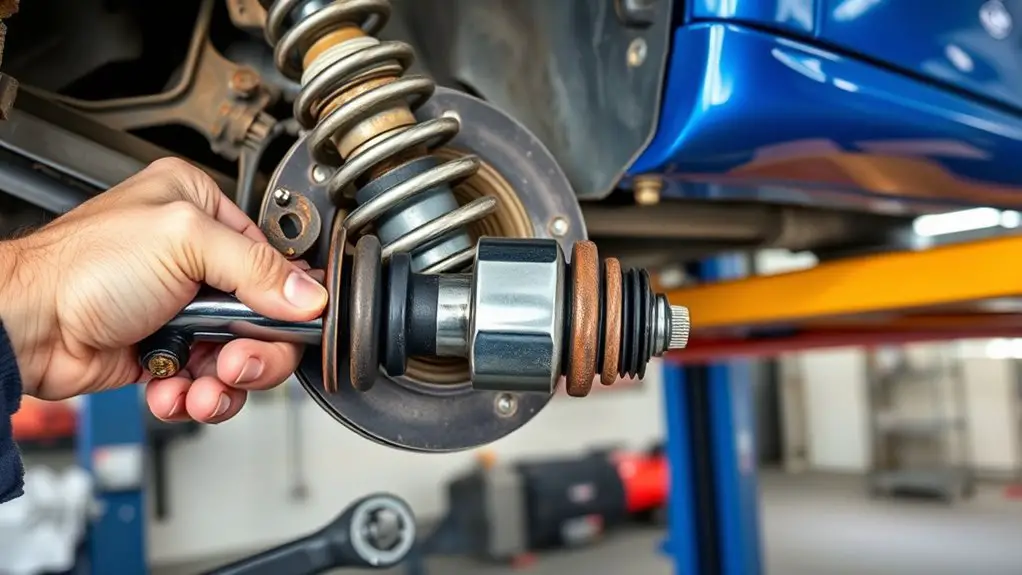
Removing the Old Struts: Step-by-Step Process
Begin by disconnecting the battery and supporting the vehicle securely to prevent movement. You’ll approach removal with focus and control, using proven strut removal techniques to minimize risk. Start with access points verified, then inspect the old strut for wear and damage during the initial assessment, noting mounting bolts, springs, and linkages. Loosen upper and lower fasteners in a logical sequence, preventing sudden shifts that could damage surrounding components. If your model uses a strut assembly with a coil spring, release tension safely per manufacturer guidance before detaching components. Remove the assembly straight, avoiding leverage on brake lines or the suspension arm. As you detach, document bolt sizes and torque specs for reassembly, and verify that all fasteners are accounted for. Perform an old strut inspection as you disassemble, looking for corrosion, misalignment, or worn bushings. Clean mating surfaces prior to removing the spring-isolated unit, and store parts methodically for later resealing or replacement. Ascertain you maintain a controlled, precise workflow throughout.
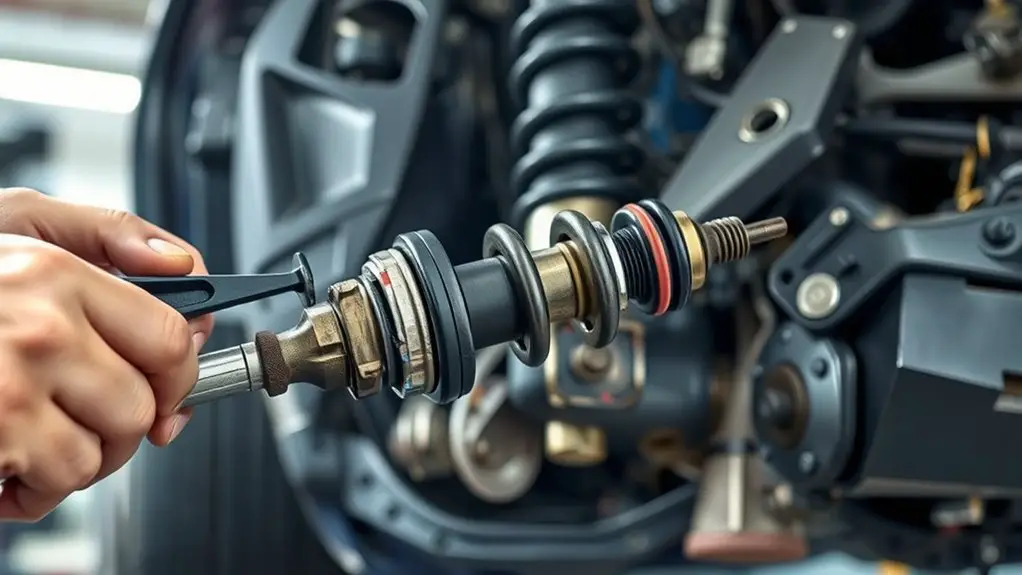
Preparing the New Struts for Installation
With the old struts removed, you’ll prepare the new units by verifying compatibility, inspecting the assembly components, and sizing the mounts. Begin by confirming part numbers match your vehicle’s specifications and the replacement model’s load rating. Check the strut body, piston rod, and mounts for manufacturing marks, corrosion, and deformities; any flaw warrants a replacement before installation. Inspect the eccentric bolts, bushings, and washers, ensuring threads are clean and undamaged, and replace any worn hardware. Verify compatibility of the mounting brackets with your chassis and confirm wheel alignment references stay consistent with the prior setup. Measure stroke length, shaft diameter, and end-cap tolerances to prevent misfitment. Document the findings for installation tips, noting any deviations from factory norms. Keep all fasteners organized and labeled. Maintain cleanliness to avoid debris ingress into seals. This careful strut preparation supports reliable performance and prevents pre-installation issues during installation.
Installing the New Struts: Torque, Alignment, and Best Practices
To install the new struts, start by tightening all mounting bolts to the specified torque values, then verify proper seating and free movement before proceeding to alignment checks. You’ll then assess the strut types available for your ride and select the best balance of stiffness and compliance. Precision matters: use a torque wrench, confirm thread engagement, and guarantee no binding at full travel.
To install new struts: torque bolts, ensure seating, choose strut type for balance, and verify full-travel freedom.
1) Confirm ride-height remains within spec after initial torqueing, avoiding uneven preload.
2) Use alignment tips to set front caster and camber within factory tolerances, correcting steering pull.
3) Recheck component clearances under load to prevent binding during suspension cycling.
4) Document torque values and alignment readings for future maintenance and peace of mind.
Keep measurements lean and repeatable, avoid over-tightening, and verify free movement across full suspension travel. This approach respects your liberty to drive with confidence while maintaining predictable steering response and tire wear.
Reassemble, Recheck, and Test Drive
Reassembling the components, you’ll verify that every fastener is torqued to spec, all mounts sit flush, and no parts bind before moving on to rechecks. You’ll confirm suspension clearance, verify harness routing, and ascertain no pinch points exist in the steering column. Use deliberate, methodical reassembly techniques: tighten in the proper sequence, recheck torque specs, and verify bushing seating with light wheel turns. After components align, recheck steering effort, smoothness, and contact patch behavior under preload conditions. When alignment is restored, perform a controlled test drive to validate dynamics without load-related surprises. Focus on consistency: same torque values, same seating depth, same checklists. During the drive, note steering feel, vibration onset, and any drift. If inconsistencies arise, return to critical joints, re-torque, and reverify mounting surfaces. Finish with a concise debrief: confirm no abnormal noises, verify tire condition, and log results for future reference. test drive tips.
Maintenance Tips to Extend Strut Life and Prevent Vibration
Proactive maintenance keeps struts quiet and predictable: regular inspection of mounts, bushings, and boots helps catch wear before it manifests as vibration. You’ll prioritize strut maintenance by targeting padding, fasteners, and seals, ensuring secure, stabile operation and fewer surprises on the road.
Proactive maintenance keeps struts quiet by inspecting mounts, bushings, and boots to prevent vibration.
1) Inspect mounts and bushings for cracks, slop, or deformation, replacing components before vibration accelerates.
2) Verify boot integrity; replace torn or leaking boots to prevent contamination and premature wear.
3) Check alignment and spring seats; correct misalignment to suppress uneven loading that can amplify vibration.
4) Schedule proactive service intervals tied to usage and road conditions, reinforcing vibration prevention through consistent maintenance discipline.
This approach keeps suspension performance predictable, improves ride quality, and reduces repair costs over time. You’ll maintain performance without sacrificing freedom, staying ahead of wear with concise, precise actions that preserve strut life and minimize vibration.
Frequently Asked Questions
How Do I Know if Struts Alone Cause Vibration?
To determine if struts alone cause vibration, you’ll perform a targeted strut inspection and vibration diagnosis. Start by checking for noticeable play, leaking fluid, and worn bushings, then assess tire balance and wheel alignment to isolate other sources. Road test with the steering centered and note vibrations at specific speeds. If symptoms persist after strut issues are ruled out, the root cause lies elsewhere. Document findings, and proceed with measured, repair-focused actions.
Can Worn Tires Mimic Steering Wheel Vibration?
Yes, worn tires can mimic steering wheel vibration. Uneven tire wear, cupping, or out-of-round tires create imbalances that feel like vibration. You’ll notice it at certain speeds or with acceleration and braking, not just idle. Inspect tire wear patterns, tread depth, and runout. If you’re unsure, rotate or swap tires to test, and check alignment. Tire wear can be a major vibration causes, so evaluate the tires before attributing symptoms to suspension components.
Is Wheel Alignment Required After Strut Replacement?
Yes, you should get a wheel alignment after strut replacement. Alignment importance lies in ensuring proper steering geometry, tire wear, and handling. If you don’t, you risk uneven wear, drift, and vibrations returning. A precise alignment confirms parts settled and camber, toe, and caster are correct after strut replacement. You’ll want a reputable shop or post-repair check to verify. It’s worth it for long-term performance, safety, and freedom from repeat adjustments.
What Signs Indicate a Failed Strut Beyond Vibration?
A single heartbeat of doubt: signs you’re beyond vibration include leaking fluid, uneven wear on tires, excessive bouncing or pronouncing nose-dive on braking, persistent steering drift, and abnormal noise over bumps. If you notice fluid slicking the strut area or corner-to-corner tire wear cooked uneven, treat it as danger. You’ll feel reduced control and poor alignment, so inspect mounts, check for leaks, and replace faulty struts promptly to regain stability and safety.
Do Struts Affect Steering-Feel at Highway Speeds?
Yes, struts affect steering feel at highway speeds. Worn struts reduce steering response, causing delayed or vague input, increased body roll, and chatter over irregular surfaces. During strut replacement, you restore proper steering response, alignment, and stability. If you notice float or wandering at speed, inspect or replace the struts and related mounts. A precise, high-quality installation maintains predictable handling, minimizes vibrations, and preserves highway confidence for freedom-loving drivers.