Tire Maintenance Schedule to Avoid Bead Leak
To avoid bead leaks, you should follow a disciplined schedule: check tire pressure weekly with a reliable gauge, recording cold readings and comparing them to your vehicle’s specs. Do regular visual inspections of tread, sidewalls, and rims for cuts, bulges, or corrosion. Rotate and rebalance every 5,000–7,500 miles, and reassess intervals as wear data dictates. Monitor seasonal temperature shifts and store tires properly. If bead leaks show up, you’ll want professional help soon—there’s more you can do.
Weekly Tire Pressure Checks

Weekly tire pressure checks should be performed every week, using a reliable gauge and the vehicle’s recommended pressures found on the door jamb or owner’s manual. You’ll measure cold tire pressure, compare to spec, and adjust to the target values to maintain even load distribution and ideal contact with the road. Record readings to establish a baseline and track trends over time, enabling precise maintenance decisions rather than guesses. If a reading deviates beyond manufacturer tolerance, inspect for punctures, slow leaks, or valve core issues before inflating. Consistency matters: check at similar times, ideally before driving, to avoid heat-inflation errors. Use the same gauge for consistency or cross-check with a calibrated standard. Document results as part of your routine, reinforcing tire pressure as a controllable reliability factor. These weekly reminders support safe handling, fuel efficiency, and longer tire life while preserving your sense of freedom through proactive care.
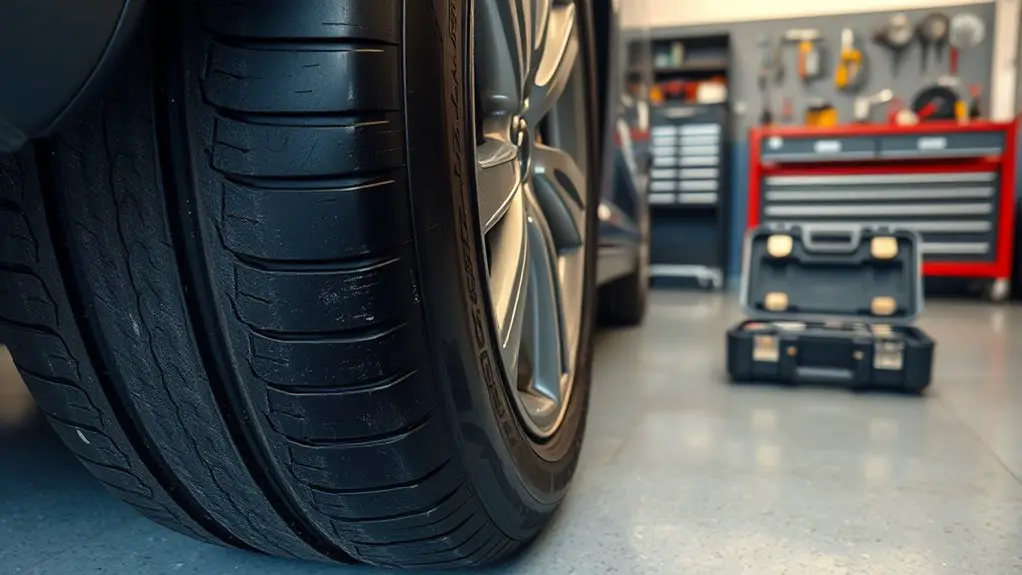
Visual Inspections for Tread and Sidewalls
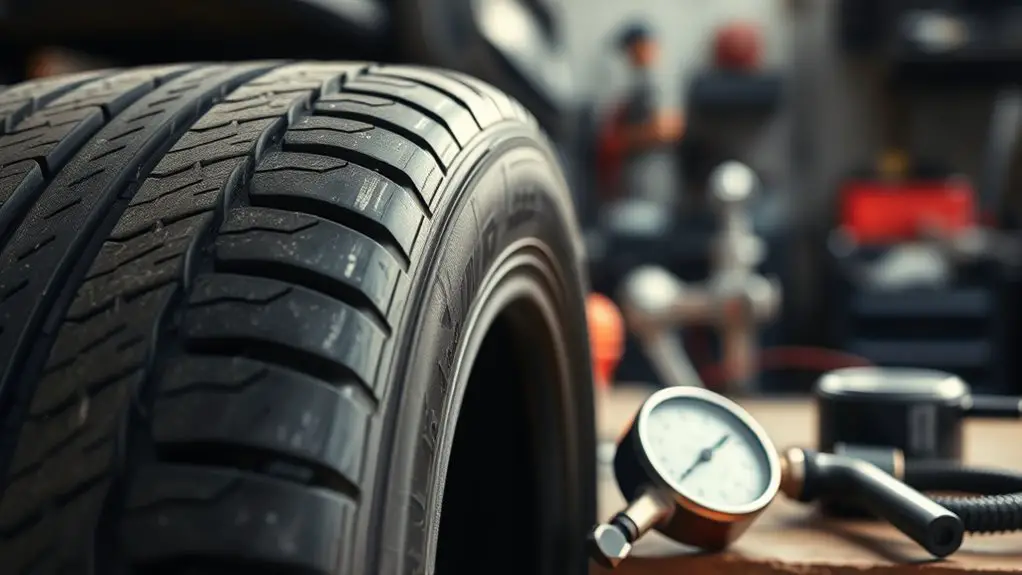
After you’ve established a baseline with weekly tire pressure checks, turn your focus to the tires’ exterior condition. Visual inspections for tread and sidewalls are a repeatable, objective process that informs risk and maintenance timing. You’ll look for wear patterns, embedded objects, and any changes that could signal failure modes.
- Check tire tread depth and uniformity, noting irregular wear that hints at alignment or inflation issues.
- Inspect sidewalls for cuts, cracks, bulges, or indicators of impact damage that compromise structural integrity.
- Scan for foreign debris, tread separation, or unusual wear variations that warrant closer measurement or professional evaluation.
Document observations with a simple log, measuring tread with a calibrated gauge and comparing to manufacturer specs. If tread is thinning, or a sidewall anomaly appears, prioritize follow-up action. This disciplined, data-driven approach preserves freedom by reducing unexpected incidents and extending tire life. Maintain consistency to avoid bead leak risks.
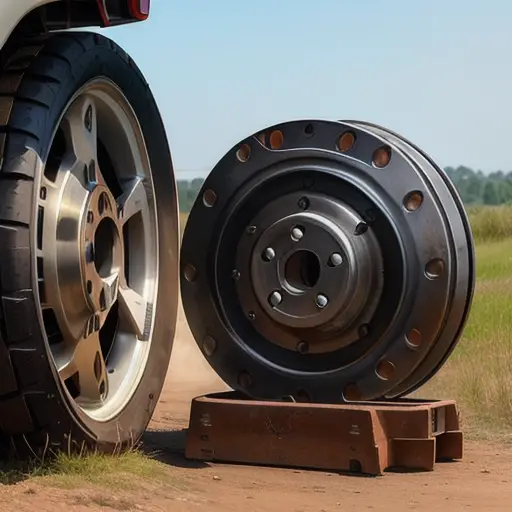
Rim and Wheel Condition Review
You’ll start with a Rim Integrity Check to confirm no dents, cracks, or elongations that could compromise wheel performance. Next, assess Wheel Condition Signs such as bending, corrosion, or abnormal run-out that indicate mounting or alignment issues. This initial review sets the baseline for maintenance intervals and helps you target necessary repairs before driving hazards arise.
Rim Integrity Check
Rim integrity checks are essential for safe driving, so you’ll systematically inspect both the rim and the wheel to detect cracks, bends, corrosion, and deformation that could compromise tire seating or tire pressure retention. You’ll document findings with objective criteria, compare against manufacturer specs, and evaluate material properties for resilience. Focus on rim material and bead seating, ensuring edges remain uniform and free of microcracks.
1) Visual inspection of rim surface, bead seat, and welds for cracks or corrosion.
2) Dimensional check using calipers and runout gauges to confirm true alignment and allowable ovality.
3) Functional test, reseating the tire to verify bead seating remains consistent under load and during inflation.
Proceed with controlled, repeatable steps, recording outcomes for safety and performance tracking.
Wheel Condition Signs
Wheel condition signs are objective indicators you’ll monitor to assess rim and wheel integrity, noting any deviations from baseline measurements. You’ll inspect for true concentricity, runout, and any lateral or radial distortions that signal stress. Track wheel mounting surface cleanliness, bolt thread engagement, and lug wear, as shifts can herald subtle failures. Observe bead seating history and any creeping air loss, which may reflect rim damage or improper seating. Assess tire age and crown wear as independent risk factors that interact with rim condition, since aging rubber can mask metal fatigue. Monitor wheel alignment for steering pull, vibration, or uneven tread wear, which can compound bead leaks. Document changes, compare against manufacturer specs, and stop if signs worsen. Maintain a disciplined, data-driven approach to preserve freedom and safety.
Rotating and Balancing Schedule
Rotating and balancing are essential to even tire wear and smooth handling. You’ll optimize grip, extend tread life, and reduce bead leak risk by following a disciplined schedule grounded in data. The plan below uses practical timing and clear criteria.
Rotating and balancing ensure even wear, smooth handling, and longer tread life through data-driven schedules.
- tire rotation cadence: rotate every 5,000 to 7,500 miles or per manufacturer guidelines, whichever comes first, adjusting for uneven wear patterns and highway vs. city use.
- balancing techniques: rebalance after any tire removal, after a wobble event, or when vibration exceeds smooth-handling thresholds; record weights and dynamic/static results for trend tracking.
- documentation and review: log dates, mileages, and service notes; reassess every 6 months or 5,000 miles to adjust intervals based on wear data and driving conditions.
This approach preserves stability, supports even wear, and aligns with a freedom-forward mindset.
Seasonal Temperature and Storage Tips
Temperature shifts cause shrinkage in tires, so you’ll want to monitor pressure as seasons change and verify it matches the vehicle’s recommended range. Store tires in a cool, dark, and dry environment to minimize material aging and maintain shape, using seasonal storage practices that reduce exposure to heat and UV light. Keep an eye on pressure stability as temperatures vary, and adjust per manufacturer guidance to prevent performance loss.
Temperature-driven Shrinkage
Seasonal temperature shifts cause tire materials to expand and contract, which can lead to subtle shrinkage in stored or unused tires. You’ll notice how temperature effects alter tire elasticity over weeks, even at constant load. To minimize drift, follow a disciplined approach:
1) Inspect tires monthly for dimensional changes and note any stiffness in cold periods.
2) Store tires upright in a cool, dry environment, away from direct sunlight to preserve elasticity.
3) Maintain a stable ambient temperature around 60–75°F to reduce repeated expansion and contraction.
This methodical care helps you preserve performance margins without sacrificing freedom. By accounting for temperature effects and tire elasticity, you reduce bead-seating risk when tires re-enter service, keeping you prepared for any season.
Seasonal Storage Practices
Seasonal storage practices require you to align tire conditions with expected temperature ranges and humidity to preserve elasticity and bead integrity. You should plan ahead for off-season periods, selecting a controlled environment and minimizing exposure to direct sunlight. Document seasonal adjustments to storage means; monitor humidity, avoid extreme swings, and keep tires out of contact with oils or solvents. When you store, use sturdy shelving or upright stands to prevent deformation, and cover tires with breathable fabric to prevent moisture buildup. Rotate tires periodically to prevent flat spots, and record dates of storage and any conditioning steps taken. Maintain consistency between stored and forecasted climate, confirming that tire storage remains conducive to long-term flexibility and bead integrity. This approach supports freedom through disciplined, evidence-based practice.
Pressure Stability Tips
Consistent tire pressure is a function of ambient temperature and storage conditions, so aligning inflation practices with forecasted climate reduces stress on bead interfaces and sidewalls. You’ll minimize bead leaks by monitoring pressure shifts with seasonal changes and adjusting before driving.
- Track daily high/low temps and compare to your vehicle’s recommended psi to forecast air loss and plan top-offs.
- Use a quality gauge and check after cold starts; avoid hot-side readings to prevent overinflation errors.
- Store vehicles in shade or indoors; maintain a stable environment to reduce runout and pressure volatility.
This approach is data-driven and precise, balancing freedom to travel with measurements that protect tire inflation integrity during temperature swings and storage.
Signs of Bead Leak and Early Repair Steps
Bead leaks are often subtle at first, so start with a careful inspection: look for air bubbles forming along the bead seat after a pressure test, and check for any slow, steady loss of tire pressure over several days. You’ll want to document tire pressure readings at the same time each day to establish a reliable baseline. If you observe bubbling, listen for a hiss when the tire is cooled, and verify bead seating with a soapy-water test around the bead area. Mark locations where loss concentrates, as uneven seating can indicate residual debris or a misalignment. Early repair steps are disciplined: clean bead seat thoroughly, deburr corrosion, reseat with appropriate mounting lubricant, and recheck. For persistent or recurrent leaks, pursue bead repair or professional assessment, ensuring valve integrity and rim abrasion are evaluated. These actions support leak prevention and maintain safe performance, without unnecessary downtime.
When to Replace Tires and Seek Professional Service
After confirming bead seating and pressure maintenance, you should be ready to evaluate tire wear and service needs. You’ll replace tires when wear depth, irregular wear, or damage exceeds safe limits, or when tire lifespan reveals diminishing performance. When in doubt, seek professional inspection to confirm condition and risk.
1) Assess tread depth and uniformity: if remaining tread is near or below 2/32 inch (1.6 mm) or shows cupping, bulging, or cracking, replace.
2) Consider age and performance: tires older than six years, or those with irreversible hardening, should be evaluated by a professional inspection, even if tread appears adequate.
3) Weigh performance and safety tradeoffs: if grip, steering, or hydroplaning resistance deteriorates, replace promptly rather than risk a failure.
This approach preserves control, minimizes bead leaks, and aligns with tire lifespan data while honoring your freedom to choose reliability.
Frequently Asked Questions
How Often Should I Replace Valve Stems to Prevent Leaks?
Valve stems don’t have a fixed replacement interval, but you should inspect them annually and replace if you notice cracking, corrosion, or leakage. In practice, plan on changing valves if tires are removed for service or if your vehicle’s wheels undergo sanitized repairs. This aligns with valve stem lifespan guidelines and leak prevention tips. You’ll gain reliability and peace of mind by documenting the stem’s condition and choosing quality, compatible replacements for ideal safety and performance.
Can Bead Leaks Occur After Long Storage Without Movement?
Yes, bead leaks can occur after long storage without movement. You should expect bead leak causes to be related to tire seating shifts, temperature swings, and chemical interactions over time, even when wheels aren’t moving. Check storage conditions: cool, dry, stable pressure, and away from direct sunlight. Inspect valve stems, rims, and beads regularly, reseating if needed. If you notice slow leaks, recheck pressure and consider professional inspection to prevent sudden tire failure.
Do All Rim Materials Require the Same Bead Seal Care?
Bead seal care isn’t identical across every rim material. You’ll find rim material differences affect seal surfaces, tolerances, and bead seat behavior, so you should tailor you approach to each type. You’ll compare bead seal types and adjust torque, lubrication, and inflation practices accordingly. Think of it like fine-tuning a guitar string—precision matters. You’re aiming for consistent seating, minimal movement, and proactive inspections to sustain reliability across rim material differences.
Will a Tire Sealant Fix a Slow Bead Leak Reliably?
A tire sealant can slow or stop a small bead leak, but it isn’t guaranteed to fix a persistent leak reliably. For best results, you should assess tire–rim compatibility and monitor pressures, since tire sealant effectiveness varies. If leaks persist, consider professional inspection. Use sealant primarily for bead leak prevention and temporary sealing, not as a long-term fix. You’ll want to track performance data and avoid relying on it for critical, high-speed use.
Can Wheel Alignment Affect Bead Seal Integrity Over Time?
Yes, wheel alignment can affect bead seal integrity over time. If alignment is off, tire pressure unevenly loads the bead area, increasing edge wear and the risk of slow leaks. You should maintain proper tire pressure and routinely verify it, especially after alignment adjustments. Track alignment specs and monitor changes in ride feel. Consistently check the bead seating, and document any irregular wear patterns to prevent gradual seal degradation.