Tools and Prep to Prevent Vibration After Upgrade During Exhaust System Installation
To prevent vibration after an exhaust upgrade, you’ll start with a calibrated torque wrench and the correct sockets to tighten all fasteners to spec. Use anti-vibration bushings, isolators, and heat-rated clamps, then organize parts with a magnetic tray to avoid cross-threading. Inspect mounts and hangers for cracks, corrosion, and looseness, ensuring square mounting points. Verify clearances and simulate engine movement, adjusting as needed. After installation, re-torque and perform a test run to confirm quiet, stable operation. More details ahead.
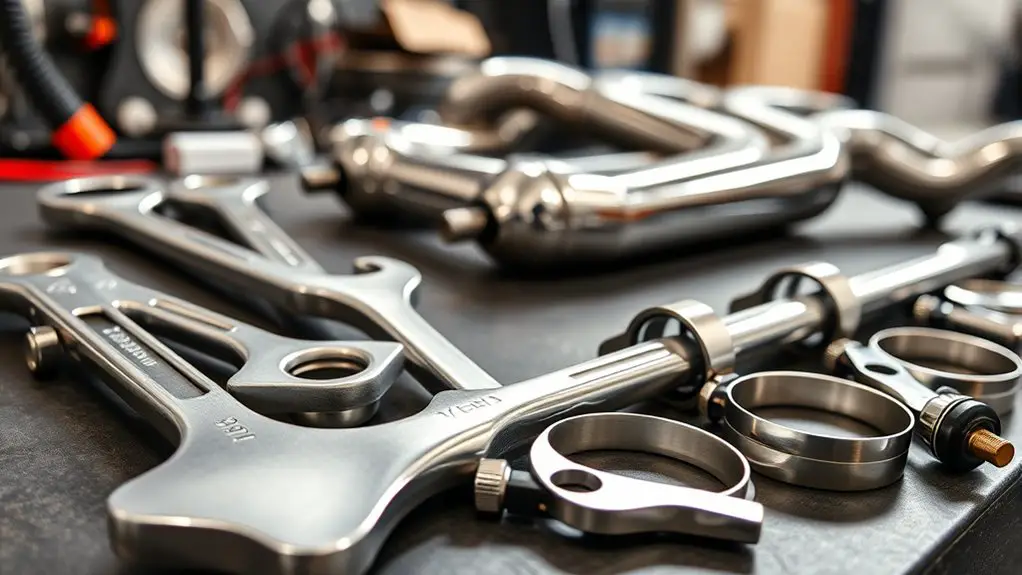
Tools You’ll Need for a Vibration-Free Exhaust Install

You’ll need a focused set of tools to guarantee a vibration-free exhaust install. Begin with a calibrated torque wrench and the correct socket sizes for your fasteners, because precise torque matters for alignment and clamping force. Have vibration dampeners on hand to isolate mounts and reduce metal-to-metal contact, preserving reducing paths as you fit each section. A magnetic tray keeps bolts organized, preventing cross-threading or misplacement during a tight sequence. Use thread sealant or anti-seize where applicable, following torque specs to avoid over-tightening or galling. A digital caliper helps confirm pipe diameters and gasket fitment, ensuring a clean seal before tightening. Consider a universal mount wrench or pry bar for gentle realignment without bending brackets. Keep a torque-spec sheet accessible, documenting each fastener’s value to uphold consistency across the install. Finally, PPE and a stable workspace reduce slips and errors, supporting a controlled, freedom-respecting process.
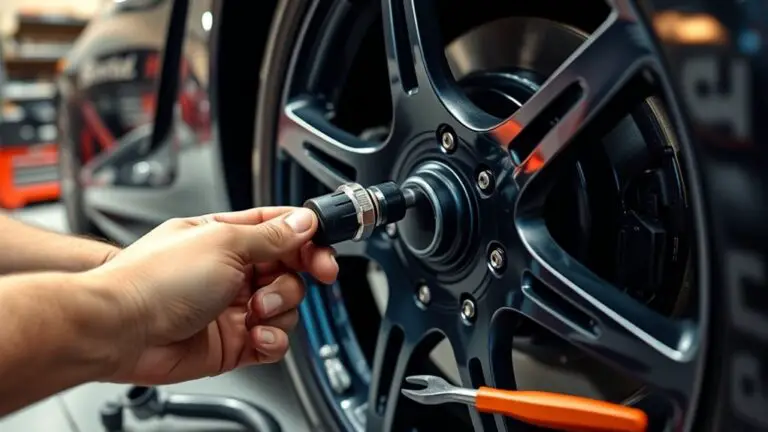
Inspecting and Preparing Mounts and Hangers

Inspect the mounts and hangers first, checking for corrosion, cracks, or looseness that could compromise alignment. You approach with a methodical checklist: confirm mounting points are square to the chassis, verify bolt torque against spec, and guarantee rubber isolators are intact without degraded stiffness. Perform mount inspection by inspecting each frame rail and crossmember connection for deformation or fatigue, then test each hanger for vertical play and lateral sway. Record any misalignment, noting its potential transmission path for vibration. If you detect wear or looseness, replace components or resecure fasteners to spec before proceeding. Clean mounting surfaces to remove oil, grime, and debris to guarantee reliable seating. After inspecting, perform hanger adjustment only as necessary to achieve true alignment, avoiding over-tightening that could bind movement. Document findings and corrective actions for future maintenance, maintaining a precise, repeatable process that supports a quiet system post-install.
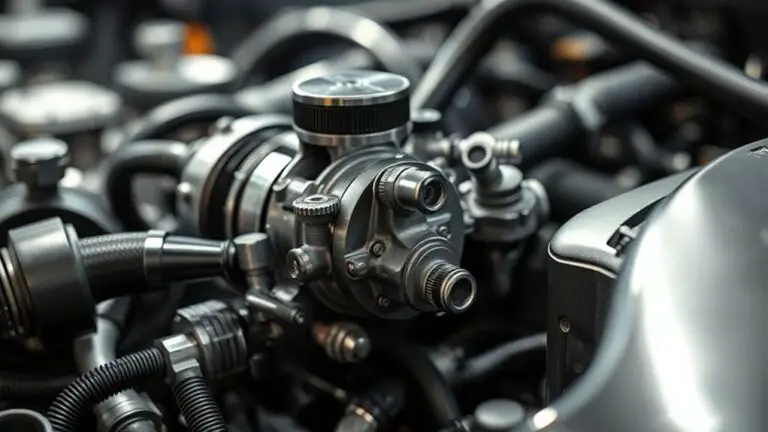
Selecting Anti-Vibration Hardware and Clamps
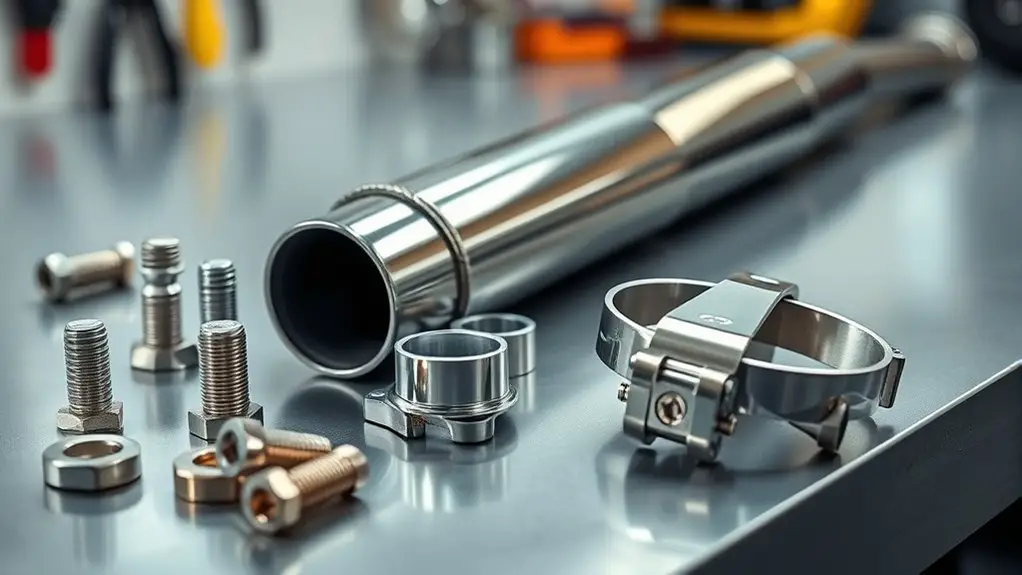
With the mounts and hangers verified, you’re ready to specify anti-vibration hardware and clamps that maintain precise alignment under load. Choose components designed for automotive exhaust service: anti vibration bushings, isolators, and clamps rated for thermal cycling and metal-to-metal contact reduction. Prioritize corrosion resistance, compatible dimensions, and load rating that matches the pipe diameter and hanger spacing. Use vibration isolation material that handles heat without cracking, and guarantee clamps provide secure, repeatable clamping force without deforming flanges. Document torque specs and installation sequence to preserve alignment through system flex. Avoid over-constraining; allow slight motion where the design permits, preventing joint binding. For clarity, verify compatibility with existing hardware before final torque.
| Purpose | Benefit |
|---|---|
| Anti-vibration bushings | Reduce transmission of engine and road oscillations |
| Clamps with isolation | Maintain alignment, minimize slippage |
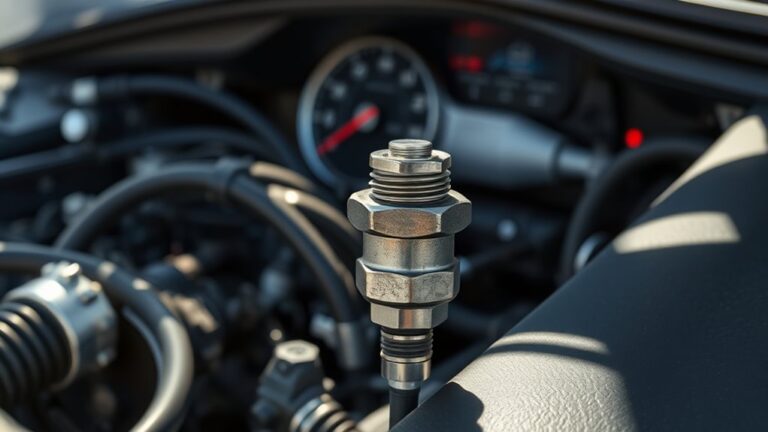
Clearance Checks and Alignment for Quiet Operation
To guarantee quiet operation, verify that all exhaust components maintain proper clearance from heat shields, chassis, and nearby plumbing throughout the full range of motion and operating temperatures. You will perform targeted clearance checks by simulating normal engine movement and thermal expansion, noting any contact points or abrasion. Establish a baseline clearance map, then document deviations with precise measurements. Apply clearance adjustments by repositioning hangers, isolators, or clamps to achieve consistent gaps of recommended thickness across all axes. Use alignment techniques that prioritize straight runs, true angles, and parallelism between piping segments, avoiding binding at bends or mounts. Inspect for equal spacing near supports at both engine and tailpipe interfaces, ensuring no pinch or torque concentrations under flex. Confirm that heat shields and accessories retain noncontact clearance during full rotation, vibration, and thermal cycling. Record twice, adjust once, and recheck after a simulated cycle to confirm quiet operation.
Post-Install Tightening and Test-Run Procedures
After installation, tighten all fasteners to the specified torque sequence and values, then verify that every clamp, hanger, and bracket remains seated without loosening under simulated engine movement. You’ll proceed with post install torque checks using a calibrated torque wrench, documenting readings for each connection. Next, perform a controlled vibration analysis to establish a baseline response, noting any anomalous frequencies or amplitudes. Re-torque any fasteners that show drift beyond tolerance, rechecking clamps and brackets after a brief engine-off cool-down. With the system secured, execute a test-run under representative load and RPM ranges, recording vibration data from critical points along the exhaust path. Compare results against established thresholds; if you observe sustained interface movement or unusual noise, intervene promptly by adjusting mounts or adding isolation where permitted. Finalize by confirming all fasteners remain within spec after the test run and documenting post install torque values and vibration analysis findings for traceability.
Frequently Asked Questions
How Often Should Vibration-Damping Mounts Be Replaced After Installation?
Dynamic, deliberate durability: you should inspect vibration-damping mounts annually and replace when signs of wear appear. For a typical vehicle, expect a replacement frequency every 3–5 years, but monitor mount lifespan under your driving conditions. If you notice cracking, looseness, or persistent vibration, replace promptly. Track maintenance logs, compare against OEM specs, and maintain precise torque during install. This methodical approach preserves mount lifespan, ensuring you won’t over-rely on aging hardware.
Do Anti-Vibration Clamps Affect Exhaust Flow or Performance?
Anti-vibration clamps don’t block exhaust flow or reduce performance when correctly installed. They’re designed to isolate engine- or frame-induced vibrations, contributing to effective vibration reduction without compromising exhaust efficiency. If clamps are oversized or misplaced, you can introduce binding or restricted movement, so follow exact torque specs and positioning. You’ll preserve exhaust efficiency while maintaining a stable system, enabling precise, repeatable performance outcomes. Regular inspection guarantees vibration reduction remains consistent over time.
Can Vibration Issues Occur With Factory Hangers After Upgrade?
Yes, vibration issues can occur with factory hangers after upgrade. You should conduct a systematic vibration analysis to pinpoint resonances, then assess hanger upgrades for compatibility. Measure frequencies, damping, and clearances, documenting results precisely. If needed, replace or reinforce hangers, install isolators, and recheck alignment. You pursue freedom through robust data, not guesswork. Confirm you verify mount stiffness and exhaust path freedom, confirming the upgraded system remains within acceptable vibration thresholds.
What Signs Indicate Insufficient Clearance Causing Contact During Movement?
Yes—insufficient clearance will create contact during movement. Look for signs like new squeaks, grinding, or metallic thuds as the exhaust shifts. You may feel binding or resistance at full suspension travel, plus rubbing marks on hangers or pipes. Check clearance issues at rest and under load, then during slight bump tests. Document motion paths, measure gaps, and verify that all components avoid contact within the anticipated range of movement.
Are Aftermarket Isolators Compatible With All Vehicle Models?
Not always. Aftermarket compatibility isn’t universal across all vehicle models. You’ll need to verify specs for your specific make, model, and engine setup. Check isolator materials and mounting geometry to guarantee fitment, load ratings, and clearance. Consult manufacturer guidelines and, if needed, test with precise measurements. If you find a mismatch, seek alternatives designed for your chassis. You’ll preserve performance and reduce vibration by matching components to your exact configuration.