Top Causes of Clogged Radiator and Long-Term Fixes
Clogged radiators stem from sludge, rust, and mineral buildup that choke flow, plus aging coolant, air pockets, faulty caps, and worn pumps that worsen the condition. You’ll see higher backpressure, reduced heat transfer, and irregular temps. Address the blockage now with targeted flushing, coolant analysis, and cap/thermostat checks, while tightening preventive care: hose integrity, corrosion control, and routine fluid monitoring. If you keep following, you’ll uncover deeper causes and durable fixes that last.
Common Causes of Radiator Blockages
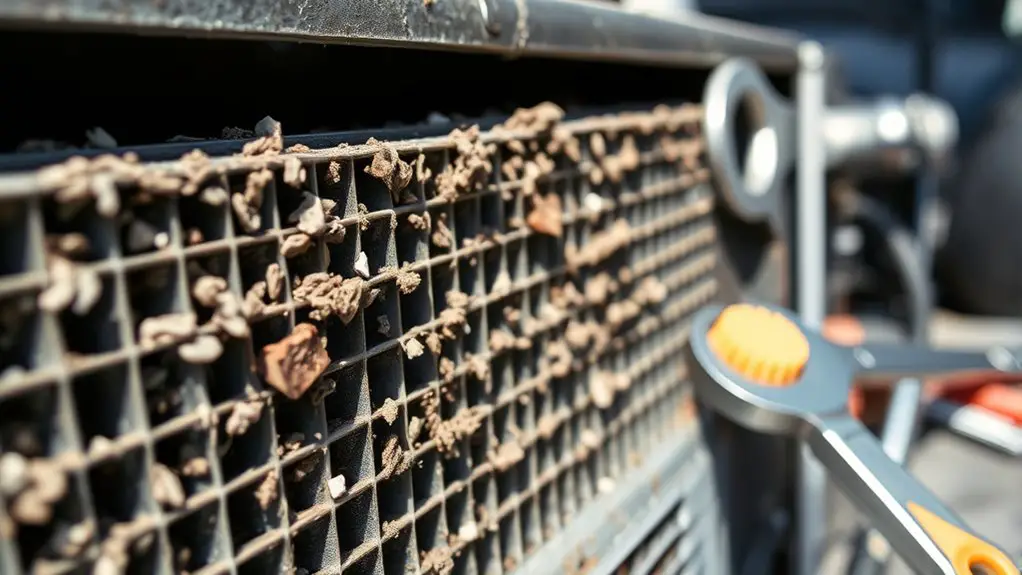
There are several common causes of radiator blockages. You’ll encounter buildup from coolant sludge, debris, and sediment that accumulate as you operate the system. Poor maintenance accelerates this process, allowing organic matter and rust particles to lodge in fins and tubes. Infrequent radiator cleaning lets scale form in passages, reducing flow and heat transfer efficiency. Contaminated coolant, often from low-quality coolant additives or mixed incompatibly, promotes precipitates that clog passages and create localized hotspots. A faulty thermostat or restricted shroud can increase flow resistance, worsening sediment deposition. Overly aggressive cooling system repairs may introduce air pockets, causing air locks and progressive blockage. External debris from damaged hoses or a damaged radiator cap can introduce contaminants, compounding flow restrictions. Regular inspection helps you identify early signs, while selective coolant additives can stabilize chemistry. Pair cleaning with a targeted flush when needed, and consider radiator cleaning as part of your preventive maintenance to sustain performance.
Rust and Corrosion Effects on Cooling Systems
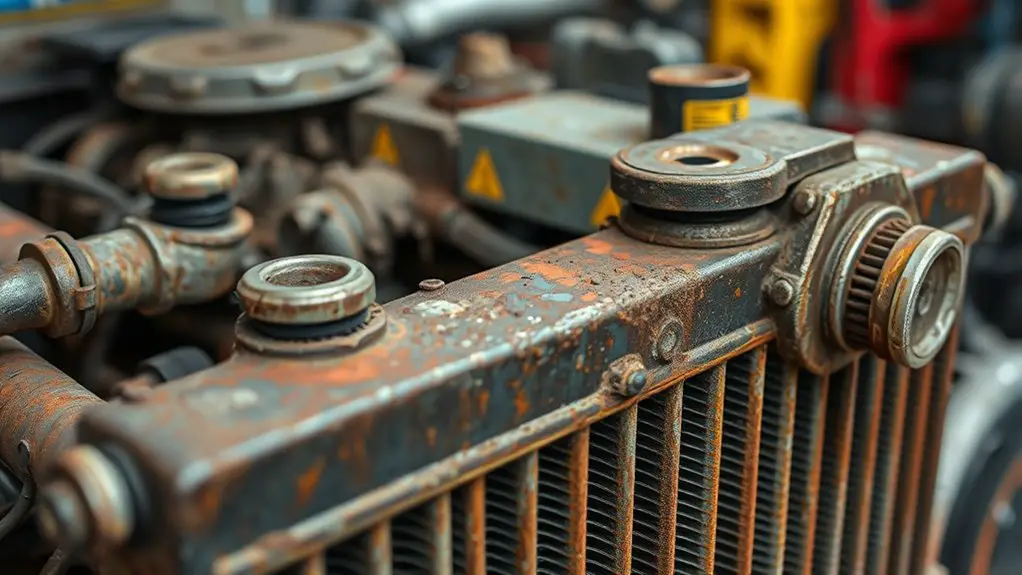
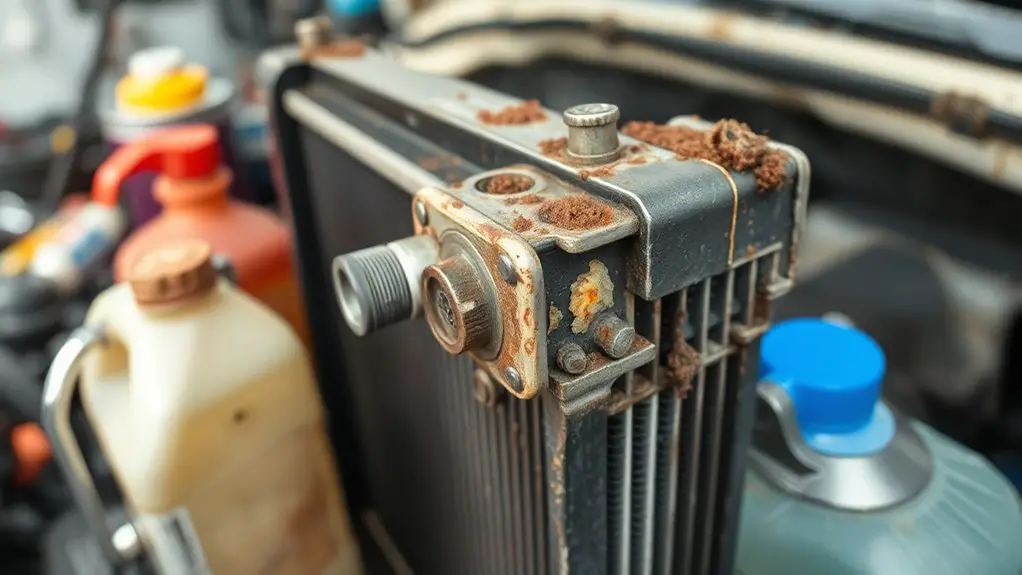
Rust and corrosion directly compromise cooling-system integrity by thinning metal walls, narrowing passages, and increasing leak risk. You’ll notice reduced heat transfer efficiency as metal loss alters flow paths and pressure. In automotive radiators, dissimilar metals create galvanic couples that accelerate degradation, while coolant aging concentrates acids that attack passages and welds. You should implement proactive rust prevention strategies to slow onset and minimize downtime. Regular inspection of hoses, clamps, and reservoir caps helps catch early corrosion signs before leaks evolve into failures. Use compatible coolant formulations tuned for your system’s materials, and replace coolant at recommended intervals to suppress corrosive build-up. Consider corrosion inhibitors tailored to your engine alloy and antifreeze mix; these additives form protective films on metal surfaces, reducing electrochemical activity. Maintain proper ambient cleanliness and a sealed cooling loop to limit moisture ingress. In sum, timely maintenance and targeted inhibitors stabilize the network, preserving flow, pressure, and overall reliability.
Mineral Scale and Sediment Buildup
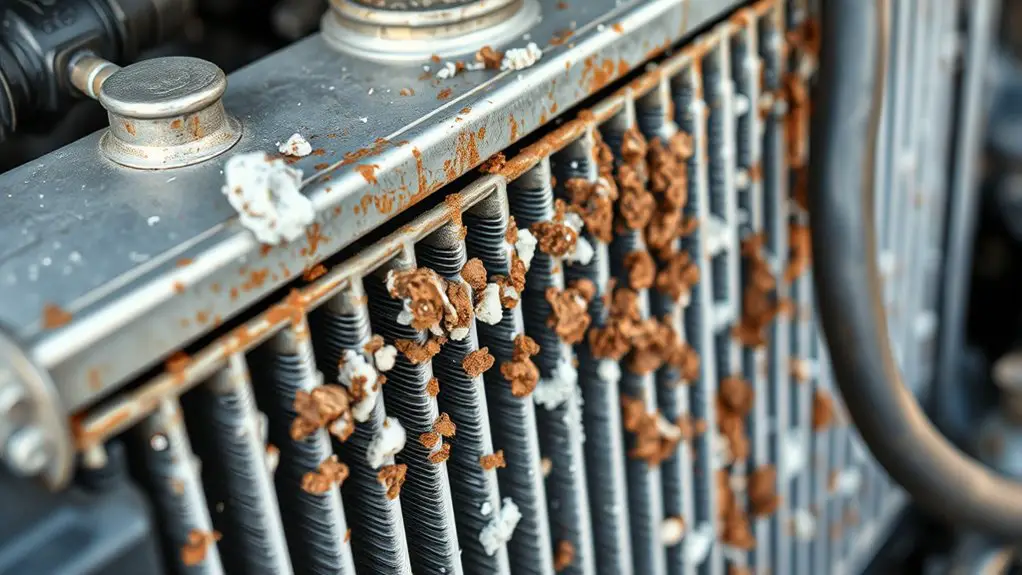
Mineral scale and sediment buildup reduce coolant flow by forming insoluble deposits on heat exchangers, tubes, and passageways. You’ll notice reduced heat transfer efficiency and higher operating temperatures as minerals precipitate from hard water and concentrate coolant. To combat this, focus on preemptive management and targeted flushing practices that minimize deposit formation, while preserving protective film integrity on metal surfaces. Effective control hinges on understanding water chemistry, coolant quality, and system flow patterns. Consistent monitoring helps you maintain ideal conditions and extend component life without sacrificing performance.
- Scale formation maps: visualize where minerals crystallize in narrow channels, guiding targeted treatment.
- Sediment prevention tactics: implement filtration, water softening, and disciplined top-offs to keep dissolution equilibrium favorable.
- Flushing cadence: schedule systematic, non-aggressive purges to gently remove settled material before it adheres firmly.
Dead Ends: Air Pockets and Air Locks
Air pockets and air locks interrupt coolant circulation just as mineral scale can disrupt flow, but their effect is immediate and mechanical: pockets create localized overheating and erratic pressures that undermine heat transfer. You’ll notice abrupt temperature spikes and fluctuating thermostat signals when an air bubble forms in the upper radiator sections or near the inlet. Air pockets obstruct the continuous path of coolant circulation, forcing the pump to work harder and reducing overall thermal efficiency. To locate them, scan for sudden temperature differentials across the core and listen for pump cavitation-like noises. Bleeding procedures must restore a continuous liquid column, ensuring the air is expelled and the coolant circulation resumes uniform flow. Use a calibrated bleed valve, fill to the correct level, and recheck with engine at operating temperature. Do not confuse air pockets with sludge; the remedy is purge, not replacement, when seeking swift stabilization and reliable heat transfer.
Deteriorated Coolant and Contamination
Deteriorated coolant and contamination degrade heat transfer and can accelerate corrosion and blockages, so inspecting coolant condition is essential before pursuing fixes. You’ll assess both coolant degradation and contamination sources to forecast performance and lifetime. Poor coolant quality reduces boiling point margins, elevates operating temps, and promotes internal wear. Contaminants—rust, oil residues, scale—seed deposits that obstruct flow paths and heat exchange surfaces. A systematic check reveals if you’re dealing with degraded formulation, gel-like sludges, or metal fines from premature wear. Precision testing guides you toward targeted remedies, whether flush, recharge, or specification-aligned coolant replacement.
- Assess appearance and odor; identify sludge, discoloration, or oily slick that signal contamination sources.
- Analyze coolant chemistry (pH, silicate, inhibitors) to confirm degradation and corrosion risk.
- Inspect cooling system cleanliness and residue distribution to plan effective flushing and refill strategy.
Faulty Hoses and Clamp Failures
Faulty hoses and clamp failures are common culprits when a radiator isn’t delivering reliable cooling, and they often stem from prior coolant condition issues. You’ll notice external leaks, steam, or sudden temperature swings as early signs. Hose deterioration weakens flexibility, promotes cracks, and can lead to transient bursts under pressure. Clamp integrity matters just as much; a loose or corroded clamp may allow seepage or hose blowback, compromising the entire flow path. Inspect both hard lines and soft hoses for swelling, soft spots, or oil contamination that accelerates rubber degradation. Use precise torque values when re-securing clamps to avoid over-tightening, which damages hose walls, or under-tightening, which invites leaks. Replace aged hoses with OEM or equivalent materials designed for your coolant chemistry and system pressure. Maintain proper routing to prevent kinked segments. Regular pressure tests help confirm seal reliability, and monitoring coolant color and pH supports early hose-deterioration detection and overall system freedom.
Water Pump Strain and Flow Restrictions
Water pump load strain increases as flow restrictions persist, elevating motor current and audible noise. When narrow passages or blockages impede coolant, the pump must work harder, reducing volumetric flow and overheated hotspots risk. Understanding these dynamics helps you diagnose pump performance changes before cooling efficiency declines.
Pump Load Strain
Fluid flow restrictions increase pump load as the water pump works harder to circulate coolant through an obstructed radiator, hoses, or core. You’ll notice elevated current draw, noisier operation, and subtle temperature shifts as pump efficiency declines. In this scenario, load management becomes the precision tool you use to prevent premature wear and overheating.
- Reduced flow paths force the pump to sustain higher RPMs, increasing mechanical stress and wear patterns.
- Narrowed passages raise shear and turbulence, degrading head pressure and thermal transfer.
- Impeller and housing imbalances magnify vibration, signaling mounting issues and potential seal problems.
Focus on monitoring flow, reducing unnecessary resistance, and maintaining a steady, deliberate coolant circuit to preserve pump efficiency and control load, keeping your system resilient and free-moving.
Flow Restriction Impact
Flow restriction increases water pump strain by forcing the impeller to work against higher backpressure and reduced outlet area. You’ll notice a shift in flow dynamics as velocity profiles compress, altering suction efficiency and steady-state throughput. When restriction tightens, pressure variation across the pump rises, but outlet pressure tends to drop downstream, stressing seals and bearings. This creates a ripple effect: elevated motor load, marginal cooling, and potential overheating under sustained operation. In practical terms, flow restriction reduces radiator effectiveness and boosts cyclic wear on the pump, shortening service life. To mitigate, monitor differential pressure across the core, verify clog prevention measures, and maintain proper coolant flow. Understanding flow dynamics helps you anticipate failures before they manifest as leaks or overheating.
Thermostat and Radiator Cap Issues
If the thermostat or radiator cap isn’t operating correctly, the cooling system won’t regulate temperature or pressure as intended, allowing the engine to overheat or experience cycling issues. You’ll notice erratic temperature readings, sudden heat bursts, and pressure fluctuations that stress hoses and the reservoir. Addressing these components restores predictable cooling and avoids cascading failures.
1) thermostat malfunction: the valve may stick open or closed, causing poor warm-up or sudden heat spikes, forcing the radiator to run inefficiently.
2) radiator cap: a compromised seal or weak spring can’t maintain system pressure, triggering coolant loss, boil-off, or capped overflow.
3) combined symptoms: intermittent temp swings, warning light activation, or inconsistent fan operation signal a cap or thermostat interaction needing inspection.
If you suspect any of these, test the thermostat’s opening range and inspect the cap for a proper seal and spring tension. Quick fixes prevent longer downtime and preserve ideal engine performance.
Long-Term Solutions for Preventive Maintenance
Regular preventive maintenance creates a reliable cooling system baseline by establishing a disciplined schedule for inspection, testing, and part replacement before failures occur. In this section, you implement long-term solutions that sustain performance without reactive downtime. Start with preventive strategies that emphasize proactive components: coolant quality monitoring, corrosion control, and accumulator verification. Establish standard intervals for fluid analysis, hose integrity checks, and radiator core examinations, then document results for trend analysis. You’ll adopt a layered approach: preventive actions layered with predictive cues from temperature, pressure, and flow readings. Maintain an asset register with part lifespans, replacement kits, and calibration dates to prevent surprises. Integrate routine cleanings and descaling where mineral buildup is likely, ensuring flow paths remain unobstructed. Emphasize training for operators and technicians to recognize early deviations, enabling rapid, targeted corrections. By prioritizing regular inspections, you reduce failure potential and extend system longevity while preserving operational freedom.
Frequently Asked Questions
How Often Should I Flush the Cooling System?
You should flush the cooling system every 2 to 3 years, or sooner if you notice overheating, sediment, or contaminated coolant. This coolant maintenance interval helps prevent buildup and protects your radiator. When flushing, use the recommended cleaner and follow the vehicle maker’s procedure. Track your flushing frequency and coolant condition, not just mileage. Regular checks are essential for peak performance and freedom to drive confidently.
Can Radiator Clogging Happen Without Overheating?
Radiator clogging can occur without overheating. You might notice sluggish cooling, inconsistent temps, or a sweet smell from mild blockages. In radiator maintenance terms, debris, sediment, or scale can restrict flow even when you’re not running hot. Keep your cooling system clean, monitor pressure, and inspect hoses. Regular, precise checks protect the system, letting you ride freely while avoiding excessive heat buildup. Maintain cooling-system vigilance and embrace proactive maintenance.
Does Coolant Color Indicate Contamination?
Yes, coolant color alone isn’t a reliable contamination indicator. You’ll want to look for distinct contamination indicators like odd sludge, oil sheen, or debris, plus timing and performance signs. Color changes can occur from additives or dilution, but they don’t confirm cleanliness. For coolant maintenance, test with proper kits and follow your manufacturer’s specs. If you notice color shifts, investigate leaks, prove composition, and flush as needed to prevent corrosion and overheating.
Do Additives Prevent Scale Buildup Long-Term?
Yes, additives can help, but their effectiveness depends on formulation and system conditions. You’ll see additive effectiveness most when paired with proper maintenance, regular coolant changes, and correct concentration. They can slow scale buildup by dispersing minerals and inhibiting crystallization, yet they aren’t a cure-all. If you’re chasing long-term scale prevention, you must monitor pH, avoid incompatible metals, and choose products labeled for your coolant type. Stay vigilant; prevention demands consistency and precise dosing.
Can Low-Quality Coolant Cause More Deposits?
Yes, low-quality coolant can lead to more deposits. When coolant quality is poor, additives may be insufficient to inhibit deposit formation, accelerating corrosion and scale buildup. You’ll see elevated silica and metal salts, which promote deposit formation and clogging. Regular testing, proper dilution, and using the right specification coolant help minimize buildup. In short, choose high-quality coolant and monitor its condition to control deposits and protect your cooling system.