Top Mistakes When Servicing Brake Fluid and How to Avoid Them
Top mistakes when servicing brake fluid include using the wrong fluid for your system, ignoring manufacturer specs, and mixing fluids, which can cause seal damage and poor braking. Don’t skip moisture testing before a flush, as high moisture lowers boiling point and promotes corrosion. Bleed with proper technique, keep the reservoir topped, and prevent air reentry. Avoid contamination by keeping tools and containers clean, and never dispose of used fluid down drains. If you push further, you’ll gain essential, safety‑driven know‑how.
Reading Brake Fluid Condition: What to Look For

Reading brake fluid condition is about spotting signs that indicate trouble before it becomes a safety issue. You’ll inspect color, clarity, and consistency with a calm, methodical approach. Start by checking brake fluid color; it should be clear to light amber in most systems. Any dark, muddy, or opaque appearance signals contamination or moisture ingress, and you should note it for testing. Next, assess fluid viscosity—prompt, steady movement between your fingers as you smear a small amount on a clean surface helps you feel if it’s too thin or unusually thick, which can indicate degraded additives or contamination. Smell matters too: a sour or acrid odor suggests moisture or chemical breakdown. Look for particulates or a film on the reservoir surface, and verify cap seal integrity. Document all observations with precise timestamps and vehicle specifics. Maintain a disciplined, safety-first mindset, so you can act decisively if any parameter warrants action.
Choosing the Correct Brake Fluid Type for Your System
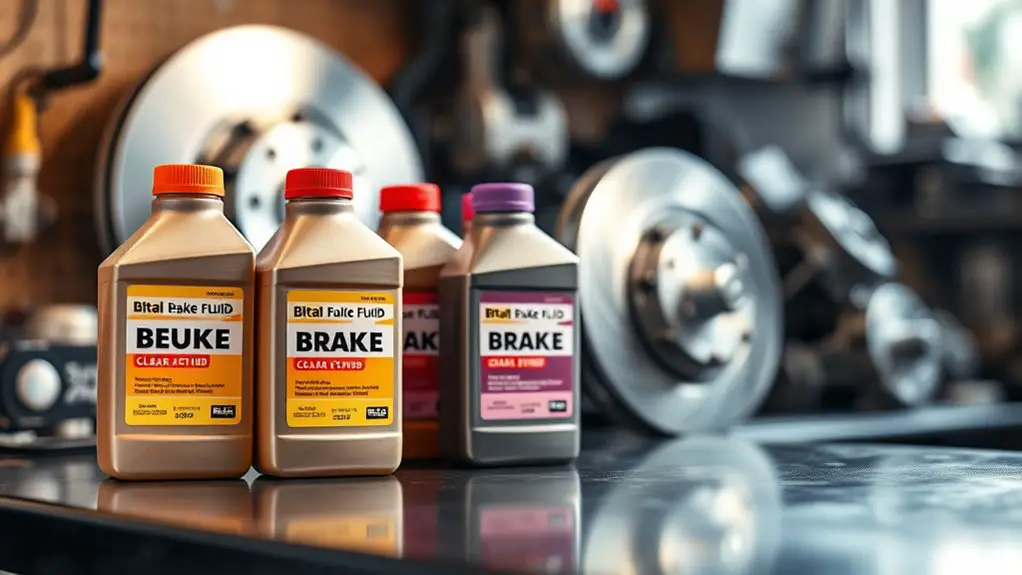
Choosing the correct brake fluid type for your system starts with matching the fluid to your vehicle’s specifications and the braking system’s design. You verify the recommended class (DOT rating, moisture tolerance, boiling point) and confirm reservoir compatibility before any fluid handling. Next, assess brake fluid compatibility with seals, pigments, and alloy components to minimize swelling, corrosion, or pressure loss. You’ll choose synthetic vs conventional options based on climate, uptime expectations, and service intervals, weighing volatility, oxidation resistance, and boil-point stability. Remember: mixing fluids is a safety risk, so you avoid cross-contamination and only replace with the exact type or a manufacturer-approved equivalent. Document the choice in your maintenance log and communicate any changes to the vehicle’s owner. By prioritizing correct fluid selection, you preserve system hydraulics, maintain consistent pedal feel, and reduce risk during operation. Precision today prevents failures tomorrow.
Ignoring the Manufacturer’s Specifications and Recommendations
Ignoring the manufacturer’s specifications and recommendations can create immediate safety risks and long-term reliability issues; even small deviations from approved procedures can lead to seal damage, fluid incompatibility, or unexpected boiling points. When you skip or alter steps, you bypass source-tested limits, undermining the system’s designed tolerances and pressure behavior. You must follow manufacturer guidelines to guarantee compatible fluid grades, correct seal material interactions, and proper venting. Adhering to service intervals is not optional flair—it’s essential for predictable performance and brake feel. Deviations often show up as spongy pedals, inconsistent braking, or premature wear, which later compound costly repairs. If a procedure isn’t documented for your specific vehicle, consult the manufacturer or authorized service literature before proceeding. Your responsibility is disciplined, evidence-based work that respects the engineering intent. Freedom here means choosing safety, consistency, and reliability over shortcuts that compromise you and others on the road.
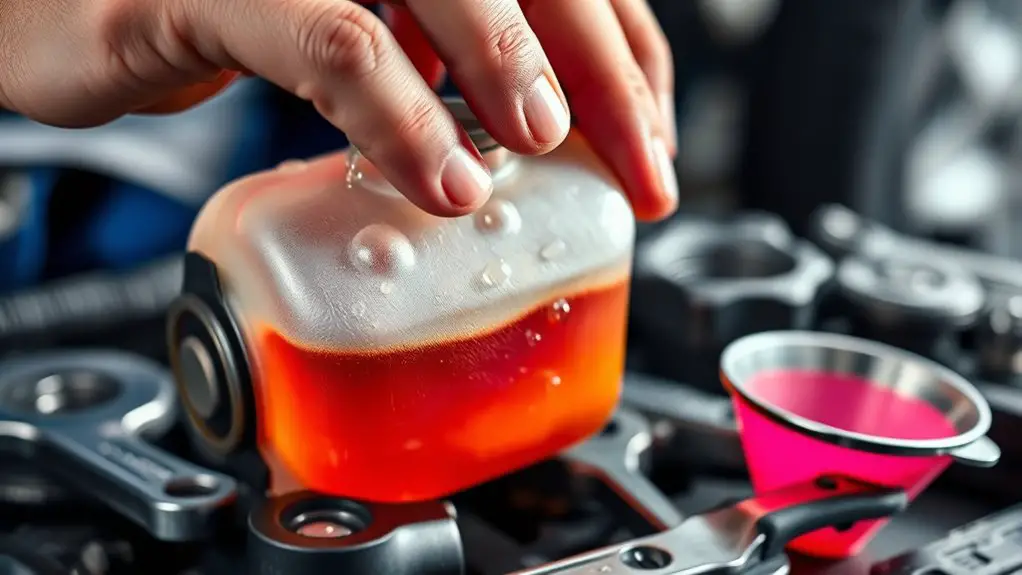
Not Testing for Moisture Content Before a Flush
You should test the brake fluid’s moisture content before flushing to prevent moisture-related damage and brake fade. If moisture is high, a flush may be necessary and should be performed with the proper procedure and compatible fluids. This step protects system reliability and rider safety by reducing corrosion and boiling risks.
Moisture Test Necessity
Moisture testing before a brake fluid flush is essential because undetected water content can compromise boiling resistance and corrosion protection. You’ll gain reliable results by confirming moisture levels prior to any flush, guiding your chosen fluid replacement strategy and preventing hidden failures later.
- Understand moisture effects on boiling point and corrosion risk, so you set a guardrail for performance
- Establish testing frequency that fits your vehicle and climate, avoiding guesswork and surprises
- Document readings and actions to guarantee consistent maintenance across services
Flush Moisture Risks
When you flush brake fluid without checking moisture content first, you risk sealing in hidden contaminants and water that can lower boiling resistance and accelerate corrosion. This mistake invites moisture sources to linger, undermining system protection and shortening service life. To limit risk, establish a defined flush frequency based on vehicle type, climate, and fluid aging, then adhere to it consistently. Avoid assuming a single bath guarantees purity; instead, verify moisture levels before and after each flush, and document results. Use clean tools, containment, and a spotless bench to prevent recontamination. Remember that water lowers boiling point, reduces brake feel, and fosters rust in metal passages. By tightening procedures and tracking moisture sources, you preserve performance and safety without unnecessary downtime.
Flushing and Bleeding: Improper Techniques That Create Air in the System
When you flush and bleed the brake system, improper technique can let air creep in through the lines, compromising pedal feel and braking efficiency. Watch for bleed technique pitfalls—like inconsistent fluid flow, improper clamp/sequence, or failing to keep the master cylinder topped—since these invite air pockets. Stay methodical, verify each corner of the system, and prioritize safety to prevent air from entering the circuit.
Bleed Technique Pitfalls
Bleed technique pitfalls can easily defeat the goal of a clean brake system, so start with a calm plan: remove all old fluid, keep the reservoir above the fluid level, and use a steady, controlled flow to prevent air from reentering.
- Maintain a continuous bleed cycle, never pause long enough for air to reenter the line.
- Keep tools clean and connectors tight, guarding against contamination that ghosts into the fluid.
- Monitor fluid color and level, stopping to wipe spills and refill to the proper height, preserving service efficiency.
Attention to sequence, cleanliness, and patience guarantees brake fluid stays uncontaminated, and avoids repeat bleeding. You protect performance, reduce risks, and maintain freedom to drive with confidence.
Air Invading Through Lines
Air can be drawn into the system if lines aren’t flushed and bled correctly, overtly undermining the very purpose of the service. You’ll prevent this by confirming the bleed sequence matches your vehicle’s requirements and by keeping a steady, controlled pace. Monitor air pressure in the master cylinder and verify pneumatic tools or vacuums aren’t introducing turbulence that traps air pockets. Always seal connections before opening bleed screws, and work from the farthest wheel toward the closest to avoid backflow. Inspect for line leaks at every junction, tightening fittings only to spec to avoid overstressing hoses. Document each step, purge until clean fluid appears, and recheck pedal feel before road testing. Precision and safety protect freedom from compromised braking performance.
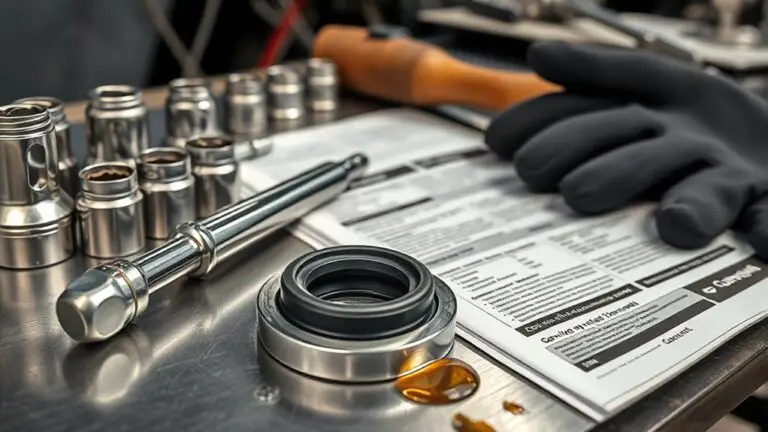
Using the Wrong Tools or Cleanliness Lapses During Service
Using the wrong tools or sloppy cleanliness can undermine the braking system’s performance, so inspect each step and use the right tools for the job. When you prep, choose tools by function, not brand, and verify calibration. Stay mindful of cleanliness protocols to prevent contamination that could compromise seals and fluid. A precise tool kit reduces surprises and keeps your system reliable.
Using the right tools and strict cleanliness safeguards brake system reliability and performance.
- tool selection: confirm compatible wrenches, syringe tips, and bleeder screws before you begin.
- cleanliness protocols: wipe master cylinder reservoirs, cap seals, and fittings; use lint-free rags and clean solvents.
- measurement discipline: keep fluids, fillers, and catches isolated from dirt and debris; label containers to avoid cross-contamination.
Proceed with steady pace, maintain torque specs, and minimize exposure of open ports. If you doubt tool integrity or cleanliness, pause and reassess before continuing. Your freedom to service confidently rests on disciplined preparation.
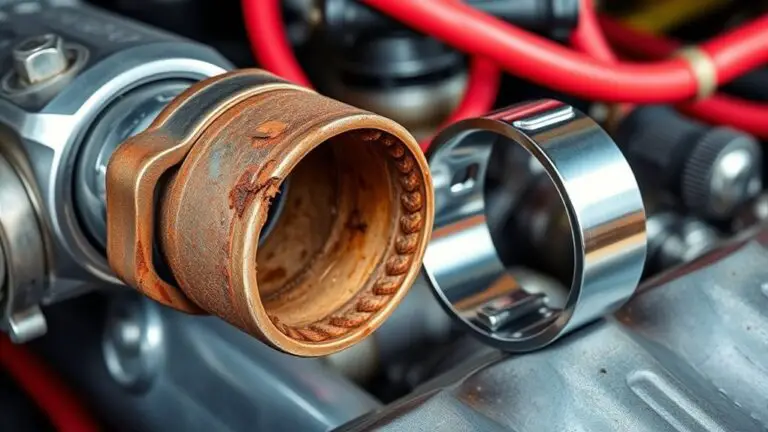
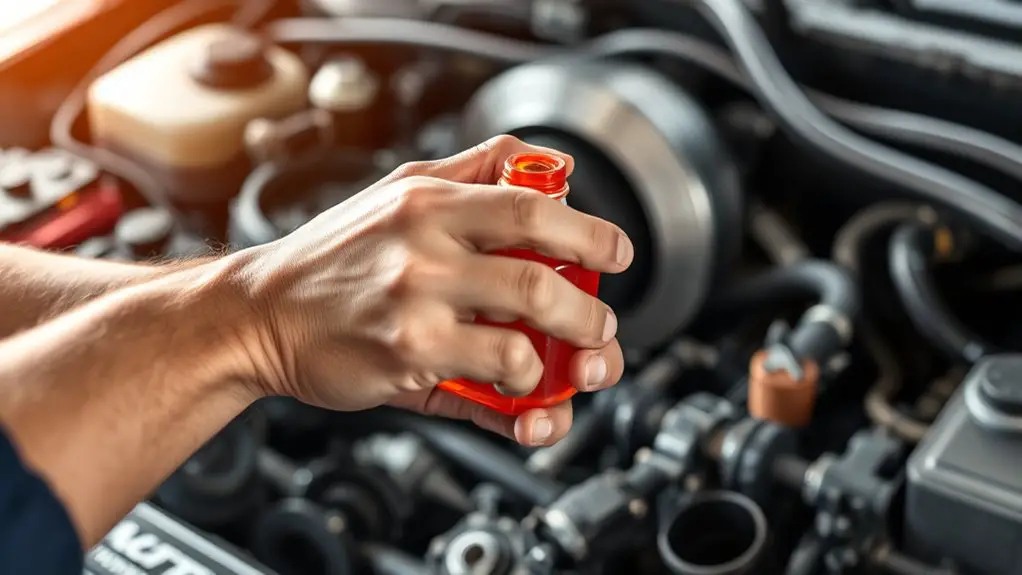
Mixing Different Brake Fluids or Untested Adulterants
Mixing different brake fluids or adding untested adulterants can seriously compromise braking performance and seal integrity, so never mix fluids from different manufacturers or of different types. You’ll create unpredictable chemical reactions, altered boiling points, and accelerated seal wear. Start every service with a confirmed fluid grade from the vehicle’s spec sheet, and avoid substitutions. If you’re unsure, discard the suspected batch and use fresh, labeled fluid from a known source. Fluid compatibility issues aren’t cosmetic; they affect pedal feel, stopping distance, and reliability. Document batch numbers when possible to trace contamination sources later, and maintain a clean, dedicated work tray for each fluid type. Never introduce a different fluid into the same system through a single bleed sequence. If you suspect contamination, pause the job, drain, flush, and verify fluid clarity before resuming. Guardrail practices protect you, your vehicle, and everybody who relies on it.
Inadequate Contamination Control: Dirt, Corrosion, and Packaging Hazards
Inadequate contamination control can quietly undermine braking safety, so you must treat dirt, corrosion, and packaging hazards as critical factors from the moment you start. You’ll guard against contamination sources by inspecting tools, work surfaces, and storage containers, ensuring every contact point stays clean and dry. Maintain packaging integrity to prevent ingress of dust or moisture that can compromise fluid quality and system performance. Establish a clean, organized workflow, and distinguish clean from dirty zones to prevent cross-contamination.
- Dirt and rust particles entering lines or reservoirs
- Corrosion-induced debris that can clog valves and restrict flow
- Damaged or compromised packaging that allows moisture or air ingress
Improper Disposal and Handling of Used Brake Fluid
Improper disposal and handling of used brake fluid poses clear risks to people, property, and the environment, so you must manage it with strict, step-by-step controls. You’ll separate used fluid from other wastes, store it in approved, labeled containers, and keep it sealed when not actively transporting or disposing. Never pour brake fluid down drains, onto soil, or into water, and avoid mixing it with fuels or solvents. Follow safety precautions like wearing gloves and eye protection, and use designated spill kits to contain any leaks. Track quantities, dates, and receptacles to guarantee proper lifecycle management. Transport only via licensed hazardous waste carriers or take-back programs, complying with environmental regulations and facility requirements. Document disposal records and verify receptacle integrity on each transfer. Regularly review local rules and manufacturer guidance to align with current environmental regulations. Maintain clarity, reduce risk, and uphold your responsibility to the environment and community.
Post-Service Checks: Ensuring No Spongy Feel or Leaks After Bleeding
After you bleed the brakes, you should perform the post-bleed check by feeling pedal firmness and listening for any changes in pedal travel. Inspect for leaks at all connections and fittings, including the master cylinder and slave points, and verify there’s no residual bleed fluid around the system. Finally, run a brief test drive to confirm the brake pedal feels solid and that no spongy sensation or leaks reappear.
Post-Bleed Check: Feel
After you finish bleeding the brake system, gently press the brake pedal and hold it there to evaluate its feel. You’re listening to brake feel and relying on steady pedal feedback to confirm proper system condition. If the pedal settles with a firm, consistent resistance, you’ve built confidence in pedal feedback and system integrity. If it dips or goes to the floor, re-check for air, contamination, or improper bleeding sequence before proceeding. Always treat the pedal as a safety instrument and monitor its consistency under light and firm pressure. Maintain calm, deliberate actions and avoid rushing the check.
- Firm, progressive resistance that doesn’t sink
- Consistent response across short squeezes
- No sponginess, no soft bottom out or sinking to the floor
Leak Inspection Steps
Now that the brake pedal feel has been checked for firmness, you’ll methodically verify there are no leaks or sponginess after the bleed. Begin leak detection at all connections: master cylinder, calipers, wheel cylinders, and hose fittings. Visually inspect for dampness around seals and fittings; wipe, observe, and recheck. Apply light pressure to the pedal and hold briefly; look for gradual pedal travel increase or a thirst for more pedal effort, which indicates intrusion. Inspect the brake fluid reservoir level for any drop that isn’t explained by normal usage. Check for bubbles in the lines by watching closely during pedal application. Document findings during flash checks, noting any fluid staining or discoloration. Perform a final fluid inspection to confirm cleanliness and absence of leaks.
Bleed Residual Checks
Bleed residual checks begin with a careful recheck of the brake system after bleeding to guarantee there’s no sponginess or hidden leaks. You verify pedal feel, confirm proper fluid return, and inspect lines for seepage. If anything’s off, re-check bleed techniques and reseat fittings before proceeding. Keep eyes on the fluid reservoirs for level changes and air pockets that signal incomplete bleeding. Maintain a calm, steady workflow to preserve safety and system integrity.
- Verify pedal firmness and consistent travel
- Inspect for leaks at all connections and along lines
- Confirm fluid reservoirs remain within acceptable levels after bleeding
Following these steps, you finish with a clear, safe assessment, ensuring reliability and freedom to drive with confidence.
Frequently Asked Questions
How Often Should I Replace Brake Fluid for Mileage vs. Time?
You should replace brake fluid based on both time and mileage: typically every 2 years or 20,000–40,000 miles, whichever comes first. This aligns with brake fluid intervals and mileage recommendations from most manufacturers. Check your owner’s manual for exact specs. If you drive in extreme conditions or tow, shorten intervals. Regularly inspect for dark, gritty fluid or a spongy pedal, and don’t delay maintenance for safety. Prioritize proactive service and precise, safe intervals.
Can Partial Flushes Cause More Air Than a Full Bleed?
A quick yes: partial flushes can introduce more air than a full bleed if you don’t purge the system completely. You’ll want to work methodically, venting air introduction carefully and watching for spongy pedal feel. Use fresh fluid, maintain a steady sequence, and guarantee clamps and bleeder screws seal tight. This isn’t the time for shortcuts—precision keeps you safe and in control, with consistent braking performance and peace of mind.
Are Compatibility Additives Allowed With DOT 3/4/5.1 Fluids?
Yes, additive compatibility exists but you must check manufacturer specs before mixing DOT 3/4/5.1 with any additives. If allowed, use only recommended products and follow precise dosing to protect fluid performance. You’re prioritizingSafety by avoiding contamination, water absorption, or seal damage. Do your homework, verify compatibility, and document any changes. If in doubt, skip additives and stick to fresh, spec-approved fluid. Your goal is consistent braking feel and reliable performance.
What Signs Indicate Contaminated or Degraded DOT Fluid?
Brake fluid shows signs of contamination or degradation through discoloration and moisture contamination. If it’s dark, cloudy, or has a reddish tint, replace it promptly. Moisture contamination lowers boiling point, causing spongy brakes or boil-off, so test with a hydrometer or see if the fluid darkens with exposure. You should also note foaming, grit, or inconsistent color. Stay precise, safe, and proactive—inspect, flush, and refresh Fluid as needed, keeping your braking system reliable.
Should I Bench-Bleed the Master Cylinder During Every Service?
Yes, you should bench-bleed the master cylinder during every service. Start with proper master cylinder preparation, ensuring the system is clean and compatible fluids are used. Throughout, follow precise, safety-conscious steps and verify no air remains in the lines. This practice supports brake fluid maintenance and overall pedal feel, especially for freedom-loving riders who value reliability. Keep torque specs, fluid levels, and bleed order documented as you work.