Top 10 Preventive Checks Before Long Road Trips
Top 10 preventive checks before long road trips cover: pre-trip tire inspection and pressure, brake system check and pad wear, fluid levels and condition, battery and charging system, lights and visibility, air filter and HVAC, alignment, suspension, and steering, emergency kit and safety gear, and cleaning, comfort, and cargo planning. You’ll verify tread depth, tire pressure cold, brake wear, fluid clarity, battery voltage, and light functionality. Stay proactive about quick fixes now; you’ll be safer and more confident as you prepare for the journey ahead.
Pre-Trip Tire Inspection and Pressure
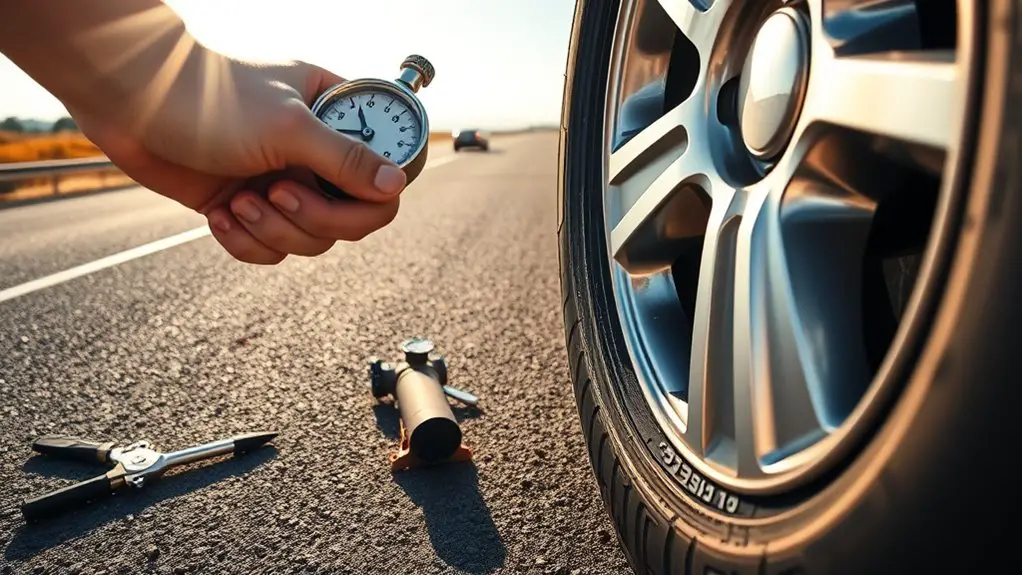
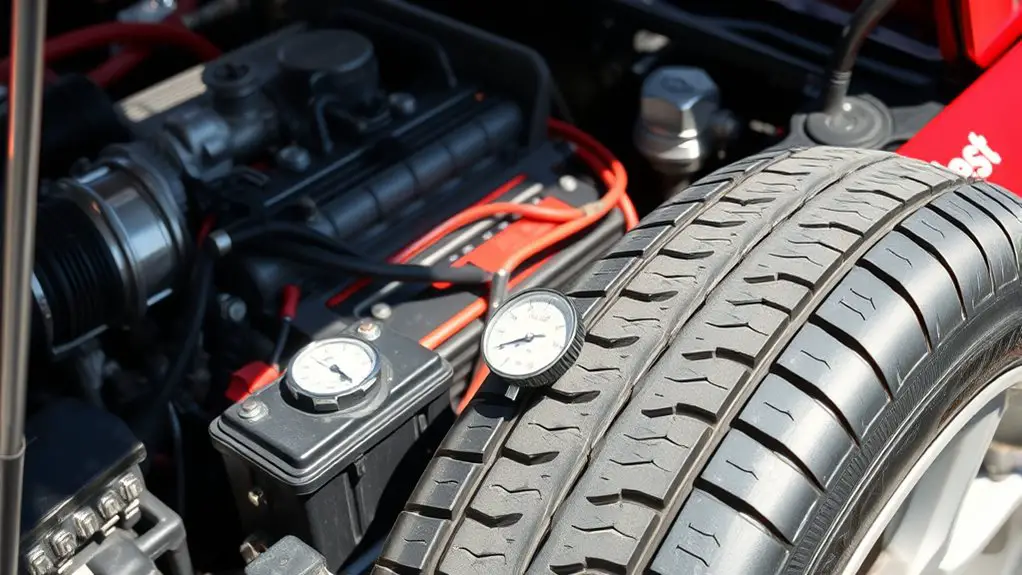
Before you hit the road, start with a quick, thorough tire check. You’ll inspect tire tread depth and evenness, noting any wear patterns that hint at alignment or suspension issues. Check tire pressure when the tires are cold, then adjust to the vehicle’s recommended PSI, which you’ll find in the owner’s manual or door jamb sticker. Don’t forget the spare: verify it’s inflated and accessible. As seasons shift, monitor seasonal changes in pressure caused by temperature swings; a cold morning can drop pressure, reducing grip and fuel efficiency. Use a reliable gauge, not the air pump gauge on the compressor, to confirm accuracy. Inspect sidewalls for cuts, bulges, or embedded objects, and remove stones or debris wedged in tread grooves. Rotate tires on schedule if you’re due, and align your expectations: balanced tires improve control, steering response, and longevity, empowering you to travel freely with confidence.
Brake System Check and Pad Wear
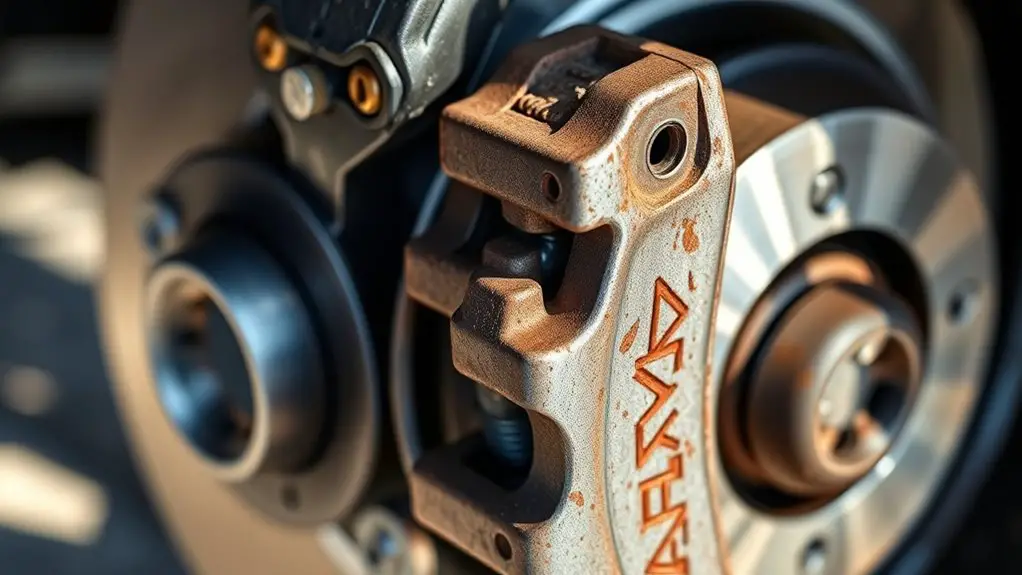
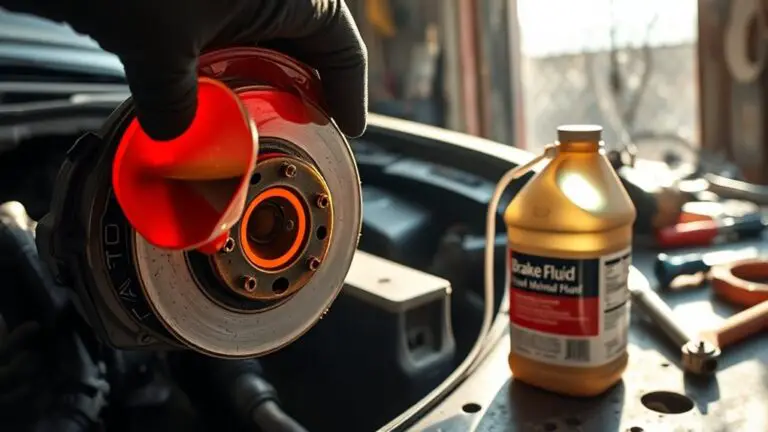
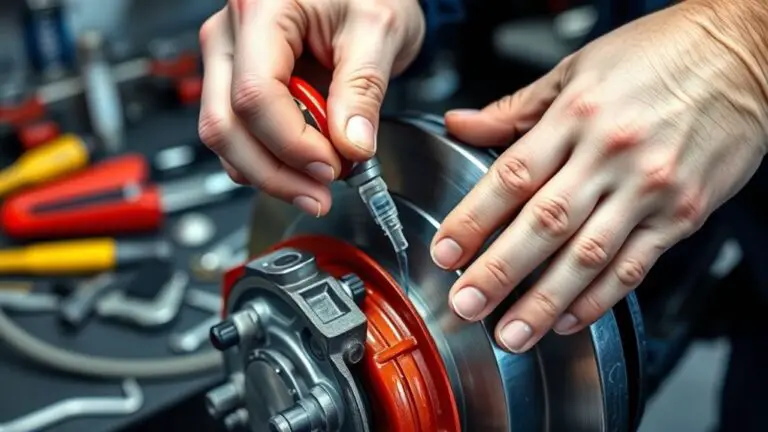
You’ll start with a quick check of your brake pads for wear and listen for any squeal or grinding that signals replacement. Inspect pad thickness and note any uneven wear, then verify brake fluid level and clarity, topping up if needed. Address worn pads or low fluid before you hit the road to maintain reliable stopping power.
Pad Wear Indicators
Pad wear indicators are a quick, essential brake-system check you can perform before a long trip. You’ll verify that the indicator calipers and pads reach their threshold smoothly, without vague interpretations. Inspect each wheel’s rotor edge and caliper groove for audible or visual signs of wear, then compare against the manufacturer’s guidance. If you detect uneven wear, vanishing indicators, or a grinding feel, you should plan a precise pad replacement before departure. Keep your approach data-driven: note pad thickness, rotor scoring, and any unusual resistance when you apply gentle braking manually with the car parked. This is about responsible auto-maintenance—practical, proactive, and freedom-friendly. pad maintenance tips, indicator importance—you’ll integrate these insights into a concise pretrip routine.
Brake Fluid Check
Brake Fluid Check: start by verifying the fluid level in the master cylinder reservoir and inspecting the color and clarity of the fluid. You’ll assess for dark, muddy, or contaminated fluid, which signals moisture ingress or degradation. If the level is low, top off with the correct specification and replace the reservoir cap firmly. Next, identify brake fluid types compatible with your system and note any age or contamination concerns. Inspect hoses and visible lines for leaks, cracks, or sponginess, and test the pedal feel—excessive travel or soft sponginess warrants attention. Plan brake fluid replacement if moisture content is high or fluid appears dark. Maintain a proactive schedule, since proper fluid condition supports predictable braking performance and aligns with your freedom to travel confidently.
Fluid Levels and Condition
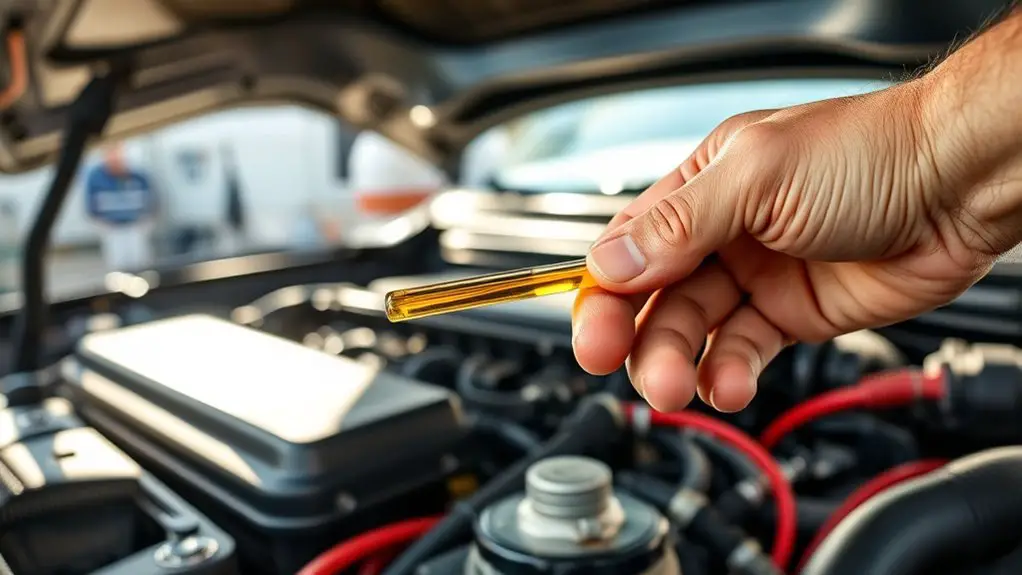
Begin with a quick, precise check of all essential fluids: engine oil, coolant, brake fluid, power-steering fluid, and windshield washer fluid. You’ll assess level, color, and clarity, noting any unusual smells or textures. For engine oil, confirm the level is within spec and the oil quality remains clean enough to protect bearings; if it’s dark or gritty, schedule an oil change before departure. Check coolant levels and inspect for clear, bright coolant with no oil sheen or debris; low or contaminated coolant signals a cooling risk. Inspect brake fluid for proper level and absence of moisture indicators or glazing on the reservoir. Assess power-steering fluid for smooth operation and leaks. Verify windshield washer fluid is topped up. Remember, proactive monitoring saves you from surprises. If any fluid shows abnormal condition, address it now rather than on the road. Stay ahead and keep your ride free and dependable.
Battery, Electrical, and Charging System
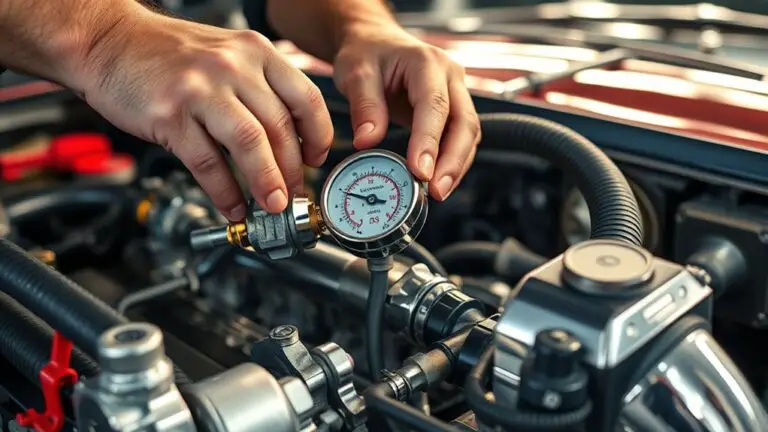
Your battery, electrical, and charging system deserve a quick, precise check before any long trip: test battery voltage and inspect terminals for corrosion, guarantee connections are tight, and verify the alternator is charging within spec. Start by measuring resting voltage; a healthy 12.6–12.8 volts indicates a strong battery, while significant deviation signals replacement or recharge needs. Inspect cable ends and terminal clamps for corrosion, cleanliness, and secure fit. Tighten loose clamps to prevent parasitic drains and startup failures. Test the charging system under load; an alternator that can’t maintain 13.8–14.4 volts at idle or with accessory use warns of inefficiency or impending failure. Perform a deliberate battery maintenance routine: clean terminals, remove corrosion, and confirm proper retightening after routine vibrations. Replace weak or aged components proactively to avoid roadside failures. Keep spare fuses and a basic multimeter accessible. With a reliable charging system, you protect freedom on the road and reduce unplanned downtime.
Lights, Signals, and Visibility
After verifying the electrical system, you’ll want to ascertain your lights, signals, and visibility are up to the task on the road ahead. Start with headlight brightness: check both low and high beams for even output, replace any dim bulbs, and clean lenses to prevent glare. Confirm daytime running lights function as intended, and aim headlights properly to maximize range without blinding oncoming drivers. Move to turn signal functionality: test every indicator, both left and right, plus hazards, and listen for the click that confirms activation. Inspect wiring for corrosion or loose connections that could interrupt signaling. Verify exterior and interior lights don’t dim under load, and ascertain taillights, brake lights, and reverse lamps illuminate promptly when required. Finally, assess visibility aids: clean mirrors, ascertain windows aren’t obstructed, and verify indicator visibility in your peripheral vision. These checks maintain freedom on the road with reliable, precise signaling.
Wipers and Windshield Condition
Start with a quick wiper blade check for wear—if the rubber is cracked, brittle, or streaks persist, replace the blades before you go. Next, perform a windshield visibility check by clearing all debris, ensuring no chips compromise your view, and verify the washer fluid works. This proactive step minimizes surprises on the road and keeps your windshield clear in adverse weather.
Wiper Blade Wear
Wiper blade wear is a common road-trip risk you can control. You’ll optimize visibility by inspecting blades for streaks, skips, or chattering, and replacing them before you hit the road. Focus on wiper maintenance tips that extend life: clean blades with a soft cloth, avoid petrol-based cleaners, and test with a few swipes on a rainy day. If blades chatter or smear, it’s time for wiper replacement signs—ridge lines, brittle rubber, or bent frames indicate failure. Keep spare blades and a small screwdriver handy. A proactive kit saves time and stress. Table below distills guidance.
| Warning signs | Action |
|---|---|
| streaks | replace now |
| chattering | inspect/remount |
Windshield Visibility Check
Windshield visibility is non-negotiable for safe travel, so start with a quick, methodical check of the windshield and wipers before you hit the road. Inspect the windshield for cracks, chips, or pitting, and note any areas that impair vision. Test wipers on a dry surface, then again with light rain to confirm smooth, full contact without chatter. Check wiper blades for stiffness, splits, or missing corners; replace if necessary. Verify windshield washer fluid is topped up and free of contaminants. Look for clean, streak-free glass; remove debris that could distort sightlines. Consider windshield tinting limits in your area and how it impacts glare reduction. Implement visibility enhancements like anti-fog treatments and UV protection for consistent, clear vision on every stretch.
Air Filter and HVAC System
Your air filter and HVAC system should be ready for a long trip. You’ll maximize air quality and comfort by verifying both a clean filter and ideal HVAC performance before you hit the road. Focus on replacement or cleaning intervals, airflow, and cabin comfort without overcomplicating the process. A proactive check reduces strain on the system and enhances fuel efficiency.
1) Inspect the air filter for dirt, debris, and moisture; replace if visible buildup is present.
2) Confirm the HVAC fan operates smoothly on all speeds and that cool or warm air is delivered consistently.
3) Check for unusual odors or hints of mold; address with a filter change and cabin freshening if needed.
4) Run the system on max settings for a few minutes to verify steady performance and thermostat responsiveness.
With these steps, you maintain air filter maintenance and HVAC performance, preserving freedom to roam confidently.
Alignment, Suspension, and Steering
Alignment, suspension, and steering deserve a quick, methodical check before a long road trip. You’ll verify alignment visually, inspect tire wear, and note pulling or vibration for early fixes. Next, test steering feel: no excess play, smooth returns, and steady tracking. If you notice stiffness, binding, or abnormal noise, address it now to prevent steering issues on the road.
Table rhythm for clarity:
| Step | What to check | Practical action |
|---|---|---|
| Alignment | Tire wear pattern | Compare front and rear wear, adjust if skewed |
| Suspension | Bounce test | A few firm compressions; rebound should be controlled |
| Steering | Steering feel | Gentle turns, listen for noises, confirm straight tracking |
| Step | Condition | Expected result |
| Steering adjustments | Play and return | Precise, responsive steering with minimal play |
| Suspension integrity | Sag or leaks | Uniform ride height, no leaking shocks |
| Final check | Overall feel | Predictable handling, confident control |
You protect freedom by maintaining steering adjustments and suspension integrity now.
Emergency Kit and Safety Gear
You’ll want a compact kit with essentials for basic emergencies and roadside fixes. Make certain you have basic tools, a first-aid kit, and reflective gear, plus a flashlight and charged phone power. Regular safety gear checks—seasonal updates, battery taps, and resealing contents—keep you prepared and confident.
Essentials for Kit
First, assemble a compact emergency kit and core safety gear you can rely on every trip: a roadside-ready bag with water, non-perishable snacks, a flashlight with fresh batteries, a basic first-aid kit, a tire-pressure gauge, a compact multi-tool, jumper cables, and reflective triangles or a high-visibility vest.
- Verify you know where items are and test them before departure.
- Regularly refresh first aid supplies and batteries, and confirm your tire gauge reads accurately.
- Pair your kit with clear roadside assistance contacts and a plan for signaling help if needed.
- Practice quick access drills so you can act calmly under pressure.
Safety Gear Checks
Before you hit the road, perform a quick, systematic safety check of your emergency kit and gear: confirm all items are present, within reach, and in working order, then test critical components like the flashlight, tire-pressure gauge, and jumper cables to guarantee they’ll function when you need them most. You’ll assess safety equipment layout, ensuring easy access without compromising cabin space. Verify fluids, spare tire, and reflective markers are intact, and confirm the first-aid kit isn’t expired. Inspect safety gear such as warning triangles and high-visibility vests, replacing worn or missing parts. Log dates for emergency supplies, and repackage where needed for quick retrieval. This disciplined routine preserves freedom on the road: preparedness reduces risk, speeds responses, and keeps your journey on course.
Cleaning, Comfort, and Cargo Planning
A clean, organized vehicle starts with a rapid pre-trip scan: remove clutter, wipe surfaces, and inspect windows and mirrors for ideal visibility, then map a practical cargo layout that keeps essentials within easy reach.
1) Develop a compact packing plan that emphasizes cargo organization, labeling bags, and placing daily items within arm’s reach to support sustained travel comfort.
2) Prioritize cleaning tips and vehicle hygiene by a quick wipe-down of touchpoints, then test HVAC and seat comfort features to optimize climate and lumbar support.
3) Choose packing essentials that balance weight and access, reserving space for snacks, water, chargers, and a first-aid kit, ensuring travel comfort without overpacking.
4) Reassess mid-trip, adjusting cargo arrangements as needed to maintain freedom of movement, minimize distractions, and preserve overall vehicle safety and cleanliness.
Frequently Asked Questions
How Often Should I Rotate My Tires Before a Long Trip?
You should rotate your tires every 5,000 to 7,500 miles, depending on your vehicle and tire wear. Yes, that means you’ll be pleasantly surprised by how predictable life gets. Tire wear isn’t glamorous, but it’s stubbornly consistent, so follow a rotation schedule and jot it down. Check your lug nuts and tread depth during each rotation. This proactive, precise habit keeps handling sharp and extends life, so you can chase freedom with confidence.
What Is a Safe Minimum Tire Tread Depth for Highways?
A safe minimum tire tread depth for highways is 2/32 of an inch, though many drivers prefer 4/32 for wet conditions. You should measure with a tread depth gauge and replace when you hit or exceed the minimum. Follow safety regulations in your area, since some jurisdictions require higher thresholds. You’ll maximize grip, braking, and stability by maintaining proper tread, inspecting regularly, and replacing tires before performance drops. Stay proactive, confident, and prepared for the road.
How Do I Test Brake Fluid Quality Quickly?
Brake fluid quality can be checked quickly with two simple tests you can do yourself. First, look for a dark, dirty color or a burnt smell—both mean replacement is overdue. Second, perform quick tests: the bolt-on brake fluid test strip or a clear bottle shake test, watching for unchanged clarity after a few minutes. If in doubt, replace. Regular quick tests keep your system honest and your ride freedom-fueled.
Can I Mix Different Brands of Windshield Wipers?
Yes, you can mix windshield wipers from different brands, but you should expect uneven wiper brand performance and potential chatter. Check windshield wiper compatibility with your arms and blades before mixing, and prefer matching blade types (squeaker-free designs). If you must mix, use the same size and spline pattern on both sides. Monitor performance, and replace both sides if streaking or skipping appears. This proactive approach keeps you safer.
Do Low-Cost Dash Cameras Affect Vehicle Electrical Systems?
A dash camera won’t suddenly fry your system, but cheap units can introduce power draw or wiring stress if installed poorly. You’ll want dash camera reliability to come from a reputable model and clean wiring routes. I once watched a budget cam drain a car’s 12V line after a DIY splice—a red flag. Use a proper fuse tap, keep cables away from heat, and test to guarantee no parasitic draw on your vehicle wiring.

