Step-By-Step: Upgrade Guide for Lift Kit and Troubleshooting Common Wrong Part Fitment
You’ll start by documenting your factory specs and lift goals, then identify compatible lift kits and components with clear part numbers and fitment charts. Measure precisely before ordering, compare suspension geometry impacts, and draft a detailed install plan with a complete tools list. Anticipate common fitment pitfalls, verify driveshaft and brake-line clearances, and plan for alignment and tire/wheel changes. If mismatches pop up, follow step-by-step troubleshooting to isolate parts, then progress toward a safe test drive and final checks. More insights await as you proceed.
Assess Your Vehicle’s Factory Specs and Lift Goals
Before you lift a vehicle, you must know its baseline: identify the factory specs and define your lift goals. You’ll start by documenting the OEM data: suspension travel, tire size, axle geometry, ground clearance, and payload ratings. This baseline anchors every decision and prevents overreach. Next, translate desires into measurable lift goals—how tall, how wide, and how the vehicle will behave off-road versus on pavement. Quantify trade-offs: altered center of gravity, steering effort, pinion angles, and driveline angles. Verify compatibility with factory components, including brake lines, driveshafts, and steering linkage, so you avoid rubbing or binding. Draft a concise plan that links factory specifications to lift outcomes, ensuring you can measure progress against specific targets. Remain mindful of safety margins, real-world constraints, and your freedom to choose options that respect reliability and control while pursuing capability. factory specifications and lift goals guide disciplined, confident modification.
Research Compatible Lift Kits and Components
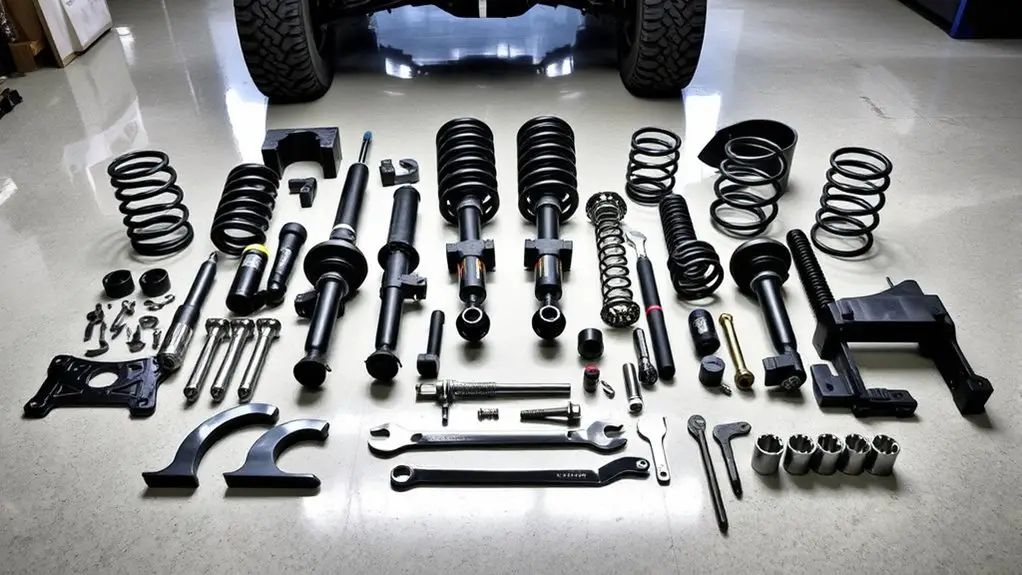
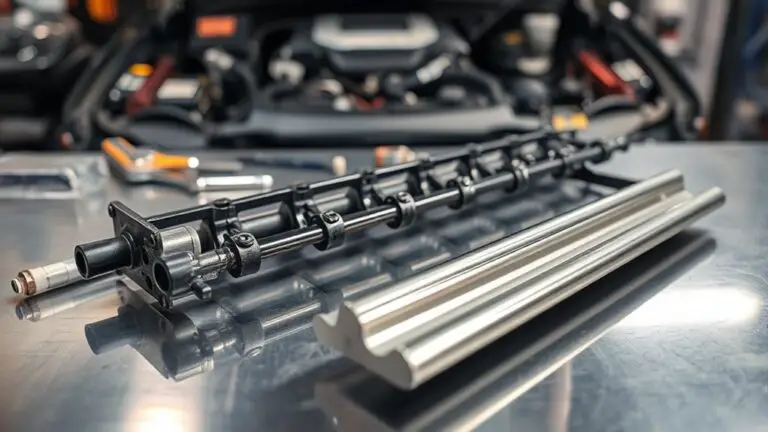
With your baseline in hand, you can now identify lift kits and components that align with your goals and constraints. You’ll evaluate lift kit types by purpose, terrain, and load demands, noting how each option affects steering, suspension geometry, and payload. Map out component compatibility early: control arms, driveshafts, brakings, springs, and shocks must integrate with factory mounts and aftermarket hardware. Develop a decision matrix that assigns weights to ride quality, clearance, articulation, and warranty terms. Prioritize kits that preserve alignment potential and reduce excessive caster or pinion angle changes. Verify that mounting brackets and spacers won’t introduce binding or rubbing at full articulation. Document required hardware, service intervals, and compatibility notes for future maintenance. Your goal is a cohesive package, not a collection of parts. By focusing on lift kit types and component compatibility, you create a predictable path toward a balanced, capable upgrade.
Compare Part Numbers and Fitment Charts
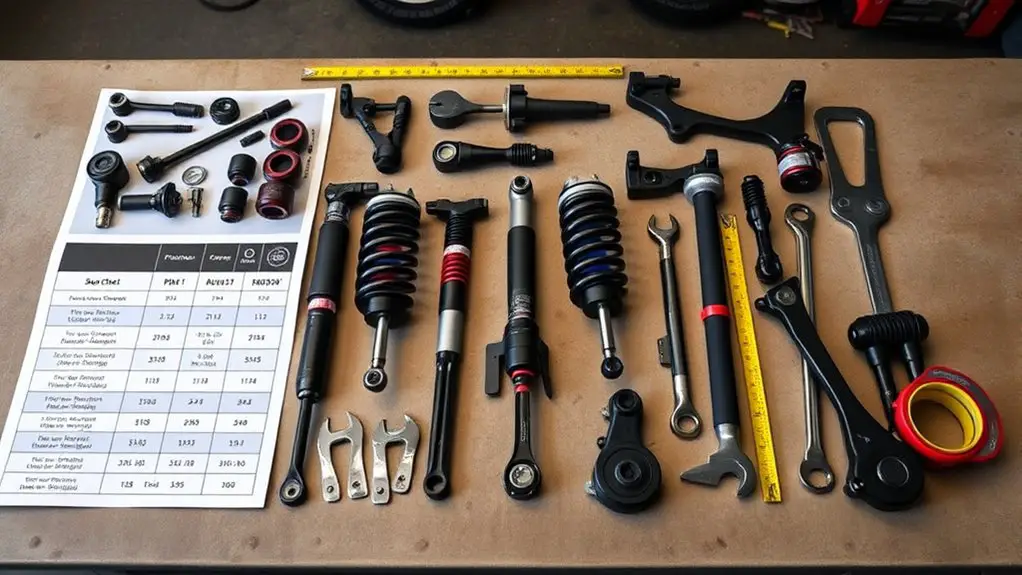
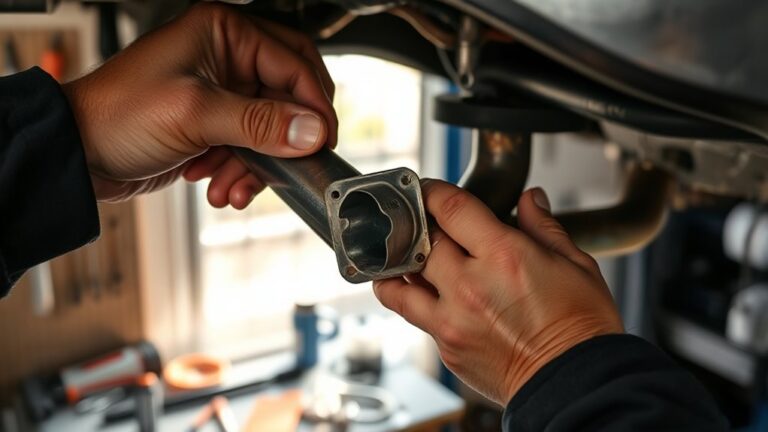
When comparing part numbers and fitment charts, you’ll verify that each component matches your exact vehicle model, year, and trim, then cross-check for any regional or production variations. You’ll methodically scan the official schematics, manufacturer FIT charts, and retailer listings to confirm alignment, not assumptions. Begin with the primary part number, noting any suffixes or prefixes that signal revisions or regional editions, then trace to documented fitment notes. Pay attention to uncertainties like model-year midpoints or special editions that may shift compatibility. Identify potential part number variations that could appear across catalogs and confirm they correlate to the same assembly configuration. Record any fitment discrepancies early, flagging components that show inconsistent mounting points, harness routes, or bracket geometry. Maintain a conservative approach: if anything seems ambiguous or undocumented, seek authoritative confirmation before proceeding. This discipline protects you from suboptimal choices and guarantees long-term reliability.
Measure Your Vehicle Precisely Before Ordering
Before ordering, you’ll measure with care, using the exact steps and tools listed to guarantee accuracy. Start with the vehicle’s front and rear ground clearance, wheel track width, and overall height, recording each dimension to the nearest 1/16 inch. This disciplined approach lays a precise baseline for selecting a lift that fits without interference or compromise.
Precision Measuring Steps
Accurate measurements are the foundation of a successful lift kit install, so start by gathering the right tools and a calm workspace. You’ll pursue precision alignment through disciplined process and verify every metric before you order.
- Measure ride height and wheel alignment with calibrated gauges, recording front and rear distances to factory reference points.
- Confirm overall vehicle width, track width, and caster/camber tendencies using a level surface and datum lines to ascertain true comparisons.
- Cross-check doorway, fender, and bumper clearances at static ride height, noting any deviations that could affect fitment and suspension travel.
Keep your notes concise, repeatable, and auditable. Accuracy compounds: precise measurements today prevent misfit tomorrow, empowering you to maintain freedom of movement without compromise.
Tools for Accuracy
To guarantee your measurements are repeatable and trustworthy, assemble a standard set of tools and establish a clean, level workspace before you lift a finger. Tools for accuracy start with a sturdy tape, a digital caliper, and a precision square. Add a magnetic angle finder, a spirit level, and a chalk line for reference points. Use precision tools that read to at least 0.1 mm or 0.01 in for consistency. Adopt measurement techniques that center on multiple reference points: length, width, and height at the axle, fender openings, and spring perch locations. Verify zero points and recheck twice. Document each result, noting vehicle model, tire size, and suspension configuration. Your discipline here saves adapters, prevents misfits, and supports reliable, freedom-loving upgrades.
Plan for Suspension Geometry and Alignment Impact
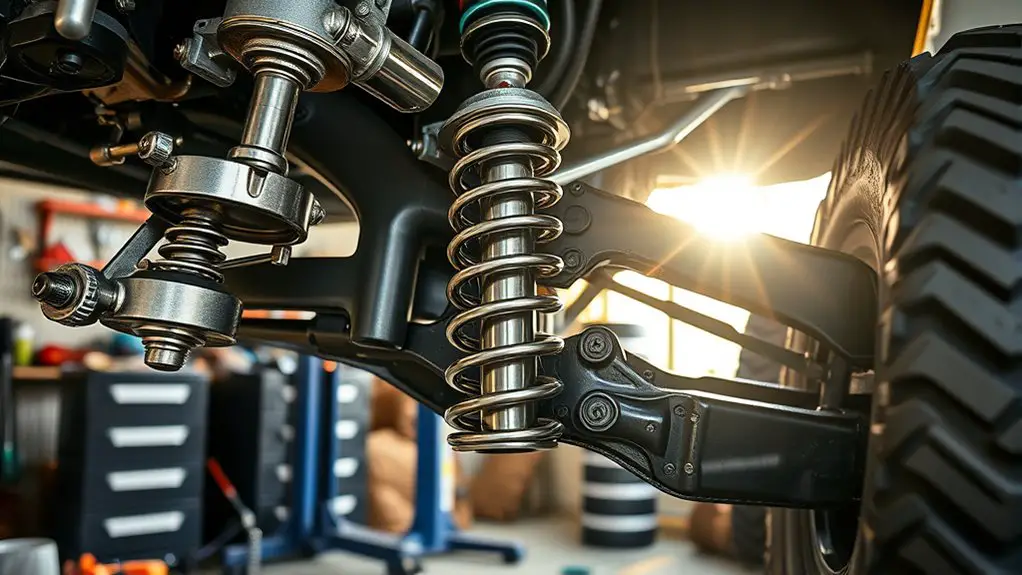
Careful planning of suspension geometry and alignment impacts is essential before and after any lift install, because changes to ride height and component angles directly affect handling, tire wear, and overall safety. You’ll map how suspension modifications alter axle camber, toe, and caster, and anticipate how geometry adjustments shift ride dynamics. With a clear plan, you minimize scrub radius errors and steering bind, while preserving predictable feedback to the road.
Careful planning of suspension geometry ensures safe, predictable handling after lifts.
- Define target geometry: establish acceptable ranges for camber, toe, and caster given your lift height and tires.
- Align testing protocol: verify straight-line stability, transient steering feel, and braking behavior across load conditions.
- Schedule reevaluation: plan periodic checks after off-road use, load changes, or wheel/tobacco swaps that alter geometry.
Keep measurements disciplined, document deviations, and iterate only with verified data. Prioritize suspension modifications that maintain logical harmony between chassis rigidity, alignment performance, and freedom to explore.
Prepare a Detailed Install Plan and Tools List
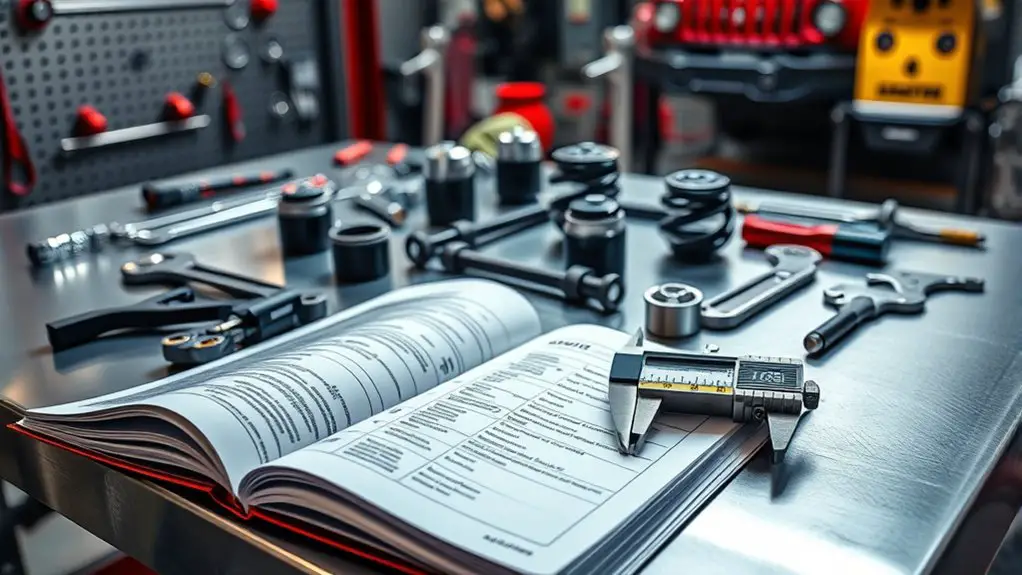
Before you lift a finger, assemble a thorough install plan and a complete tools list to prevent gaps during the work; this guarantees you can sequence tasks logically and verify each step as you proceed. You’ll craft an install timeline that maps every phase—from disassembly to reassembly—so nothing slips through the cracks. Rigorously itemize each tool by function, size, and quantity, then group them by task for efficient access and minimal downtime. Prioritize tool organization: label cases or trays, designate a clean workstation, and keep fasteners sorted to avoid cross-threading mistakes. Define contingency steps for common hiccups, and assign time estimates to each milestone to track progress objectively. Maintain a concise communication sheet for notes and decisions, preventing drift. Your plan should be auditable, repeatable, and adaptable, empowering you to approach the lift with freedom and confidence while staying laser-focused on precision outcomes.
Identify Common Fitment Pitfalls and How to Avoid Them
Even with solid planning, common fitment pitfalls can derail a lift if you don’t anticipate them. When you map fitment guidelines, you guard against misalignment, binding, and brake-axle interference that quietly rob performance. Track compatibility issues early by recording vehicle year, model, and suspension type, then verify part numbers against a trusted catalog.
1) Assess critical tolerances: control arm angles, driveshaft phasing, and steering linkage sweep to prevent binding or vibration.
2) Confirm compatibility issues across components: springs, spacers, bushings, and end links must share a cohesive geometry and spring rate to maintain ride height and handling.
3) Validate installation prerequisites: fastener torque, thread engagement, and hardware quality avoid creeping loosening and premature failure, preserving safety and freedom of movement.
Step-by-Step Troubleshooting for Mismatched Parts
When mismatched parts are spotted during fitment checks, you’ll want a clear, methodical plan to identify and correct the issue. Begin by isolating symptoms to confirm it’s a mismatch, not a loose fastener or misalignment. Document part numbers, serials, and batch data, then verify against the manufacturer’s compatibility matrix to assess part compatibility. Next, perform a visual and dimensional comparison: measure critical clearances, bolt patterns, spline counts, and stud diameters, noting any deviations. If inconsistencies arise, pause installation and re-check the kit contents against your order, including accessories and spacers. Eliminate installation errors by re-reading torque specs and seating procedures, then reassemble only after confirming exact matches. For persistent gaps, contact tech support with your measurements and photos. Maintain a disciplined log for future recalls or fitment checks. You’re aiming for a precise, reliable solution that preserves ride quality without compromising safety.
Final Inspection, Test Drive, and Safety Checks
Before you take it for a test drive, perform final safety checks on critical systems—brakes, steering, suspension, and wheel fasteners—then verify alignment and tire condition. Follow a structured test drive protocol that elevates gradual load changes, notes any handling discrepancies, and records peak temperatures and unusual noises. This discussion will center on final safety checks and test drive protocols to guarantee you establish a reliable, repeatable inspection routine.
Final Safety Checks
Final safety checks are your final step before hitting the road, and they must be thorough and systematic. You’ll verify that suspension integrity is uncompromised, then confirm alignment accuracy before any test drive. This is your precision gate: no guesswork, just verified facts and measurements.
- Inspect hardware torque, fasteners, and mounts for stability, noting any looseness or deformation.
- Re-check ride height, camber/caster, and steering linkage for alignment consistency against target specs.
- Confirm brakes, steering response, and sensor clearances are within OEM or built-spec thresholds, ensuring no unintended contact or binding.
Perform a cautious, controlled test drive only after all checks pass, documenting findings for ongoing safety and freedom in every mile.
Test Drive Protocols
To proceed, start with a controlled sequence: perform a final inspection, then initiate the test drive, while documenting every observation and measurement. You’ll translate alignment, fastener torque, and clearance into actionable data, focusing on test drive techniques and suspension performance. During the drive, meter braking stability, steering response, ride comfort, and body control, noting deviations and repeatability. Safety checks accompany every phase; recheck essential fasteners, fluids, and warning indicators before and after the run. Use a concise table to map findings.
| Parameter | Observation | Action |
|---|---|---|
| Steering feel | Tight center, slight drift | Recheck alignment, adjust toe |
| Braking stability | Even, no dive | Inspect pads, rotors, balance |
| Ride quality | Firm yet controlled | Tire pressure, damper tuning |
| Noise/Vibration | None | Monitor under load |
| Clearance | Consistent | Verify bumper/axle travel |
Frequently Asked Questions
How Do I Verify if a Used Lift Kit Is Still Within Tolerance?
You can verify a used lift kit’s status by performing a precise, methodical check. Start with a thorough used kit inspection: measure key tolerances, compare to manufacturer specs, and look for wear, corrosion, or misalignment. Use tolerance measurement tools (calipers, angles, ruler) and document readings. If any value drifts beyond spec, avoid installation. Rely on repeatable measurements, verify fastener torque, and confirm bushings are within wear limits for safe, freedom-loving performance.
Can Misfit Parts Cause Subtle Steering Pull or Shimmy?
Yes—you can detect misfit parts by noting subtle steering pull or shimmy. You should verify steering alignment and suspension geometry as you test. Start with a controlled road run, then measure tire wear and steering caster/camber cues, documenting any drift. Misalignment often stems from incorrect lift component angles, so reassess mounting tolerances and part fit. If tolerances aren’t met, adjust or replace to restore steering alignment and proper suspension geometry.
Which Warranty Covers Replacement for Incorrect Part Fitment?
Warranty policies generally cover replacement for incorrect part fitment, but specifics depend on the manufacturer and seller. If you’ve got a misfit, you’ll want to document the order, part numbers, and fit discrepancies, then initiate a claim promptly. You’re looking for clear guidance on part replacements, warranty timelines, and coverage limits. Stay precise and methodical: gather evidence, reference your warranty terms, and insist on an appropriate part replacement that restores alignment with your vehicle’s design.
Do Different Tire Brands Impact Lift Kit Compatibility?
Yes, different tire brands can affect lift compatibility, because tire specifications influence clearance, rubbing, and suspension load. You’ll want to verify overall diameter, width, and profile against your kit’s specifications. Start by checking the tire specifications that match your lift’s constraints, then remeasure clearance at full bump and lock-to-lock. This precision-minded approach helps you maintain lift compatibility while preserving performance and freedom to customize.
What Are Covert Signs of Hidden Suspension Component Damage After Install?
Did you know 60% of hidden suspension damage shows up as subtle noises before a bigger failure? You’ll notice covert signs like sporadic suspension noise and unexpected alignment issues after install. You should methodically inspect mounts, bushings, and control arms for looseness, wear, or cracking. If sounds pop or creak at low speeds, defer drives and recheck torque specs. Track vibrations, test ride, and document deviations to guarantee precise, freedom-guided handling.