Upgrading Old Interior Light to Improve Reliability and Reduce Rattles From Dash
Upgrading your old interior light improves reliability and cuts dash rattles by choosing a compatible LED replacement with proper mounting. Start by evaluating where you need brightness, then pick a unit sized for your dash and a color temp that fits without glare. Plan the install, disconnect power, label wires, and secure the new housing to minimize movement. Check grounding and routing to prevent noise. If you keep going, you’ll uncover practical steps and pitfalls to avoid.
Choosing the Right Replacement Interior Light
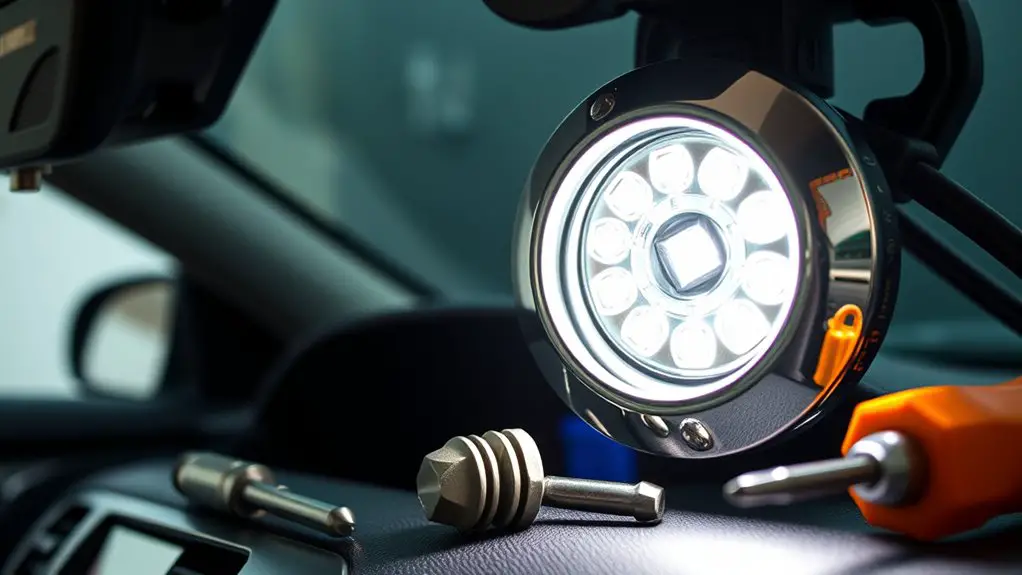
Choosing the right replacement interior light starts with a clear idea of what you need it to do. You should map function to form: map where light is needed, how much brightness, and whether you want a soft ambient glow or a crisp white for tasks. Consider LED options first for long life, low heat, and minimal power draw. Decide on size and mounting style that fits your vehicle’s headliner or dash without adding rattles. Check color temperature as it affects visibility and perceived space; cooler temperatures sharpen details, warmer tones reduce glare. Pay attention to brightness ratings—bulb brightness matters for legibility without eye strain. Look for reliable connectors and a secure housing to prevent movement over rough roads. Confirm compatibility with your vehicle’s power system and any existing dimming or auto-on features. Finally, choose a unit with simple installation steps and a solid warranty for ongoing reliability.
Assessing Your Vehicle’s Lighting Needs
To start evaluating your vehicle’s lighting needs, identify where illumination matters most inside the cabin and when you’ll rely on it most. Map out which areas require adequate brightness for tasks like reading, finding controls, and loading gear, then compare current lighting against those needs. This Lighting Needs Evaluation helps you determine the required illumination level and how many fixtures or upgrades are needed.
Lighting Needs Assessment
Have you tallied how well your vehicle’s current lights meet your driving needs? If not, you’ll run blind to gaps rather than plan a solid upgrade. Start with a quick, methodical audit of lighting types you actually use, and note brightness levels that feel off in daytime vs. night. Map where you need more clarity—cargo area, dash, map pockets, or corners. Prioritize reliability, even at low battery. Now, sketch a simple 2 column by 3 row table to guide decisions:
| Area of Use | Desired Brightness |
|---|---|
| Dash/M/Subline | Medium-High |
| Overhead/Cargo | High |
| Side Compartments | Low-Moderate |
This assessment sharpens choice without guessing, aligning your upgrades with freedom and precision.
Identify Required Illumination
Identify how much illumination you truly need by listing each area you use in low- and normal-light conditions, then translating that use into a target brightness level. Begin with the dash cluster, glove box, and instrument area, noting minimum visibility in dim cabins. Add footwells, center console, and map pockets for quick access. Consider glare-sensitive tasks near the windshield and rear-view mirror. Classify each zone by illumination types you commonly rely on—soft ambient, focused task, and high-readability. Match each zone to a brightness level that preserves perception without fatigue, using consistent units like lumens or a rule-of-thumb percentage of factory output. Compile a per-area chart, then sum to an overall target. This disciplined approach clarifies needs and guides a reliable upgrade.
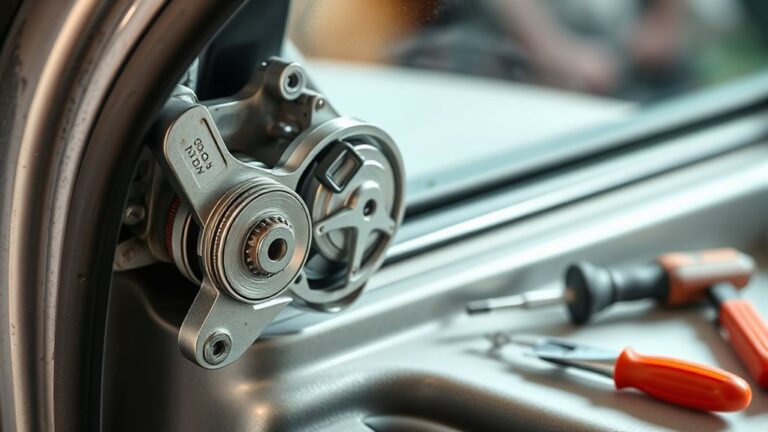
Installation Steps and Safety Tips

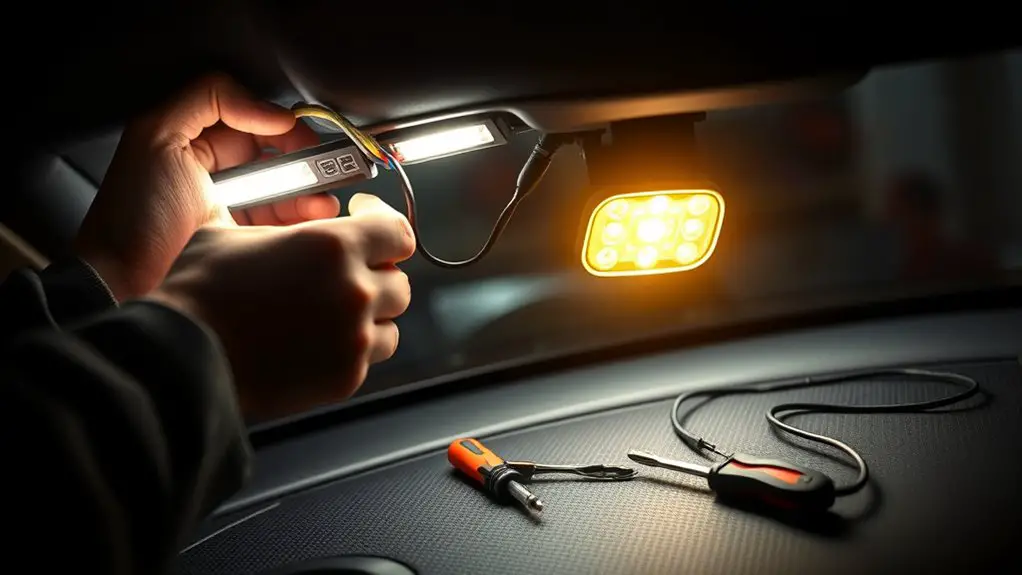
If you’re upgrading interior lighting, start with a clear plan and gather the right tools before you touch any wiring. You’ll follow a precise sequence: disconnect power, confirm no voltage, then remove the old unit. Handle connectors gently, label wires, and test fit before final mounting. Use insulated gloves and eye protection as you work to minimize risk. Keep a tidy workspace and double‑check grounding to prevent rattles or shorts.
- Verify power is off and test with a meter before touching any terminal
- Label wires, note polarity, and align mounting points
- Secure the new unit with appropriate fasteners, avoiding overtightening
- Reconnect, restore power, and verify operation after a calm test run
Focus on installation techniques and safety precautions during each step. If anything feels loose or unfamiliar, pause, reassess, and consult vehicle diagrams. This approach preserves reliability, reduces rattles, and preserves your freedom to upgrade confidently.
Wiring Considerations and Power Efficiency
You’ll start by evaluating wiring efficiency tweaks and how they impact overall power usage, focusing on minimizing resistance and ensuring clean, consistent voltage to the fixtures. Next, consider power draw considerations, selecting components and wiring gauges that meet demand without excess waste or heat buildup. Finally, reinforce reliability through proper grounding, confirming a solid path to earth and reducing noise, misfires, and safety risks.
Wiring Efficiency Tweaks
To maximize reliability, start by mapping your existing wiring and load paths, then target the efficiency tweaks that offer the biggest payoff. You’ll pursue quieter operation and lower heat, focusing on clean routing, proper gauge, and solid connections. Think regarding wiring techniques and circuit optimization to reduce resistance, voltage drop, and rattle-induced interference. Keep loops tidy, avoid parallel stereo-like splices, and use proper fuse protection for each branch. Employ short, direct runs with minimized bends to cut inductive losses. Maintain secure grounds and consistent color coding so future work stays simple.
- Map loops and loads before changes
- Use correct gauge and high-quality connectors
- Keep routes short, tidy, and protected
- Verify voltage, current, and ground integrity after changes
Power Draw Considerations
Power draw matters more than you might think: small changes can add up to meaningful efficiency gains. You’ll evaluate the light’s current draw, then compare with alternatives that deliver the same output at lower power. Check the supply voltage, wiring gauge, and terminal connections to minimize resistance losses, since even small drops waste energy. Prefer high-efficiency LEDs and drivers designed for automotive dashboards, ensuring compatible dimming and indexing. Consider PWM dimming to reduce peak draw without sacrificing visibility. Use fusing and proper grounding to prevent stray loads that increase draw. Measure over a representative runtime to verify energy efficiency, not just peak specs. Document results so you can balance reliability, power consumption, and performance while keeping the dash quiet and responsive.
Reliability Through Grounding
Grounding and solid wiring are key for dependable operation, tying directly into both electrical reliability and power efficiency. You’ll improve consistency by establishing firm grounding techniques and clean electrical connections, reducing noise and voltage fluctuations that cause rattling or dimming. Prioritize a single, low-impedance path to chassis ground and verify continuity after any work. Keep wiring neat, insulated, and away from moving parts to prevent wear. Use star grounding where possible to minimize loop currents and interference.
- Inspect and clean grounding points, then tighten to manufacturer torque specs
- Route wires away from heat and vibration, securing with proper clips
- Verify continuous electrical connections with a multimeter
- Label harnesses for future maintenance and diagnostics
Troubleshooting Common Rattle Causes
Rattle in the interior light system often isn’t a wiring fault but something loose or misaligned, so start with the simplest checks: verify that all mountings and screws are snug, inspect the light housings for cracks or gaps, and confirm the lens isn’t rubbing against the frame. If the issue persists, isolate rattle sources by gently pressing on surrounding panels and dash components while you listen for changes. Remove and reseat the lens and bulb assembly to guarantee an even seal, then wiggle each mounting point to feel for looseness. Check dash materials where the unit contacts the dash—soft spots, edge lifts, or warping can transfer vibration. Tape or shim as needed with appropriate products, avoiding excessive force. Reassemble carefully, test at idle and with road inputs, and note if rattling shifts to a different surface. If unchanged, document sources and plan targeted fixes for the next steps.
Maintenance for Long-Term Reliability
To guarantee long-term reliability, establish a routine maintenance plan that focuses on consistency, not just fixes. You’ll prevent drift and rattles by scheduling simple checks and acting promptly on symptoms, not after failure. This approach keeps the upgrade dependable, with clear long term benefits.
- Inspect connections and seals monthly, tightening modestly to avoid fatigue.
- Clean lenses and housings to prevent corrosion and edge wear that degrade light output.
- Test switches and relays quarterly, swapping worn parts before they fail.
- Document findings and adjustments, creating a traceable history for future troubleshooting.
Maintain a standardized process: use the same tools, record torque specs, and replace worn fasteners in pairs. Prioritize preventive maintenance over reactive repair, reducing downtime and preserving electrical safety. By staying proactive, you extend the system’s life, minimize surprises, and sustain peak performance. You’ll enjoy uninterrupted illumination and the freedom to trust your dash setup without constant second-guessing.
Frequently Asked Questions
How Do I Choose LED Brightness for Minimal Glare?
To minimize glare, choose LED brightness that feels comfortable at your eye level, start around 120–300 lumens for each interior light, and adjust in small 10–20 lumen steps. Consider LED color temperature for glare reduction techniques; cooler temps can be harsher, warmer around 2700–3500K tends to be gentler. Use dimmers or resistors if possible, position diffusers, and test at night. Fine-tune until your eyes stay rested and you still see details clearly.
Will Aftermarket Lights Affect Car Insurance or Warranty?
Removing doubt up front: aftermarket lights can affect insurance and warranty, but impacts vary by policy. You’ll want to check specifics with your provider, as some insurers flag mods or refuse claims tied to modified parts. For warranties, manufacturer terms may void coverage if the light caused damage or isn’t OEM-equivalent. Anecdote: one owner saved by documenting part approvals. Practical steps: keep receipts, stay within allowed specs, and disclose mods to avoid insurance or warranty disputes.
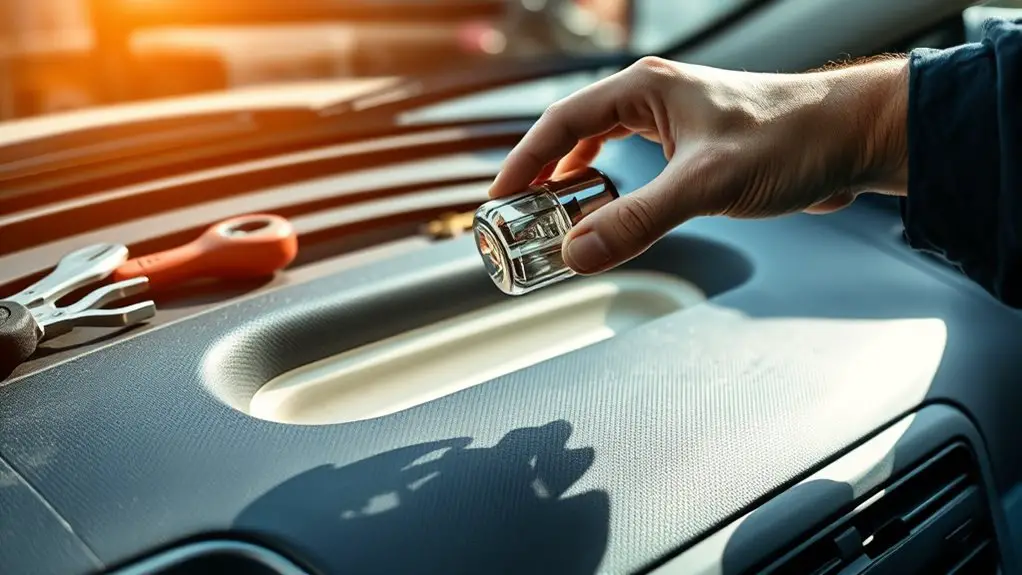
Can I Install Without Removing the Dashboard Trim?
Yes, you can install without removing the dashboard trim. You’ll gain dashboard accessibility by loosening a few fasteners and gently prying panels to access the light housing. Plan your light installation with the wiring harness tucked away, avoid pinching, and test before reassembling. Use proper connectors and cleanly route cables to prevent rattles. Take your time, stay methodical, and you’ll enjoy a reliable upgrade without unnecessary trim removal.
Do Dimmable Options Save More Battery Than Standard?
Dimmable options can save more battery than standard bulbs, but gains depend on usage. With dimming, you pull less current during low-light needs, boosting battery efficiency. Dimmable benefits include smoother shifts and less overall drain when you don’t need full brightness. You’ll maximize freedom by setting practical levels, avoiding full power unless necessary, and using gradual adjustments. Confirm compatibility, and monitor heat and efficiency as you tune.
What Budget-Friendly Brands Balance Reliability and Performance?
Budget brands that balance reliability and performance include Philips, GE, and Sylvania. You’ll want kits labeled for automotive interiors, with solid heat resistance and solid warranty. Look for reliable performance through tested lumen output, stable voltage, and quiet operation. It’s practical to start with mid-range, easy-install options from these brands, avoiding flashy gimmicks. You’ll save money long term by choosing components with consistent performance, proven track records, and straightforward installation that respects your dash’s rattling needs.