When Body Window Seal Leak Require Professional Attention
If you notice persistent moisture on the door frame or carpet, fogged windows, a musty smell, water streaks without a clear source, or increased wind noise, you should seek professional help. These signs point to a degraded or misfitting body window seal that DIY fixes can’t reliably resolve. A pro will inspect the seal system, check for misalignment, and test for leaks with moisture tools. Expect options like resealing or replacement, with guidance on longevity and proper upkeep—details follow.
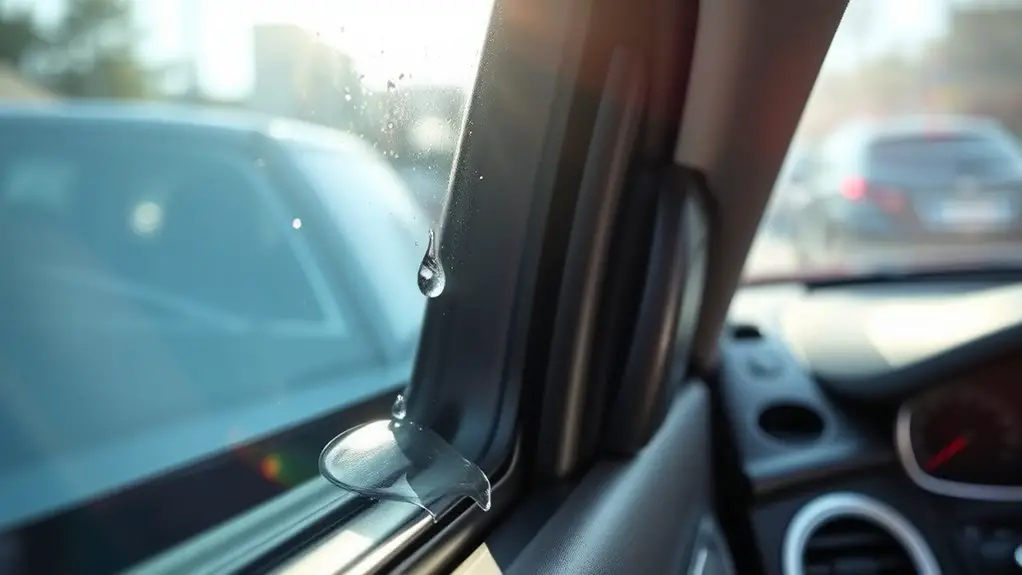
Recognizing the Early Signs of a Body Window Seal Leak
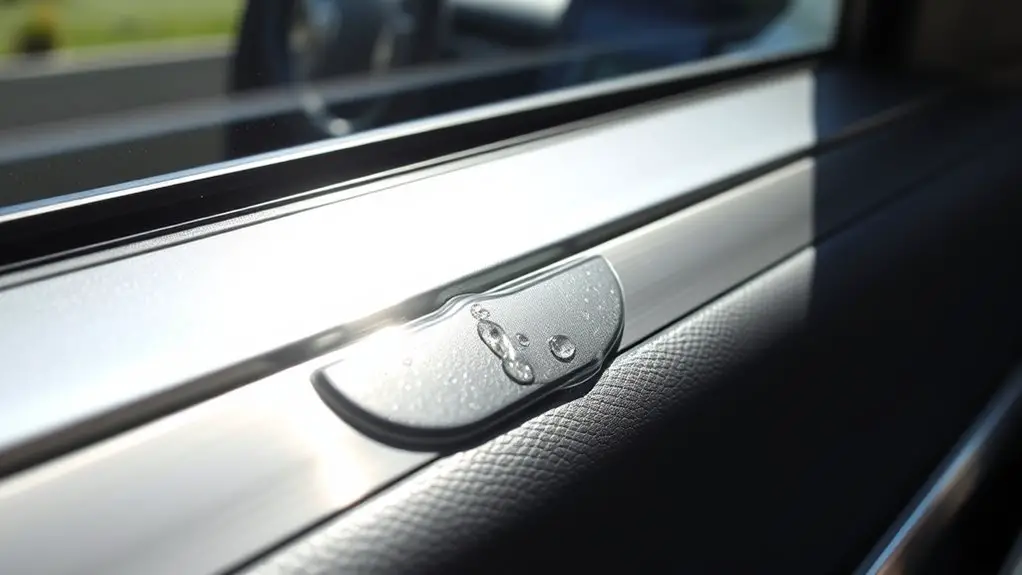
Early on, you might notice a few telltale signs that point to a body window seal leak. You’ll spot moisture on the door frame, fogged glass, or a damp carpet near the sill. Pay attention to musty odors that linger after rain or car washes, and watch for water streaks that appear without obvious cause. You may notice increased window wind noise or effort required to close the door, which often signals a shifting seal. Inspect the outer gasket where the glass meets the frame; look for cracks, kinks, or deformation. Small, persistent droplets along the seal indicate ongoing seepage, even when the car sits idle. For proactive leak detection, perform simple checks: run a light spray along the edge and observe any penetration inside. If you detect issues, focus on seal maintenance, address gaps, and consider professional evaluation to prevent further damage. Your goal is reliable protection without sacrificing freedom.
Common Causes Behind Vehicle Window Seal Leaks
Common Causes Behind Vehicle Window Seal Leaks can start with seal material degradation, which weakens the barrier over time. Improper fit issues—how the seal sits against the frame or glass—can also create gaps that let in moisture. Keep an eye on wear patterns and alignment to catch these problems early.
Seal Material Degradation
Seal material degradation is a common culprit behind window leaks. Over time, aging seals lose elasticity, crack, and harden, creating gaps for moisture to enter. UV exposure and temperature swings accelerate this deterioration, so environmental factors matter as much as installation quality. You’ll notice seepage after rain or car washes, sometimes accompanied by drafts or foggy glass. Inspect for cracking edges, brittleness, or missing adhesive. Replacing degraded material with the right sealant types restores bounce and blocks leaks, but choose products compatible with your vehicle’s body materials and climate. Regular checks help you stay ahead. If you’re unsure, consult a pro to verify material compatibility and proper curing.
| Material | Condition | Action |
|---|---|---|
| Rubber | Cracked | Replace |
| Foam | Compressing | Re-seal |
| Adhesive | Deteriorated | Reapply |
| Silicone | Intact | Monitor |
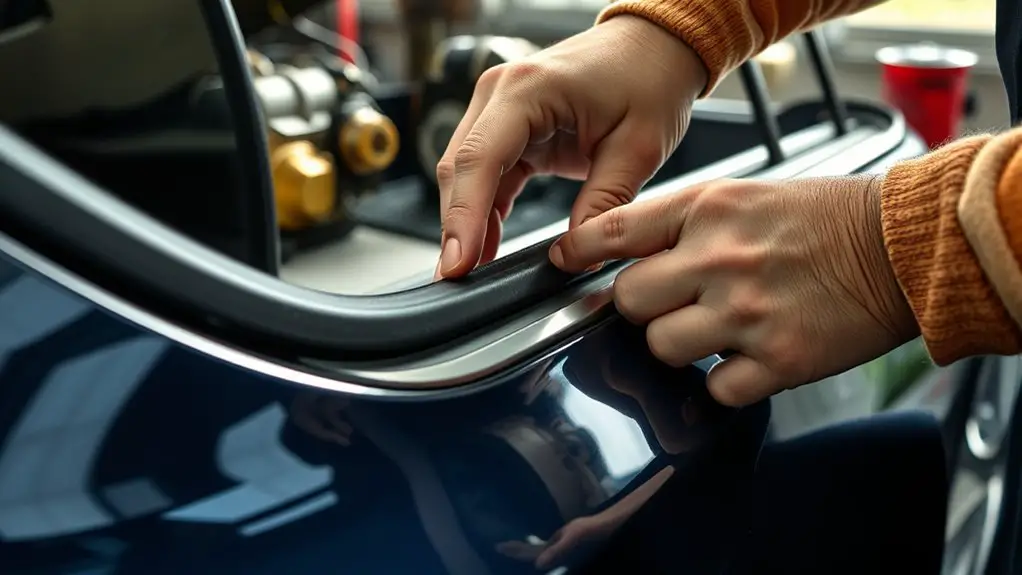
Improper Fit Issues
Improper fit is a frequent but fixable cause of window leaks. When a seal isn’t aligned or mounted correctly, water finds gaps and sneaks in. You’ll want to check seal alignment first, then inspect how the window frame holds the seal in place. If you notice bending, compression, or gaps around the gasket, the fit isn’t right, and leaks persist. Correct installation techniques matter: reseat the seal evenly, use proper adhesives if required, and verify the seal sits flush with the glass and body. Don’t ignore minor misalignments; they compound over time and invite rust and mildew.
- seal alignment issues can mask deeper body damage
- follow installation techniques for reliable sealing
- verify flush contact before road testing
How Professionals Diagnose Seal Failures
Professionals diagnose seal failures by methodically inspecting the system, listening for hissing or dripping cues, and mapping fault signs to likely causes. You’ll follow a clear sequence: confirm symptom specifics, note window position, and assess surrounding structure for wear. Seal testing is the core step, performed to gauge material integrity, compression, and contact with mating surfaces. Diagnostic tools include moisture meters, infrared cameras, and vacuum or pressure gauges to reveal hidden leaks and pressure drops. You’ll test multiple interfaces—glass-to-frame joints, weatherstrips, and seals at junctions—to identify the weakest link. Document observed anomalies, like soft or brittle seals, misalignment, or irregular gaps, and correlate them with behavior under varying temperatures and humidity. Professionals keep the process controlled, avoiding guesswork. After data collection, you’ll form a focused hypothesis and propose targeted remediation. The goal is a precise, durable diagnosis that guides effective, economical repair without unnecessary remedies.
When a DIY Patch Isn’t Sufficient
When a DIY patch isn’t enough, you’ll quickly see signs of ongoing leakage or performance issues that DIY fixes can’t fully address, such as persistent drafts, rising moisture, or fogging that returns after patch curing. A patch may mask symptoms, but it doesn’t resolve underlying seal fatigue, material degradation, or improper installation. You’ll hit a ceiling on DIY effectiveness where DIY limitations become evident, and you’ll need professional expertise to diagnose root causes, select proper materials, and guarantee a lasting seal. Relying on shortcuts can lead to bigger problems, higher costs, and repeated failures. By acknowledging the limits, you protect your space and freedom to control your environment.
- Recognize when DIY limits block lasting results
- Seek professional expertise to address structural issues
- Invest in durable, properly installed solutions for long-term reliability
What to Expect During a Professional Inspection
During a professional inspection, expect a systematic assessment of the window seal system: the inspector will review the installation, check for material fatigue, test for drafts and moisture intrusion, and verify proper drainage and framing condition. You’ll see a focused sequence: surface and seam inspection, hardware check, and sealant condition evaluation. The process prioritizes evidence over assumption, so expect precise measurements and purposeful notes rather than guesswork. The technician will identify root causes—whether it’s improper installation, aging seals, or framing shifts—and distinguish between limited fixes and broader concerns. You’ll be briefed on the inspection process outcomes, with clear next steps and realistic timelines. Trust in technician expertise to explain findings using practical language, without jargon that clouds the issue. You’ll gain a candid snapshot of what’s working, what isn’t, and what to monitor going forward, empowering informed decisions and a path toward durable results.
Typical Repair Options and Their Lifespan
Common repair options include seal replacement, resealing, and component upgrades, each with different durability and maintenance needs. In this discussion, you’ll compare how long you can expect these fixes to last and what follow-up care they require. We’ll focus on practical timelines and when you might plan for reassessment or rework.
Repair Options Overview
Repairing a body window seal leak can involve a few practical options, each with its own lifespan. You’ll weigh repair techniques against cost and disruption, choosing a path that preserves your vehicle’s integrity and your freedom to drive with confidence. Sealing materials vary in durability, ease of application, and compatibility with your window frame. In short, you’re balancing effectiveness today with reliability tomorrow, not just a quick fix. Expect some options to require periodic maintenance or reapplication to stay watertight. Focus on straightforward, proven methods that fit your skills and schedule. Your goal is steady performance, minimal downtime, and clear, durable results.
- Prioritize repair techniques that match your skill level and tools
- Choose sealing materials with proven long-term seal integrity
- Plan for follow-up checks to guarantee sustained protection
Lifespan Expectations
Lifespan expectations for body window seal repairs depend on the method and materials you choose. You’ll weigh options like sealant refurbishment, weatherstripping replacement, or full frame reseal, each with distinct durability. Seal durability hinges on proper surface prep, adhesive compatibility, and cure conditions, so shortcuts cut useful life. Lifespan factors include climate exposure, UV cycles, moisture intrusion, and routine use, which wear seals unevenly. Quick fixes may offer months of relief, while professional-grade solutions can endure several seasons with maintenance. Expect replacement intervals to vary from 3 to 10 years, depending on material type and install quality. Document maintenance checks, and address minor wear early to extend overall performance. Informed choices preserve freedom from frequent leaks and rework.
Preventive Measures to Avoid Future Leaks
To prevent future leaks, implement a proactive maintenance routine that focuses on early detection and timely fixes. You’ll gain freedom from unexpected repairs by making small checks a habit: inspect seals after harsh weather, monitor moisture spots, and test drainage around the window frame. Adopt a simple schedule for preventive maintenance and stick to it, so issues don’t compound. By prioritizing regular inspections, you stay ahead of wear and aging, extending the life of the seal and your confidence.
- Schedule routine inspections and document findings to track trends
- Clean and dry surfaces before resealing to maximize adhesion
- Replace worn gaskets promptly and use manufacturer-approved products
This approach emphasizes practical, precise steps you can take without waiting for a failure. Stay proactive, stay informed, and keep your space leak-free with consistent, targeted actions.
Frequently Asked Questions
Can Seal Leaks Affect Windshield Safety Ratings or Insurance Coverage?
Yes, seal leaks can affect windshield safety ratings and insurance coverage. When windshield integrity is compromised, safety ratings may drop and insurers may require inspections or adjust premiums. A leak can allow moisture or debris to impair visibility, potentially escalating risk. You should report leaks promptly, seek professional assessment, and document repairs. Insurance implications hinge on policy specifics, but leaks often lead to higher premiums or coverage limits until the windshield is properly resealed and certified.
Do Leaks Impact Cabin Air Quality and HVAC Efficiency?
Leaks can impact cabin air quality and HVAC efficiency. You’ll notice more odors, dust, and pollutants circulating, and your system may work harder to maintain comfort. Prioritize cabin filtration upgrades and regularly replace filters to reduce air contaminants. A seal breach can let moisture in, stressing seals and ducts. You’ll gain better performance by sealing the breach, revitalizing air intake, and keeping filtration current for cleaner, fresher cabin air.
Are There Environmental Factors That Worsen Seal Degradation Faster?
Think yes: environmental factors do worsen seal degradation faster, including UV exposure and temperature swings. You’ll notice sunlit, hot sides aging quicker; wind, rain, and ozone accelerate cracking too. An anecdote: a friend’s seal peeled after a blazing summer, like old fruit left in sun. You should inspect seal material regularly for brittleness, stiffness, or gaps, and replace before leaks form. UV exposure especially degrades seal material over time, so shielded or vented placements help.
How Long Before a Leak Causes Interior Water Damage Noticeable Symptoms?
A leak can show noticeable interior water damage within days to weeks, depending on flow, location, and rain exposure. You’ll notice staining, damp smells, or warped panels as early symptoms. Do a quick leak detection check after wet weather, then perform a damage assessment of walls, flooring, and insulation. If you see ongoing seepage, don’t delay—prompt professional help protects structure and freedom.
Do All Body Window Seals Require Same Replacement Timeline or Parts?
Like a compass pointing straight, not all seals share the same pace. No, not all body window seal types require the same replacement timeline or parts. You’ll need to compare seal types and choose matched replacement materials for each. Check the manufacturer specs, note material compatibility, and plan staggered replacements if multiple seals differ. You’ll save time by documenting each part, ordering the correct replacement materials, and scheduling service when you’re ready to maintain freedom from leaks.