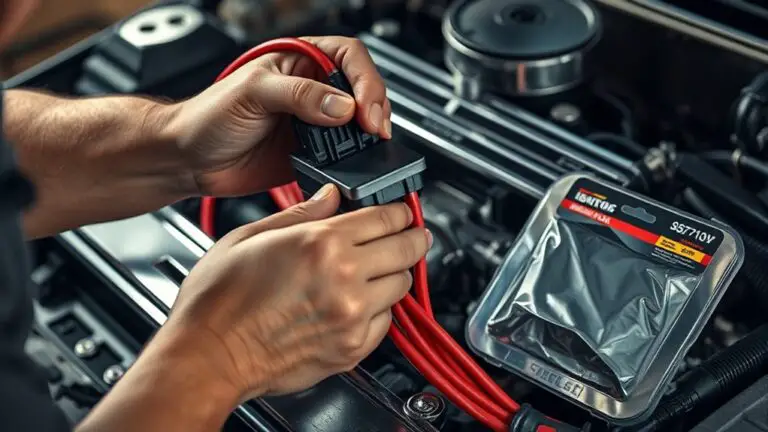
When a DIY Upgrade Leads to Incorrect Torque on Bolts: How to Roll Back Safely
When a DIY upgrade misloads bolts, you must roll back safely and restore control. First, document current torque and bolt specs, then loosen symmetrically in small increments to avoid thread shear. Reinstall with proper lubrication, re-torque in steps, and verify target values using calibrated tools. Track peak vs. sustained loads, note any lubrication or engagement issues, and retest to confirm preload stability. If you keep going, you’ll uncover a repeatable path to safe compliance and stronger joints.
Diagnosing Torque Issues in Your DIY Upgrade
Are torque problems sabotaging your DIY upgrade? You’ll approach diagnostics with a precise, measured mindset. Begin by defining target torque values from fastener technology references and your component specs. Record nominal torque, grip length, lubrication state, and threaded condition. Next, perform torque measurement using calibrated tools: a digital or torque wrench, noting peak vs. sustained values, and verify repeatability across multiple cycles. If readings deviate beyond tolerance, isolate variables: gauge thread engagement, verify bolt grade, and confirm washer presence or absence. Document friction factors, surface finish, and contamination that alter effective clamping. Apply a controlled test sequence, rechecking after each adjustment. Use standardized torque curves rather than anecdotal guesses to decide if re torque or reassembly is warranted. Maintain a clear log to support rollback decisions and future maintenance. Your goal: quantify uncertainty, leverage fastener technology, and restore correct preload while preserving operational freedom.
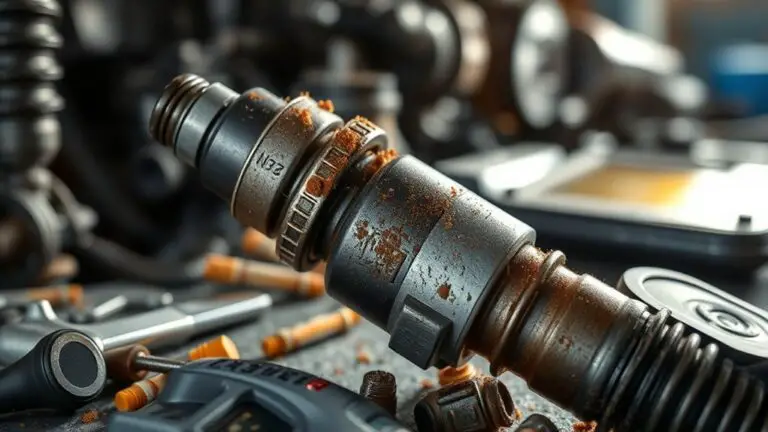
Causes of Over-Tightened and Under-Tightened Fasteners
Over-tightened or under-tightened fasteners arise from a mismatch between applied torque, thread engagement, and component stiffness. You’ll see three core failure modes: excessive clamping force, insufficient clamping force, and dynamic seating errors. In practice, if torque specs exceed what fastener materials can sustain, you over-torque, yielding threads or cracking parts. Conversely, under-torque leaves joints loose, permitting micromotion, fatigue, and gasket leakage. The balance hinges on thread engagement length, pitch, and material compatibility, plus joint stiffness. When components are rigid, even small torque deviations magnify clamp load, while柔soft assemblies tolerate less preload before slippage occurs. Torque specifications assume clean threads, proper lubrication, and correct fastener grade; deviations from these assumptions shift the required load. You must verify that fastener materials match service conditions, including temperature and corrosion exposure. Misalignment between operator input and intended preload creates under- or over-tensioning, undermining reliability and safety.
Safe Rollback Strategies to Minimize Damage
When rollback is necessary, the goal is to limit damage by executing a controlled sequence that preserves thread integrity, minimizes residual preload changes, and avoids collateral elongation or galling. You approach this with a disciplined protocol: first document current torque values for reference, then select rollback techniques that reduce thread shear. Use torque assessment to establish a baseline, identify any abrupt changes, and plan gradual unloading cycles. Remove or loosen fasteners in a symmetric pattern to distribute load evenly, avoiding sudden stress spikes. Reinstall with verified lubrication only where specified, and re-torque in small increments, checking each step against manufacturer or spec limits. If resistance rises unexpectedly, pause and reassess alignment, thread diameter, and seating depth before proceeding. Record final torque and residual preload, then compare to initial targets to confirm stability. This minimizes damage risk while preserving usability, enabling you to resume duties without overhauls.
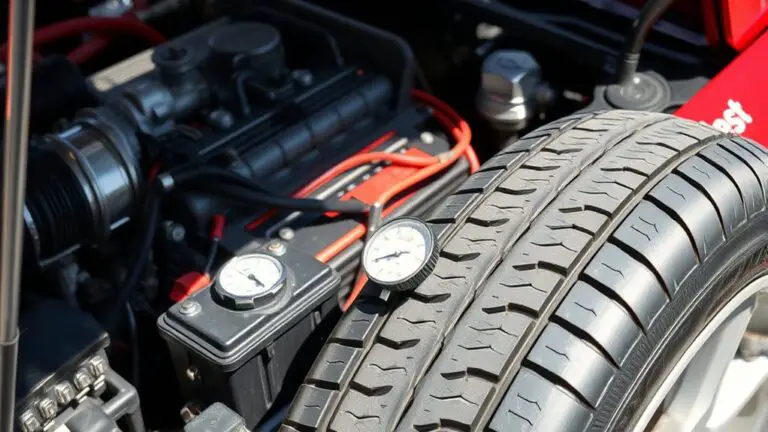
Tools and Techniques for Verifying Correct Torque
To verify torque correctly, you should calibrate torque tools against traceable standards before use and document the calibration date, torque value, and tool ID. Then apply measured loads to representative fasteners to confirm actual torque matches target within a defined tolerance, recording deviations. Finally, implement a routine to validate fastener loads at each maintenance interval and after tool servicing to guarantee ongoing accuracy.
Calibrate Torque Tools
Calibrating torque tools guarantees you apply exact, repeatable force. You’ll document reference readings, then cross-check with traceable standards to confirm accuracy within tolerance. Begin with a stable, rigid surface and a torque adapter aligned to zero before every test. Apply a series of known loads, record indicated and actual values, and compute error margins for each step. Use calibration techniques that include warm-up cycles, environmental control, and repeatability trials to reveal drift. For click-type and digital tools, verify peak torque and trigger accuracy; for beam-type, verify scale linearity across the scale. Maintain a calibration log with serial numbers, dates, and corrective actions. This torque measurement discipline sustains freedom to work confidently, knowing your instruments reflect reality, not memory.
Validate Fastener Loads
Effective verification of fastener loads requires a systematic approach that links torque input to clamping force. You’ll quantify preload using direct measurement when possible or derive it from calibrated torque-to-preload relationships specific to your fastener materials. Record target preload, bolt diameter, thread pitch, surface finish, and lubrication, then compare measured clamp force against required load distribution for the joint. Use a load cell or pressure-indicating film to map distribution across washers and boss faces, noting hot spots and edge effects. Log changes in torque settings and observe repeatability over multiple cycles. Validate that the achieved preload remains within tolerance bands under representative service loads. Prioritize traceability, documenting material properties, lubrication, and torque history to guarantee safe, predictable performance.
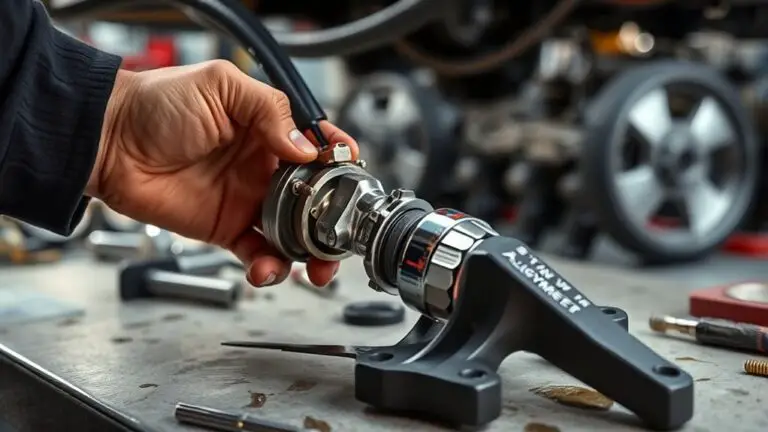
Step-by-Step Plan to Reset Fasteners to Specification
Resetting fasteners to specification starts with a clear target: the exact torque, preload, or thread engagement required by the fastener and joint. You’ll map the specification to measurable values: torque settings, clamping force, and thread engagement depth. Identify fastener types and their applicable limits, then confirm part tolerances and lubricant state. Next, assemble a reset plan: remove over-torqued or under-torqued fasteners in a controlled sequence, inspect seats, and clean mating faces. Re-establish torque references with a calibrated tool, cross-checking with manufacturer data, spec sheets, and torque charts. Apply lubricant consistently or lockout compounds as specified, recording settings for each fastener. Re-torque in a progressive pattern, verifying preload by method—witness marks, depth checks, or torque-to-yield indicators—until targets align. Document the final torque settings and fastener types in the log, ensuring future maintenance uses the same references. Your goal: repeatable, safe restoration to the original, verifiable specification.
Best Practices to Prevent Reoccurrence and Maintain Safety
You should implement post‑DIY torque checks to confirm fastener integrity after any upgrade, logging readings and tolerances for each bolt group. Establish standardized torque protocols with clear acceptable ranges, revision controls, and batch verification to reduce variance across tools and operators. Schedule ongoing safety audits to verify adherence, track corrective actions, and adjust practices based on measurement trends and incident learnings.
Post‑DIY Torque Checks
Post-diy torque checks are essential to confirm fasteners remain within spec after assembly, servicing, or adjustment; this prevents reoccurrence of loosening and maintains safety. You’ll verify torque specifications for each fastener type, record readings, and compare against documented values to guarantee consistent preload. Follow a repeatable procedure: select appropriate tools, apply controlled torque, recheck after cooldown, and note any drift. This discipline minimizes risk and supports confident maintenance. Table below guides quick checks by fastener types, with target ranges and tolerance windows.
| Fastener types | Target torque (Nm) or (in-lbf) |
|---|---|
| M6/M8 bolts | 6–9 Nm / 53–80 in-lbf |
| Structural screws | 12–25 Nm / 106–221 in-lbf |
Standardized Torque Protocols
Standardized torque protocols establish repeatable, measurable procedures to prevent recurrence and uphold safety across maintenance cycles. You implement torque standards that specify target values, acceptable tolerances, and verification steps, then document outcomes for each job. Your approach centers on reproducibility: use calibrated tools, consistent sequences, and controlled environmental conditions to minimize variance. You align procedures with fastener specifications, clarifying material type, thread type, and lubricant state to guarantee predictable clamping. You train technicians to follow checklists, record actual torque, and recheck critical joints after reassembly. By auditing tool calibration intervals and recording duty cycles, you create traceable evidence of compliance. This disciplined framework reduces errors, supports continuous improvement, and enables safe rollback should discrepancies emerge, preserving performance and user confidence in every maintenance cycle.
Ongoing Safety Audits
Ongoing safety audits are essential to detect drift in practices and prevent recurrence of incidents. You’ll implement structured checks, track corrective actions, and quantify improvements over time. Use clear criteria for safety compliance, then measure against them each cycle. Audit frequency remains your baseline: daily spot checks, weekly reviews, and monthly formal assessments. Record findings, assign owners, and validate closure with metrics. When deviations occur, rollbacks are documented, root causes identified, and mitigation verified before reentry. Maintain objective, repeatable processes, not opinions. The goal is continuous, data-driven assurance that habits align with standards, not just intentions.
| Criteria | Frequency | Outcome |
|---|---|---|
| Visual torque verification | Weekly | 95% compliance |
| Procedure adherence | Monthly | 98% compliance |
| Equipment calibration | Quarterly | 99% accuracy |
Frequently Asked Questions
How Do I Know if a Bolt Requires Re-Torquing After a Rollback?
You should re-torque if you notice any loosening, movement, or vibration after rollback. Perform a bolt inspection using calibrated torque wrenches and compare to torque standards for your application. Recheck every critical fastener in 90 minutes, then again at 24 hours. If readings drift beyond tolerance, repeat the torque sequence and document values. Maintain consistency, record deviations, and guarantee final torque matches standards before you trust the assembly.
Can Torque Specs Differ Between Cold and Hot Engine States?
Yes, torque specs can differ between cold and hot engine states. You should torque bolts cold, then recheck after heating, because cold engine effects can drop or stiffen fasteners once hot. Hot engine torque normally requires lower values, since expansion reduces clamping load. Measure precisely, document temperatures, and use the torque window specified for each state. You’ll stay precise, safe, and liberated, keeping timing, gaskets, and fasteners within the designed grip range.
What Are the Signs of Bolt Head or Thread Damage Post-Rollback?
You’ll spot bolt head or thread damage by cleanly inspecting for rounding, flat spots, or recessed corners, and by checking thread spirals for lap or flake wear. Perform bolt inspection techniques: measure with gauges, compare to spec, and test for calibrated pull. Assess thread condition by run-in fit, depth gauges, and torque variance after rollback. If deformation exceeds tolerance, halt maintenance. Document results and re-torque to the correct spec after confirming clearance and alignment.
Is Retorquing Safer With a Torque Wrench vs. a Calibrator Tool?
Yes, retorquing with a torque wrench is safer than a calibrator tool for bolts you’ve loosened or overheated. You should rely on torque calibration data and verify wrench accuracy before reassembly. Use the wrench to apply target torque in measured steps, documenting each reading. Calibrators help check scale, but a calibrated, well-maintained wrench gives repeatable results. Track tolerances, recheck after function tests, and avoid over-torquing by sticking to specified ranges.
Should I Replace Fasteners After a Rollback or Reuse Them?
Yes, you should replace bolts. Reuse compromises fastener quality and safety. Evaluate replacement criteria: inspect threads for damage, corrosion, and stretch marks; if any fatigue or deformation exists, replace. For critical joints, use new fasteners of equal or higher grade. Keep torque specs precise, and verify with calibration. In doubt, err on the side of replacement to preserve system integrity and your freedom to ride confidently.