When a Seat Belt Buckle Sensor Failure Requires Module Replacement
When a seat belt buckle sensor fails, you should evaluate the control module first, because most intermittent or persistent faults originate in the module’s signal interpretation rather than the sensor itself. Look for inconsistent occupancy data, warning-light erratic behavior, and fault codes that point to interpretation rather than hardware. If the module misreads signals or loses timing, replacement may be required. Expect calibration after swap, and note that further details will reveal how to verify and validate the fix.
Symptoms Indicating a Faulty Seat Belt Buckle Sensor
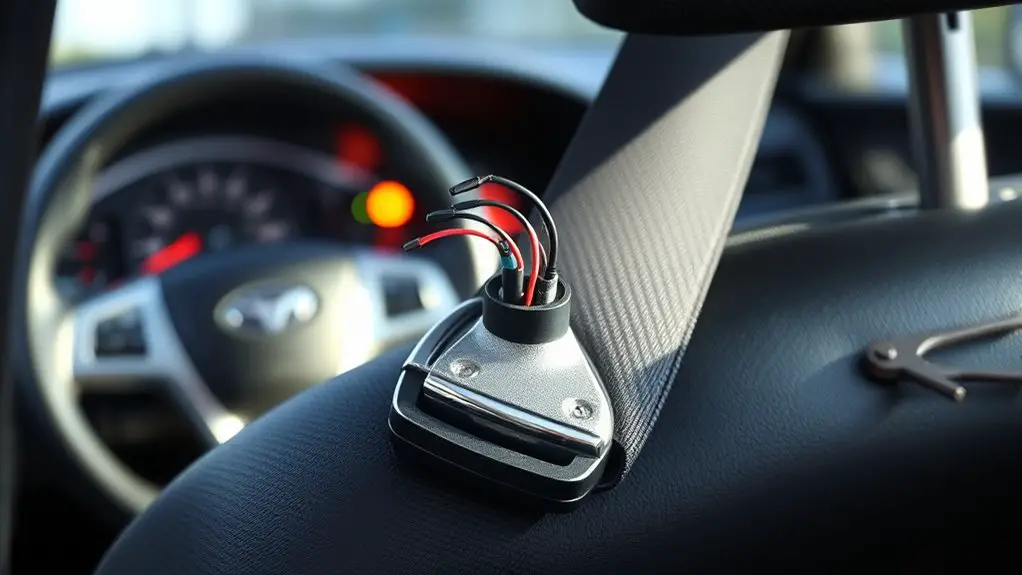
Possible symptoms indicate a faulty seat belt buckle sensor. You’ll notice intermittent occupant detection indicators, such as the seat belt warning light flashing or remaining on despite buckled restraint. Inaccurate or delayed signals degrade awareness, prompting unnecessary driver adjustments and confusion. You may observe inconsistent seat occupancy alerts when the vehicle reads a seated passenger, then suddenly reclassifies as unoccupied. Battery- and ignition-independent fault codes can appear, signaling sensor failure without obvious mechanical damage. Diagnostic scan data typically shows abnormal resistance or open circuits within the buckle harness, with sporadic drift across temperature or vibration cycles. You could experience false readiness signals during startup, causing the airbag or occupant protection system to enter a degraded state. Continuous anomalies warrant verification of connector integrity, wiring harness routing, and protective shielding. Document exact symptom onset, frequency, and vehicle conditions to support precise fault isolation and preventative maintenance.
Why a Sensor Failure Might Point to a Module Issue
You may find that a sensor fault can indicate a module issue rather than a simple sensor fault. Distinguish Sensor Vs Module Fault by examining fault codes, communication watchdogs, and persistence across cycles to guide Diagnosing the Root Cause. Replacement Triggers Module Issue when sensor replacement fails to resolve symptoms or when system diagnostics reveal module-level errors.
Sensor Vs Module Fault
Sensor failure in isolation can be misleading; often the fault lies with the controller or harness rather than the switch itself. When you evaluate a symptom reported as a sensor fault, you should trace signals through the circuit: power, ground, and data lines, then compare against expected ranges. A discrepancy may reflect wiring impedance, connector integrity, or an internal fault within the module, not the buckle switch. Calibration drift or misalignment can masquerade as a sensor fault, making sensor calibration a critical first check before replacement. Likewise, module programming or firmware state can influence the reported status, so you verify that the control unit recognizes the sensor’s input correctly. In practice, confirm the fault is reproducible and isolated, then document observations for targeted remediation.
Diagnosing the Root Cause
In many cases, what looks like a sensor fault actually originates from the control module or wiring harness. You’ll inspect signals, timing, and fault codes to distinguish sensor technology from module behavior. A root-cause view asks: is the issue intermittent power, ground integrity, or CRC/checksum mismatch? You should correlate seat belt activity with voltage rails, harness continuity, and console logs to avoid misdiagnosis. Precision testing reveals whether the fault is sensor bias, module debounce, or cable abrasion. Document findings and maintain an auditable trail for future diagnostics. This approach respects freedom to troubleshoot while upholding safety standards and reliability.
| Symptom/Origin | Diagnostic Test | Expected Outcome |
|---|---|---|
| Sensor fault | Trace signals | Consistent response |
| Module issue | Inspect Power/Ground | Stable supply |
| Wiring harness | Continuity/Integrity | No opens/ shorts |
| Debounce logic | Time-domain check | Correct debounce |
| Communication error | Bus analysis | Valid CRC/ACK |
Replacement Triggers Module Issue
When a seat belt buckle sensor appears faulty, the fault may actually originate from the module’s processing or integration rather than the sensor element itself. You should scrutinize how the module interprets signals, because misalignment between sensor outputs and the module’s expectations can mimic a sensor fault. Replacement becomes a module-centered decision when diagnostic codes point to communication, timing, or fault-musing logic rather than a dirty contact. Check module compatibility with the sensor family, including timing windows and data framing, before any part swap. Sensor calibration should be verified after any interface adjustment, ensuring end-to-end signal integrity. This approach minimizes unnecessary replacements and preserves system reliability while maintaining a clear path to a correct, minimal-risk resolution.
When Warning Lights Signal a Deeper Control Module Problem

You’ll see warning lights that may indicate more than a simple buckle fault, prompting you to contemplate central module diagnostics. By examining the central module and related signals, you can correlate buckle sensor failure with broader control system issues. This discussion centers on warning lights, central module diagnostics, and buckle sensor failure as interconnected indicators of a deeper problem.
Warning Lights Signals
Warning lights can indicate more than a simple fault; they often signal a deeper issue within the vehicle’s control modules. You’ll notice patterns: transient flashes, sustained illuminations, or mismatched dash indicators that don’t align with observed symptoms. When warning lights remain active, you’re not chasing a single sensor fault—you’re evaluating the integrity of the control path, data integrity, and communication networks that tie the seat belt system to the central ECU. You should document cycle duration, baud rates, and any concurrent sensor readings, as these details help distinguish a sensor nuisance from a module-wide condition. Treat constant warnings as potential module degradation that warrants diagnostic escalation rather than isolated part replacement. Seek calibrated tests, verify fault codes, and confirm signal grounding and redundancy meet safety criteria for seat belt workflows.
Central Module Diagnostics
Central module diagnostics hinge on isolating whether warning light activity reflects a degraded control path or a broader ECU fault. You assess signals, trace BIOS and CAN messages, and compare them against baseline behavior to determine root cause, not symptom. You must guarantee data integrity before any invasive action, preserving system logic and safety intent.
- Evaluate sensor calibration status and verify whether incorrect readings trigger false alerts.
- Assess module compatibility across firmware versions and hardware revisions to prevent cross-generation faults.
- Correlate diagnostic trouble codes with real-time data to distinguish transient glitches from persistent faults.
- Document findings concisely to guide replacement decisions without premature module changes.
Buckle Sensor Failure
When the buckle sensor signals appear anomalous, it may indicate a deeper control module issue rather than a simple sensor fault. You analyze symptoms methodically, separating transient glitches from persistent faults. Buckle sensor types vary by mechanism—magnetic, mechanical latch, and textile/seat-integrated variants—each with distinct failure signatures and diagnostic paths. Internal fault codes, cross-checks with seat position data, and ignition-cycle consistency guide interpretation. If warning lights persist after reseating or basic tests, suspect the module’s input conditioning or wiring harness, not just the sensor element. Prioritize sensor maintenance practices that maintain signal integrity, including connector integrity, corrosion checks, and harness routing. Document reproducible conditions, correlate with diagnostic scans, and plan module-level consideration only after confirming sensor-level failure and compatibility with the vehicle’s safety logic.
Common Failure Modes of Seat Belt Sensors and Modules
Common failure modes for seat belt sensors and modules generally stem from electrical connectivity issues, environmental exposure, and component degradation. You’ll encounter issues that compromise signal integrity, calibration accuracy, and system reliability, especially as wear gathers. In practice, anticipate how moisture ingress, corrosion, and connector fatigue affect seat belt technology and sensor calibration across modules. Precision matters because a slight drift in readings can trigger false warnings or missed restraints.
- Electrical contact resistance rise due to oxidation or loosened connectors.
- Environmental damage from humidity, temperature cycling, or vibration.
- Component aging leading to drift in sensor output and reference stability.
- PCB trace or solder joint failures that disrupt diagnostic communications.
Diagnostic Steps to Confirm the Need for Module Replacement
To determine whether a module replacement is warranted, you should perform a structured diagnostic sequence that verifies fault persistence, checks diagnostic trouble codes, and assesses signal integrity under controlled conditions. Begin with sensor testing to confirm consistent readings across multiple cycles and input scenarios. If readings fluctuate or error flags appear intermittently, log timing, voltage, and resistance values to establish a baseline. Next, perform module diagnostics by querying the control unit for fault codes, freeze-frame data, and recent event histories; correlate codes with sensor wiring and connector integrity. Inspect for misalignment, corrosion, or pin damage, then re-test after reseating connectors. Use a controlled bench setup or vehicle-safe environment to reproduce the fault, ensuring repeatability. If the fault persists with clean connections and identical loads, you’re likely facing a sensor or module fault requiring replacement. Document results, including test conditions, for traceability and maintenance continuity.
Safety Implications of Delaying Module Replacement
Delays in replacing a faulty seat belt buckle sensor can compromise occupant protection, as intermittent or absent seat belt detection may fail to trigger the vehicle’s safety restraint systems when needed. In this situation, you assess risk not only for a single event but for cumulative exposure, where repeated misdetections erode system trust and response consistency. The risk profile shifts from isolated fault to chronic vulnerability, stressing the importance of maintaining seat belt safety as part of overall vehicle integrity. A delayed replacement can shorten module lifespan and increase susceptibility to cascading electronics faults, complicating diagnostics and elevating maintenance costs. You must weigh safety gains against downtime, ensuring that the system remains reliable under frontal, side, and rollover scenarios.
- Early replacement preserves sensor and restraint reliability, maintaining seat belt safety expectations.
- Prolonged delays raise the probability of false or missed seat belt signaling.
- System aging may mask other faults, obscuring true safety risk.
- Timely action supports predictable restraint performance and financial efficiency.
Repair vs. Replacement: Making the Right Call
Repairing a faulty seat belt buckle sensor is not automatically preferable to replacement; the decision hinges on fault severity, fault history, and cost‑effectiveness. You weighing options should map fault profiles to practical outcomes: a minor anomaly that’s reproducible under limited conditions may justify repair, while intermittent or hard-to-trace faults often justify module replacement. Evaluate repair strategies by isolating root causes, verifying sensor integrity, and testing the subsystem’s response time and fault codes across representative scenarios. A clear cost analysis weighs component friction, labor hours, device availability, and potential downstream impacts on airbag sequencing and vehicle diagnostics. If the sensor has a history of cascading failures or exhibits aging-induced drift, replacement tends to deliver reliability and predictable performance. Conversely, for a known good substrate with a recoverable fault, repairs can reduce downtime and total cost. Your choice should balance functional certainty, safety margins, and economic pragmatism, aligning with a freedom‑driven goals of reliability and transparency.
Replacement Procedures and Best Practices
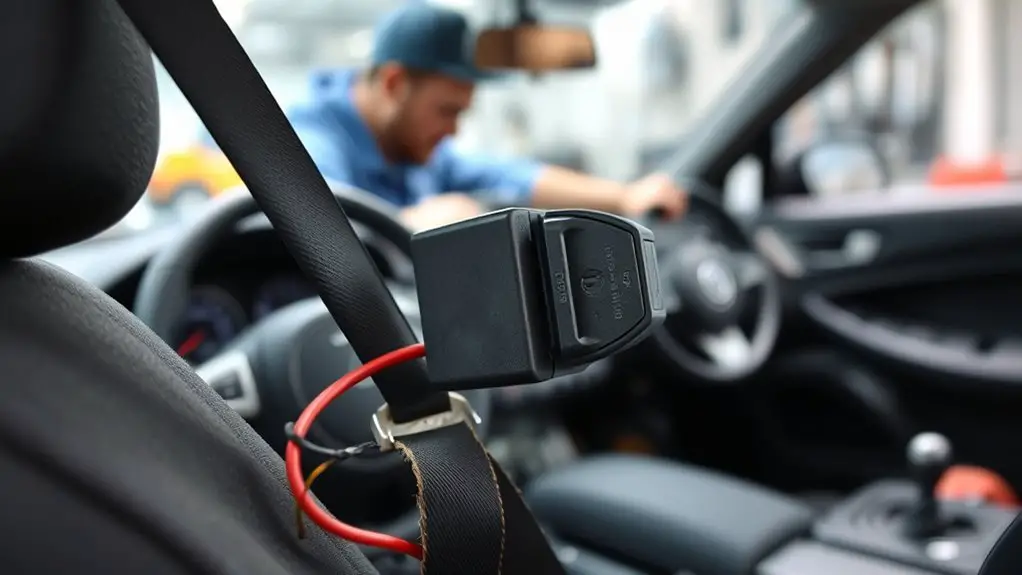
When replacing a faulty seat belt buckle sensor, you’ll first confirm fault isolation and determine whether repair is feasible or a full module replacement is warranted. You’ll follow a disciplined procedure to minimize downtime while preserving safety-critical integrity. Emphasize documented sensor testing and cross-checks with the vehicle’s fault codes, harness continuity, and connector integrity to avoid latent failures. Ascertain module compatibility before part ordering, and verify that any replacement aligns with OEM specifications and performance envelopes. Maintain traceability for warranty and diagnostics, and insist on clean removal and proper seating to prevent intermittent faults.
- Confirm fault isolation with controlled sensor testing, avoiding premature conclusions.
- Verify module compatibility and supplier certification to prevent mismatches.
- Document wiring harness and connector condition, replacing worn components as needed.
- Conduct post-replacement checks with calibrated diagnostics to validate proper operation.
Post-Repair Validation and Compliance Considerations
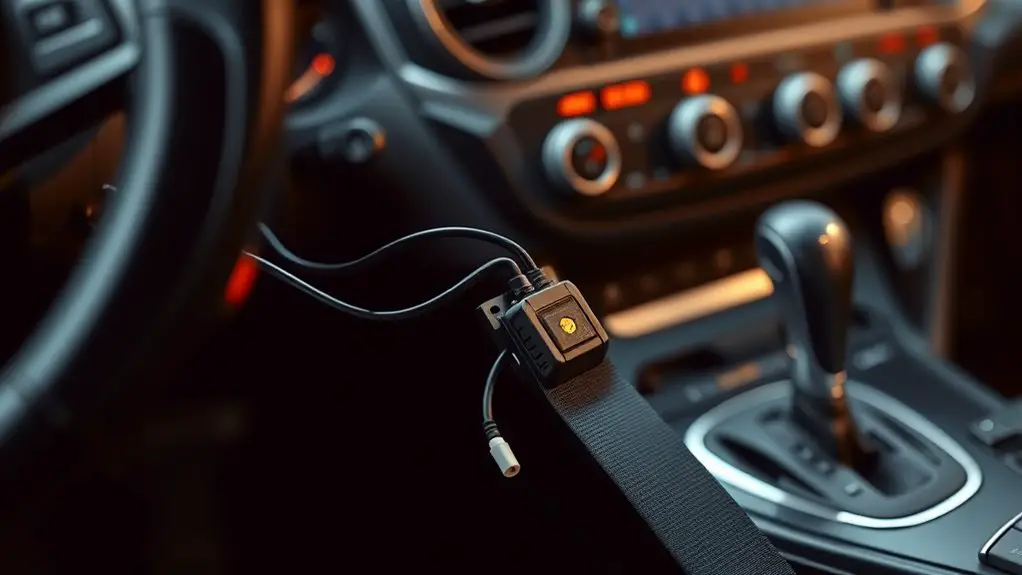
Post-repair validation must verify that the seat belt buckle sensor functions reliably under calibrated diagnostic conditions and that all safety-related criteria remain met after service. You perform objective tests to confirm sensor output within specification, guaranteeing consistent engagement, latch timing, and fault-free signaling to the restraint controller. System-wide rollback risk is assessed by re-running baseline diagnostics and cross-checking with vehicle fault codes to confirm no latent faults emerge. Documented evidence of sensor compliance is essential, including tolerance bands, environmental stress limits, and repeatability across cycles. Module validation follows, verifying that the new control module communicates deterministically with associated subsystems, preserves fail-safe logic, and maintains proper wake/sleep behavior. Retesting after vibration, temperature, and load sequences ensures robustness. You also verify calibration retention, data integrity, and secure firmware linkage. Conclude with a concise pass/fail record and a traceable authorizing signature, confirming ongoing compliance and operator readiness.
Frequently Asked Questions
How Long Does a Module Replacement Typically Take?
Brace yourself: a module replacement typically takes about 1 to 2 hours, depending on vehicle model and access. You’ll hear calm, precise diagnostics, then careful module installation and reprogramming, followed by a functional test. Expect a repair duration that’s steady and predictable, with no shortcuts. You’ll want to verify proper belt buckle sensor signaling after calibration, ensuring safety. If stubborn, plan for longer sessions, but most cars complete in under a couple hours.
Will Replacement Affect Airbag System Warranties?
The replacement can affect warranty status, and you should check your specific terms, as warranty implications vary by manufacturer. If the sensor reliability triggered the issue, you may still be covered under safety-system warranties, but some programs require module replacement by approved technicians. You’ll want documented service notes to support coverage. Consider how the upgrade aligns with regulatory recalls, and keep records. If unsure, consult the dealer for clarity on warranty implications and your safety system’s integrity.
Can Seat Belt Sensor Faults Recur After Replacement?
When you replace the module, seat belt sensor faults can recur, though less likely if the fault was isolated. In a data-driven diagnostic, you’ll perform sensor troubleshooting and fault diagnosis to confirm persistent issues before reassembly. Think of it like rechecking a firewall after a breach: a fresh module helps, but you must validate wiring integrity,_OCS seat harness timing, and PCB integrity to prevent recurrence. If new faults appear, re-verify connections and software calibration.
Which Diagnostic Tools Verify a Successful Module Swap?
You verify a successful module swap using diagnostic equipment and sensor testing to confirm proper buckle function. You’ll run interface tests, read fault codes, and inspect I/O state while exercising the seat belt mechanism. You should check for fault-free readiness, zero DTCs, and correct sensor data across multiple scenarios. You’ll validate voltage rails and CAN/LIN communications, ensuring the module responds within spec under load. If all pass, you’ve established a successful swap.
Are There Recalls Related to Belt Buckle Sensors?
“Where there’s a will, there’s a way.” You should know that recalls about belt buckle sensors exist, though specifics vary by model and region, and recall history is your best guide. You’ll want to review auto manufacturer notices and NHTSA data for sensor malfunction patterns. If a recall is in effect, follow official remediation steps precisely, document all actions, and verify post-service performance with diagnostic tests and tools appropriate to your vehicle.