When to Flush the AC System and Why
You should flush your AC system when you notice contaminated refrigerant or sludge, reduced cooling efficiency, unusual compressor noises, or icing on refrigerant lines. Flushing removes sludge and debris that clog passages, protects seals, and preserves overall longevity. It’s most needed with dirty evaporator coils or clogged condensate lines, and when you’ve had recent repairs or major component changes. Timely flushing helps maintain airflow and temperature differential. If you keep going, you’ll gain deeper, actionable guidance.
Signs You Need a Flush: Contaminated Refrigerant and Sludge
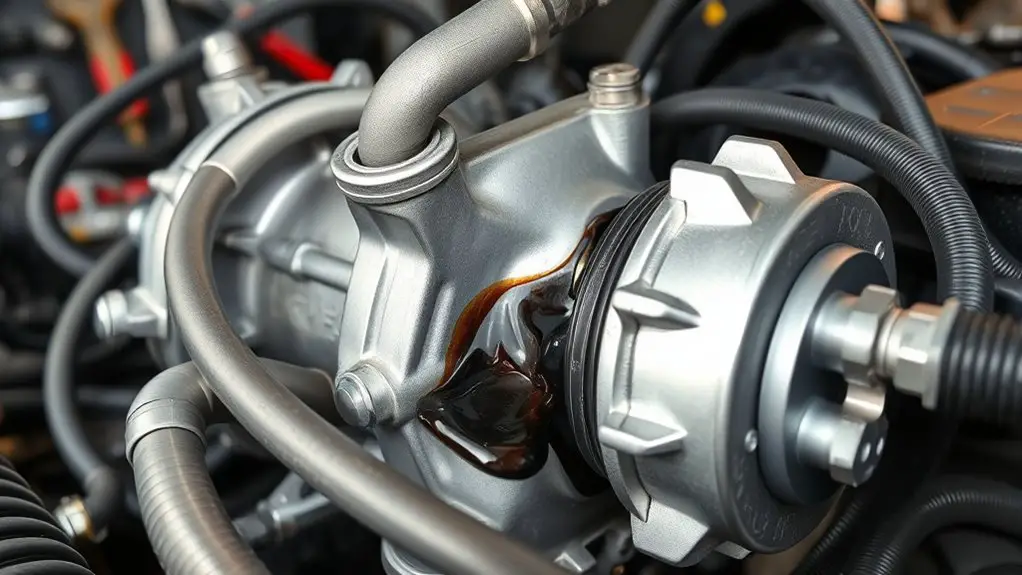
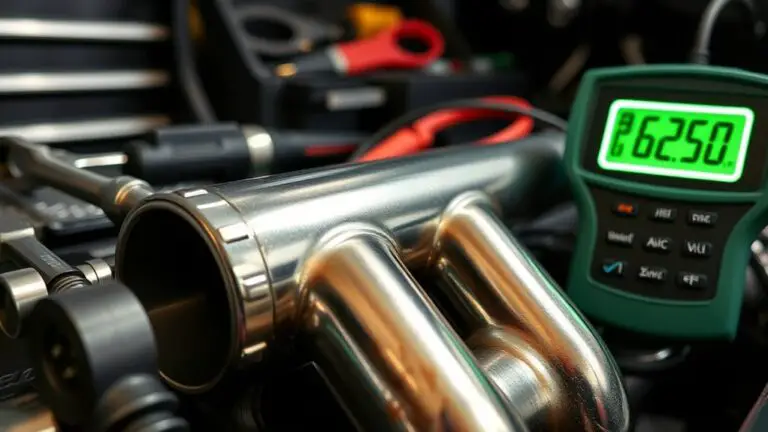
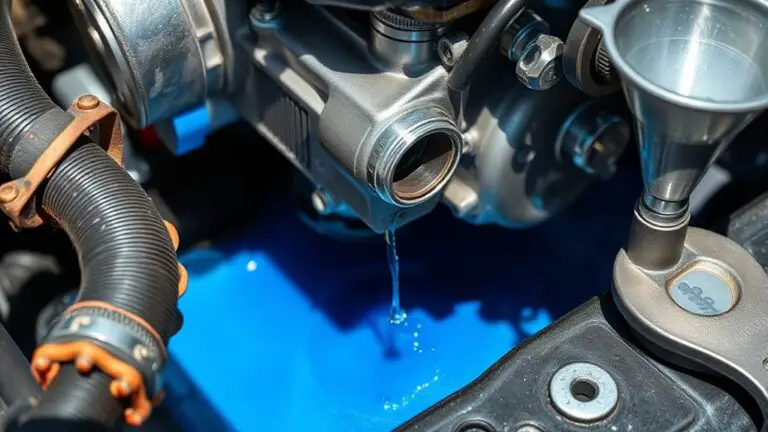
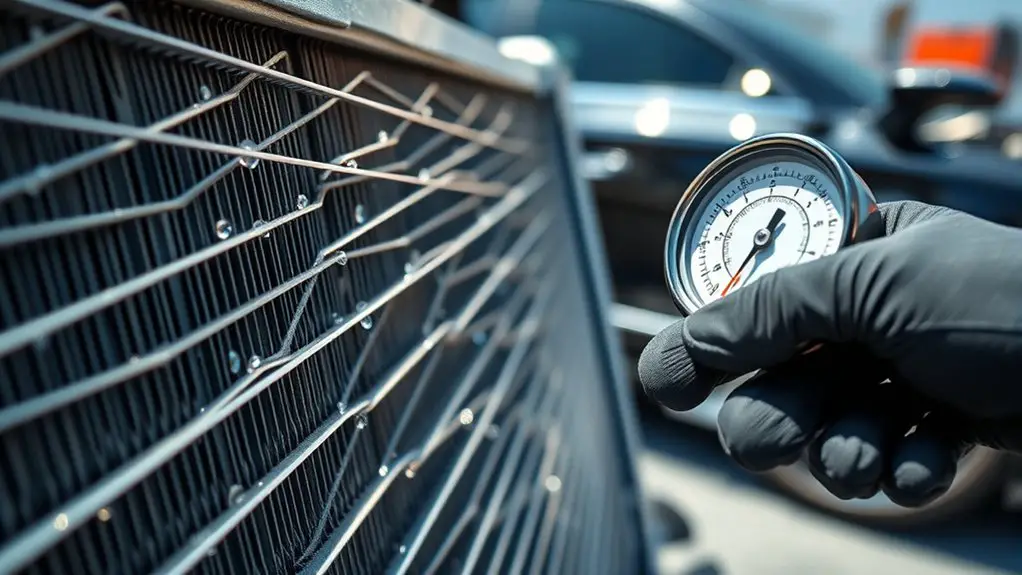
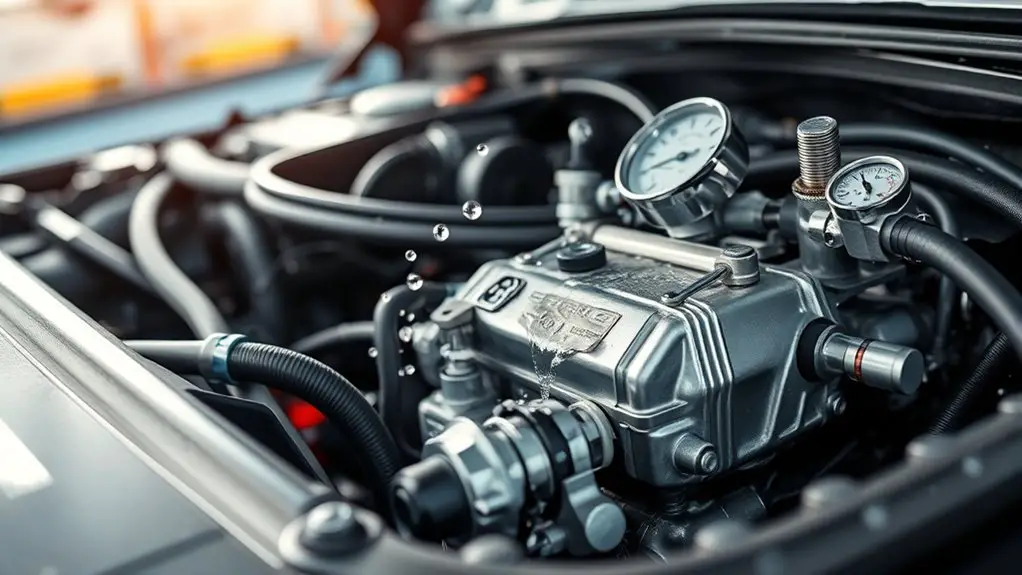
If you suspect your AC system needs a flush, start with the basics: contaminated refrigerant and sludge are the primary red flags. You’ll notice reduced cooling efficiency, longer cycle times, and oddly warm air from the vents. Listen for unusual noises or knocking when the compressor runs, and watch for icing on the refrigerant lines. Sludge buildup can trap particles, starving the evaporator and causing uneven temperatures across zones. Refrigerant contamination often accompanies oil emulsification, which impairs lubrication and peak performance. A sudden pressure drop or high head pressures on gauges also signals trouble. If you observe moisture in the sight glass, or oily residue around fittings, treat it as a warning sign. Don’t ignore lingering odors—trimethylamine or solvent-like smells can indicate contamination. In short, any combination of poor cooling, abnormal pressures, or visible residue warrants further diagnosis to prevent system damage and preserve freedom of operation.
Why Flushing Protects Your AC Components
Flushing clears out sludge, debris, and contaminants that can clog passages and abrade components, so your compressor, expansion valves, and heat exchangers work more reliably.
Flushing protects overall system longevity by preventing restrictions and uneven flow that force pumps to work harder. It also preserves component efficiency, ensuring better heat transfer and reduced cycling losses. When contaminants are removed, pressures stay consistent, reducing wear on seals and bearings. You’ll notice smoother starts, steadier temperatures, and fewer drops in performance between service intervals. Proper flushing also minimizes the risk of re-contamination during reassembly, safeguarding both new and existing parts. By targeting sludge and particles before they travel, you extend life expectancy and optimize energy use without drastic upgrades or frequent repairs.
| Benefit | What it improves | Result |
|---|---|---|
| System longevity | Reduced clogging and wear | Longer component life |
| Component efficiency | Consistent flow and heat transfer | Lower energy use |
| Reliability | Fewer pressure spikes | More stable operation |
When Dirty Evaporator Coils Require a Flush
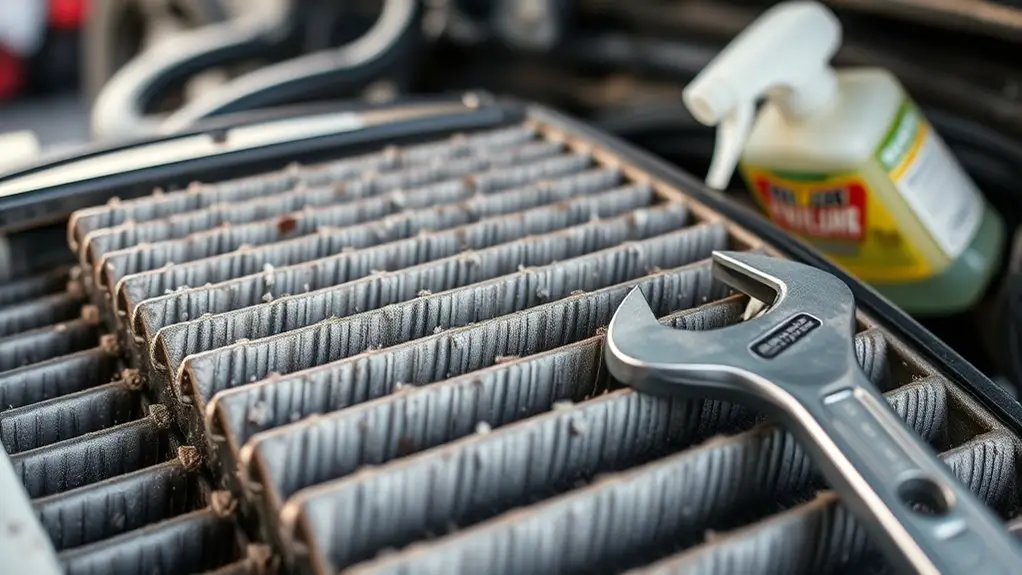
When evaporator coils look dirty or run poorly, a flush becomes warranted to restore heat transfer and airflow. You’ll know it’s time when you notice reduced cooling, frost, or higher indoor temps despite a running fan. A flush can prevent efficiency losses and avoid cascading failures in the coil path.
1) Inspect and confirm: visually assess the evaporator surface and note pronounced buildup.
2) Plan the procedure: isolate the unit, protect ducts, and prepare safe cleaners suitable for evaporator cleaning.
3) Execute the flush: apply approved cleaning agents to dissolve residue, then rinse with clean water or approved solvent per manufacturer guidance.
4) Verify results: recheck temperature differential, airflow, and coil surface for remaining debris, repeating only if necessary.
Tips: prioritize coil maintenance during maintenance windows and document the service. Use proper PPE and follow safety guidelines. This approach keeps your system efficient and avoids unnecessary component stress.
The Role of Clogged Condensate Lines in System Performance
Clogged condensate lines can quietly degrade performance by causing overflow, reducing airflow, and triggering high humidity levels inside the evaporator. You’ll notice slower cooling, frost formation, and potential water damage if lines aren’t cleared. When condensate can’t drain properly, the system works harder, wasting energy and lowering overall system efficiency. Regular inspection lets you catch blockages early and prevent unnecessary strain on the blower, compressor, and controls. Clear, unobstructed lines promote consistent evaporator humidity control and steadier temperature output, giving you more reliable comfort and energy savings. If you spot standing water or a musty odor, address the blockage before it affects performance or indoor air quality. Prioritize accessible maintenance, and don’t ignore warning signs—your system will thank you with longer life and better efficiency.
| Issue | Action |
|---|---|
| Blocked line | Inspect and clear with the appropriate tool; verify proper drainage |
| Overflow risk | Stop the unit, clean the tray, and restore slope if needed |
| Airflow impact | Check blower and filters; confirm unobstructed return paths |
| Humidity control | Confirm condensate removal supports steady evaporator humidity |
| System efficiency | Track energy use; address blockages to maintain peak performance |
Timing Your Flush: What Triggers It
Sometimes you should flush the AC system as soon as you notice certain signs, but you’ll typically time it to prevent damage or downtime. Timing your flush hinges on practical indicators you can trust, not guesswork. Consider how flush frequency and system age shape decisions, so you stay ahead of leaks, corrosion, and reduced efficiency.
- You detect rising pressure or unusual pressure drops during operation.
- You notice metallic taste or discolored condensate indicating contaminants.
- Your system is older than typical service life and shows creeping performance loss.
- You’ve just completed major repairs or component changes that could introduce debris.
Use these triggers as a quick checklist before planning maintenance. Don’t rush every interval; tailor timing to performance signals and age-related wear. A disciplined approach minimizes downtime and protects efficiency. Remember: flush frequency isn’t fixed, it adapts to results you actually observe. When in doubt, document changes and revisit the plan with your technician.
Flushing Methods: Conventional Vs Additives
Conventional flushing relies on flushing solvents and mechanical agitation to clear debris, while additive methods introduce chemical cleaners or conditioners designed to loosen buildup before flushing. You’ll compare how each approach interacts with your system’s passages, seals, and components, then decide based on contamination type and risk tolerance. Conventional methods emphasize thorough contact with solvent flow, using brushes, wands, and high-velocity rinse to push particles out. Additive solutions, by contrast, prime internal surfaces, soften sludge, and inhibit future adhesion, reducing friction during the final flush. In practice, you may start with a conventional pass to dislodge bulk deposits, then follow with a compatible additive solution to condition metal and rubber parts. Always verify compatibility with your components and the refrigerant, and adhere to manufacturer guidance. Choose the method that minimizes residue and avoids collateral wear. Your goal is clean, free passages, reliable performance, and a system that’s ready for the next service interval.
Professional Vs DIY: Choosing the Right Route for Your System
When deciding between Professional vs DIY work, you weigh cost, safety, and warranty implications before you start. Consider route selection factors like your skill level, tools, and access to proper recovery equipment to determine what’s feasible. Use a clear plan: know what you can handle, what requires a pro, and how each choice affects system reliability and compliance.
Professional Vs DIY
Choosing between a professional service and a DIY approach depends on your system, budget, and risk tolerance. You want clarity, not fluff, so assess early and move with purpose.
- cost comparison: compare quoted labor, parts, and potential warranty impacts.
- skill assessment: honestly evaluate your tool set, reading, and safety know‑how.
- risk awareness: consider refrigerant handling, electrical work, and leak testing.
- time commitment: factor learning curves and potential callbacks into your plan.
If you opt DIY, follow strict safety steps, document procedures, and know when to stop. If you choose pro, verify licenses, warranties, and service guarantees up front. Your freedom hinges on informed choices, not haste.
Route Selection Factors
Route selection hinges on balancing risk, cost, and time. You weigh options between professional versus DIY paths by evaluating what you can control, what you’ll need, and the potential consequences. If you prioritize speed and warranty protection, a professional route offers route efficiency through proven processes, specialized tools, and compliance with codes. If you crave independence and learning, a DIY approach gives you hands-on control, lower upfront spend, and ongoing maintenance familiarity. Regardless of choice, map out clear milestones: diagnostics, parts, and safety checks. Consider environmental impact: professional services may optimize refrigerant handling, while DIY work must substitute careful disposal and emission considerations. Choose the route that minimizes risk, aligns with your skill ceiling, and preserves long-term system reliability.
Frequently Asked Questions
How Often Should a Flush Be Performed for Residential Vs Commercial Systems?
Answer: For residential systems, flush only as needed and typically every 5–10 years, while commercial systems require more frequent checks—often annually or per vendor guidance. You should follow a documented maintenance plan, not a calendar-only approach. In this balance, residential frequency leans conservative; commercial frequency is proactive. Trust your techs to assess contaminants, moisture, and system integrity, keeping critical components clean. You’ll maintain performance and safety, with practical, freedom-minded, step-by-step execution.
Can Flushing Void My System Warranty or Affect Insurance Coverage?
Yes, flushing can affect warranty and insurance. Warranty implications vary by manufacturer; using proper procedures and documented services helps. If you DIY or use unapproved cleaners, you may void coverage. Insurance considerations hinge on adherence to codes and safety, plus documented maintenance. Always check your policy and the equipment warranty, and keep receipts. You’ll protect yourself by following approved fluids, equipment-specific guidelines, and professional certification to minimize risk to your system.
Are There Risks to Metal Corrosion From Flushing Chemicals?
Yes, there are corrosion risks. If you flush, use corrosion prevention techniques and choose a mild, compatibility-checked chemical. Avoid harsh acids that attack metal surfaces. Rinse thoroughly to remove residues, and follow manufacturers’ recommendations for dilution and contact time. Monitor for any pitting or discoloration, and test after flushing. With proper chemical selection and diligent flushing procedures, you minimize risk while maintaining system integrity.
Will Flushing Extend the Life of a Heat Pump or Just Improve Efficiency?
Flushing can improve efficiency more than it extends heat pump longevity. You’ll notice smoother operation and steadier temps, but major durability gains come from overall maintenance and proper refrigerant handling. If your system runs dirty or clogged, flushing helps efficiency, yet corrosion risks and improper cleaning can negate benefits. Prioritize regular service, clean filters, and refrigerant checks. In short, flush for efficiency improvement, not guaranteed longevity, and pair it with prudent upkeep for real results.
How to Tell if a Flush Is Needed After a Minor Refrigerant Leak?
If you’ve got a minor refrigerant leak, you don’t rush to flush—you verify first. Look for signs, perform leak detection, and ascertain refrigerant recovery is complete before deciding on flushing. If pressure normalizes and no new leaks appear, a flush isn’t likely needed. Monitor for changes, document measurements, and consult a technician if uncertainty persists. Stay precise: avoid introducing contaminants, and only proceed after confirming the leak’s source and recovery status.