When to Trust the Scanner Vs Understanding Symptoms for OBD Adapter Connection Failure
You should trust a methodical, evidence-based approach that weighs scanner data against symptoms, because reproducible tests and consistent readings reveal faults faster than guesswork. Start by verifying hardware and app pairing, then compare live sensor values with known ranges. If codes repeat across tests and align with symptoms, treat them as real. If readings are flaky or inconsistent, question the scanner’s reliability. When in doubt, corroborate with multiple tests; otherwise, symptoms guide you toward the root cause, and you’ll uncover more soon.
Verifying Your OBD Connection: Steps to Confirm Hardware and App Pairing
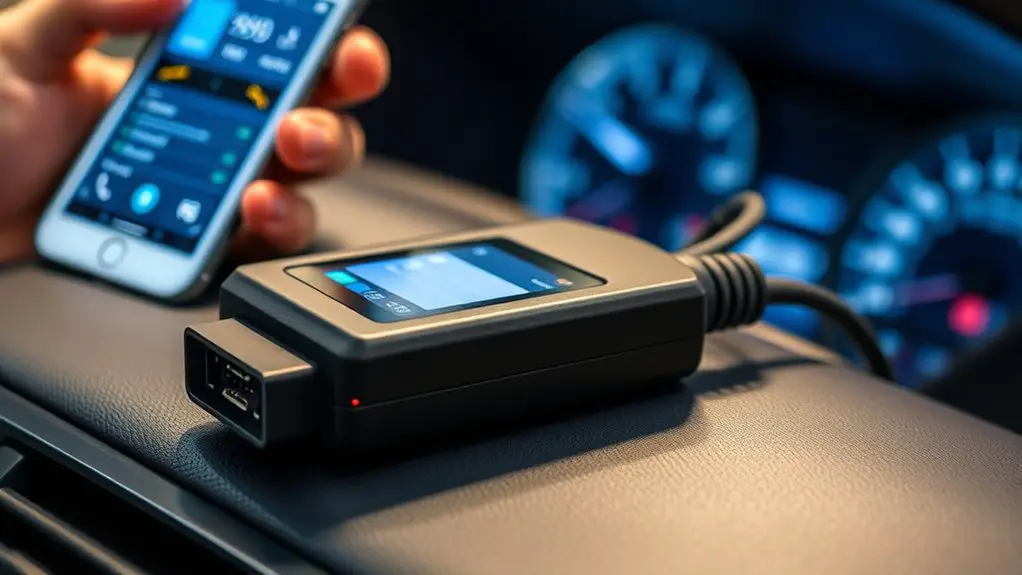
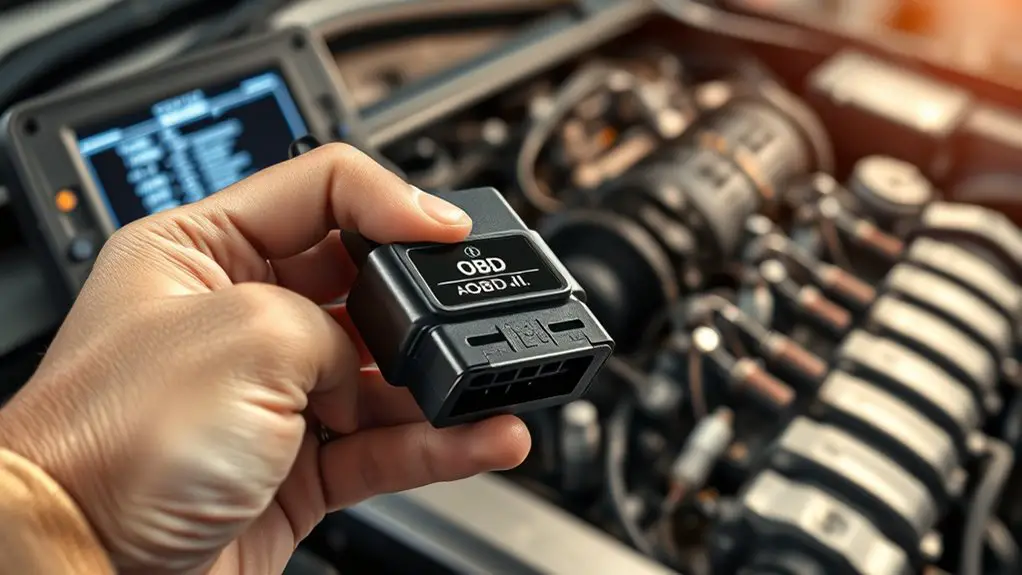
To verify your OBD connection, start by confirming that both the hardware and app are paired correctly. You’ll approach this with a methodical checklist, not guesswork. First, inspect the OBD adapter troubleshooting steps: ascertain the adapter lights indicate proper power and pairing status. Next, verify hardware compatibility by cross-checking the adapter model against your vehicle’s year, make, and interface. If issues arise, re-pair the device through the app’s pairing flow, following on-screen prompts precisely. Confirm the vehicle is in a suitable ignition state for data exchange, and disable any conflicting Bluetooth or Wi‑Fi connections that might interrupt the link. Test the connection by running a basic read, noting response time and any error messages. Document the results for future reference. This approach emphasizes reliability, minimizes ambiguity, and supports freedom by providing a clear, repeatable verification process.
Interpreting Diagnostic Trouble Codes: When a Code Is Real Vs Misleading
Interpreting diagnostic trouble codes requires a disciplined approach to distinguish real issues from false alarms. You’ll separate true failures from misleading signals by confirming code validity, cross-checking with symptoms, and considering known common causes before acting.
| Code | Likely cause | Recommended action |
|---|---|---|
| P0300 | Misfire common, but may indicate ignition or fuel issues | Verify spark plugs, coils, and injector health |
| P0442 | Small leak, or erroneous reading | Inspect EVAP system and reseal connections |
| P0128 | Coolant thermostat or sensor fault | Check thermostat function and coolant temperature readings |
Key points:
- Treat every code as a hypothesis, not a verdict.
- Correlate with observed symptoms and recent maintenance.
- Avoid rushing to replacement; test and confirm.
This method keeps you focused on code interpretation as a decision tool, not a problem statement, ensuring you don’t chase misleading signals.
Reading Live Data: What Speed, RPM, and Sensor Readings Tell You
Live data lets you verify how the engine is behaving in real time, so you can compare speed, RPM, and sensor readouts against expected ranges. You’ll look for consistent patterns in Speed and RPM, plus trend data from sensors to spot anomalies that static codes alone can miss. This discussion centers on how these signals—Speed and RPM insights, and sensor reading trends—inform diagnostic decisions.
Live Data Signals
When you read live data from an OBD adapter, you can quickly gauge engine health and driving behavior by watching speed, RPM, and sensor readings in real time. In live data signals, every value matters: speed shows cadence of motion; RPM reveals engine load and idle stability; sensors confirm air, fuel, and ignition status. You’ll compare current readings against baseline ranges to detect obvious anomalies, like fuel trim drift or catalytic converter strain. Focus on consistency over transient spikes; persistent deviations signal underlying issues. Use live data analysis to form a hypothesis, then verify with symptom context and diagnostic codes. Signal interpretation hinges on pattern recognition, not single outliers. This approach supports informed decisions, preserving momentum and freedom to drive with confidence.
Speed and RPM Insights
Speed and RPM readings are the two most immediate indicators of how the engine shares workload with the drivetrain; by watching them together, you can infer whether the engine is delivering power smoothly and within expected limits. You’re looking for consistent RPM within spec and steady speed response, not abrupt jumps. In live data, note speed fluctuations and rpm anomalies, which can signal underperforming spark, fuel delivery, or transmission issues. When RPM climbs without corresponding speed, or lags behind acceleration, investigate throttle input, sensor health, and potential misfire indicators. Record baselines for idle and steady cruising, then compare during load changes. Use these readings to differentiate routine variations from meaningful faults, guiding diagnostic steps without jumping to conclusions. Precision here supports confident, freedom-friendly maintenance.
Sensor Reading Trends
Sensor reading trends reveal how the engine and drivetrain respond under real-world conditions, so you should track patterns over time rather than single snapshots. You’ll use live data to confirm or question symptoms, focusing on consistency, variance, and timing. When speed, RPM, or sensor values diverge from baseline, pursue trend analysis to distinguish transient glitches from persistent issues. Look for sensor anomalies that appear or worsen with load, temperature, or speed, not just at idle. Document how signals rise and fall together, and compare to manufacturer ranges. This disciplined approach helps you decide when a scanner is trustworthy or when symptoms point to a deeper fault. Stay concise, objective, and systematic to avoid misdiagnosis.
- Monitor multi-sensor convergence during steady and changing loads
- Track deviations from established baselines over a representative drive
- Note temperature-related shifts and hysteresis patterns
- Correlate spikes with mechanical events and fault codes
Symptom-Driven Checks: Idle Irregularities, Misfires, and Warning Lights
Idle irregularities, misfires, and warning lights can indicate ignition, fuel, or sensor issues that merit targeted checks. Start by noting steady idle vs. fluctuation, then verify misfire codes and correlate with live data to confirm fault patterns. Use these signals as clues to guide systematic diagnostics rather than random testing.
Idle Irregularities Signals
When idle irregularities appear, start with a focused diagnostic approach to confirm whether the issue is sensor-driven, vacuum leaks, or ignition timing. You’ll want clear data, not guesses, guiding each step toward diagnostic insights and actionable results.
- Confirm idle fluctuations with live data, noting RPM variance, IAC/MAP readings, and throttle response.
- Isolate vacuum leaks by performing a throat–check, spray-test, and watching for RPM dip.
- Verify ignition timing and coil health, watching for misfires during steady idle.
- Cross-check sensors (MAP, MAF, TPS) for plausible values, considering grounding and connector integrity.
This method keeps you focused, objective, and free to act on solid evidence rather than fear.
Misfires Andcodes Clues
Misfires and codes often reveal the underlying issue when idle irregularities appear. You’ll approach this methodically: isolate misfire causes, correlate with cylinder data, and separate transient faults from persistent ones. When a misfire code appears, verify coil, injector, and spark quality before blaming the engine. Use code interpretation to map trouble codes to likely origins, then confirm with live data and visual inspection. Document patterns so you can distinguish genuine faults from scanner noise. This disciplined check reduces guesswork and frees you to trust measured evidence.
| Symptom | Diagnostic Action | Expected Outcome |
|---|---|---|
| Idle disturbance | Check idle speed, vacuum leaks, base timing | Identified root cause or confirms transient issue |
| Misfire code | Read cylinder-specific data, swap components | Pinpointed component or confirms distribution issue |
| Fuel/air ratio | Review LTFT/STFT, sensor health | Consistent mixture, or flags sensor fault |
Warning Lights Indicators
Warning lights demand a disciplined, symptom-driven approach: use them as real-time indicators to guide checks for idle irregularities and misfires. You’ll interpret warning light meanings via dashboard alerts, then cross-check with live data before any teardown. Precision matters; treat each light as a data point, not a guess.
- Identify the trigger: ignition, engine load, or RPM changes, and note the light’s behavior.
- Correlate with idle irregularities and misfire patterns to pinpoint affected cylinders.
- Record the sequence and timing of alerts to distinguish transient faults from persistent issues.
- Verify with diagnostic tests, confirming whether the light represents an actual fault or a sensor anomaly.
This method respects freedom while staying evidence-based, actionable, and concise.
Compatibility and Cable Considerations: Ensuring the Right OBD Standards
Compatibility and cable choices determine whether an OBD adapter can communicate with your vehicle’s ECU. You’ll want to verify that the adapter supports your car’s OBD standard and protocol family before buying. Start by checking whether your vehicle uses OBD-II, CAN, ISO 9141-2, or J1850 VPW, and confirm the adapter’s listed support. Next, assess cable quality: sturdy connectors, shielded wiring, and proper strain relief reduce signal noise and intermittent drops. If you’re choosing a wired adapter, ascertain the included cable length fits your workspace and won’t strain the port during use. For wireless options, verify stable pairing without latency that masks real symptoms. Adapter compatibility hinges on both the vehicle and tool matching the same standard, so read compatibility charts carefully. Avoid adapters with vague specs. In practice, reliable results come from precise standard alignment, robust construction, and honest labels. Your freedom to diagnose accurately starts with picking the right standard and a dependable cable.
Common Pitfalls: False Positives, Loose Connections, and Power Issues
Common pitfalls can derail diagnostics even when you have a capable OBD setup: false positives, loose connections, and power issues. You want reliable readings, so identify symptoms that match real faults rather than transient noise. Focus on evidence, not assumption, and verify each variable before drawing conclusions.
- False positives: cross-check data with an independent source; a single anomalous reading isn’t a defect until repeated under controlled conditions.
- Loose connections: inspect both ends of the adapter and the vehicle OBD port; wiggle tests can reveal intermittent contact that undermines diagnostic reliability.
- Power issues: monitor supply voltage and grounding; fluctuations mimic faults and reduce signal integrity.
- Environmental factors: heat, moisture, and vibration can degrade signal quality; isolate the adapter from excessive stress and secure cables.
A Practical Decision Framework: When to Trust the Scanner Over Symptoms (And Vice Versa)
When deciding whether to trust the scanner or your symptoms, start with a structured comparison: confirm that an observed fault persists across multiple runs and under controlled conditions before acting on it. You’ll then assess scanner reliability by repeating tests with the same vehicle and adapter, recording ambient variables, and noting any intermittent behavior. If results align consistently, lean toward scanner conclusions; if not, pivot to symptom analysis and seek corroborating data from the vehicle’s ECU indicators, error codes, and live data streams. Document thresholds, such as voltage fluctuations or communication timeouts, to distinguish transient anomalies from systemic faults. Use a disciplined rubric: reproducibility, controllable variables, and parallel evidence from both sources. Recognize that symptoms can reveal hidden issues, while scanners provide objective baselines. The objective is a rational balance, not a binary choice, enabling you to act with precision while embracing the freedom to question automated outputs.
Frequently Asked Questions
How Often Can Symptoms Mislead the Scanner in Real-World Cases?
Symptoms can mislead the scanner occasionally, but not often. In real world examples, you should verify by cross-referencing Symptoms vs. Codes, rechecking fault codes, and repeating tests. Expect a small gap between symptom onset and code clarity, then rely on corroborating data. You’ll gain confidence by systematic checks: battery health, sensor behavior, and live data. When discrepancies arise, gather multiple real world examples before conclusions. Stay methodical, data-driven, and open to revising interpretations.
Can a Strong Live Data Reading Be Misleading Without Codes?
A strong live data reading can be misleading without codes. You should trust live data accuracy but verify it against symptom interpretation, context, and corroborating measurements. Don’t assume everything is fine just because numbers look solid; sensors can report accurate values that don’t reflect an underlying issue. Rely on repeated tests, cross-checks, and diagnostic logic, not single data points. You’ll gain reliable insight by integrating live data with symptom interpretation and known fault patterns.
Do All OBD Adapters Support Every Vehicle Year and Model?
Not all OBD adapters support every year and model. Adapter compatibility varies, and you’ll find gaps where a vehicle’s protocols or CAN features aren’t supported. Check manufacturer lists for vehicle-specific features and supported codes before buying. You’ll optimize your setup by verifying pinpointed coverage, updating firmware, and confirming OEM-style data access. If you need reliability, compare adapter compatibility to your vehicle’s features, and don’t assume universal compatibility across all years and models.
When Should You Rely on Symptoms Over a Code for Misfires?
You should rely on symptoms rather than a misfire code when the symptoms clearly point to a mechanical issue, like rough idle or misfire in multiple cylinders with consistent driving complaints. Codes can be misleading due to scan reliability gaps. Treat mild, transient misfires as suspect for misfire causes only after ruling out ignition, fuel, and vacuum issues. Use symptoms as a guide, then confirm with targeted testing to avoid chasing false positives.
Can a Loose Connection Mimic a Sensor Fault in Live Data?
Yes, a loose connection can mimic a sensor fault in live data. If the connection wobbles, sensor readings will flicker and drift, fooling your eye like a desert mirage. You’ll see unstable, irregular values even without actual sensor failure. Check connection stability first, reseat and test, then verify with a known-good sensor. Only after stable readings confirm a genuine fault. Trust steady data, not every jitter, to avoid chasing ghosts.

