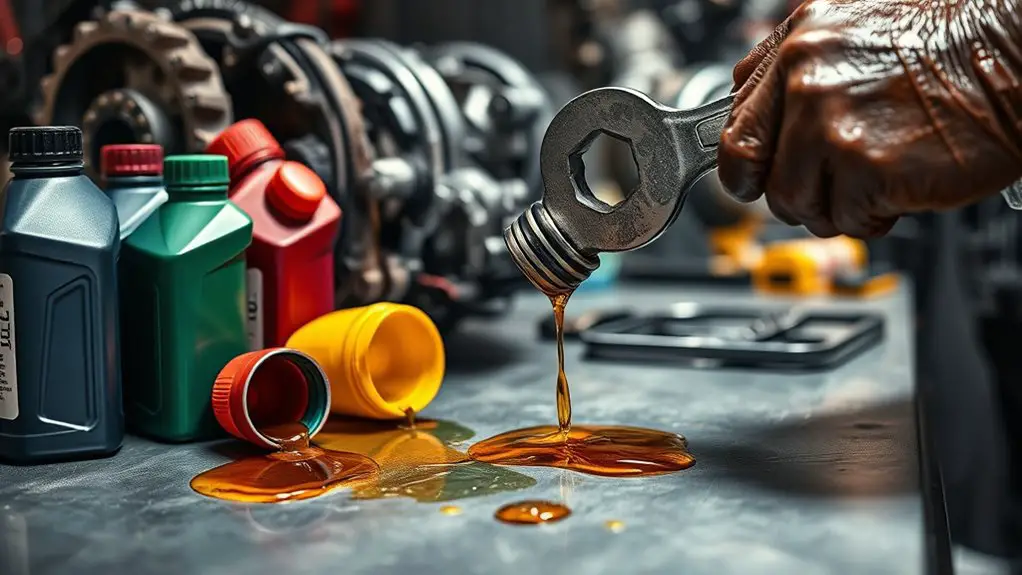
Why Mixing Gear Oil Causes Problems and How to Fix It
Mixing gear oils can disrupt film strength, trigger deposits, and promote corrosion, raising wear, foaming, and overheating risks. Different formulations may aren’t compatible, so oils can shear differently and form unstable lubricating films. If you must, flush and drain per manufacturer directions, then refill with a compatible grade, verify levels cold, prime the system, and monitor temperature and wear signals. Document results and plan preventive steps to avoid recurrence; you’ll gain deeper guidance as you continue.
Assessing the Risks of Mixed Gear Oils
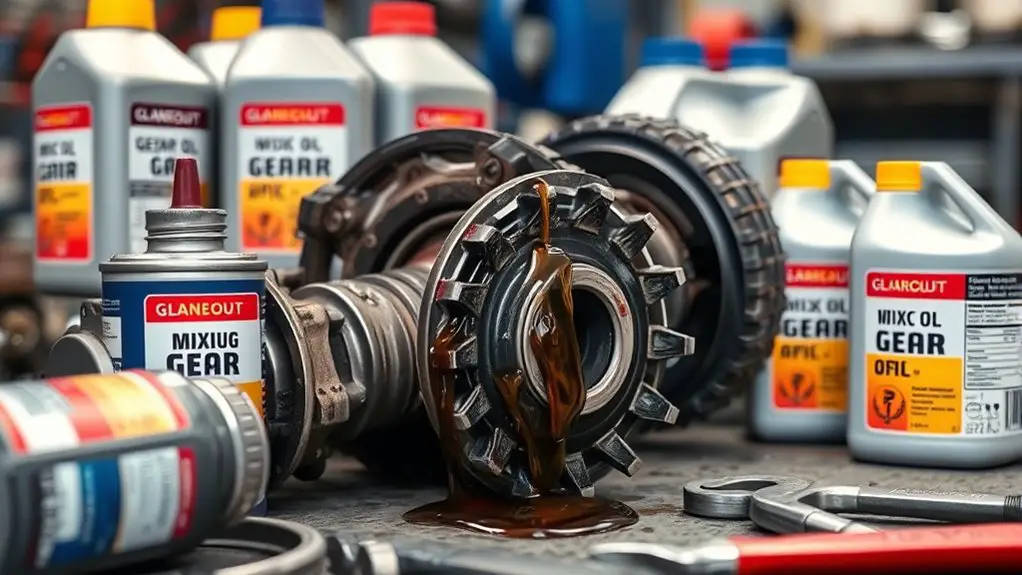
Mixing gear oils can introduce compatibility problems and alter lubricant properties, so assess the risks before combining products. You’re weighing compatibility, chemical stability, and performance implications across brands and bases. Begin with a risk assessment: identify additives, base oil viscosity, shear stability, and copper corrosion ratings. Note that oil properties like viscosity index, pour point, and emulsification tendencies influence film formation and lubrication under load. Check specification alignment (AGMA, OEM, and API), and confirm compatibility with seals, gaskets, and metals in your gear train. Consider batch history, contamination potential, and storage conditions, since degradation pathways can emerge post-mix. Gauge temperature sensitivity, oxidation resistance, and foaming tendencies, which affect heat removal and aeration. If cross-brand mixing is unavoidable, document the exact formulations, batch numbers, and service conditions to support traceability. Prioritize conservative replacement or staged testing, and avoid assuming equal performance based on similar labels. A disciplined approach supports safer, more predictable operation.
How Different Formulations Interact in a Gear System
When you mix gear oils, compatibility notes become essential to prevent adverse reactions between formulations. You’ll want to contemplate base oil families, additives, and viscosity grades to anticipate potential interactions and performance shifts. This discussion centers on formulation interactions and how compatibility constraints guide safe, effective lubrication.
Compatibility Notes
Compatibility notes are essential when combining gear oils from different formulations, because additives, base oil chemistries, and viscosity grades can interact in ways that affect film strength, corrosion protection, and wear resistance. You’ll assess how oil viscosity and additive compatibility shape performance, then plan changes carefully to avoid unintended reactions in seals, gaskets, and bearings.
- Check viscosity alignment across formulations to preserve film formation
- Evaluate additive compatibility to prevent incompatible chemistries from triggering deposits or corrosion
- Document compatibility tests and service limits before a mixed-fill
Keep records, follow manufacturer guidance, and test in a controlled environment before full-scale use. If concerns arise, revert to a uniform formulation to maintain reliability and equipment life.
Formulation Interactions
In gear systems, different oil formulations interact through their base oils, viscosity grades, and additive packages, influencing film strength, seal compatibility, and wear resistance. You’ll see how formulation stability matters when unexpected chemical reactions occur at interfaces, potentially degrading film formation or accelerating additive depletion. Compatibility isn’t guaranteed by label alone; base oil químicos and viscosity mismatches can trigger shear, emulsification, or phase separation, undermining protection. You should assess oxidative stability and longevity of each package, especially under mixed-temperature operation, to anticipate drift in lubrication performance. Watch for adverse chemical reactions between additives that, in combination, form residues or corrosive byproducts. When interactions threaten systems, revert to aligned specifications, isolate blends, and verify through targeted testing before full adoption.
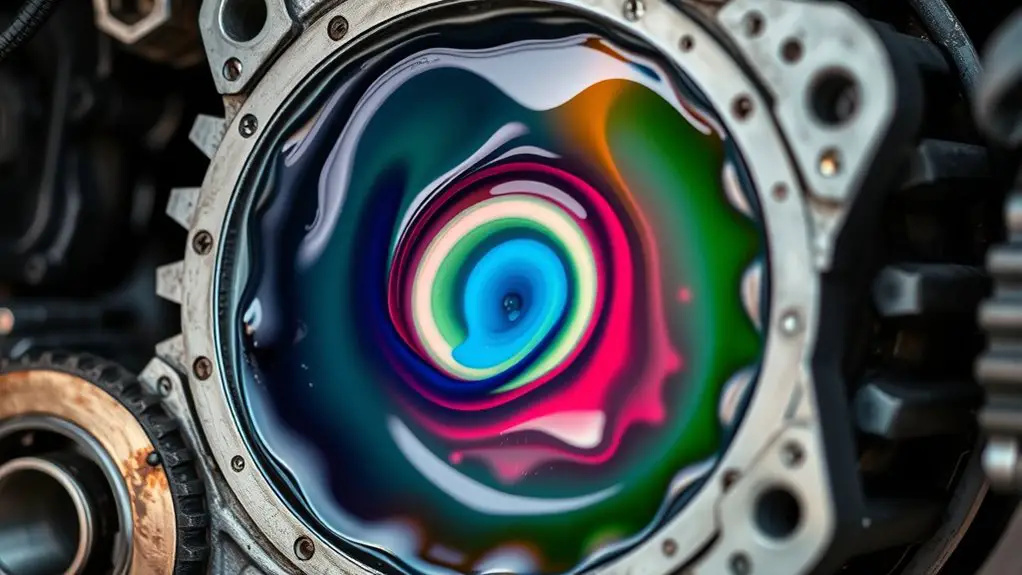
Indicators That Mixing Has Caused Lubrication Issues
If mixing different gear oils has occurred, you’ll notice several telltale indicators that lubrication performance has degraded. You’ll observe changes in viscosity behavior, unusual color shifts, and unexpected odor, all signaling altered formulation compatibility. Gear oil symptoms often include metallic noise, rough gear engagement, and intermittent slipping under load as clear mechanical cues. You should also track temperature rise, inconsistent pressure readings, and foaming tendencies that don’t align with your normal profile.
- Lubrication indicators: viscosity irregularities, color changes, and odor shifts
- Gear oil symptoms: noise, engagement roughness, and unexpected slipping
- Operational signals: temperature spikes, abnormal pressure, and foaming
If you detect multiple items from these lists, treat it as a cross-check that mixing has affected the lubricant. Do not ignore even small deviations, and verify with a controlled oil sample comparison to establish a reliable baseline for future maintenance decisions.
The Impact on Film Strength, Foaming, and Wear
Foaming and film strength are key performance indicators after mixing gear oils, as subtle changes can undermine load-carrying capacity and lubrication stability. When you mix oils, film strength can degrade because incompatible additives disrupt boundary films, reducing resistance to shear and metal-to-metal contact. Foaming effects arise from imbalanced additive packages and different antifoam requirements, trapping air and creating unstable lubrication pockets that surge pressure during load spikes. You’ll notice altered wear patterns as reduced film thickness exposes surfaces, accelerating abrasion and surface fatigue. Oil degradation accelerates under mixed chemistries, forming deposit precursors and oxidized byproducts that clog passages and undermine viscosity control. To mitigate these issues, establish compatibility screening and controlled batch blending, verify viscosity grades, and monitor foaming tendencies with standardized test methods. Clear data on film strength and wear outcomes guides you toward stable formulations. Informed decisions preserve lubrication integrity and extend component life without sacrificing operational freedom.
Diagnosing Overheating and Efficiency Loss
Overheating and efficiency loss in mixed gear oils stem from lubricant degradation, increased shear, and altered viscosity behavior under load; diagnosing these symptoms requires targeted measurements of temperature rise, film thickness, and power losses to distinguish lubrication faults from system inefficiencies.
You’ll pinpoint overheating symptoms by tracking oil temperature rise under load, monitoring bearing temperature differentials, and comparing to expected baselines. Assess efficiency indicators through power consumption, torque, and rotational losses, then separate fluid-film issues from mechanical drag. Film thickness estimation, using spacer measurements or sensitivity tests, helps verify lubricant integrity under load. Watch for foaming and air entrainment that can skew readings and mask true causes.
- Temperature rise and bearing differentials as overheating symptoms
- Power losses and torque changes as efficiency indicators
- Film thickness and viscosity behavior under load as diagnostic levers
Step-by-Step Drain, Flush, and Refill Procedure
To start the drain, flush, and refill, follow the sequence: remove the plug, drain the old oil, and flush the system to remove contamination. Refill with fresh gear oil to the specified level, then recheck for leaks and proper fill height. During the process, verify each step with inspection tips to confirm clean lines, correct oil grade, and consistent circulation.
Drain and Flush Steps
Begin with a clean drain plan: identify the correct drain plug, drain bolt, or sump plug for the gearbox, then position a suitable container beneath the sump and prepare the replacement oil.
- Establish drain techniques to minimize spills and contamination
- Execute flush methods that remove old oil without forcing debris into seals
- Complete a controlled refill sequence with accurate oil grade and quantity
During drain, monitor flow and confirm ventilation is safe; avoid over-tilting the gearbox. When flush begins, introduce solvent-free flush fluid per manufacturer guidance and cycle until clear. Stop before any solvent residue remains, then drain again. Refill with the specified oil, verify level at cold state, and run the engine briefly to prime the system. Document temperatures, quantities, and any observations for future maintenance.
Fresh Oil Refill
After draining and flushing, you’ll proceed with the fresh oil refill by ensuring the correct grade and quantity are ready, the engine is at the proper temperature, and the level is verified cold before any startup. You select oil viscosity suited to your gear system, then pour to the specified capacity. Check the fill mark with the vehicle on a level surface, allowing minor settle time before final verification. Refill intervals depend on operating conditions, so note OEM recommendations and your use case to avoid overfill or starvation. Recheck temperature after warm-up, and remeasure the level once cooled to confirm accuracy. Document changes and cadence to maintain performance, reliability, and freedom from premature wear. Maintain a steady, deliberate workflow for consistent results.
System Inspection Tips
With fresh oil in place, you’re ready to inspect the system before the next startup. System inspection focuses on safety, cleanliness, and confirmation of proper flow. You’ll verify seals, check for leaks, and assess oil clarity and level. During the drain, flush, and refill, observe gear performance markers and confirm no abnormal noises or heat rise. A disciplined evaluation prevents cross-contamination and reveals pending wear before it worsens.
- Inspect for leaks, confirm proper fill level, and verify filter condition
- Run a controlled test, monitor temperature, and compare gear performance to baseline
- Log readings, note any anomalies, and plan preventive maintenance
This approach supports a precise system evaluation, ensuring reliable operation and liberty to push performance boundaries.
Best Practices for Consistent Lubrication Maintenance
Establishing a routine for lubrication maintenance guarantees consistent performance and extends component life; by scheduling proactive checks, you can detect oil degradation, contamination, and level drift before they cause failures. You’ll implement disciplined lubrication intervals aligned to equipment load, temperature, and duty cycle, not calendar dates. Maintain a simple log: when intervals are performed, what oil type was used, and any observed anomalies. Choose oil selection based on manufacturer specs, compatibility, and performance needs; avoid mixing products, and document batch numbers for traceability. Use clean handling practices, dedicated transfer tools, and sealed containers to minimize contamination. Monitor grease and oil levels and verify filter integrity during each visit. Establish alarm thresholds for temperature, vibration, and pressure that trigger prompt inspections. Standardize a brief fault-recovery checklist to prevent recurrence. Train operators to recognize early signs of degradation. Keep maintenance vertical and proactive, not reactive, so you preserve reliability and freedom in your system.
Preventing Future Problems Through Proper Selection and Monitoring
Selecting the right oil and monitoring it effectively prevents repeat problems and supports long-term reliability. You’ll reduce failures by choosing compatible gear oil grades and matching viscosity to load, temperature, and gear tolerances. Don’t rely on guesswork—base your oil selection on manufacturer specs and system demand, then document the rationale for future audits. Monitoring techniques matter just as much as selection, so implement regular checks that reveal early signs of degradation, contamination, or additive depletion. Use simple, repeatable methods: periodic oil analysis, viscosity verification, and level/condition checks, all recorded with timestamped results. This disciplined approach helps you catch drift before it becomes a fault.
- oil selection criteria aligned with equipment and duty cycle
- monitoring techniques: analysis, viscosity, and contamination tracking
- proactive adjustment plan to prevent recurring issues
Frequently Asked Questions
Can Mixing Gear Oils Void Manufacturer Warranties?
Mixing gear oils can void warranty in many cases. You should expect warranty implications if the oils aren’t compatible with the OEM’s oil specifications. If the wrong viscosity or additive package is used, you risk coverage denial. To protect yourself, verify oil specifications and avoid mixing different brands or types. You’ll preserve manufacturer protections only when you adhere to the specified lubricant, keeping thorough records for any warranty review.
Do Additive Packets React Differently at Varying Temperatures?
Yes, additive packets react differently with temperature changes. At high temps, temperature effects can accelerate volatility and degrade additive stability, while low temps slow reactions and reduce film strength. You’ll notice viscosity shifts that alter film formation and protection. For you, this means selecting blends with robust additive stability across your operating range. Maintain proper temps, monitor shifts, and favor formulations designed for your environment to preserve performance and extend gear life.
Are Synthetic and Mineral Oils Compatible in All Gear Setups?
Synthetic and mineral oils aren’t compatible in all gear setups. You’ll generally see limited compatibility, and you should avoid mixing unless the manufacturer approves. If you must choose, consider synthetic advantages for friction reduction and wear protection, while mineral disadvantages include poorer oxidation resistance. You’re balancing performance and reliability: in high-load or variable-temperature systems, stick to one base oil type per OEM spec to preserve seals and warranty, and avoid cross-blending.
How Quickly Can Mixed Oils Deteriorate Under Load?
A hypothetical test shows mixed oils can deteriorate within minutes under heavy load. Under load testing, you’ll see oil performance fade quickly as shear and viscosity breakpoints shift, leading to reduced protection. In real life, a case study reported accelerated wear after abrupt torque peaks. So, mixing speeds up degradation; monitor oil performance closely, schedule frequent load testing, and avoid mixing unless you’re ready for uncertain, accelerated lubricant aging.
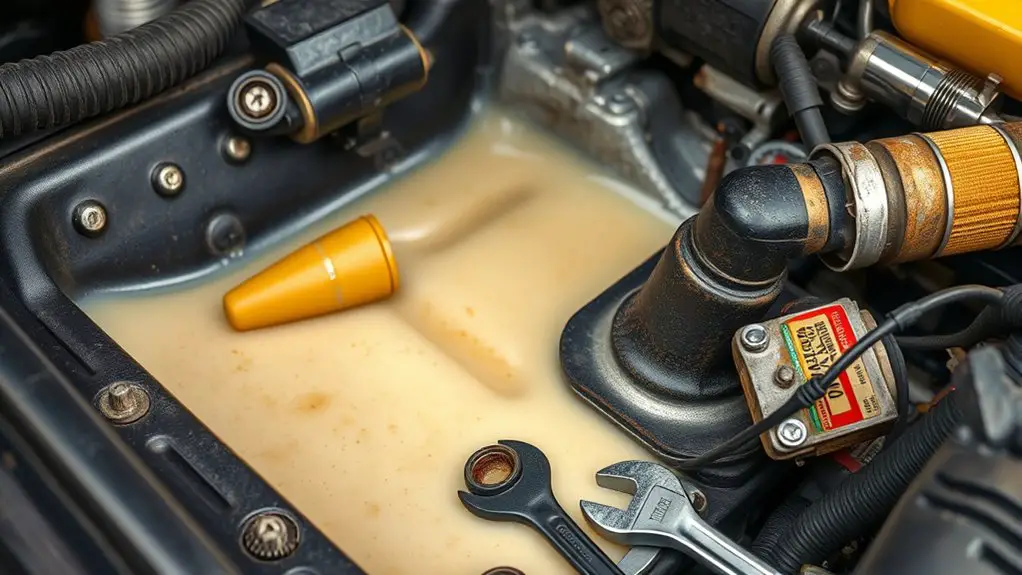
What Are Quick Checks if Heavy Foaming Occurs After a Mix?
If heavy foaming occurs after a mix, perform quick checks: observe foam stability, inspect viscosity indicators, and monitor temperature rise. Foaming causes air entrainment or incompatible additives, so verify oil testing results, confirm blend ratios, and test for water contamination. Check seals, purge air pockets, and guarantee proper venting. If tests show anomalies, stop use, flush, and re-test with correct lubricant grades. You should document results and adjust formulations to prevent repeats.